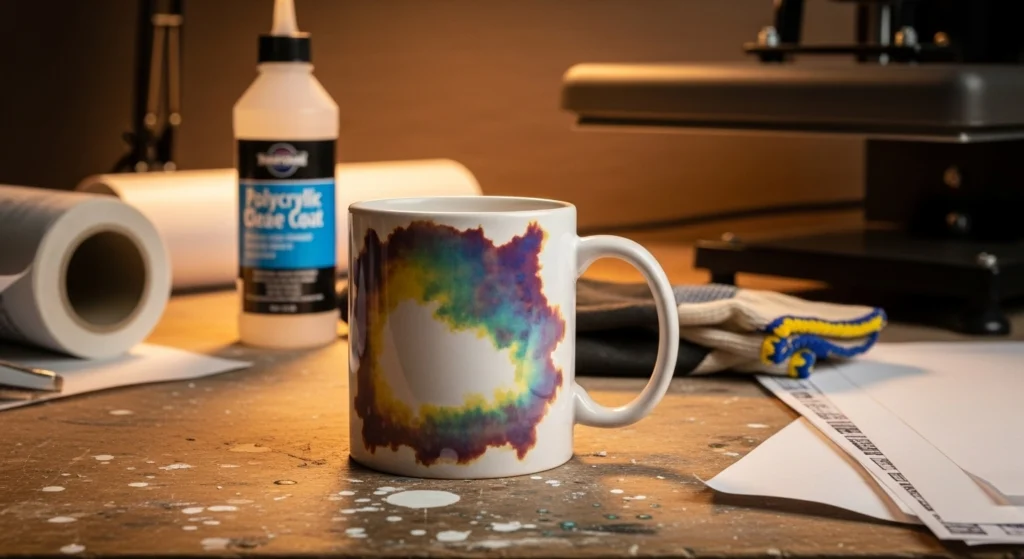
10 Common Problems in Sublimation with Polycrylic and Solutions
Polycrylic can be an effective coating for sublimation on non-polyester surfaces. However, the process has specific challenges that can affect print quality and durability. This guide outlines the most frequent issues and offers practical solutions.
1. Uneven Coating Application
Problem:
Brush strokes, drips, or inconsistent layers lead to patchy color transfer.

Solution:
- Use a high-quality foam brush or spray application.
- Apply multiple thin coats instead of one thick layer.
- Sand lightly with fine-grit sandpaper between coats for a smooth surface.
2. Streaks or Lines in the Print
Problem:
Visible lines appear after pressing, often due to brush marks in the Polycrylic layer.
Solution:
- Let each coat self-level before drying.
- Avoid over-brushing once the layer starts to set.
- Consider spraying for a more even finish.
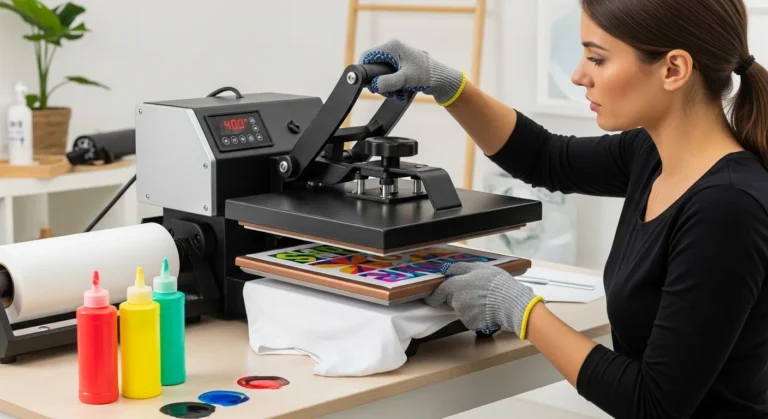
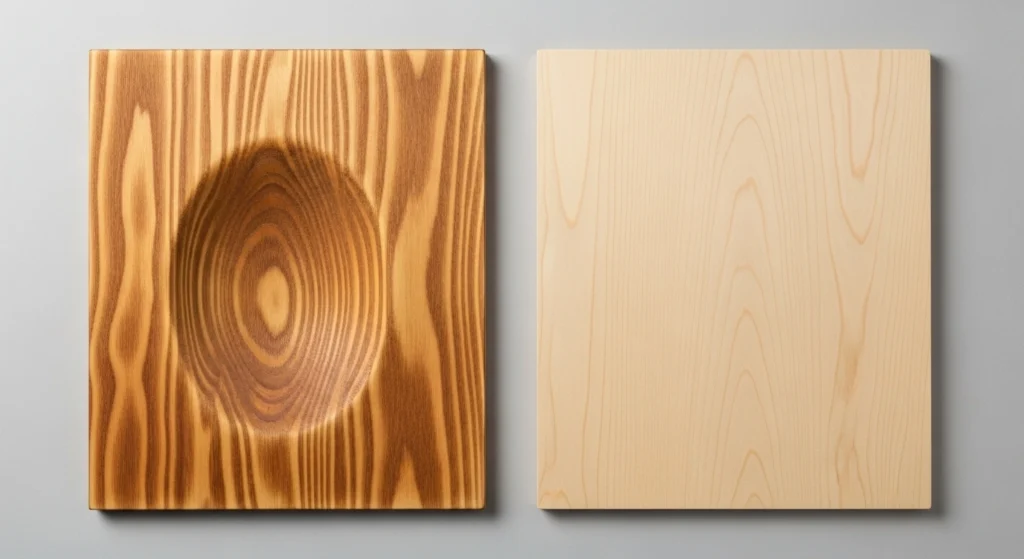
3. Yellowing After Heat Press
Problem:
High heat can cause the Polycrylic to discolor.
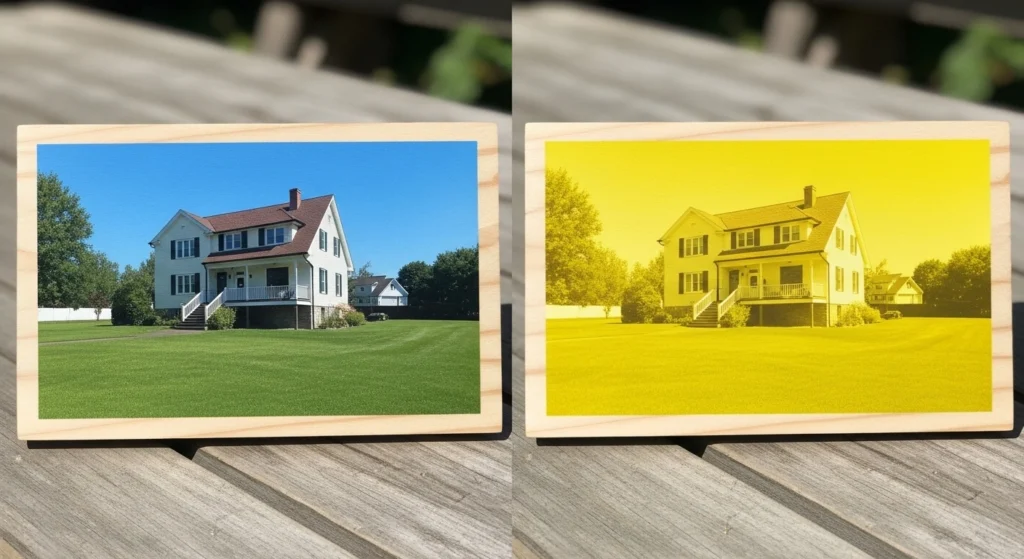
Solution:
- Keep pressing temperatures within 385°F–400°F (196°C–204°C).
- Reduce pressing time when possible.
- Allow the coated surface to cure fully for at least 24–48 hours before pressing.
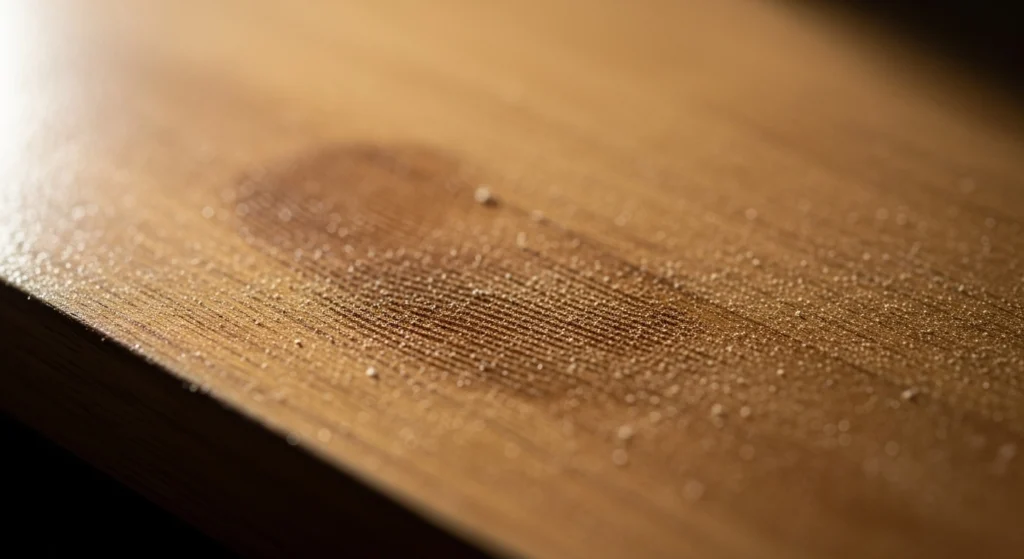
4. Blurry or Faded Image
Problem:
Design lacks sharpness, usually caused by surface texture or insufficient curing.
Solution:
- Ensure the coated surface is smooth and fully cured.
- Increase pressure slightly for better ink penetration.
- Check sublimation paper for compatibility with hard surfaces.
5. Ghosting or Double Images
Problem:
Image shifts slightly during pressing, creating a blurred outline.
Solution:
- Secure sublimation paper with heat-resistant tape.
- Avoid moving the press before the substrate cools slightly.
- Apply even pressure throughout the press.
6. Peeling or Flaking of Design
Problem:
Sublimated design lifts or chips over time.
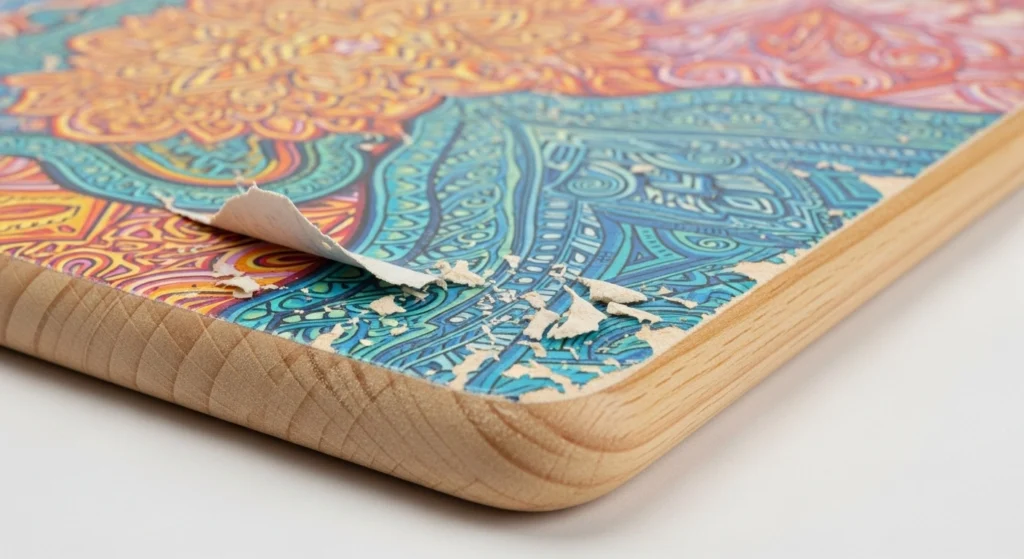
Solution:
- Ensure the Polycrylic layer is fully cured before pressing.
- Avoid thick or uneven coating layers.
- Handle the finished product gently for the first 24 hours.
7. Poor Ink Absorption
Problem:
Colors appear dull because the coating doesn’t bond well with the ink.
Solution:
- Stir the Polycrylic before use to avoid ingredient separation.
- Apply at least two coats for proper coverage.
- Press with firm pressure to help ink embed in the coating.
8. Bubbles or Texture in the Coating
Problem:
Air bubbles create an uneven surface, disrupting image transfer.
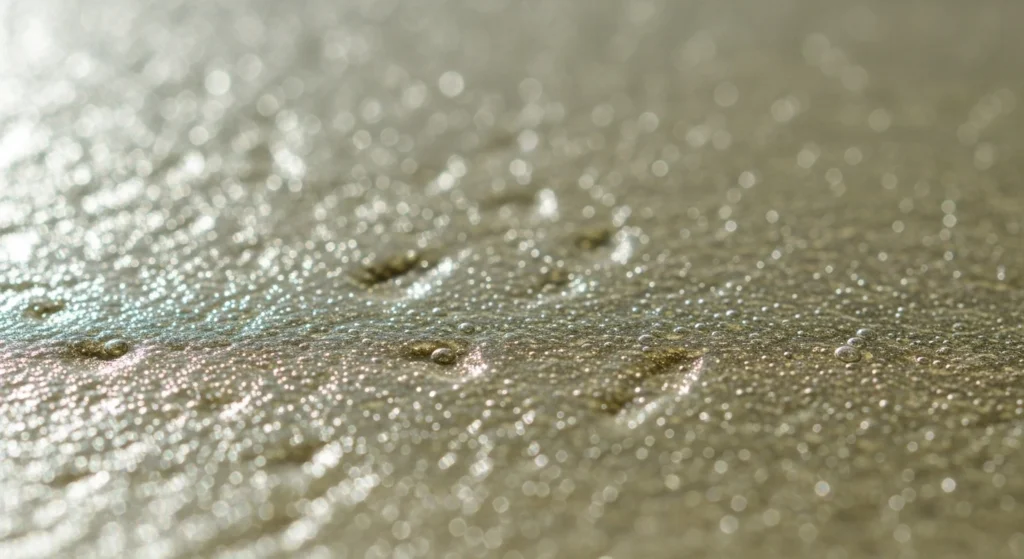
Solution:
- Apply the coating slowly to avoid air entrapment.
- Use a foam brush and smooth strokes.
- Let each layer dry completely before adding the next.
9. Warping of the Substrate
Problem:
High heat causes non-heat-resistant surfaces to bend or warp.
Solution:
- Choose substrates rated for heat press use.
- Use a lower temperature with a slightly longer pressing time if needed.
- Support thin substrates with a flat backing during pressing.
10. Surface Contamination
Problem:
Dust, fingerprints, or residue prevent the ink from bonding.
Solution:
- Clean the surface with isopropyl alcohol before coating.
- Store coated items in a dust-free environment until pressing.
- Wear gloves to avoid skin oils transferring.
For a step-by-step coating method and temperature guide, see How to Use Polycrylic for Sublimation.
Quick Reference Table
| Issue | Likely Cause | Best Fix |
|---|---|---|
| Uneven coating | Thick layers, poor tools | Thin coats, foam brush, sanding |
| Streaks/lines | Over-brushing, uneven leveling | Let self-level, spray application |
| Yellowing | Excessive heat/time | Lower temp/time, cure fully |
| Blurry/faded image | Surface texture, uncured coating | Smooth surface, increase pressure |
| Ghosting | Paper movement | Tape, steady pressing |
| Peeling/flaking | Thick coats, uncured layer | Thin coats, full cure |
| Poor ink absorption | Thin coating, low bonding | Two coats, firm pressure |
| Bubbles/texture | Air in application | Slow strokes, full drying |
| Warping | Low heat resistance | Lower temp, support backing |
| Contamination | Dust, oils, residue | Clean with alcohol, use gloves |
Common Mistakes to Avoid
- Applying thick coats – Leads to uneven curing and poor ink absorption. Always use thin, even layers.
- Not letting the coating cure fully – Pressing too soon can cause peeling, bubbling, or faded prints.
- Skipping surface preparation – Dust, fingerprints, or oils block ink bonding. Clean with isopropyl alcohol first.
- Using excessive heat or time – Can cause yellowing or warping. Stay within recommended press settings.
- Over-brushing during application – Creates streaks and visible lines in the final print.
- Ignoring humidity levels – Moisture slows curing and can trap bubbles. Work in a dry, ventilated area.
- Failing to secure transfer paper – Movement during pressing causes ghosting or double images.
- Pressing on low heat-resistant surfaces – Can lead to deformation or damage to the blank.
- Not sanding between coats – Skipping this step leaves surface texture that affects image clarity.
- Storing coated items in dusty spaces – Dust settles on the surface and shows through the final design.
Professional Sublimation Printing & Wholesale Custom Products
Looking for high-quality sublimation printing for apparel, drinkware, and promotional items? Subli Genius Print delivers vibrant color, sharp detail, and long-lasting results for businesses, brands, and resellers across the U.S.