4 Common Heat Press Mistakes and How to Fix Them

Sublimation depends on precision. Heat, pressure, moisture, and placement all have to line up correctly, and getting just one of them wrong can turn a good design into a faded print, a scorched blank, or a design that lifts right off the fabric.
Most heat press problems trace back to one of four causes: wrong temperature, uneven pressure, trapped moisture, or poor alignment. Here’s how to spot each one and fix it before it ruins another blank.
Temperature inconsistencies are one of the most overlooked issues in sublimation. Learn more about ideal sublimation temperatures for different materials and why even a few degrees off can cause failures.
Some problems aren’t caused by heat at all, but by poor transfer placement. If you’re tired of shifting prints or tape marks, check out smart alternatives to heat tape that can keep your transfers in place without damaging your blanks.
Mistake #1: Using the Wrong Temperature
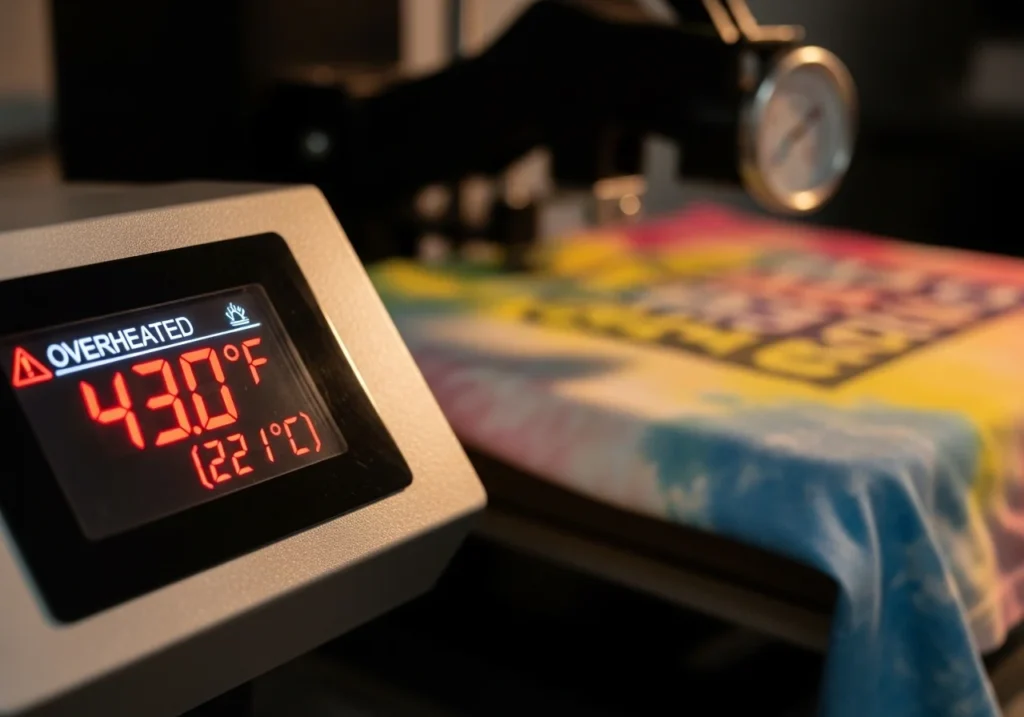
The problem: Incorrect temperature is the most common reason sublimation transfers fail. Too little heat leaves ink that hasn’t fully turned to gas, so the print looks faded or comes out incomplete. Too much heat scorches the substrate, burns the coating, or causes the ink to bleed past the edges of the design.
Most sublimation jobs run between 375°F and 400°F, but the exact number depends on the material, polyester, ceramic, and aluminum all carry their own recommended range. Going well above 400°F risks burning or gas blowout, where the ink escapes the substrate faster than it can bond.
How to fix it
Avoid defaulting to the highest setting “just to be safe.” More heat isn’t automatically better, it’s a common way to scorch a blank that would have printed fine at a lower temperature.
Check the manufacturer’s recommended range for your specific substrate before pressing. Coatings vary between suppliers, even for the same material type.
Use an infrared thermometer to check the actual platen temperature. Many presses read several degrees off their own display, especially near the edges.
Mistake #2: Inconsistent Pressure
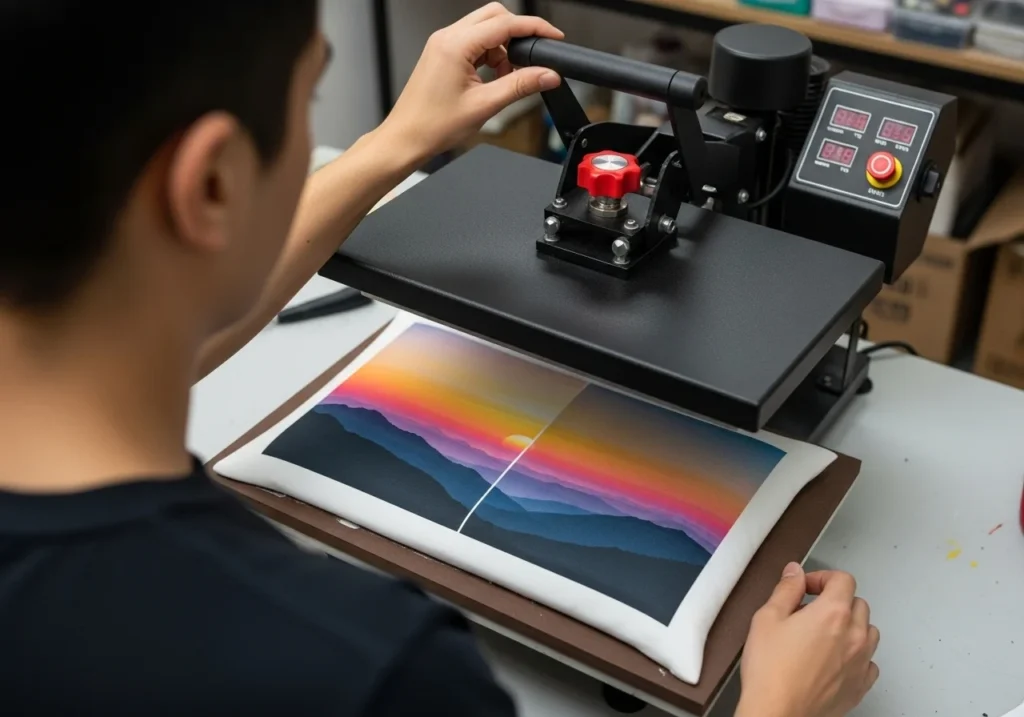
The problem: Uneven pressure causes ghosting, patchy transfers, and edges that fade out before the center of the design does. This shows up most on items with an uneven surface, seams, zippers, pockets, or anything that lifts one section of the platen higher than the rest.
How to fix it
- Adjust the pressure knob or dial until you get even, firm contact across the full surface, not just the center.
- Use pressing pillows or foam pads under seams, zippers, or thick areas so the platen makes full contact everywhere, not just on the flattest section.
- Check pressure periodically rather than assuming it stays consistent once set. Springs and gaskets in a press can loosen over months of use.
Tip: If you’re using an auto-open press, that fast release can shift the paper right as it pops open, causing ghosting even when pressure was even throughout. Holding the handle briefly instead of letting it auto-release, or switching to a manual press, fixes this without changing anything else in your setup.
Sublimation ink also bleeds through paper onto the press platens during pressing. A reusable Teflon sheet or a disposable protective sheet keeps that residue off the press, so it doesn’t transfer onto your next print.
Mistake #3: Trapped Moisture
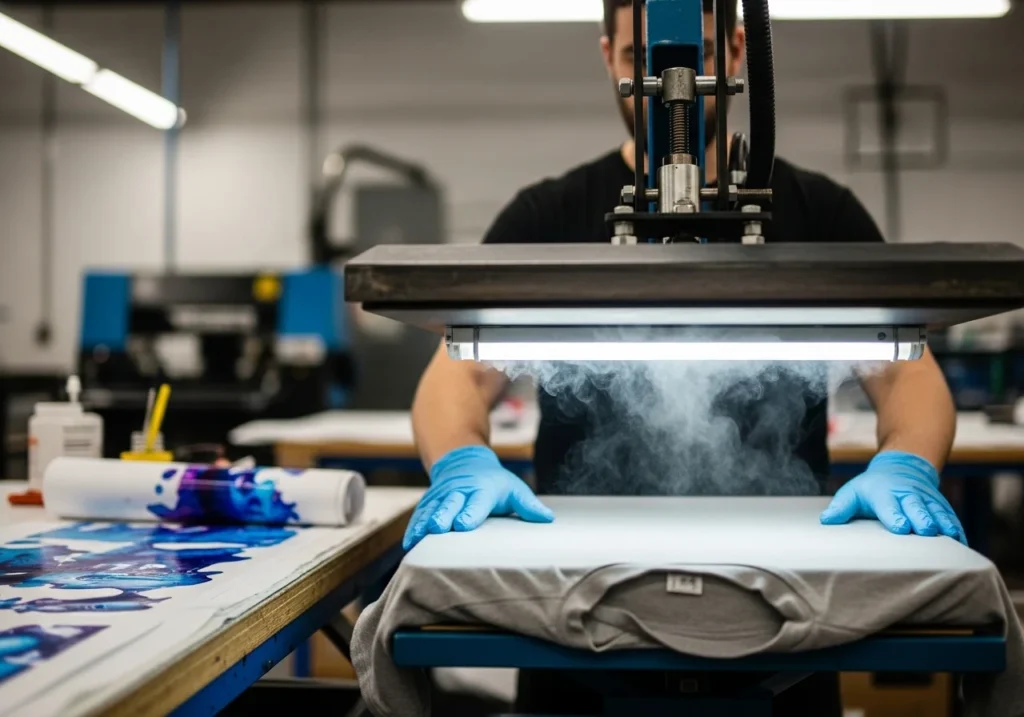
The problem: Moisture in the fabric or substrate turns to steam under heat, and that steam pushes back against the ink before it can bond properly. The result is bubbling, ghosting, or a soft, blurry edge around the design instead of a sharp one.
How to fix it
- Pre-press garments and substrates for 5 to 10 seconds before applying the design. This light heat pass removes trapped moisture without pressing the actual transfer yet.
- Store sublimation paper in a dry place. Humidity affects how the paper releases ink, even before it reaches the press.
- Keep blanks in a dry storage area rather than a garage or basement prone to humidity swings. A relative humidity of roughly 35 to 50 percent in your production space keeps both paper and substrates behaving predictably.
Tip: If you press the same design twice and get noticeably different results, moisture is one of the first things worth checking, especially if the second attempt came right after cleaning or wiping down the blank.
Mistake #4: Poor Alignment or Placement
The problem: A print can be perfectly sharp and still ruin the finished product if it’s crooked, off-center, or sized wrong for the item. This is one of the easiest mistakes to make when working quickly, and one of the hardest to fix after the fact.
How to fix it
Mark placement zones ahead of time with light chalk or an alignment grid if you’re producing the same design repeatedly. It speeds up the process and keeps results consistent across a batch.
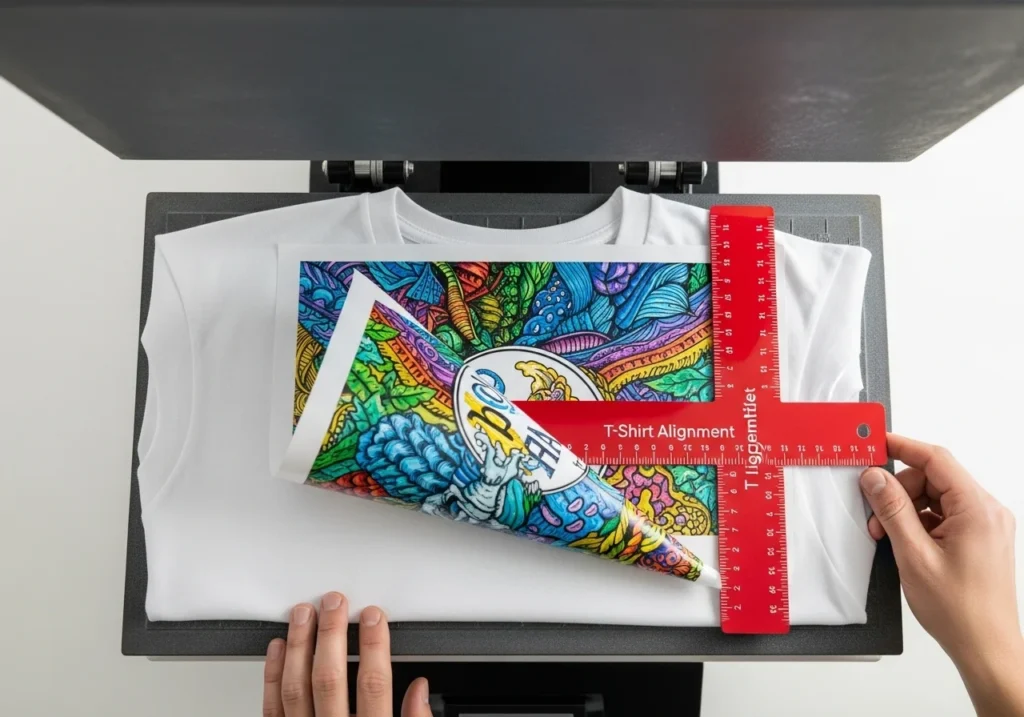
Use alignment tools, rulers, T-shirt placement guides, or laser guides, rather than eyeballing the position.
Secure the transfer before pressing with heat-resistant tape, silicone bands, or a shrink sleeve depending on the substrate shape. A design that shifts mid-press is a placement problem and a ghosting problem at the same time.
A Quick Workflow to Avoid All Four
Most of these mistakes get caught by following the same process every time rather than relying on memory. A simple sequence works well: prep the blank, pre-press to remove moisture, align and secure the transfer, press at the correct temperature and time for that material, then remove the paper promptly once pressing finishes.
Sublimation paper is typically removed immediately after pressing rather than left to cool first, waiting too long can cause the paper to stick or leave residue behind. If you’re new to reading press feedback, a test print on a scrap piece from the same batch of material is the fastest way to catch a temperature or pressure problem before it costs you a full blank.
For a deeper breakdown of settings by material, see the sublimation temperature chart. For pressure and press setup specifically, see the heat press setup guide.
Final Checks Before Pressing
To reduce all four mistakes, follow this simple pre-press checklist:
- ✅ Is the heat platen calibrated correctly?
- ✅ Is the material moisture-free?
- ✅ Is pressure evenly distributed?
- ✅ Is the transfer aligned and secured?
Common Sublimation Mug Mistakes (Watch This First)
If your sublimation mugs keep coming out faded, blurry, or uneven,
you’re likely dealing with a few common mistakes in the sublimation
printing process.
This quick video walks you through four things to check before
you waste another mug.
What This Helps You Check
- Sublimation-ready mug coating
- Correct temperature and pressing time
- Tight transfer-paper contact
- Moisture in the mug, paper, or workspace
Professional Sublimation Printing & Wholesale Custom Products
Looking for high-quality sublimation printing for apparel, drinkware, and promotional items? Subli Genius Print delivers vibrant color, sharp detail, and long-lasting results for businesses, brands, and resellers across the U.S.
Frequently Asked Questions
What is the most common heat press mistake in sublimation?
Incorrect temperature is the most common cause of failed sublimation transfers. Too little heat leaves colors faded, while too much scorches the substrate or causes the ink to bleed.
Why does my sublimation print have ghosting?
Ghosting almost always happens because the transfer paper shifted during pressing, usually from uneven pressure or a design that wasn’t secured with heat-resistant tape.
Why do my prints come out patchy or uneven?
Patchy prints usually mean pressure isn’t reaching every part of the surface evenly, often because of seams, zippers, or other raised areas that need a pressing pillow underneath.
How do I know if moisture is causing my print problems?
Bubbling, soft or blurry edges, and inconsistent results between two presses of the same design are common signs of trapped moisture. Pre-pressing for 5 to 10 seconds before applying the transfer usually resolves it.