Sublimation Heat Guide: Best Temperature & Time Settings
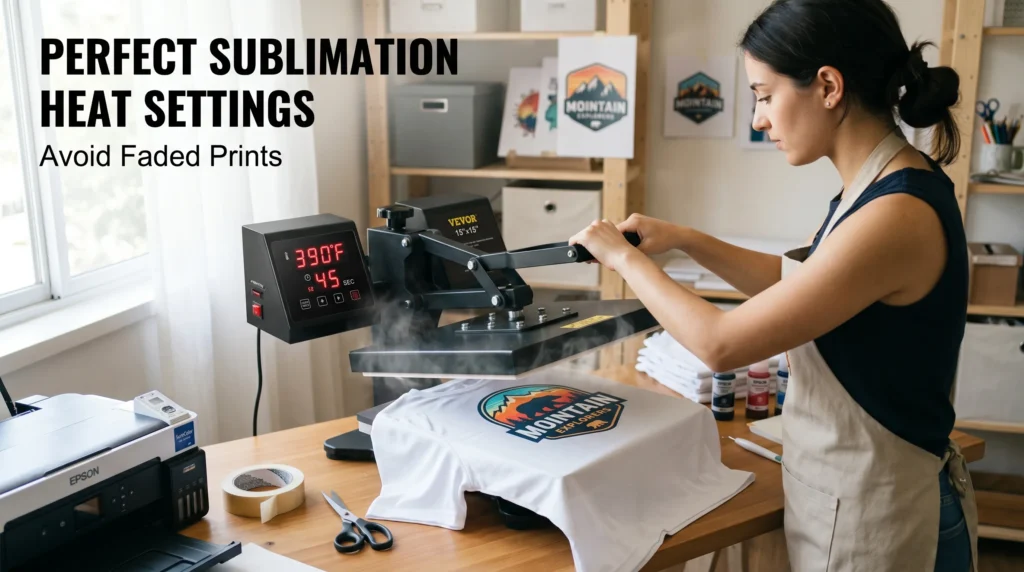
Sublimation results depend heavily on using the right heat settings. If your prints look faded, blurry, or uneven, your temperature, time, or pressure is usually the problem.
In this guide, you’ll find the exact sublimation temperature and time settings for common blanks, plus how to adjust them to fix real-world issues. Once you understand how heat affects sublimation ink, getting sharp, vibrant, and consistent results becomes much easier.
What Temperature Is Best for Sublimation?
Most sublimation projects work best between 365°F and 400°F, depending on the material and coating.
Lower temperatures can cause faded or incomplete transfers, while higher temperatures can lead to scorching, color distortion, or blurry designs.
Sublimation Temperature & Time Chart (Quick Reference)
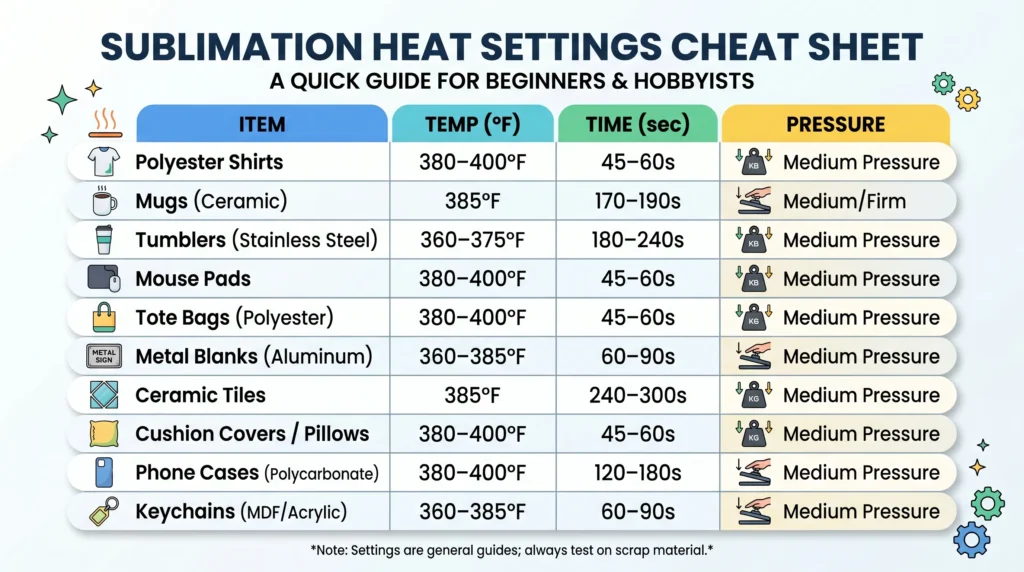
Use this chart as your starting point. Always adjust slightly based on your specific heat press and materials.
| Item | Temp | Time | Pressure | Common Issue | Quick Fix |
|---|---|---|---|---|---|
| Polyester Shirts | 380–400°F | 45–60s | Medium | Faded colors | Increase temp + pre-press |
| Hoodies | 375–385°F | 45–60s | Medium | Dull prints | Add 5–10°F |
| Mugs | 385°F | 170–190s | Medium | Brown tint | Reduce time |
| Tumblers | 360–375°F | 180–240s | Medium | Washed colors | Increase time |
| Metal Panels | 385–400°F | 45–70s | Medium | Uneven color | Adjust pressure |
| Mousepads | 380°F | 35–45s | Light–Med | Blurry edges | Lower heat |
If you’re new to the process, start with these values and fine-tune based on your results. You can learn more about the full workflow in this sublimation printing guide.
Why Sublimation Heat Settings Matter
Heat is what activates sublimation ink. When the temperature is correct, the ink turns into gas and bonds with polyester fibers or polymer-coated surfaces.
If your heat settings are off, you’ll notice:
- Faded or washed-out colors (too little heat)
- Burn marks or yellowing (too much heat)
- Blurry designs (over-processing)
- Ghosting (paper shifting during press)
Even a difference of 10°F can change your final result.
How to Choose the Right Sublimation Settings
Not all blanks behave the same. Here’s how to adjust your settings properly1. Based on Material
- Polyester fabrics: Higher temps (380–400°F) for strong bonding
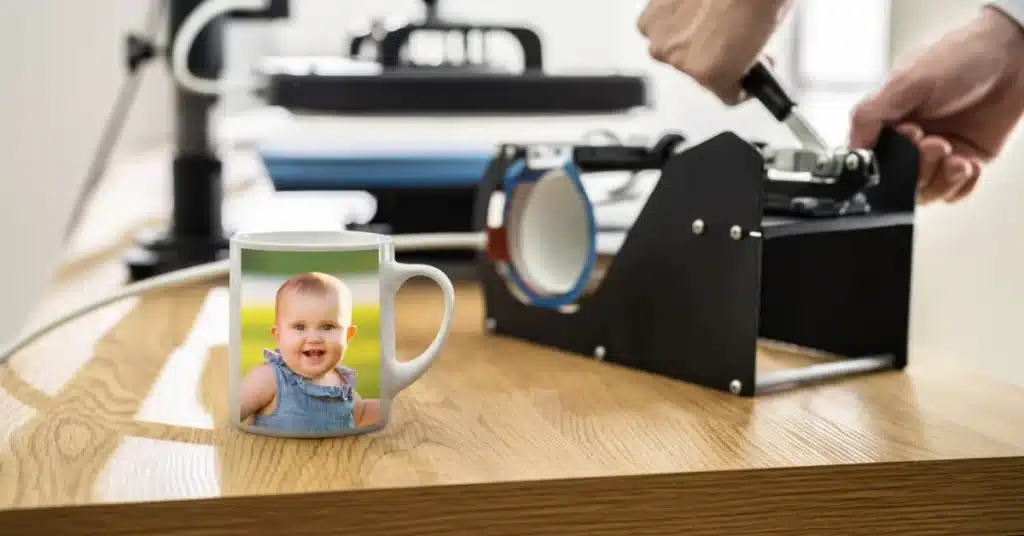
- Hard surfaces (mugs, metal): Slightly lower temps with longer time
- Coated blanks: Follow manufacturer recommendations when possible
If you’re unsure about compatibility, check this sublimation material guide.
2. Based on Thickness
- Thin items → shorter time
- Thick items → longer time
- Curved items (tumblers) → longer heating cycles
3. Based on Your Heat Press
Not all presses are accurate.
- Budget presses may vary ±10–20°F
- Uneven heat causes inconsistent prints
- Always test and adjust gradually
Step-by-Step Sublimation Heat Process
Follow this process for consistent results:
- Prepare your design
Use high-resolution (300 DPI) artwork and mirror it before printing. - Pre-press the material
Press for 5 seconds to remove moisture. - Position and secure the design
Use heat tape to prevent shifting. - Apply heat and pressure
Use the correct temperature and time based on your blank. - Remove immediately after pressing
Lift the paper quickly to avoid ghosting.
If you’re just starting, this beginner sublimation guide walks through the full setup.
Common Sublimation Heat Problems (And Fixes)
Dull or Faded Colors
Cause: Low temperature or insufficient time
Fix: Increase heat by 10–15°F and pre-press fabric
Brown or Scorched Areas
Cause: Too much heat or pressure
Fix: Lower temperature and reduce pressing time
Blurry Designs
Cause: Overheating or ink spreading
Fix: Reduce temperature slightly and shorten press time
Ghosting (Double Images)
Cause: Paper shifting during press
Fix: Secure with heat tape and remove paper quickly
Uneven Colors
Cause: Pressure inconsistency or cold spots
Fix: Adjust pressure and check heat distribution
If problems continue, use this sublimation troubleshooting guide to diagnose deeper issues.
Common Mistakes to Avoid
- Pressing everything at 400°F by default
- Skipping pre-press (moisture causes fading)
- Using incorrect pressure
- Sublimating on cotton without coating
- Removing paper too slowly
- Ignoring heat press calibration
Many color issues also come from incorrect settings see this guide on why sublimation colors look dull and how to fix it.
Optional: Track Your Heat Settings for Better Results
If you want more consistent sublimation results, tracking your heat settings can make a big difference.
A simple log helps you:
- Adjust for temperature drift in your heat press
- Find the best settings for each blank
- Reduce failed prints and wasted materials
Most users see fewer mistakes once they start tracking their settings consistently.
📄 Download your file here:
👉 sublimation_heat_logs.pdf
This PDF includes:
- Daily Heat Log (full page)
- Weekly Calibration Tracker (full page)
- Moisture & Humidity Tracker (full page)
Frequently Asked Questions
Can I sublimate with a regular printer?
No, you cannot use a regular printer for sublimation. You need a dedicated sublimation printer or a converted inkjet printer with sublimation ink.
Why do my sublimation colors look faded?
Faded prints usually happen بسبب low temperature, short pressing time, or moisture in the material. Increasing heat slightly and pre-pressing often solves it.
Can I sublimate on dark shirts?
No, sublimation ink is transparent and only works on white or light-colored polyester fabrics.
What temperature works for most sublimation blanks?
Most items work between 365°F and 400°F, but exact settings depend on the material and coating.
Is sublimation cost-effective?
Yes, sublimation is cost-effective once your equipment is set up. Ongoing production costs remain low, especially for small businesses.
7 Comments