Halloween Sublimation Ideas
Halloween sublimation ideas are quick, creative projects that turn blank shirts, mugs, or home décor into festive designs using sublimation paper and a heat press. They’re affordable, beginner-friendly, and perfect for last-minute decorating or selling.
With simple tools and ready-made designs, you can create custom gifts, spooky tees, and cozy blankets in minutes.
Fast Halloween Sublimation Projects Anyone Can Make
Halloween comes fast, and you don’t need weeks to get creative. Halloween sublimation ideas are quick projects that use sublimation paper, ink, and heat to press festive designs onto shirts, mugs, or blankets.
They’re perfect for:
- Makers who want easy décor or gifts
- Sellers adding quick seasonal products
- Beginners who want pro results fast
Trending blanks include T-shirts, mugs, tumblers, and cozy fleece blankets. With pre-made designs and basic tools, you can press items in minutes without big costs or advanced skills. It’s a simple way to create or sell festive pieces fast.
What You Need to Get Started
Before you jump into making spooky tees or cozy blankets, make sure you’ve got the right setup. Having the right tools saves time, avoids mistakes, and makes the whole process smoother, especially if you’re working on last-minute Halloween projects.
Here’s your quick checklist:
- Sublimation printer
A purpose-built model or a converted Epson works great for beginners. Just make sure it uses sublimation ink for vibrant, lasting prints. - Sublimation paper and ink
Good paper and quality ink keep designs sharp and colors bright, especially on light-colored blanks. - Heat press or Cricut EasyPress
You’ll need consistent heat and pressure to transfer designs cleanly. Check your heat press settings for the right temperature and time for each blank. - Blank products
Stock up on T-shirts, mugs, sweatshirts, blankets, wood signs, and even Dollar Tree finds. These give you plenty of options for quick Halloween crafts and budget-friendly décor. - Design software
You don’t need fancy tools to start. Free options like Canva work well for basic layouts, while paid software gives more control for layering, resizing, or creating unique designs.
Easy Halloween Sublimation Designs for T-Shirts
T-shirts are hands down the fastest way to bring Halloween designs to life. They’re affordable, easy to press, and always in demand for parties, school events, and pop-up shops.
Trending Halloween designs right now:
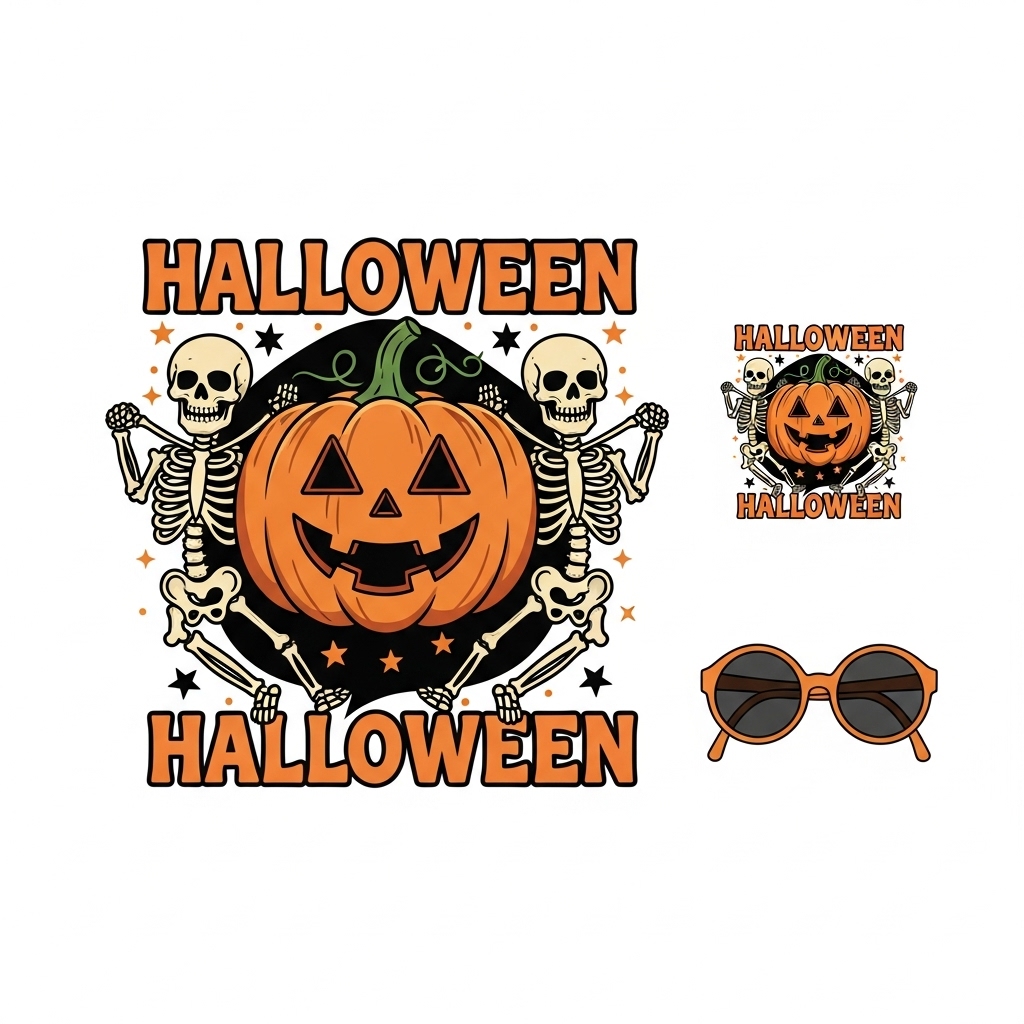
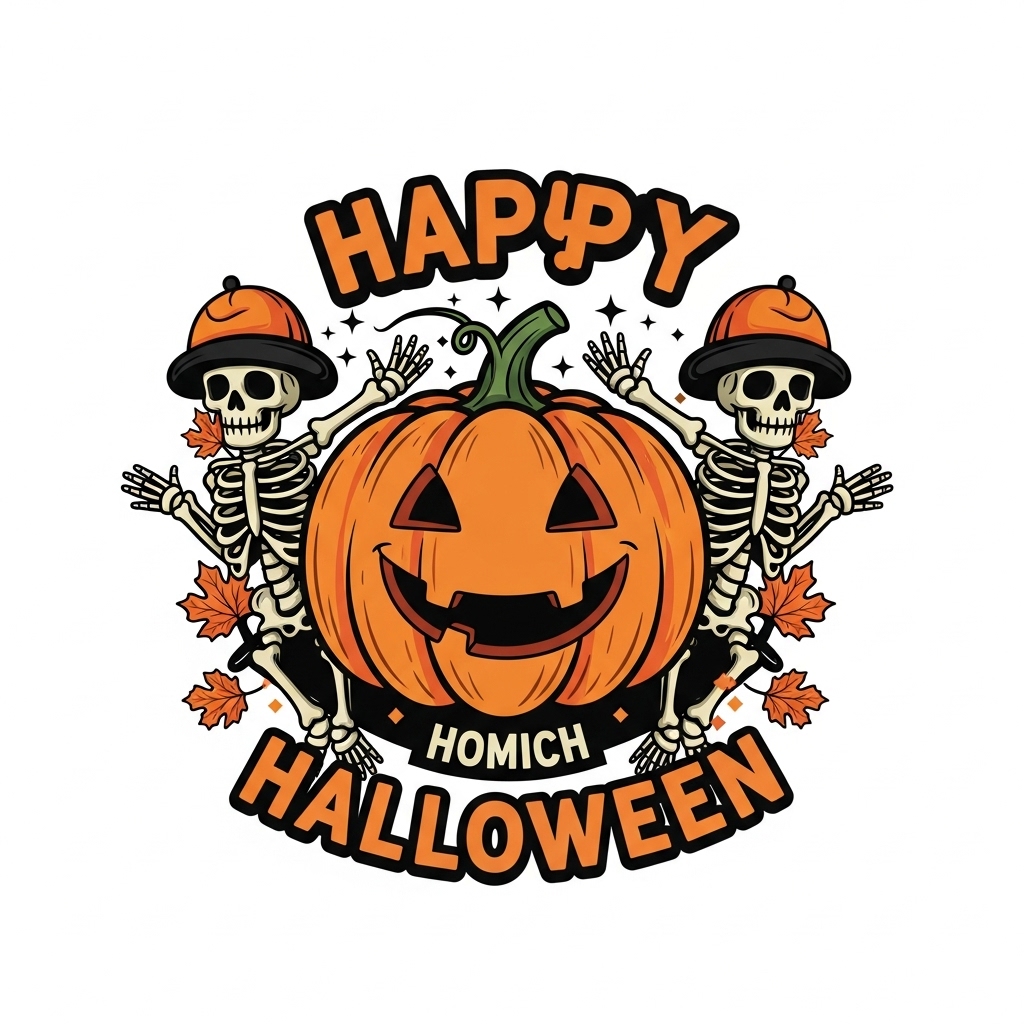
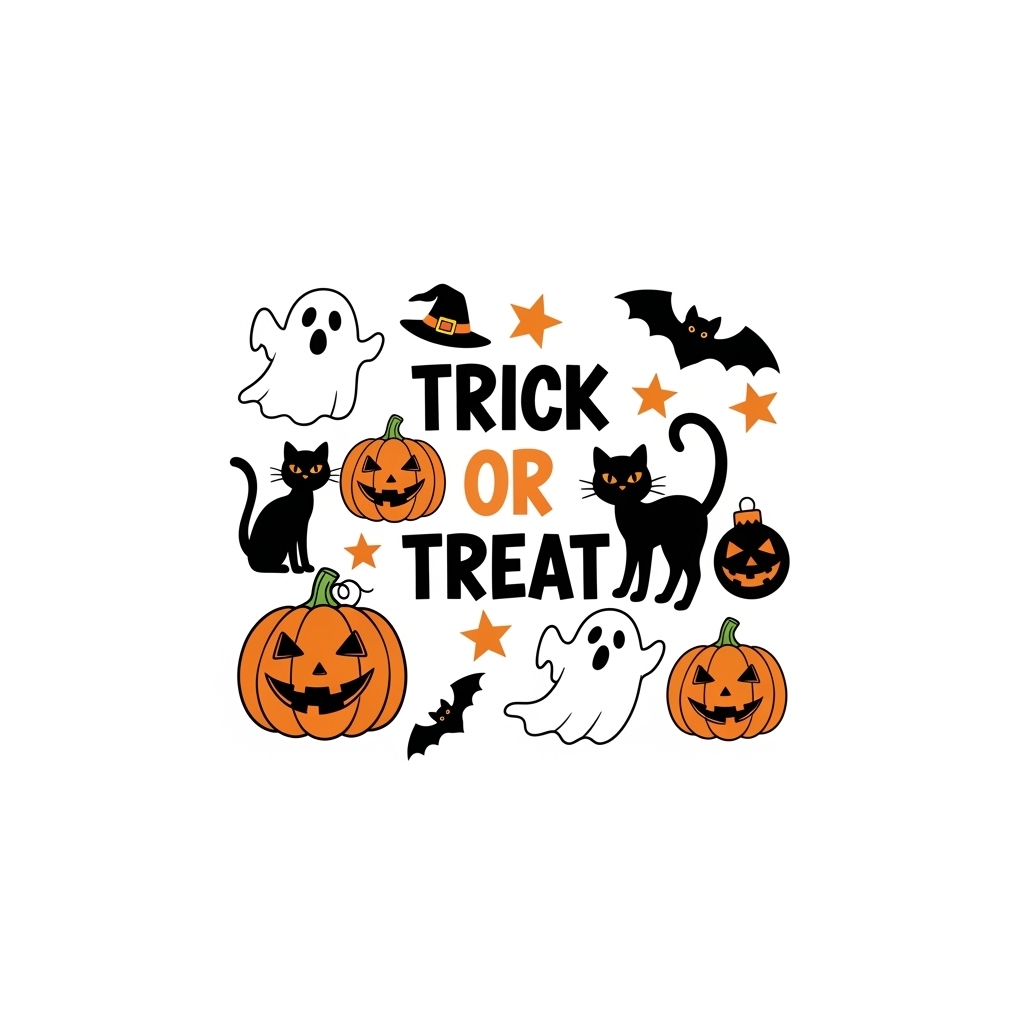
- Classic skeleton prints for a bold look
- Cute pumpkins and spooky phrases for family shirts
- Vintage ghosts with retro fonts for that 90s vibe
- Retro lettering in orange, black, and cream for a minimal fall feel
Smart placement ideas:
- Pocket prints for subtle, trendy looks
- Full front designs that stand out instantly
- Wrap-around prints for a custom, premium touch
Time-saving tips:
- Use pre-cut transfers so you can press multiple shirts quickly
- Print gang sheets to fit several designs on one page, saving both paper and time
Best shirt options:
Go for polyester or poly-blend shirts in light colors to get the sharpest, most vibrant results. These fabrics bond better with sublimation ink than cotton.
👉 For a full breakdown of top picks, check out our Best T-Shirts for Sublimation guide.
Cozy Sublimation Projects for Fall Nights
When the air gets chilly, cozy sweatshirts and blankets become Halloween essentials. They’re perfect for personal use, gifting, or adding seasonal products to your shop.

Sublimation on sweatshirts:
Pick sweatshirts with high polyester content (65% or more) to make sure colors pop and last. Always pre-press your blanks to remove moisture and wrinkles before transferring. This simple step helps avoid faded spots and uneven prints. Go for light shades like white, ash, or pale gray to make your Halloween designs stand out.
Blanket sublimation:
For sublimation blankets, poly fleece is your best friend. It’s soft, budget-friendly, and takes ink beautifully. Choose a size that fits your press and stick to bold Halloween patterns or center placement for a clean finish. Think ghosts, pumpkins, spooky phrases, or even wraparound prints for a fun surprise.
Quick personalization ideas:
- Add family names or quotes to fleece throws for easy gifts
- Print repeating patterns for seasonal décor
- Mix cozy textures with Halloween designs for that “fall night in” vibe
Sublimation blankets and sweatshirts are not just warm, they’re quick to make and feel premium, making them great for personal use or quick seasonal sales.
Budget-Friendly Halloween Home Décor Ideas
You don’t need pricey blanks or fancy equipment to give your home a spooky seasonal touch. With a few smart tricks, you can turn simple items into fun, personalized Halloween décor in no time.
Sublimation on wood signs:
Wood signs are a Halloween favorite for porches, entryways, and party setups. To get clean transfers, use sublimation transfer paper on wood that’s either coated with a polyester layer or pre-treated for sublimation. Press at the right temperature to keep colors sharp and avoid scorching.
Dollar Tree blanks:
Dollar Tree is a goldmine for budget-friendly sublimation projects. Look for:
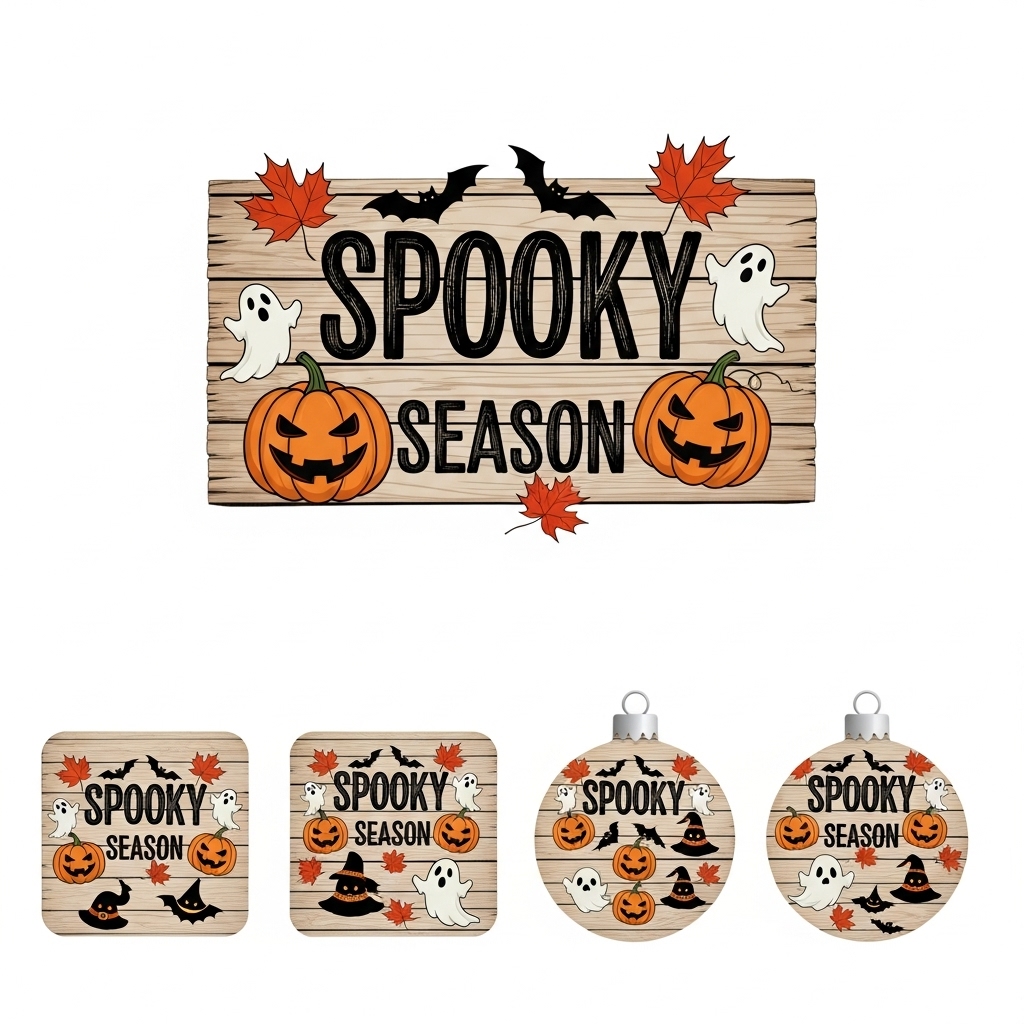
- Wall art blanks for quick seasonal signs
- Coasters and ornaments for small décor items or easy upsells
- Blank MDF shapes that work great with heat-resistant tape and transfer paper
These low-cost finds let you experiment without worrying about waste.
No-sew décor projects:
For a fast decorating boost, try sublimating on:
- Pillow covers to add Halloween patterns to your couch
- Table runners for spooky dining setups
- Fleece throws for a cozy, themed vibe
These quick projects require no sewing, just heat and creativity.
Paper for wood transfers:
Use high-quality sublimation paper that’s made for hard substrates. It helps the ink transfer evenly and keeps designs vibrant on coated wood surfaces.
How to Work Fast Without Sacrificing Quality
Halloween orders can pile up fast, but with the right workflow, you can get everything done without cutting corners. A few smart tweaks can save hours and keep your prints looking sharp.
Use pre-printed transfers or ready-to-press designs:
Skip last-minute designing by printing your transfers ahead of time or buying ready-to-press files. It speeds things up and keeps quality consistent.
Batch press in groups:
Line up similar blanks, like a run of T-shirts or mugs, and press them in batches. This reduces setup time between each item and helps you stay in a steady flow.
Organize your workflow:
Sort designs, blanks, and tools before you start pressing. Keep everything within arm’s reach so you’re not scrambling mid-production. Label stacks by size or design to avoid mix-ups during rush orders.
Quick drying and packaging:
Lay items flat on clean surfaces to cool and dry fast. Once they’re set, package them right away in protective sleeves or poly bags to keep them dust-free and ready for pickup or shipping.
🧠 Halloween Sublimation by the Numbers
Start designing and pressing before mid-September if you want to catch the early birds and wholesale buyers. Fast movers usually snag the bulk of seasonal traffic.
Halloween isn’t just about spooky vibes, it’s one of the busiest sublimation seasons of the year. A few quick stats show why makers who prep early usually win big.
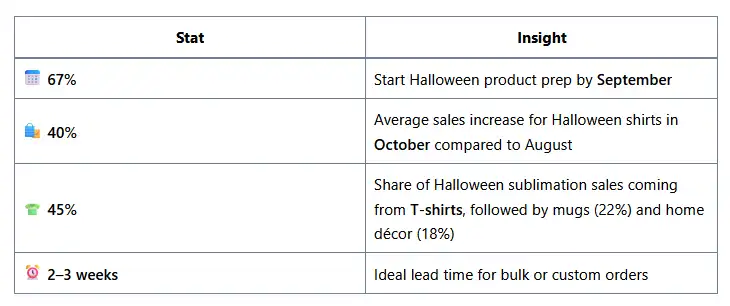
| Stat | Insight |
|---|---|
| 📅 67% | Start Halloween product prep by September |
| 🛍️ 40% | Average sales increase for Halloween shirts in October compared to August |
| 👕 45% | Share of Halloween sublimation sales coming from T-shirts, followed by mugs (22%) and home décor (18%) |
| ⏰ 2–3 weeks | Ideal lead time for bulk or custom orders |
🧠 Halloween Craft Prep Checklist
If you’re short on time, a solid prep checklist is your secret weapon. It keeps you organized and saves a ton of production headaches when orders start piling up.
✅ Stock Up Early
- Light poly shirts, mugs, wood signs, coasters, and fleece blankets
- Dollar Tree blanks for quick décor add-ons
🖨️ Pre-Print Your Bestsellers
- Skeletons, pumpkins, ghosts, and vintage lettering gang sheets
- Keep designs sorted by size or product type for fast grabs
🔥 Label Your Heat Press Settings
- Use painter’s tape or sticky notes on the wall near your press
- Include temp, time, and pressure for each blank type
📦 Set Up a Drying & Packing Zone
- Wire racks or cheap cooling grids work great for drying
- Keep tissue, stickers, and bags ready for fast packing
👉 You can also offer this checklist as a free printable PDF to grow your email list or get more shares.