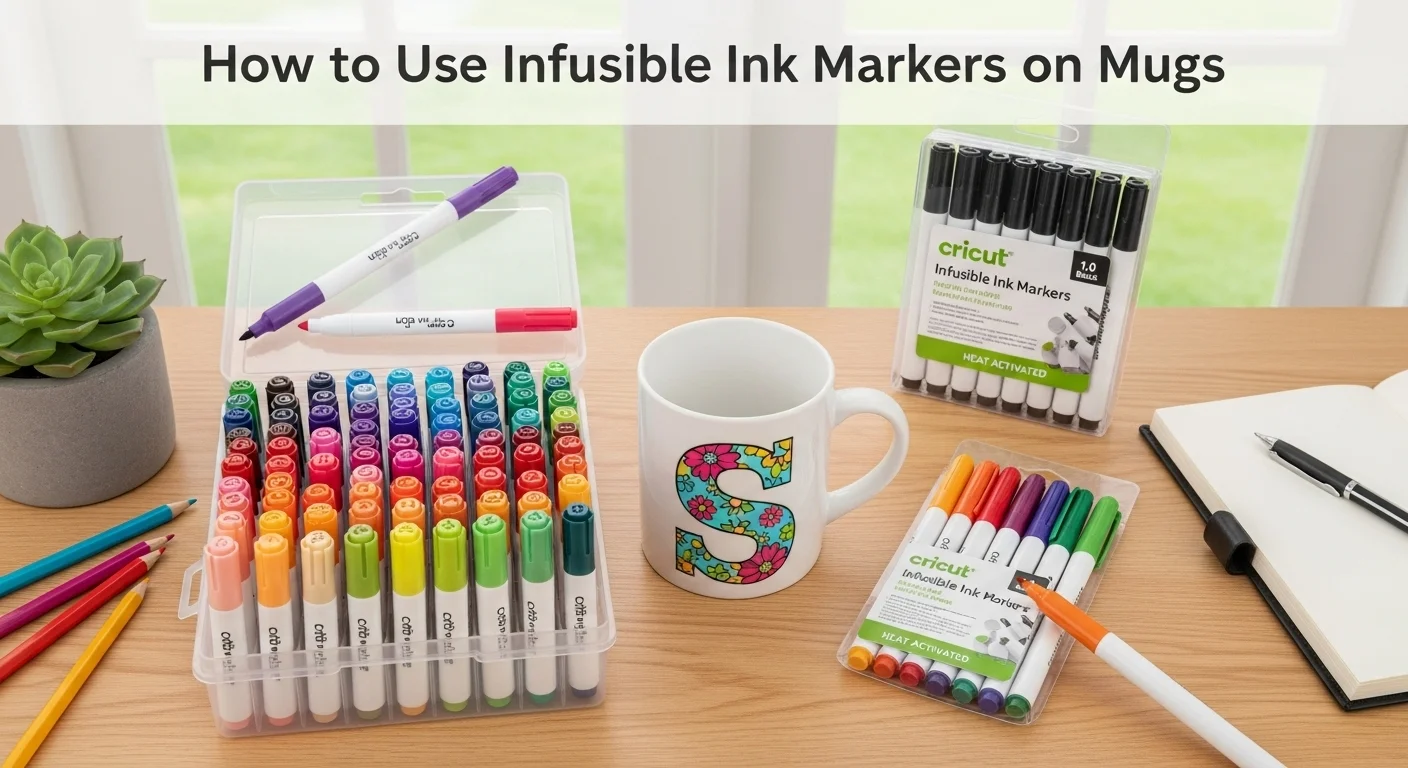
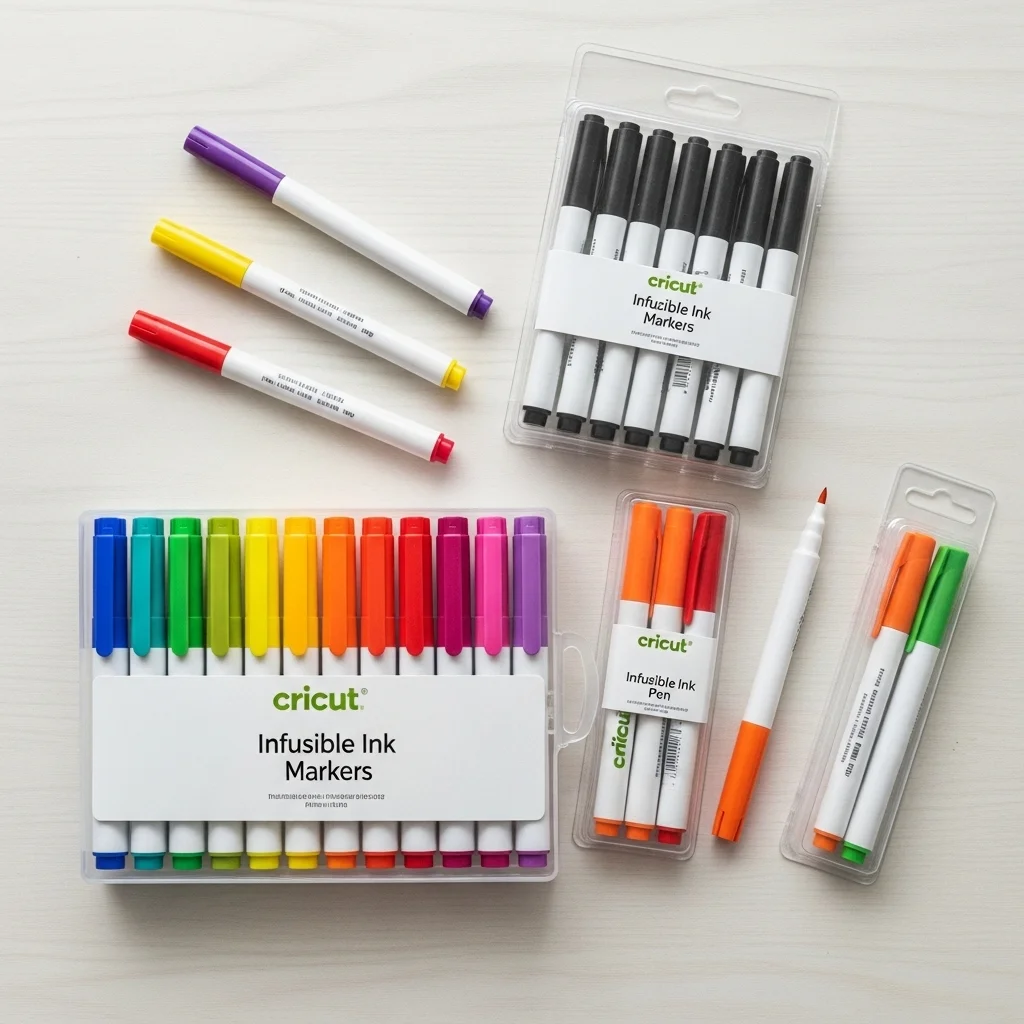
How to Use Infusible Ink Markers on Mugs
Infusible Ink markers work on mugs by transferring designs with heat. Draw on plain copy paper, let it dry, and tape the design ink-side down onto a sublimation-coated mug.
Use a mug press or convection oven at 400°F to set the ink. Once cooled, peel away the paper for a smooth, permanent finish.
Infusible Ink markers transfer permanent designs into the coating of polyester mugs using heat. This guide explains materials, preparation, transfer steps, and troubleshooting tips for accurate results.
What Are Infusible Ink Markers?
Infusible Ink markers use sublimation ink that bonds with polymer-coated surfaces when exposed to heat. Unlike standard markers, which sit on top, this process embeds the design inside the coating. Learn more in this introduction to sublimation printing.
What Do You Need?
| Item | Purpose |
|---|---|
| Infusible Ink markers | Create the design |
| Laser copy paper (80–120 gsm) | Drawing surface |
| Heat-resistant tape | Prevents shifting during heat transfer (see alternatives to heat tape) |
| Sublimation-ready mug | Blank surface with polyester coating |
| Mug press or convection oven | Transfers ink (see heat press sublimation settings) |
| Butcher paper | Protects from ink bleed |
| Lint-free cloth | Cleans mug before transfer |
Step-by-Step: Using Infusible Ink Markers on Mugs
1. Prepare Your Design
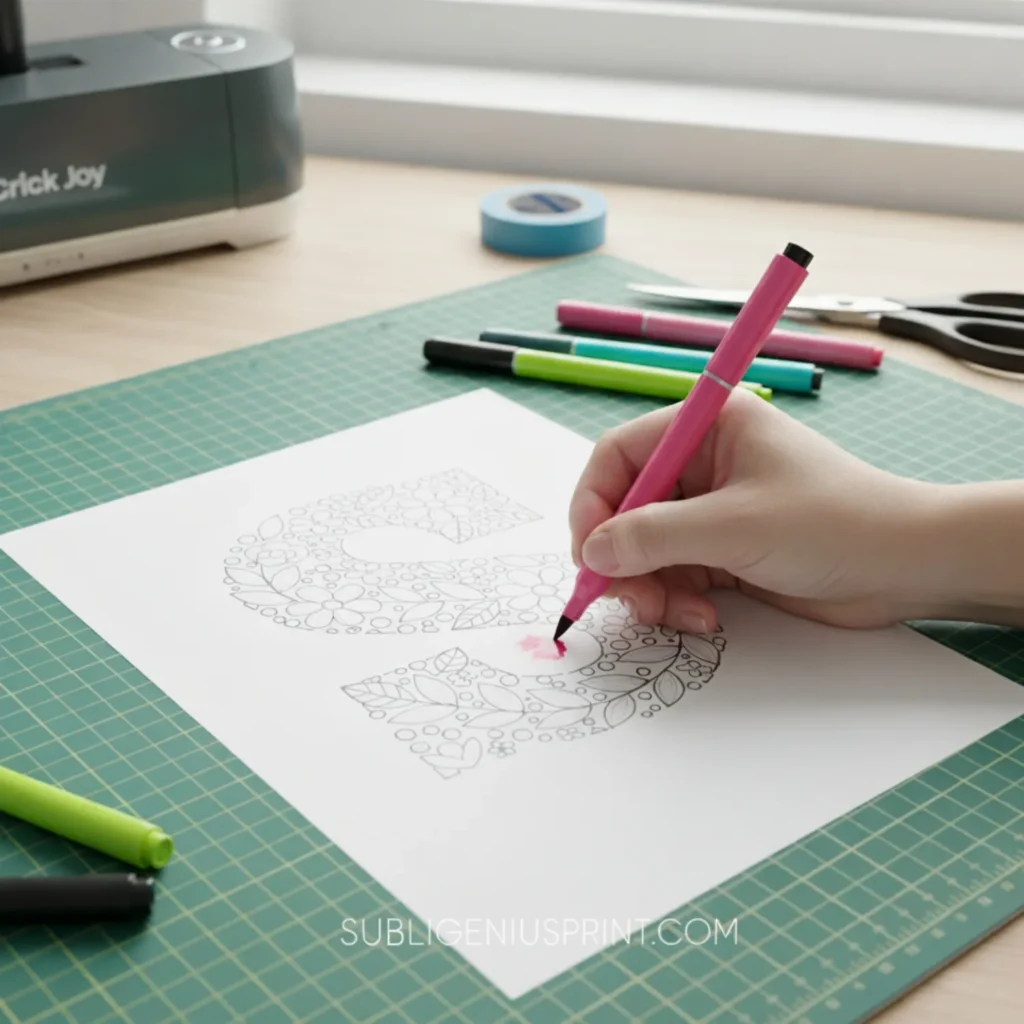
- Use standard copy paper, not cardstock.
- Draw freehand or outline with a machine like Cricut (see Cricut Infusible Ink guide).
- Allow ink to dry before handling.
2. Prepare the Mug

- Wipe the surface with a lint-free cloth.
- Ensure the mug is sublimation-coated; standard ceramics don’t work (see sublimation blanks and substrates).
3. Position the Design
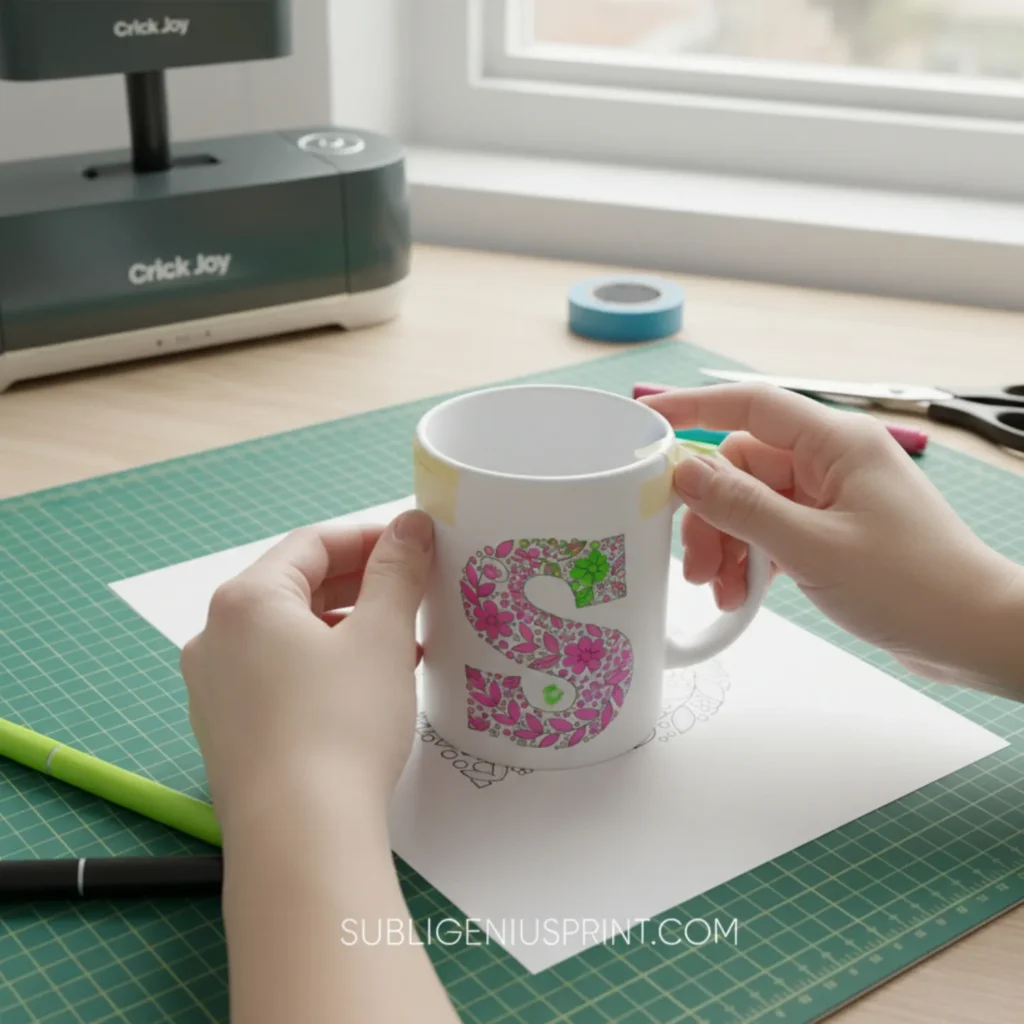
- Place the paper on the mug, ink side facing the surface.
- Tape edges securely to avoid movement.
4. Wrap for Protection
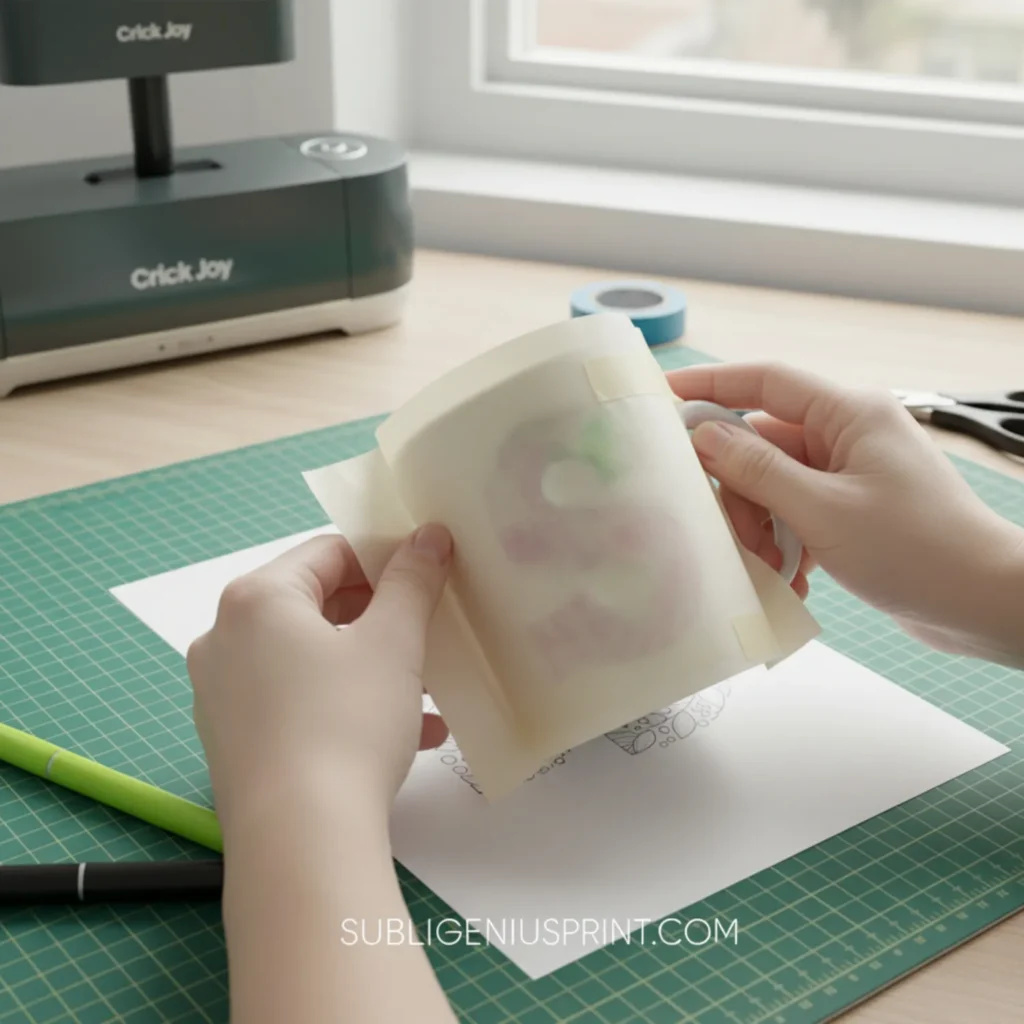
- Cover the mug with butcher paper.
- Tape snugly to prevent shifting.
5. Apply Heat
Choose one of the main transfer methods:
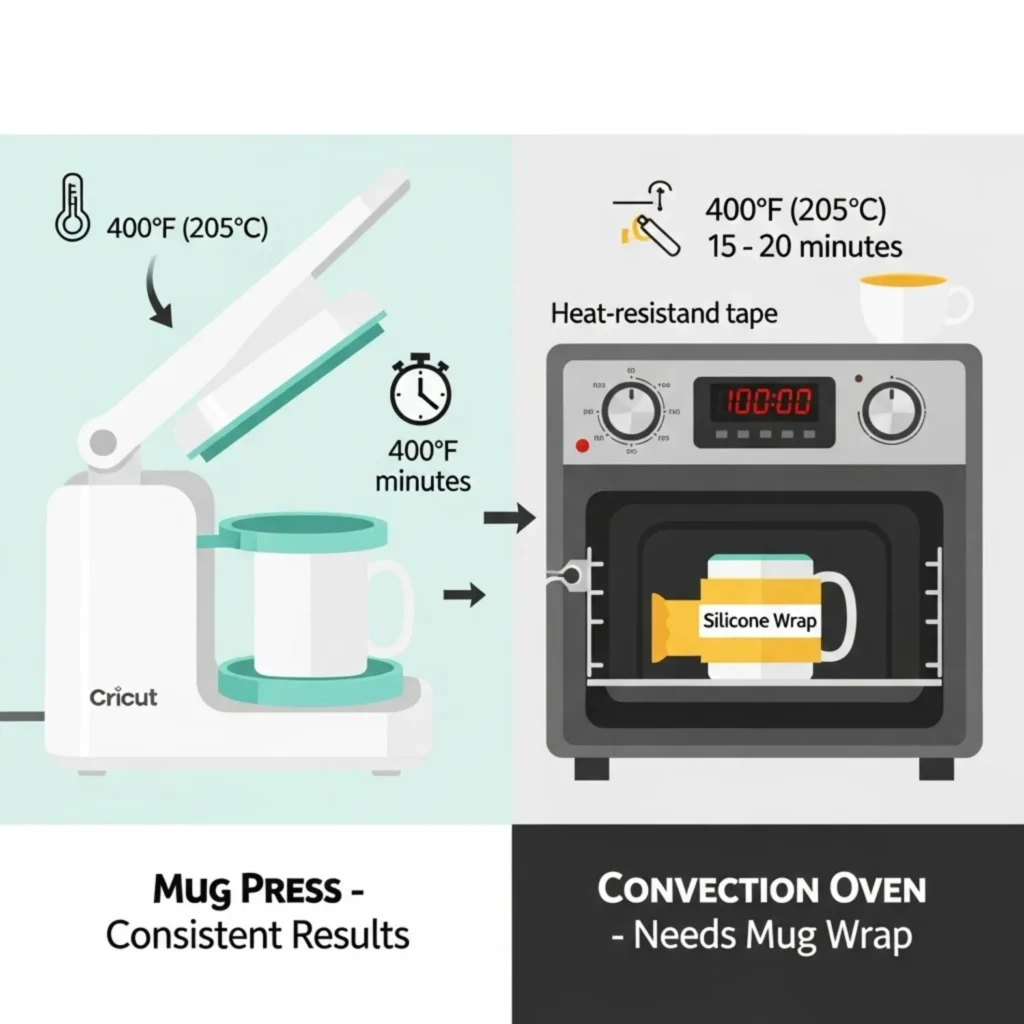
| Method | Temperature | Time | Notes |
|---|---|---|---|
| Mug Press | 400°F (205°C) | 15 minutes | Consistent results |
| Convection Oven | 400°F (205°C) | 15–20 minutes | Needs mug wrap |
For more temperature guidance, check the sublimation heat guide and sublimation temperatures.
6. Cool and Unwrap
- Let the mug cool fully before unwrapping.
- Remove tape and paper carefully to check transfer quality.
Can You Draw Directly on a Mug with Infusible Ink?
No, you can’t draw directly on a mug with Infusible Ink pens or markers. The ink needs to be transferred through heat, which requires a sheet of paper as the carrier. If you try to draw on the mug surface, the ink won’t set properly and will smudge or wash away.
The correct method is:- Draw your design on plain white copy paper.
- Secure the paper to a sublimation-coated mug with heat-resistant tape.
- Use a mug press or convection oven to transfer the ink.
This process works because Infusible Ink is a type of sublimation printing that requires high heat to bond with the polyester coating on the mug. Direct drawing skips this step, so the ink cannot embed into the surface.
👉 If you want freehand-style designs, you can sketch on paper first, then transfer, giving the look of hand-drawn art but with the durability of sublimation.
Can You Use Infusible Ink Pens on Mugs Without a Mug Press?
Yes, you can, but you’ll need an alternative heat source. A mug press is designed for even pressure and temperature, but a convection oven with a mug wrap can work as well.
What you need instead of a mug press:
- Convection oven (not a regular kitchen oven used for food)
- Heat-resistant mug wrap or silicone sleeve
- Heat-resistant tape
- Butcher paper for protection
Basic steps:
- Draw your design on copy paper with Infusible Ink pens.
- Tape it securely to the sublimation mug.
- Wrap the mug with butcher paper, then secure it with a mug wrap.
- Heat in the convection oven at 400°F (205°C) for 15–20 minutes.
- Remove carefully with heat gloves and allow it to cool before unwrapping.
⚠️ Safety note: Never use a household oven that you also cook food in. Dedicated craft ovens are safer for sublimation projects.
Troubleshooting Tips
- Uneven colors → Ensure paper is flat with no air gaps.
- Ghosting/shadows → Use more tape (see 4 common heat press mistakes).
- Light transfer → Increase pressing time or check the mug’s sublimation coating.
What can you use Infusible Ink markers on?
Infusible Ink markers work on polyester-based blanks like mugs, coasters, tote bags, and T-shirts with high polyester content. They need a poly-coating or polyester fibers to bond. Standard cotton or uncoated ceramics don’t hold the ink. Always check that the blank is sublimation-ready before applying heat.
What is the difference between Infusible Ink pens and markers?
The main difference is line thickness. Infusible Ink pens create fine lines, usually 0.4 mm, suited for detailed drawings or outlines. Markers are thicker, often 1 mm, which makes them better for filling larger spaces. Both use the same sublimation ink and transfer process with heat.
Do you need special paper for Infusible Ink pens?
You don’t need expensive specialty paper. Plain white copy paper works best because it holds the ink and releases it cleanly during transfer. Avoid thick or glossy papers, as they block heat and reduce the quality of the design. Keep the sheet smooth and uncoated for best results.
Can you use Infusible Ink markers directly on fabric?
No, Infusible Ink markers can’t be used directly on fabric. The ink must be drawn onto copy paper first, then transferred with heat onto polyester fabric. Direct drawing on cloth won’t bond, and the ink will wash out. Always use a heat press or EasyPress for lasting results.