Sublimation Hoodie Guide: Create Trendy Fall Designs Fast
The Sublimation Hoodie Guide: Fall Edition helps you design and print cozy, on-trend hoodies for the season. It covers free templates, editable designs, and Canva tips to make customization easy.
Learn the right file formats, placement layouts, and printing steps so you can create professional fall hoodies fast without wasting time or materials.
If you’re looking for quick Halloween-themed projects, check out our Halloween Sublimation Ideas You Can Make Fast guide for inspiration.
Why This Guide Matters
Fall is hoodie season, which makes it the perfect time to step up your sublimation game. Personalized hoodies sell fast during this period, whether for fun projects, small businesses, or seasonal drops.
What This Guide Covers
You’ll get:
- Free editable templates for hoodies
- Placement and design tips for clean, accurate prints
- Step-by-step printing guidance to avoid common mistakes
Why Fall Is Prime for Sublimation
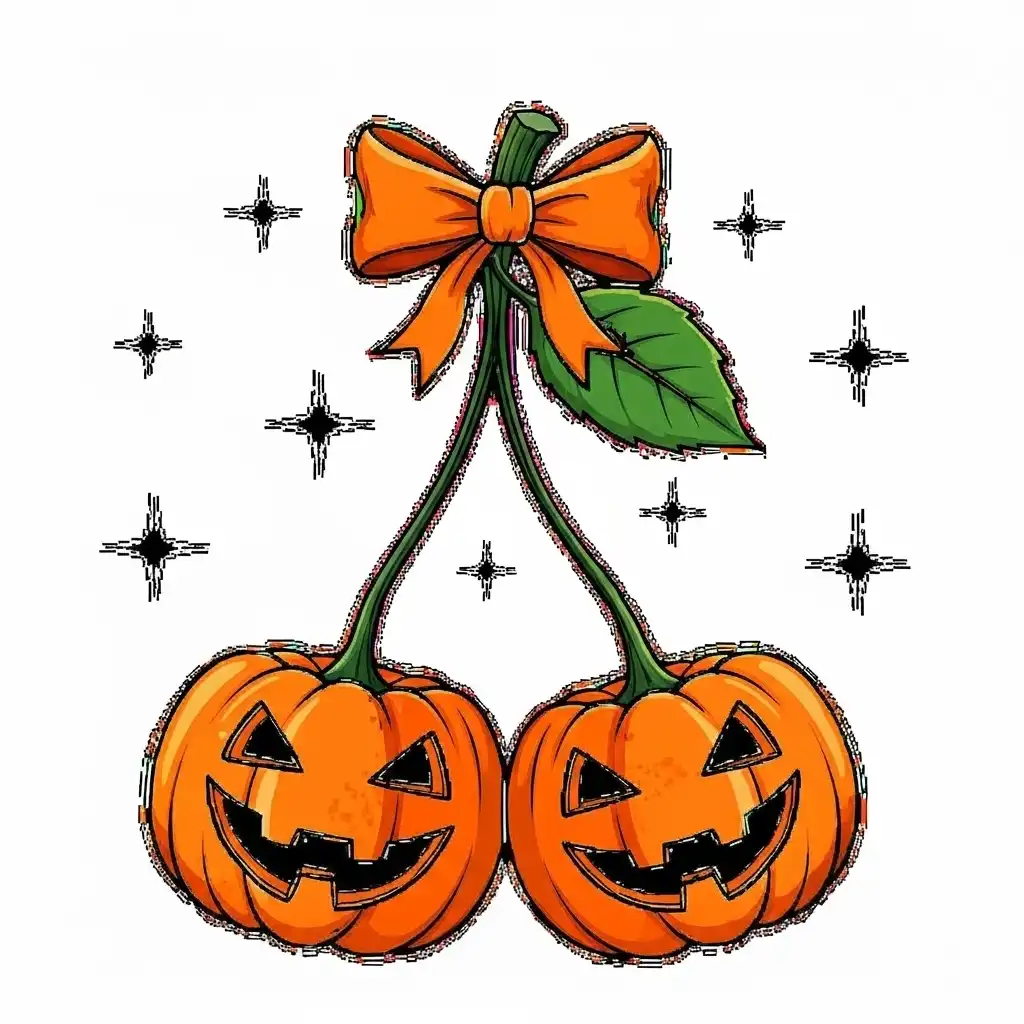
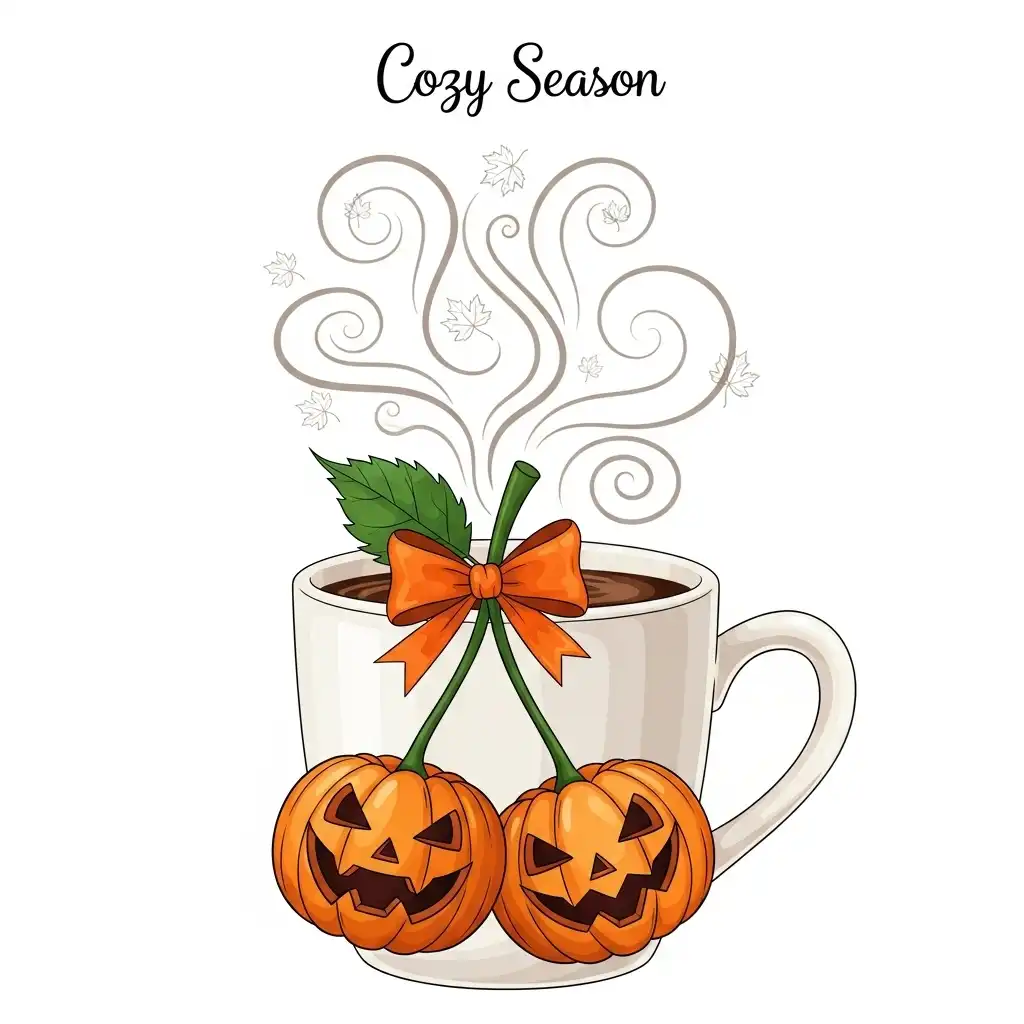
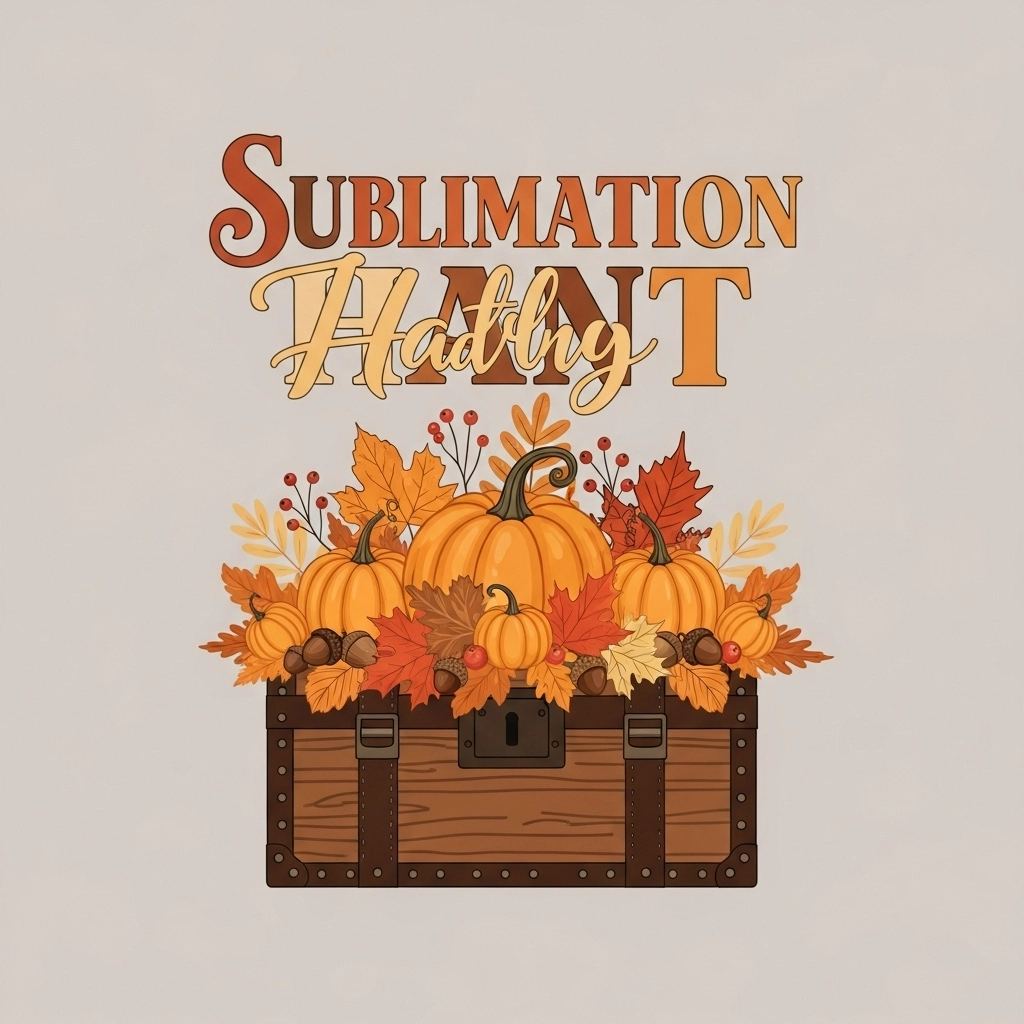
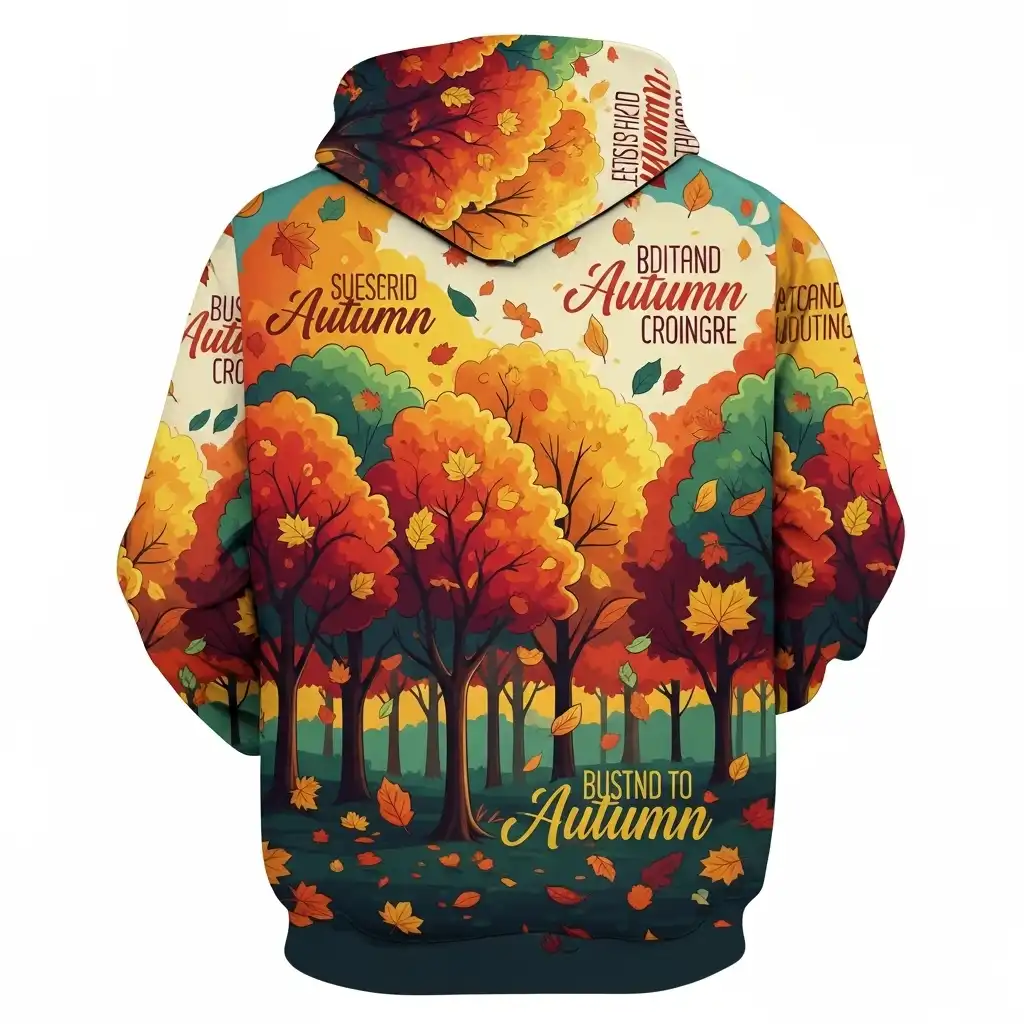
Seasonal designs like pumpkins, cozy quotes, and leaf patterns are in high demand on Etsy, at craft fairs, and in local shops. A solid setup now means fewer errors and faster production.
What You’ll Walk Away With
By the end, you’ll know how to prep files, press perfect prints, and create fall hoodies that stand out. You’ll save time, reduce waste, and boost your seasonal sales.

Essentials You Need Before You Start
Investing time in proper setup means fewer mistakes, better prints, and hoodies that look professionally made from the start.
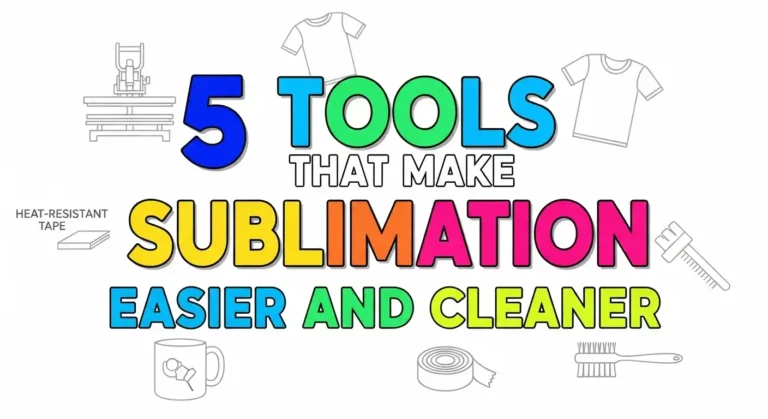
Tools & Materials
Here’s what you’ll need to get started:
- Sublimation printer and ink for vibrant, permanent prints
- Heat press (flat or swing) for even pressure and consistent transfers
- Polyester or high-poly blend hoodies, ideally 100% polyester for the best color results
- Sublimation paper, heat tape, protective sheets, and pressing pillows to keep everything smooth and secure
- Design software like Photoshop, Canva, Illustrator, or free options such as GIMP or Inkscape
File Types & Design Guidelines
Your design files set the tone for print quality. Stick to:
- PNG, PSD, or layered PDF formats for clean edges and easy edits
- RGB color space, converted before printing for accurate shades
- High resolution (300 DPI) with proper bleed zones to avoid white lines
- Mockups and placement guides to visualize and position your artwork correctly
Choosing the Right Hoodie Blank
Not all hoodies press the same. Look at:
- Fabric weight and GSM, which affect how heat and ink transfer
- Stretch vs no stretch, since stretchy fabrics can distort designs
- Color and finish—light colors work best for sublimation, as darks need extra steps
- Seams, pockets, and hood structure, which can interfere with pressure and alignment during pressing
For adding a seasonal touch around the house, see our Fall Home Decor with Sublimation ideas that are easy and festive.
Free Templates & Design Resources (Fall / Hoodie-Focused)
Using free fall-themed templates not only speeds up your design process but also gives your hoodies a professional look that stands out during the busy autumn season.
Where to Get Free Sublimation Templates
Here are a few reliable places to find ready-to-use or editable files:
- Design Bundles offers free PNG and SVG designs, perfect for seasonal prints.
- Dynamic Mockups provides free PDF and EPS hoodie templates that work well for mockups and placements.
- Unisub has blank templates and design files tailored for different garment types.
- Freepik includes vectors and mockups to help you visualize and customize layouts quickly.
Adapting Templates for Fall Designs
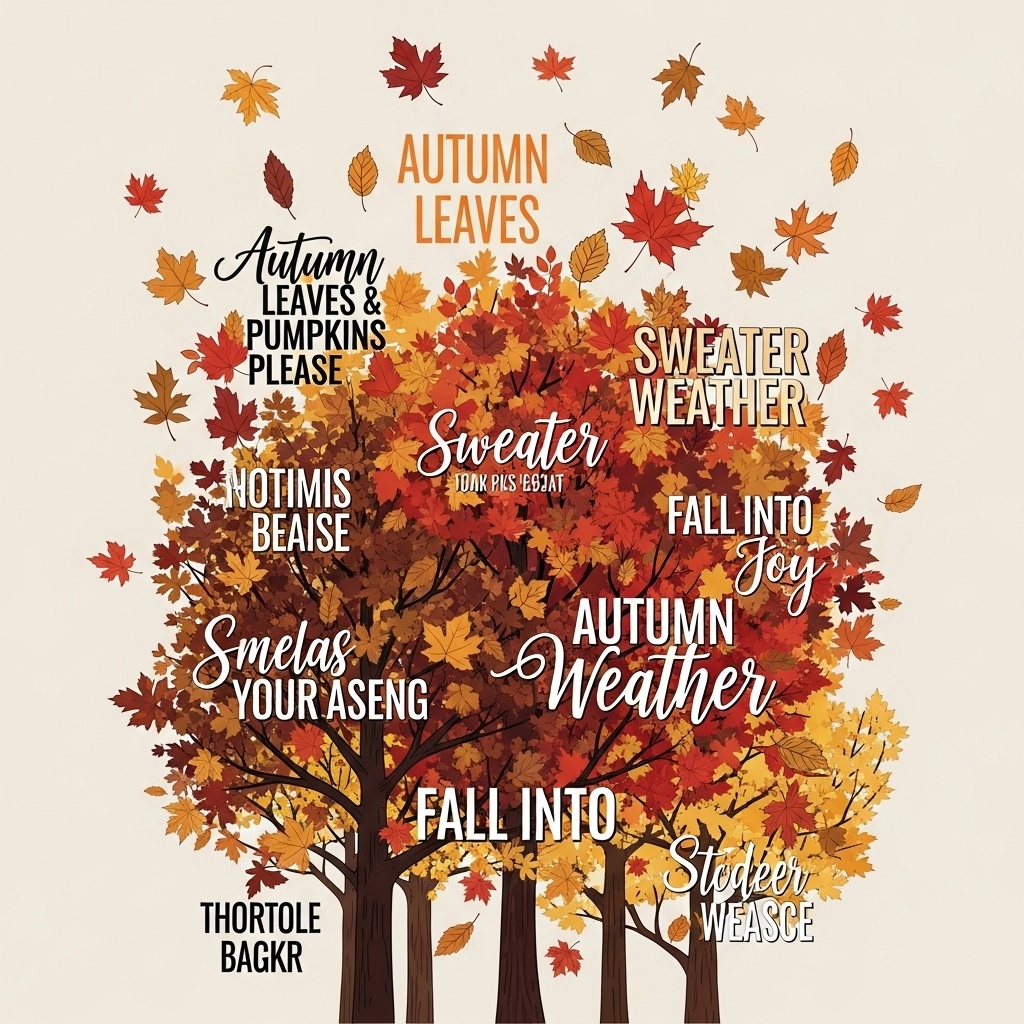
Seasonal touches make a big difference. Consider:
- Adding fall elements like leaves, pumpkins, cozy quotes, and warm typography.
- Using layered designs to combine background patterns with focal text or graphics.
- Choosing fall color palettes (burnt orange, mustard, deep green, warm neutrals) for a cozy, on-trend vibe.
Editable Template Best Practices
Keeping your files organized saves time when you’re working on multiple hoodie designs.
- Name your layers clearly so you can adjust elements without confusion.
- Lock guides and key elements to avoid accidental shifts during edits.
- Create reusable assets like sleeve layouts, chest placements, and background patterns for faster production.
- Export test versions in PNG or PDF to check alignment and sizing before committing to a full press.


Design with Canva & Other Tools
You don’t need to be a pro designer to create standout sublimation hoodie prints. The right tools can make the process fast, flexible, and beginner-friendly.
Canva is quick and user-friendly, while Photoshop and Illustrator give you more control. Free tools like Inkscape and GIMP bridge the gap, making quality fall hoodie designs accessible for any skill level.
Using Canva for Sublimation
Yes, you can use Canva, but a few small adjustments make a big difference:
- Upload print-ready PNGs to keep designs crisp and clean.
- Match the canvas size to your hoodie’s print area for accurate scaling.
- Export with a transparent background (Pro feature) so your designs transfer cleanly without white boxes.
- Stick to high-resolution files (300 DPI) to avoid pixelation when printing.
Using Photoshop or Illustrator
For more control and precision, Photoshop or Illustrator are excellent options:
- Layered editing lets you adjust elements individually without affecting the whole design.
- Smart objects make resizing and swapping elements easier without losing quality.
- Color correction and proofing tools help match screen colors with actual sublimation results, reducing surprises after pressing.
Free Alternatives for Beginners
If you’re not using paid software, free programs work well too:
- Inkscape (vector editing) is great for creating scalable designs.
- GIMP offers powerful photo editing features similar to Photoshop, ideal for raster-based layouts.
Want more variety for your autumn creations? Browse 10 Ultimate Fall Sublimation Ideas for projects that sell well and delight customers.
Sublimating the Hoodie: Step-by-Step for Fall Hoodies
Getting a clean, vibrant print isn’t just about the design. Proper prep, positioning, and pressing make all the difference. Follow these steps to keep your fall hoodies looking professional and mistake-free.
A clean press starts with good prep and ends with steady handling. Getting these steps right means crisp lines, bold colors, and hoodies that hold up beautifully all season.
Pre-Pressing & Prepping the Garment
Start with a smooth, dry surface so your design transfers cleanly.
- Remove moisture by pre-pressing the hoodie for a few seconds. This prevents steam and color fading.
- Lint roll the surface thoroughly to catch stray fibers that can leave blue specks after pressing.
- Use pressing pillows under seams or thick areas like the pocket and hood to keep the print area flat and evenly heated.
Positioning the Design
Accurate placement keeps your hoodie looking balanced and aligned.
- For chest prints, center the design about 3 inches below the neckline.
- For back designs, line it up between the shoulder blades for even spacing.
- Sleeve designs should be placed with care to avoid twisting.
- Use rulers, heat-resistant tape, or alignment guides to lock everything in place before pressing.
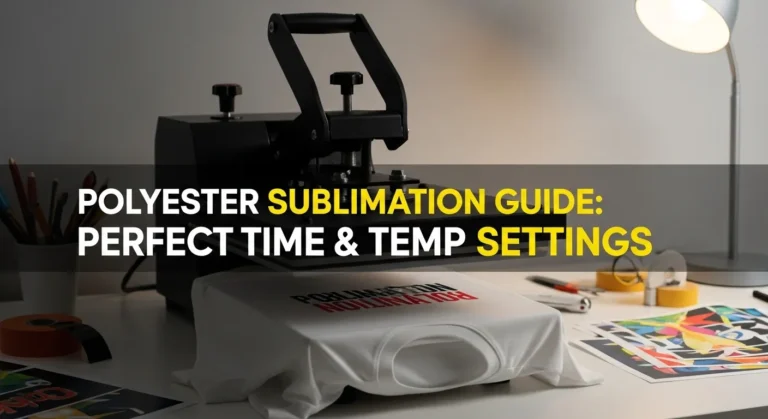
Press Settings for Hoodies
The right combination of heat, time, and pressure ensures vibrant colors without scorching.
- Temperature: 375–400 °F (190–205 °C)
- Time: 45–60 seconds depending on fabric thickness
- Pressure: Medium to firm for even ink transfer
- Most sublimation designs are hot peel, meaning you remove the paper immediately after pressing. Check your paper type to be sure.
Post-Press Steps
After pressing, handle the hoodie carefully to avoid ghosting or smudging.
- Cool the fabric flat to let the ink set fully.
- Gently peel away the transfer paper, making sure no corners lift prematurely.
- Do quick touch-ups or edge reinforcement if needed, especially on tricky areas like seams or sleeves.
To create a cozy vibe for mornings or gifts, try our step-by-step guide on How to Make a Cozy Fall Mug with Sublimation.
Troubleshooting & Common Mistakes
Even if you follow the steps, little slip-ups can mess up a hoodie print. Here’s a quick run-through of the most common issues and how to fix them before they ruin your batch.
Ghosting or Shadow Edges
That hazy double image usually happens when the paper shifts during pressing or when you lift the press too quickly.
Fix it:
- Tape all sides of your transfer securely.
- Use firm, even pressure.
- Lift the press straight up and peel smoothly to avoid movement.
Fading or Washed-Out Prints
If your colors look dull, something’s off in the transfer. It could be low heat, not enough time, or cheap paper.
Fix it:
- Check that your temp is in the 380–400 °F range.
- Make sure the time and pressure match your hoodie fabric.
- Use high-quality sublimation paper and fresh ink.
Misalignment or Distorted Design
Crooked chest prints or stretched sleeves are frustrating but common.
Fix it:
- Use rulers, T-squares, or placement guides.
- Pre-press the hoodie to remove wrinkles that can shift the design.
- Avoid tugging the fabric when placing the transfer.
Overheating or Scorching Fabric
Brown marks or shiny patches usually mean the press was too hot or stayed closed too long.
Fix it:
- Stick to recommended time and temperature.
- Use a protective sheet to prevent direct heat contact.
- If scorching happens, a light mist of water and pressing cloth can sometimes lift the marks.
Using Cotton or the Wrong Blends
Sublimation doesn’t bond well with cotton, so prints end up faded or wash out fast.
Fix it:
- Stick with 100 % polyester or high-poly blends (at least 65 %).
- For cotton hoodies, use sublimation HTV or other workarounds.
Not Accounting for Seams and Structure
Hood seams, zippers, and pockets can create uneven pressure and ruin a clean press.
Fix it:
- Use pressing pillows to even out the surface.
- Shift the hoodie around carefully so bulky seams don’t interfere with the print zone.
Care & Longevity of Sublimated Hoodies
Taking good care of sublimated hoodies keeps the colors vibrant and the fabric looking fresh for seasons to come. A few simple habits make a big difference.
Washing Instructions
Always wash in cold water and turn the hoodie inside out. This protects the design from friction and fading. Stick to mild detergent and skip bleach or fabric softeners, which can break down the sublimated ink.
Drying Tips
Air drying is best for keeping prints crisp, but if you need to use a dryer, go for low heat. High temperatures can weaken the bond between the ink and fabric over time.
Ironing & Sun Exposure
Avoid ironing directly on the printed area. If you have to iron, place a cloth on top of the design. Long sun exposure can fade colors, so dry or store hoodies in the shade when possible.
Seasonal Storage
For off-season wear, fold hoodies neatly and store them in a cool, dry place away from direct sunlight. Avoid hanging for long periods, as this can stretch the fabric around the shoulders.
Free Downloadable Fall Hoodie Template Pack
To make your hoodie projects faster and cleaner, we’ve put together a free template pack designed just for fall sublimation. It gives you ready-to-use layouts and seasonal design elements, so you can skip the guesswork and get straight to pressing.

What’s Inside
- Chest, back, and sleeve layout templates in PNG, PSD, and Canva formats, ready to drop your designs in.
- Layered files with built-in fall elements like leaves, cozy patterns, and bold typography for quick customization.
- A printable cheat sheet with recommended press settings, time, and temperature ranges so you can keep it beside your heat press for quick reference.
Perfect for beginners and pros alike, these templates help keep your designs consistent and professional-looking across multiple hoodie sizes and styles.