
Quick answer: use the calculator to choose a garment and print location, then treat the result as a starting point. Shirt brand, garment size, neckline, pocket, hood, zipper, jersey cut, and artwork shape can all change the final placement.
For apparel sublimation, size the design for the garment you are actually pressing, align from repeatable garment landmarks, and make a test placement before running a batch. If you are still choosing the blank itself, see what shirts work best for sublimation printing.
Sublimation Apparel Placement Calculator
Choose the garment and placement to get a practical starting size, alignment reference, and adjustment note.
Placement Starting Point
How to Measure Placement Consistently
Design size and design position are separate decisions. A transfer can be the right width and still look wrong if it is too low, too close to the armpit, or off the garment’s visual center.
- Lay or load the garment straight. Do not trust the neck tag as the only center reference because tags are not always sewn perfectly in the middle.
- Find the vertical centerline. Use the collar shape and garment body, then imagine a straight line down the center.
- Find the horizontal reference. For shirt fronts and backs, the line between the lower arm seams is a practical visual reference.
- Align the printed artwork, not the transfer-paper edge. Extra carrier or paper around the artwork can make a centered sheet produce an off-center design.
- Check the garment-specific obstruction. Look for pockets, zippers, drawcords, seams, hoods and jersey panel changes before taping the design.
For file setup, mirroring, canvas dimensions and reusable templates, use the sublimation T-shirt design template guide. This page stays focused on where the artwork should sit and how large it should start.
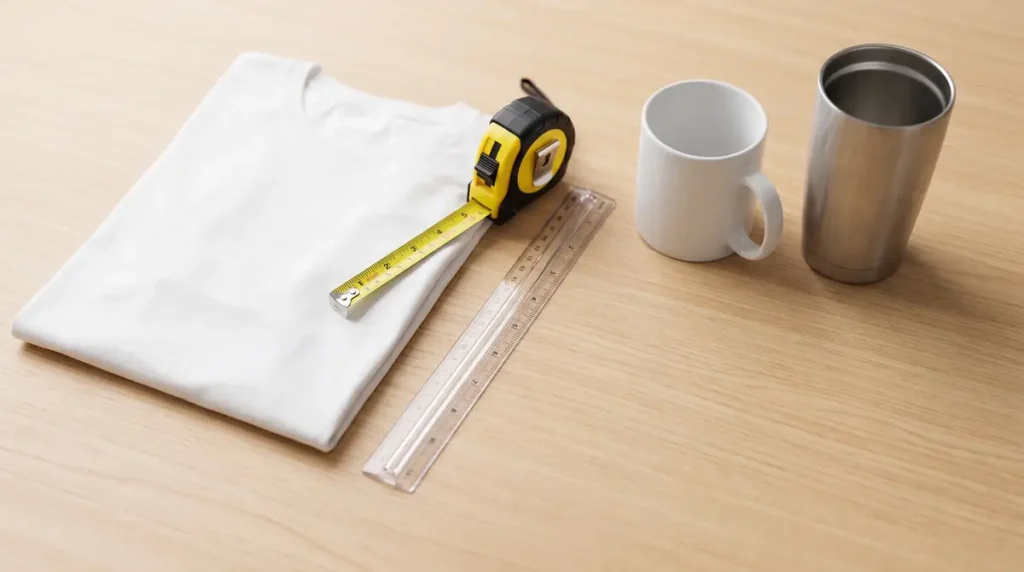
Printable Sublimation Apparel Placement Chart
Use this chart beside the press as a starting reference. The most important adjustment is always the garment in front of you. Print a sample or test placement when the blank style, brand or size range changes.
| Garment | Placement | Starting size | Reference point | Adjust for |
|---|---|---|---|---|
| Adult T-shirt | Full front | About 11 in wide | Vertical centerline + armpit-to-armpit line | Artwork proportion, shirt cut |
| Adult T-shirt | Center chest | Up to about 5 x 5 in | Upper chest on vertical centerline | Neckline and art shape |
| Adult T-shirt | Left chest | About 3.5 to 4.5 in wide | Collar/shoulder line + lower arm seam | Portrait vs landscape art, pocket |
| Youth T-shirt | Full front | About 8 to 10 in wide | Vertical centerline + armpit-to-armpit line | Youth size range |
| Youth T-shirt | Left chest | About 3 to 3.5 in wide | Side of collar + armpit line | Garment size, art shape |
| Toddler T-shirt | Full front | About 5 to 6 in wide | Center from collar | Seams, snaps, small details |
| Adult hoodie | Full front | About 11 in wide if space allows | About 3 to 3.5 in below neck edging | Pocket, zipper, drawcords |
| Adult hoodie | Full back | About 11 in wide | About 5 to 6 in below collar if hood clearance is needed | Hood size and artwork importance |
| Short sleeve | Sleeve mark | About 3 x 3 in | Sleeve fold or shoulder seam | Cuff and seam clearance |
| Long sleeve | Vertical sleeve | About 2 x 11.25 in | Sleeve fold line | Cuff, taper, platen clearance |
| Adult jersey | Player name | About 2.5 to 3 in letter height | Upper back, centered | League rules, font, name length |
| Adult jersey | Player number | About 8 in | Back panel center | Sport and league rules |
| Youth jersey | Player name | About 2 in letter height | Upper back, centered | League rules, font, name length |
| Youth jersey | Player number | About 6 in | Back panel center | Sport and league rules |
Important: these values are starting points, not manufacturer specifications. Keep artwork proportional, measure the actual garment, and confirm team or league rules for jerseys.
Adult, Youth and Toddler Shirts Need Different Scale
An adult full-front print that looks balanced on a large shirt can dominate a youth or toddler garment. A practical starting point is about 11 inches for a standard adult full-front design, about 8 to 10 inches for youth shirts, and about 5 to 6 inches for toddler or infant garments.
Those dimensions describe a starting width, not a reason to stretch every design into a square. Keep the artwork’s original proportions. A wide wordmark and a tall character illustration can share the same maximum width while ending up with very different heights.
Left-Chest Placement: Use Garment Landmarks
Left-chest placement is easier to repeat when you stop measuring from the outer edge of the shirt. The garment wraps around the body, so the flat edge can make a design look too far toward the armpit when worn.
Use the point where the collar and shoulder area meet as the vertical reference, then use the lower arm seam as the horizontal reference. A compact adult left-chest design is commonly kept under about 4.5 inches wide, with smaller sizing for youth garments. Square or tall artwork often looks better smaller than a wide wordmark.
Hoodie Placement: Check the Pocket, Zipper and Hood
Hoodies add obstructions that a flat T-shirt does not have. Before pressing the front, check whether a pouch pocket, zipper or drawcord changes the usable print area. A front design that would normally fit a shirt may need to move or shrink on a hoodie.
For an adult sweatshirt or hoodie front, about 3 to 3.5 inches below the bottom of the neck edging is a useful starting point. On the back, the hood can cover the upper part of a graphic when it is down. If the important artwork must stay visible, starting around 5 to 6 inches below the collar seam is a practical reference, then adjust for the actual hood size and design shape.
Sleeve Placement: Center the Design, Not the Paper
For a long sleeve, the fold line running down the sleeve is a useful alignment reference. Place the actual printed design close to that line. Do not center the carrier sheet or sublimation paper if the artwork has uneven margins around it.
A compact short-sleeve mark is often around 3 inches square on adult garments, while youth sleeves may need something closer to 2 to 2.5 inches wide. Long vertical sleeve graphics commonly start around 2 inches wide and can extend roughly 11 inches, provided the cuff, seam and press platen allow it.
Jersey Names and Numbers: Check the Team Specification First
Jersey decoration is the one area where a generic chart should never override a league, school or team requirement. Number size can vary by sport and age group.
When there is no supplied specification, a common starting point is about an 8-inch back number for adult jerseys and about 6 inches for youth jerseys. Player-name lettering often starts around 2.5 to 3 inches high for adults and around 2 inches for youth, then the total width is fitted to the jersey and name length.
Why Placement Charts Are Starting Points
Two shirts labeled the same size can have different chest widths, necklines and body lengths. Hoodies vary in hood size and pocket position. Jerseys vary by sport and uniform supplier. Artwork also changes the visual balance: a narrow vertical design may need a different position than a wide horizontal logo even when both use the same nominal print area.
Before a batch, measure one garment from the actual order and make a test placement. If the garment or artwork disagrees with the chart, trust the garment in front of you.
Mugs and Tumblers Need Blank-Specific Sizing
Drinkware should not use the same placement logic as apparel. An ounce label does not guarantee an exact wrap circumference, and tapered tumblers can differ between suppliers and styles.
For tumblers, measure the blank you are holding and use the Sublimation Tumbler Wrap Size Calculator to build the wrap from the actual dimensions. For mugs, use the blank supplier’s template or measure the printable area and handle clearance before production.
After Placement, Confirm Your Press Settings
Placement tells you where the design goes. It does not determine time, temperature or pressure. Once the artwork is positioned correctly, use the Heat Press Settings Calculator as a starting point and follow the blank or garment manufacturer’s instructions when available.
Frequently Asked Questions
What size should a sublimation design be for an adult shirt?
For a standard full-front adult shirt, about 11 inches wide is a practical starting point. Keep the artwork proportional and check the smallest garment in the order before printing the full batch.
How big should a left-chest design be?
Adult left-chest graphics commonly stay around 3.5 to 4.5 inches wide. Youth left-chest artwork is usually smaller, around 3 to 3.5 inches wide. Tall or square artwork may look better below the maximum width.
How far below the collar should a design start?
There is no single collar distance for every garment. Sweatshirts often start around 3 to 3.5 inches below the neck edging, while hoodie back designs may start lower, around 5 to 6 inches, when the goal is to keep important artwork visible below the hood. T-shirts are better aligned using the garment centerline and arm seams, then adjusted visually for the artwork.
How do I center a design on a shirt?
Use the collar to establish the vertical centerline and the lower arm seams to establish a horizontal reference. Align the printed artwork to those garment landmarks instead of relying on the transfer-paper edges.
What size should a youth sublimation design be?
For youth full-front shirts, about 8 to 10 inches wide is a useful starting range. Toddler and infant garments often need closer to 5 to 6 inches. Measure the smallest garment before committing to one design size across a mixed order.
Should I use the same design size on every shirt in an order?
Sometimes one design size can work across a mixed order, but it should be chosen around the smallest garment that still needs to look balanced. If the order spans toddler, youth and large adult sizes, separate size groups often produce a better result.