Sublimation T-Shirt Design Templates: Sizing, Collar Placement & Free Tools

A design that looks perfect on screen can still come out crooked, oversized, or sitting too close to the collar once it hits the shirt. Most of the time, that has nothing to do with the printer or the press. It comes down to how the template was built before the file ever left the computer. For a softer floral and farmhouse direction, see our cottagecore sublimation tee ideas. For related apparel resources, see our AI sublimation design tools, best hoodies for sublimation, and sublimated jersey guide.
This guide covers the sizing, collar placement, and file setup details that make a template reusable, along with the mirroring step that catches almost every beginner at least once.
Quick answer: Adult full-front designs typically run 11 to 12 inches wide, starting about 3 inches below the collar seam. Youth sizes run smaller, closer to 9 to 10 inches wide with a shorter drop from the collar.
Every sublimation file needs to be mirrored horizontally before printing, since the image transfers in reverse when it presses against the fabric.
Standard T-Shirt Print Sizes
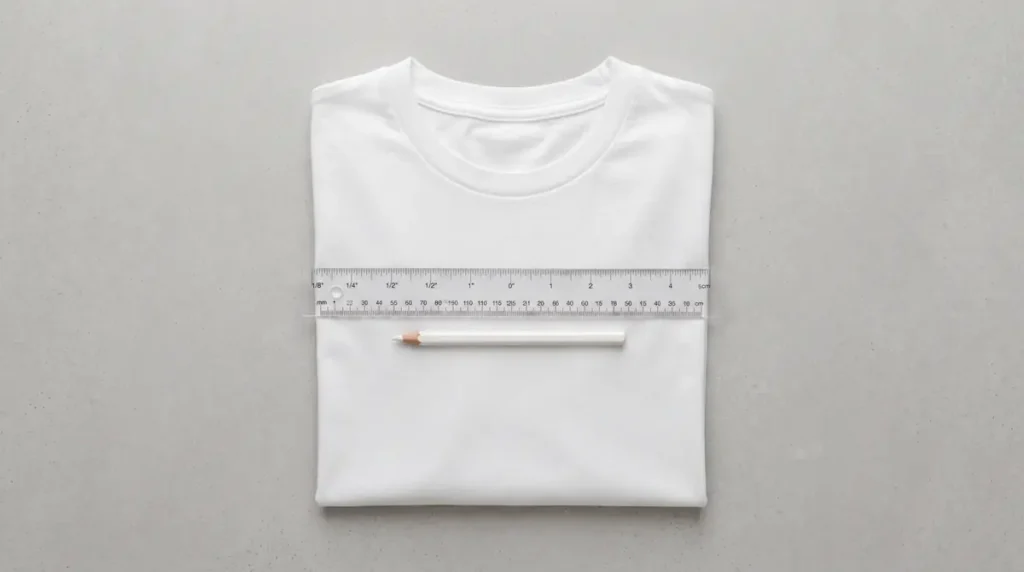
Print size depends on the shirt size and where the design sits. A full-front adult design and a left-chest design use completely different dimensions, and youth sizing shrinks everything further. Building templates around these standard sizes means less guessing and fewer wasted blanks.
| Placement | Typical Width | Typical Height |
|---|---|---|
| Adult full-front | 11 to 12 inches | 14 to 16 inches |
| Adult left-chest | 3.5 to 4 inches | 3.5 to 4 inches |
| Youth full-front | 9 to 10 inches | 11 to 12 inches |
| Toddler full-front | 7 to 8 inches | 8 to 9 inches |
These figures work as a starting point, not a fixed rule. Shirt brands vary slightly in body length and chest width, so it helps to measure a blank from the brand you actually use before finalizing a template you plan to reuse.
Collar and Neckline Placement
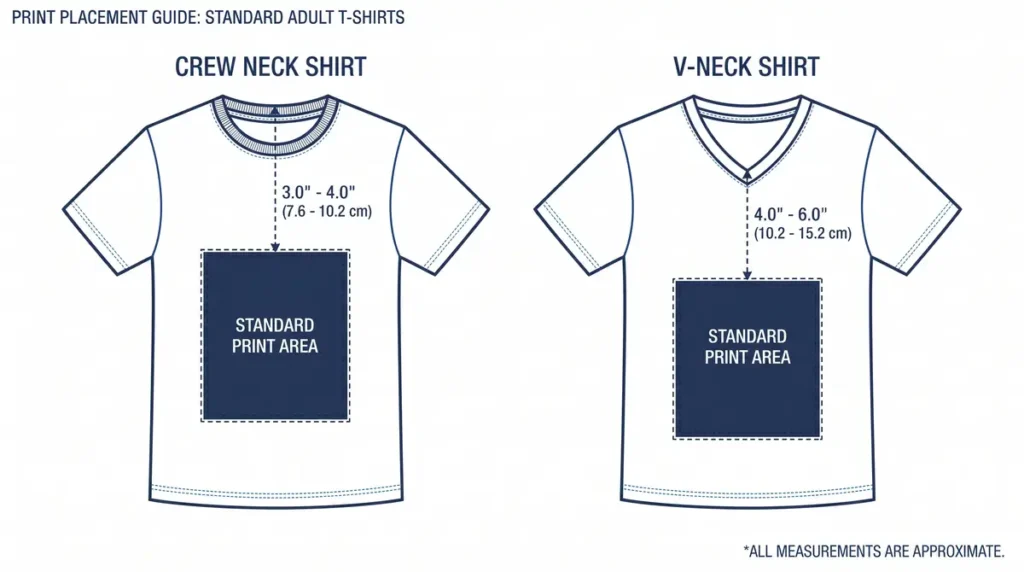
Collar placement is where most sizing mistakes actually show up. A design that measures correctly on paper can still look wrong once it is pressed, usually because it sits too high or too close to a v-neck curve.
Crew Neck Placement
For a crew neck, start the design about 3 inches below the center of the collar seam for adult sizes, and closer to 2 to 2.5 inches for youth sizes. This keeps the design clear of the collar band and avoids distortion from the seam.
V-Neck Placement
V-necks need extra clearance because the neckline drops lower and the curve changes how much of the design is visible. Add roughly half an inch to an inch of additional drop compared to a crew neck template, depending on how deep the v-neck cut is.
Left-Chest Placement
Left-chest designs use a fixed reference point rather than a percentage of the shirt. Position the design about 3 inches below the center of the neckline and 2 inches in from the armpit seam. This keeps the design consistent across sizes, since it anchors to a body landmark instead of a measurement that shifts with shirt width.
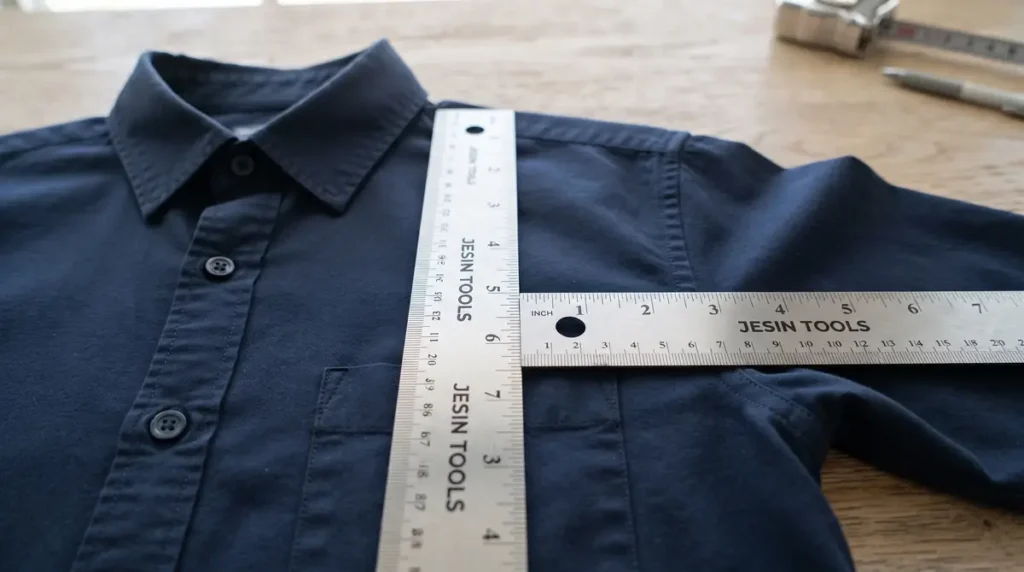
Common issue: Using one collar drop measurement for every shirt style. A crew neck template pressed onto a v-neck body will often sit too high, since the visible chest area starts lower on a v-neck cut.
Setting Up the File Correctly
Print quality starts with canvas size and resolution, not with the design itself. A template built at the wrong resolution will look sharp on screen and still print blurry, since screen resolution and print resolution are not the same thing. Check the final file with our image resolution and print size checker before you send it to print.
Build canvases at 300 DPI for the actual print dimensions, not at a smaller size that gets scaled up later. Keep at least a quarter-inch of clear margin near any seam-adjacent edge, since fabric near seams can shift slightly under the heat press.
A canvas built at 150 DPI and then enlarged to fit a 12 inch print area will lose sharpness. Build at the final size and resolution from the start rather than resizing after the fact.
Color mode matters here too. Files should be set up in the color mode your printer and software actually use for output, since starting in the wrong mode leads to shifted colors after printing. For a full breakdown of how this works, see our guide on choosing the right color mode and ICC profile.
Mirroring for Sublimation
Sublimation ink transfers by turning to gas under heat and bonding with the polyester coating on the shirt. Because the printed side of the paper faces the fabric during pressing, the image needs to be mirrored horizontally before it prints, or the final design comes out backward.
This step trips up more beginners than almost anything else in the process, especially anyone coming from DTF or HTV work, where mirroring rules can be different depending on the film and cutting setup used.
Tip: Build the mirror flip into the template itself rather than remembering to flip every file individually. A template saved with the mirror already applied removes one manual step and one chance to forget it.
Text is the easiest way to catch a missed mirror before pressing. If any letters or numbers appear reversed in the print preview, the file was not flipped.
Using a Placement Guide for Consistent Layout
Measuring placement by eye leads to inconsistent results from shirt to shirt, even when the template itself is sized correctly. A placement guide solves this by giving a fixed reference point to measure from every time.
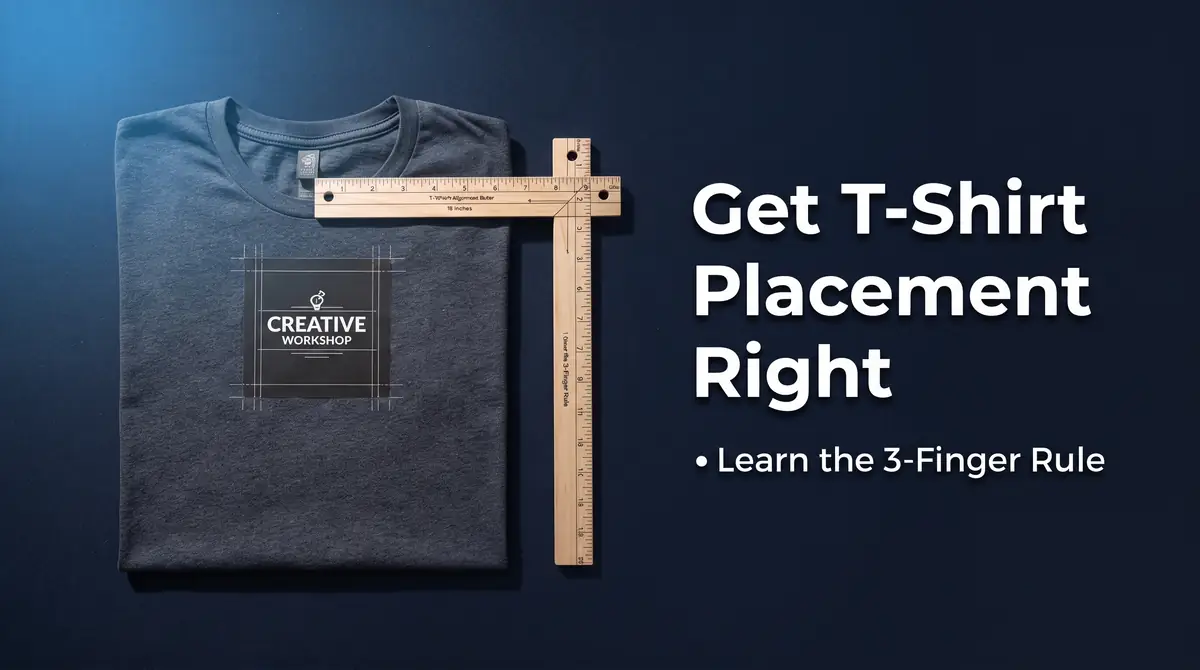
A simple cardstock or plastic guide works well for this. Cut a T-shaped template that marks the center of the collar and extends down to the standard drop measurement for your most common placement, whether that is full-front, left-chest, or youth sizing. Lay it on the shirt before pressing, mark the corners lightly, and remove it.
Tip: Build one guide per placement type rather than one guide for the whole shop. A full-front guide and a left-chest guide measure from different points, so a single all-purpose guide usually ends up inaccurate for one of the two.
Free Tools for Building Templates
A solid template does not require expensive design software. These free options cover sizing, layout, and mirroring for most beginner and small shop workflows.
Canva
Canva works well for building sized canvases and laying out text and graphics without a steep learning curve. It supports custom canvas dimensions, which makes it easy to set up the exact print sizes covered earlier in this guide.
GIMP
GIMP is a free, full-featured image editor that handles resolution control, layers, and horizontal flipping in more detail than most browser-based tools. It has a steeper learning curve than Canva but gives more control over file resolution and export settings.
Photopea
Photopea runs in a browser and mimics much of Photoshop’s layout, which makes it a practical option for anyone already familiar with Photoshop shortcuts. It supports layers, precise canvas sizing, and the horizontal flip needed for mirroring.
For ready-made layout starting points rather than building every template from scratch, our printable templates for sublimation printing cover sizing guides across several blank types.
AI Design Tools
AI tools can generate design concepts and artwork ideas, but they do not build sized, print-ready sublimation templates on their own. Any image generated this way still needs to go through the same steps covered in this guide: correct canvas size, 300 DPI resolution, and mirroring before it is ready to print.
Common Mistakes
Most template problems trace back to a handful of repeated errors rather than anything complicated.
- Skipping the mirror step, resulting in backward text and reversed designs.
- Using one collar drop measurement across crew neck and v-neck styles.
- Designing at screen resolution instead of the final print resolution.
- Pulling low-resolution source art and enlarging it to fit the print area.
- Ignoring margin near seams, leading to distortion once the shirt is pressed.
Fixing these at the template stage saves far more blanks than trying to catch them after a design is already sized and ready to print. For a broader look at building full designs around these templates, see our guide on sublimation designs for shirts, jerseys, and tumblers, and for equipment and fabric setup, see sublimation setup for t-shirts.
Frequently Asked Questions
What size should a full-front adult design be?
Most full-front adult designs run 11 to 12 inches wide and 14 to 16 inches tall, though exact sizing depends on the shirt brand and cut.
How far below the collar should a design start?
About 3 inches for adult crew necks, closer to 2 to 2.5 inches for youth sizes, with extra clearance added for v-neck styles.
Does every sublimation design need to be mirrored?
Yes. Sublimation transfers print in reverse against the fabric, so the file needs to be flipped horizontally before printing or the final design will read backward.
What resolution is safe to print a design at?
300 DPI at the final print size. Building a canvas smaller and enlarging it later reduces sharpness, even if the original file looked fine on screen.
How do I layout a sublimation t-shirt design?
Start with a canvas sized to the placement you’re using, whether that’s full-front, left-chest, or youth sizing. Use a fixed reference point, such as 3 inches below the neckline for full-front designs, and mirror the file before printing.
Can ChatGPT or other AI tools make t-shirt designs?
AI tools can generate artwork and design concepts, but the resulting image still needs to be sized to the correct print dimensions, set to 300 DPI, and mirrored before it’s ready for sublimation printing.
Once a template is dialed in at the right size, collar drop, and resolution, it becomes reusable across every design that shares the same placement, which cuts down on repeated guesswork for future print runs.