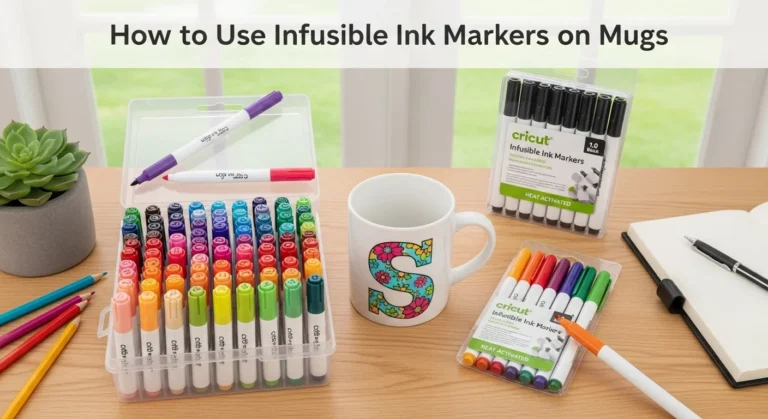
Heat Press Settings Calculator: Find the Right Time, Temperature, and Pressure
Finding the right heat press settings doesn’t have to be frustrating.
A Heat Press Settings Calculator gives you a reliable starting point for temperature, time, and pressure so you can spend less time troubleshooting and more time creating.
Combine calculator recommendations with testing, proper workflow habits, and material-specific instructions to achieve consistent, professional-quality results.
If you’re still learning how heat transfers work, start with our comprehensive sublimation heat press guide to understand the fundamentals before adjusting settings.
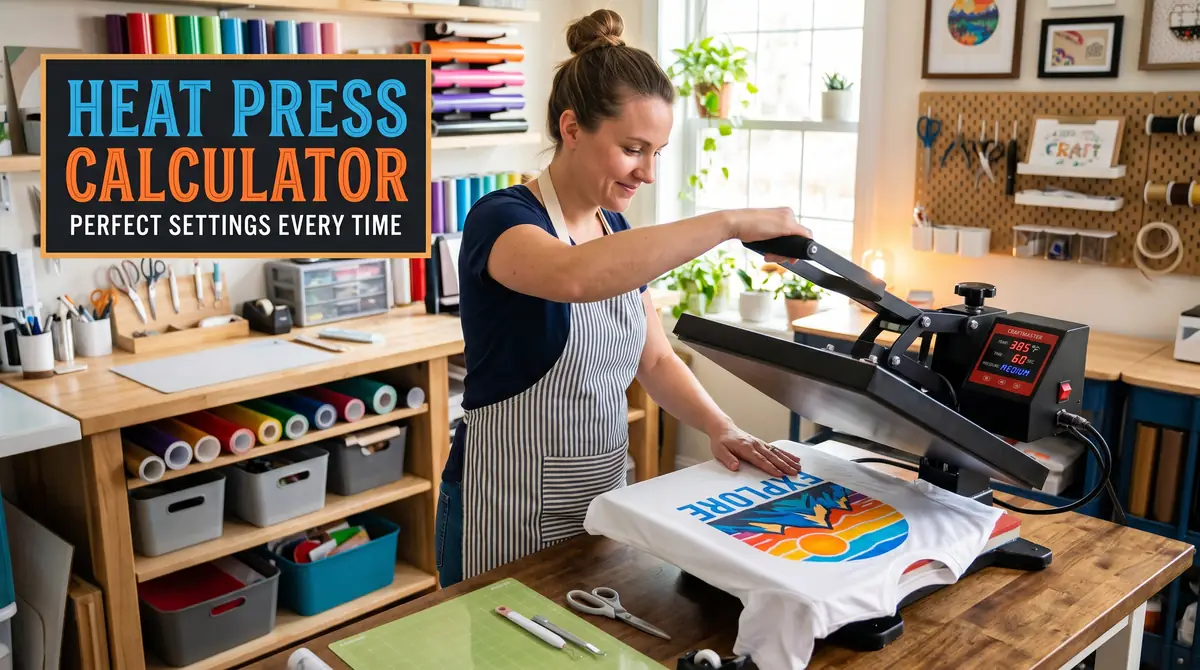
Heat Press Settings Calculator
Get precise temperature, time & pressure for any sublimation project
Fill in your settings on the left and hit Calculate to get your press settings.
What Is a Heat Press Settings Calculator?
A heat press settings calculator is a tool that recommends the ideal:
- Temperature
- Pressing time
- Pressure level
Based on factors such as:
- Material type
- Heat press model
- Transfer method
- Blank thickness
Many beginners accidentally waste shirts, mugs, and transfer paper because they rely on guesswork. A calculator removes much of that uncertainty.
Whether you’re using sublimation printing, heat transfer vinyl (HTV), or specialty transfers, starting with the correct settings dramatically improves results.
How to Use the Heat Press Settings Calculator
Using the calculator only takes a few seconds.
Step 1: Select Your Material
Choose the material you’re pressing.
Common options include:
- Polyester shirts
- Ceramic mugs
- Sublimation tumblers
- Mouse pads
- MDF signs
- Aluminum photo panels
Different materials absorb heat differently, which is why settings vary.
Step 2: Choose Your Heat Press Type
Select the equipment you’re using:
- Flat heat press
- Mug press
- Tumbler press
- Cricut EasyPress
- Mini heat press
A Cricut EasyPress may require different handling compared to a traditional clamshell or swing-away heat press.
Step 3: Review Recommended Settings
The calculator will generate:
- Recommended temperature
- Pressing duration
- Suggested pressure
These recommendations provide a reliable starting point.
Step 4: Run a Test Press
Even when using a calculator, it’s always smart to test new blanks before production.
A common sublimation mistake is assuming all products behave identically. Small manufacturing differences can affect final results.
Recommended Heat Press Settings by Material
For most projects, the following settings work well as a starting point.
| Material | Temperature | Time | Pressure |
|---|---|---|---|
| Polyester Shirt | 400°F | 60 Seconds | Medium |
| Ceramic Mug | 385°F | 180 Seconds | Firm |
| Sublimation Tumbler | 365°F | 240 Seconds | Firm |
| Mouse Pad | 400°F | 45 Seconds | Medium |
| MDF Board | 400°F | 90 Seconds | Medium |
| Aluminum Panel | 400°F | 60 Seconds | Medium |
Keep in mind that manufacturers may recommend slight variations.
For a deeper breakdown of settings by blank type, see our detailed guide to heat press temperature for sublimation.
Understanding Temperature, Time, and Pressure
Successful heat transfers depend on balancing three variables.
Why Temperature Matters
Temperature activates sublimation dyes and transfer adhesives.
Too little heat can cause:
- Faded colors
- Weak adhesion
- Incomplete transfers
Too much heat can cause:
- Scorching
- Color shifting
- Material damage
Why Pressing Time Matters
Pressing time determines how long heat is applied.
Short pressing times may leave colors underdeveloped.
Excessive pressing times can overcook transfers and create unwanted color changes.
Why Pressure Matters
Pressure ensures full contact between the transfer and substrate.
Too little pressure often results in:
- Ghosting
- Patchy transfers
- Missing areas
Too much pressure can distort certain materials and create uneven results.
How All Three Work Together
Think of heat pressing like baking.
Temperature, time, and pressure must work together to achieve a successful transfer.
Changing one variable often requires adjusting another.
You can learn more about balancing these variables in our complete heat press sublimation settings guide.
Common Heat Press Mistakes and How to Avoid Them
Many failed transfers happen because of simple mistakes.
Using Excessive Heat
More heat does not always produce better results.
Excessive temperatures can:
- Burn garments
- Damage coatings
- Shift colors
Skipping Pre-Pressing
Moisture is one of the biggest enemies of clean transfers.
A quick 5-second pre-press helps remove:
- Moisture
- Wrinkles
- Dust
Incorrect Pressure
Improper pressure often causes inconsistent transfers.
Always verify that your pressure settings match the blank you’re using.
Ignoring Manufacturer Recommendations
Even experienced crafters occasionally overlook product-specific instructions.
Always compare calculator recommendations with the blank manufacturer’s specifications.
Troubleshooting Common Heat Press Problems
Why Does My Sublimation Print Look Faded?
Faded prints usually indicate:
- Insufficient temperature
- Too little pressing time
- Low-quality blanks
Why Are My Colors Dull?
Dull colors may result from:
- Incorrect heat settings
- Color profile problems
- Poor-quality transfer paper
If color issues continue, review our guide to fixing sublimation color problems.
What Causes Ghosting?
Ghosting occurs when the transfer moves during pressing.
To prevent ghosting:
- Use heat tape
- Open the press carefully
- Allow items to cool properly
Why Are My Results Inconsistent?
Inconsistent transfers often indicate:
- Uneven heat
- Pressure fluctuations
- Equipment calibration issues
For more detailed solutions, visit our sublimation troubleshooting guide.
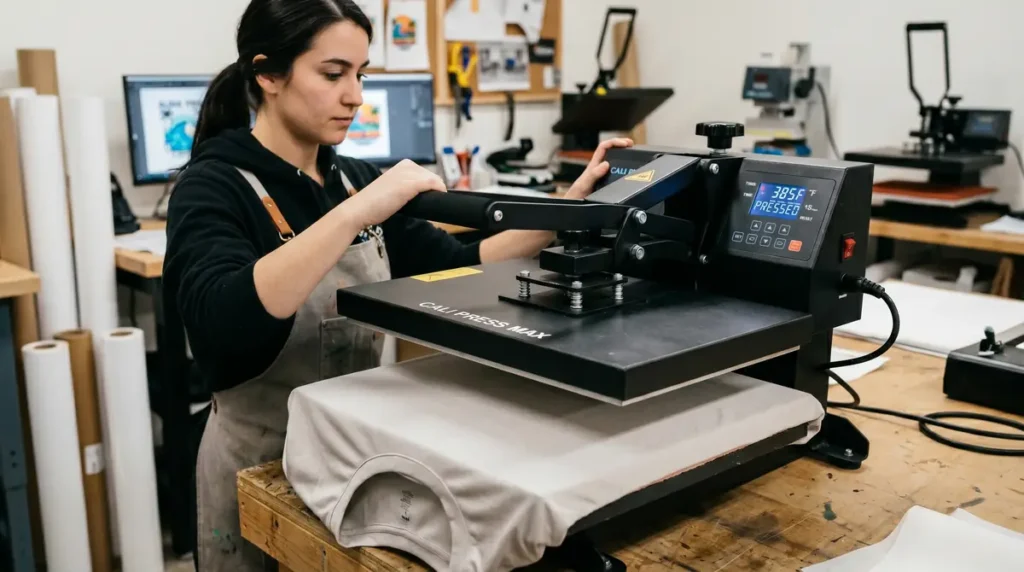
How Big of a Heat Press Do You Need?
One of the most common questions people ask is:
How Big of a Heat Press Do I Need?
The answer depends on your projects.
Small Hobby Projects
Recommended sizes:
- 9″ × 9″
- 10″ × 12″
Perfect for:
- Coasters
- Mouse pads
- Small crafts
Apparel Production
Recommended sizes:
- 15″ × 15″
- 16″ × 20″
Suitable for:
- T-shirts
- Hoodies
- Tote bags
Small Business Use
Most small businesses eventually upgrade to:
- 16″ × 20″ swing-away
- 16″ × 20″ clamshell
These provide greater flexibility and production efficiency.
Heat Press vs Cricut EasyPress
Many beginners compare traditional heat presses with Cricut EasyPress machines.
Traditional Heat Press Advantages
- Consistent pressure
- Larger work area
- Better production efficiency
- More repeatable results
Cricut EasyPress Advantages
- Portable
- Lower cost
- Beginner-friendly
- Easy storage
Which Is Better?
For occasional crafting, Cricut EasyPress works well.
For regular production, a dedicated heat press usually delivers better consistency.
Heat Press Workflow Checklist
Before every project:
- Confirm material type
- Verify temperature
- Check pressure
- Pre-press blank
- Secure transfer
- Perform test press
- Cool properly
Following a repeatable workflow dramatically improves transfer quality.
Why a Heat Press Calculator Saves Time and Reduces Waste
Many beginners waste materials because they guess at settings.
A calculator helps you:
- Reduce failed transfers
- Improve color consistency
- Save blanks and supplies
- Increase production efficiency
- Create repeatable results
It’s one of the simplest tools you can add to your sublimation workflow.
You may also find our sublimation temperature and pressure calculator useful when comparing different blanks and materials.
Frequently Asked Questions
What temperature is best for sublimation?
Most polyester sublimation projects work best between 385°F and 400°F, depending on the blank and manufacturer recommendations.
How long should I press sublimation transfers?
Most sublimation transfers require between 45 and 90 seconds, while mugs and tumblers often require longer pressing times.
What pressure should I use for sublimation?
Medium pressure works for most sublimation projects, while mugs and tumblers often require firm pressure.
How big of a heat press do I need?
A 15″ × 15″ or 16″ × 20″ heat press is sufficient for most apparel and small business applications.
What are the most common heat press mistakes?
The most common mistakes include using too much heat, incorrect pressure, skipping pre-pressing, and moving transfers while hot.