Welcome To Subli Genius Print
Your Trusted Partner in Sublimation Printing Excellence & Wholesale Solutions

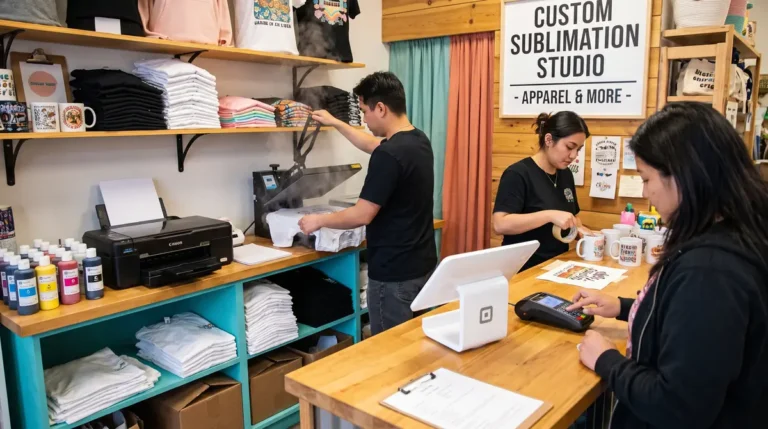
We offer practical tips, expert advice, and step-by-step instructions to help you master sublimation printing. From choosing materials to troubleshooting, we’ll ensure flawless results.

Take a look at the feedback we receive from our clients who trust Subli Genius Print for quality, reliability, and exceptional results in sublimation printing.
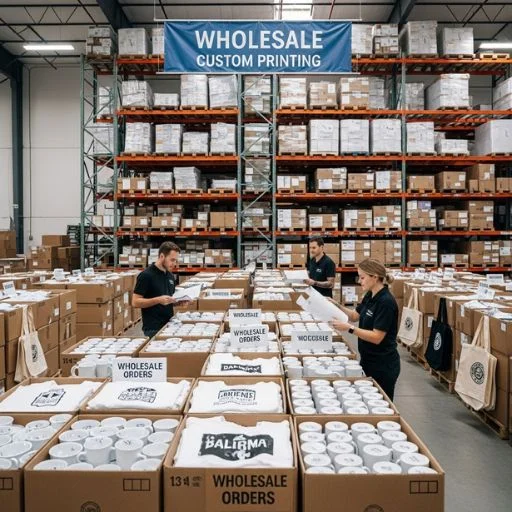
High-quality custom sublimation products for businesses. We offer wholesale customization as your trusted partner for expanding your product offerings, if you’re a retailer, distributor, or brand.
Start Your Sublimation Journey
Learn the basics of sublimation printing with beginner-friendly guides, printer setup tutorials, heat press help, and troubleshooting resources.
What Is Sublimation?
Understand how sublimation printing works, what materials you need, and why it’s popular for custom apparel and products.
Learn the Basics →Beginner Start Guide
Follow a simple step-by-step guide to start sublimation printing at home with the right tools and workflow.
Start Here →Printer Setup
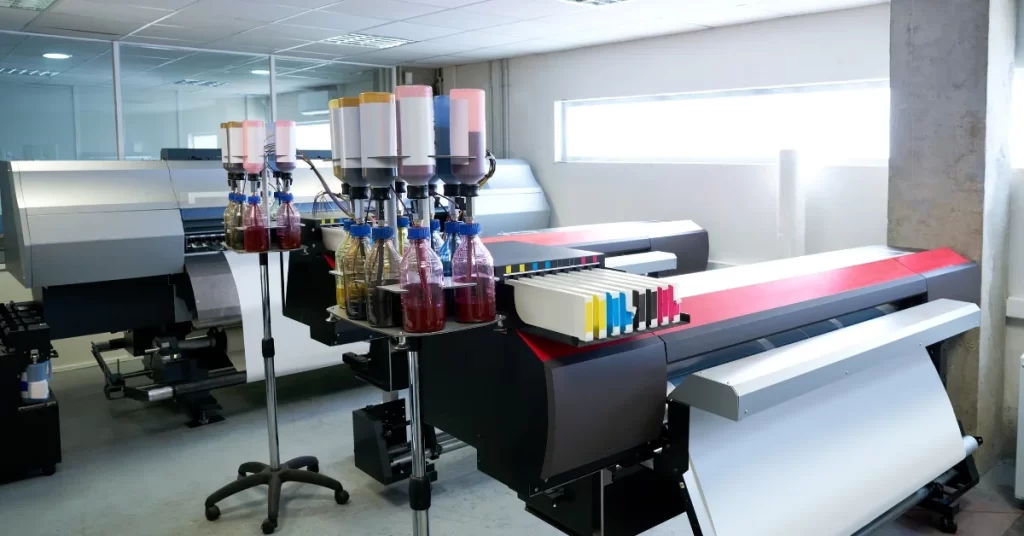
Learn how to choose, set up, and maintain a sublimation printer for better print quality and color accuracy.
View Printer Guides →Heat Press Basics
Find the correct heat press temperature, pressure, and timing settings for shirts, mugs, tumblers, and more.
Explore Heat Settings →Popular Learning Categories
Explore beginner-friendly sublimation guides, printer setup tutorials, troubleshooting resources, Cricut workflows, and color management help.
Printers
Compare sublimation printers, Epson conversions, setup guides, and beginner-friendly printer recommendations.
Explore Printer Guides →Troubleshooting
Fix dull colors, ghosting, banding, print head clogs, and other common sublimation printing problems.
Fix Print Problems →Cricut
Learn Cricut sublimation workflows, Design Space setup, and beginner crafting tutorials step by step.
View Cricut Tutorials →Heat Press
Find the right temperature, pressure, and pressing time for shirts, mugs, tumblers, and more.
View Heat Press Guides →Color Management
Improve color accuracy with ICC profiles, calibration tips, and sublimation color correction guides.
Improve Print Colors →Popular Beginner Resources
Start with practical sublimation guides that help you understand printer setup, heat press settings, color correction, and common printing mistakes.
What Is Sublimation Printing?
Learn how sublimation printing works, what materials it uses, and why it’s popular for custom apparel and products.
Read Guide →Getting Started With Sublimation
Follow a beginner-friendly setup process for printers, ink, paper, heat presses, and sublimation blanks.
Start Learning →Best Sublimation Printers for Beginners
Compare beginner-friendly sublimation printers, Epson EcoTank setups, and budget-friendly options.
View Printers →Heat Press Settings Guide
Learn the correct temperature, pressure, and pressing times for shirts, mugs, and tumblers.
View Heat Settings →Why Sublimation Colors Look Dull
Fix faded prints, incorrect color output, and common sublimation transfer problems.
Fix Color Problems →Sublimation With Cricut
Learn how to use Cricut machines for sublimation projects, print setup, and crafting workflows.
Explore Cricut Guides →Learn Sublimation Printing With Real-World Guidance
Subli Genius Print helps beginners, creators, and small businesses understand sublimation printing through practical tutorials, troubleshooting guides, and workflow-based education.
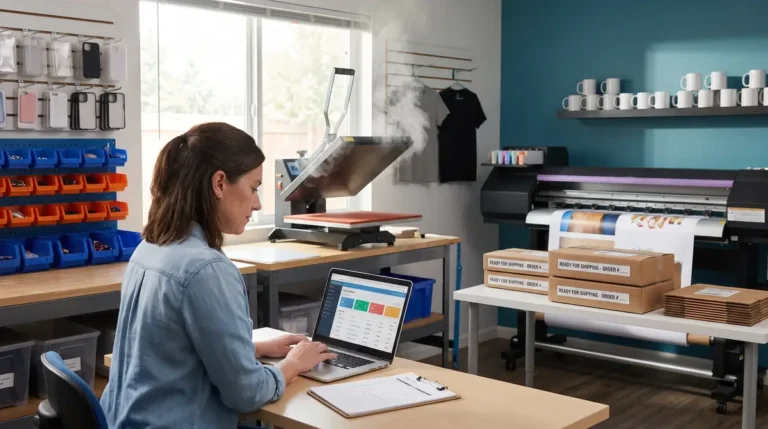
Our content focuses on real printing challenges like color accuracy, heat press settings, printer setup, material selection, and improving print quality.
Whether you’re creating custom shirts, mugs, tumblers, or growing a sublimation business, you’ll find clear resources designed to help you print with more confidence and fewer mistakes.
Popular Sublimation Products
Explore some of the most popular sublimation products used for custom apparel, branding, gifts, events, and small business projects.

Custom T-Shirts
Create personalized shirts with vibrant full-color sublimation designs for businesses, events, sports teams, and everyday wear.
Explore Apparel →
Tie-Dye Apparel
Combine colorful sublimation prints with modern tie-dye styles for unique apparel projects and personalized merchandise.
View Shirt Ideas →
Personalized Caps
Design custom caps for branding, giveaways, sports teams, promotional events, and personalized collections.
Explore Custom Products →Wholesale Sublimation & Custom Printing Services
We help businesses, resellers, event organizers, and creators produce high-quality sublimation products with reliable turnaround times, consistent print quality, and flexible order options.
Wholesale Printing
Bulk sublimation printing services for apparel brands, promotional events, schools, sports teams, and resellers.
- Bulk order pricing
- Consistent color output
- Fast production workflow
- Flexible order quantities
Custom Apparel
Create personalized shirts, hoodies, jerseys, and branded apparel using vibrant sublimation printing techniques.
- Full-color designs
- Soft long-lasting prints
- Polyester apparel options
- Custom branding support
Design Assistance
Need help preparing designs for sublimation printing? We assist with layouts, sizing, color preparation, and print setup.
- Print-ready file guidance
- Color correction support
- Design sizing help
- Beginner-friendly assistance
Need a Custom Quote?
Tell us about your project, product type, and quantity requirements. We’ll help you find the best sublimation solution for your needs.
Request a QuoteFeatured Tutorials
What Our Customers Say
From small businesses to creators and event organizers, our customers trust Subli Genius Print for reliable sublimation guidance and custom printing support.

“The sublimation guides and product quality have helped me improve my apparel business. The colors stay vibrant and the workflow advice is easy to follow.”

“We ordered custom sublimation products for a corporate event, and the turnaround time and print consistency exceeded expectations.”

“The home décor sublimation prints turned out beautifully. The colors are sharp, durable, and matched my design expectations.”
Frequently Asked Questions
Find quick answers to common sublimation printing questions about printers, materials, heat press settings, and print quality.