Ultimate Guide: Setting Up Epson ET-8550 for Sublimation Printing
If you’re setting up your Epson ET-8550 for sublimation printing, it can feel overwhelming at first especially if you’ve never worked with sublimation ink or heat transfer workflows before.
This guide walks you through the exact setup process step by step, so you can avoid common mistakes and get clean, vibrant prints right from the start. By the end, your printer will be fully ready for sublimation use.
Before you begin, remember: once you convert your ET-8550 to sublimation, it should not be switched back to regular ink.
What You Need Before Setting Up Your Epson ET-8550
Before starting, make sure you have the right materials. Sublimation printing depends heavily on correct supplies.
Sublimation Ink (Why It Matters)
You must use dye sublimation ink. Regular ink will not transfer under heat and will ruin your setup.
If you’re unsure about compatibility, this guide on sublimation ink vs regular ink explained breaks it down clearly.
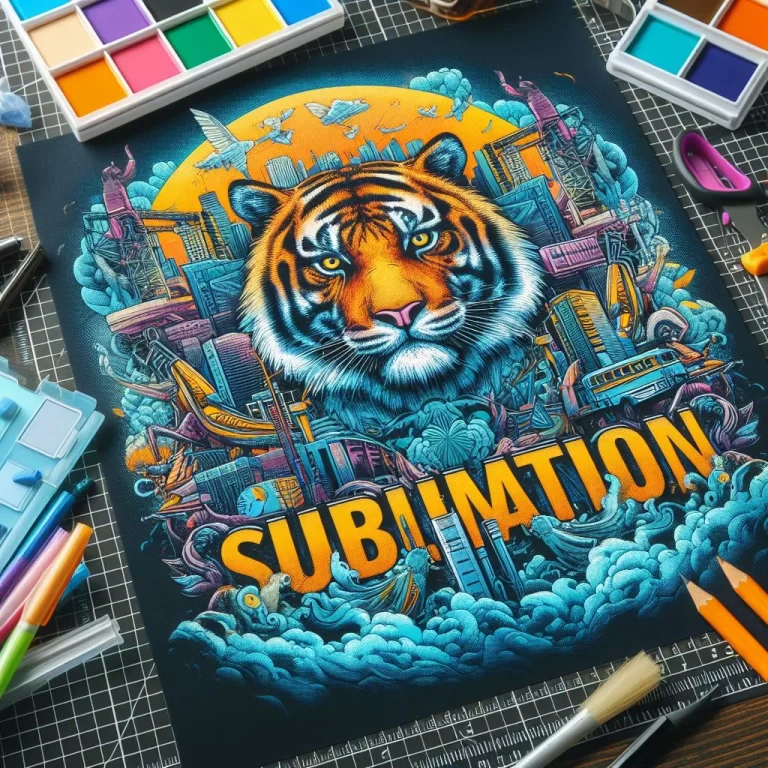
Sublimation Paper
Sublimation paper has a special coating that holds ink and releases it during heat pressing. Always print on the correct (bright white) side.
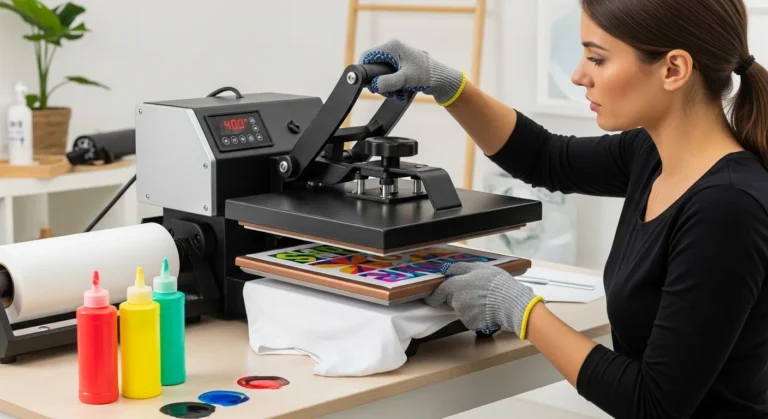
Heat Press Machine
A heat press provides the heat and pressure needed for sublimation transfer. Without it, the ink will not bond to your material.
Design Software
You can use tools like Photoshop, Canva, or Illustrator. Always design in RGB for better color accuracy in sublimation printing.
Important Things to Know Before Converting the Printer
Before you start, there are a few things you need to understand:
- Converting the ET-8550 voids the manufacturer warranty
- You should not switch back to regular ink later
- The printer should be dedicated only to sublimation
- The first setup affects long-term print quality
If you’re new to the process, reviewing a beginner sublimation printing guide can help you understand the full workflow.
Step-by-Step Epson ET-8550 Sublimation Setup
Follow these steps carefully to avoid issues later.
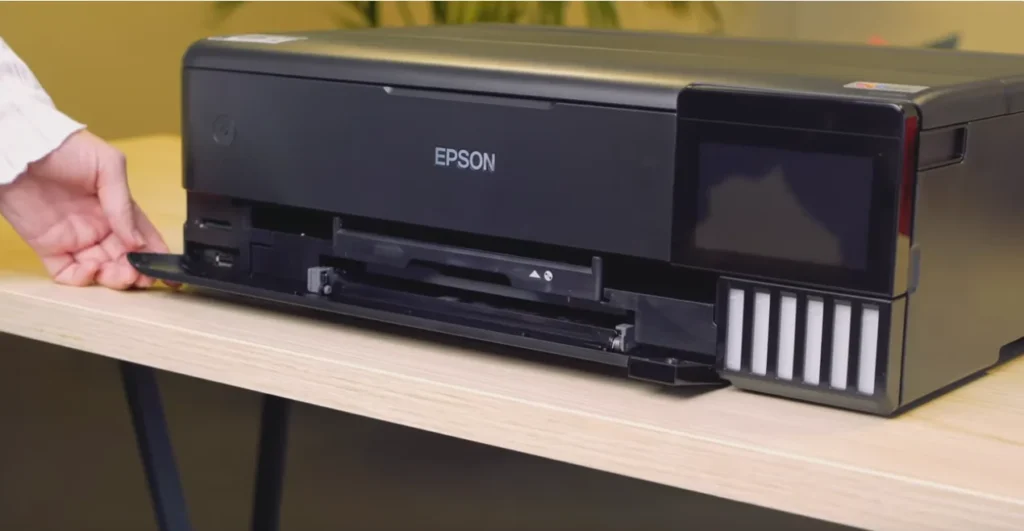
Step 1 — Unbox and Prepare the Printer
Set up your printer following the Epson manual:
- Connect power and turn it on
- Load paper into the tray
- Do NOT install the original Epson ink
This is critical. Using regular ink first will contaminate the system.
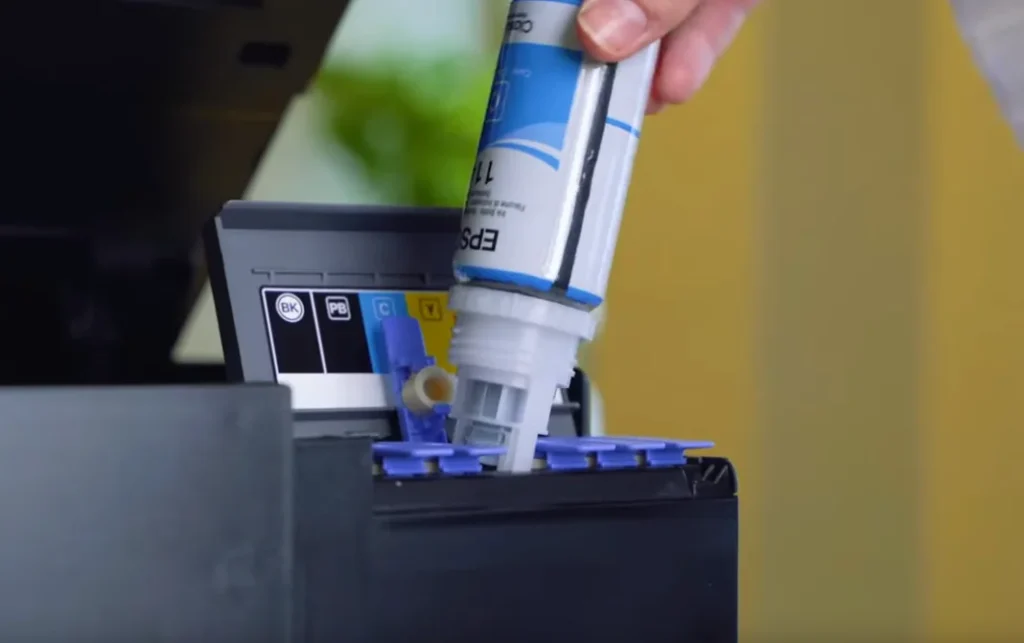
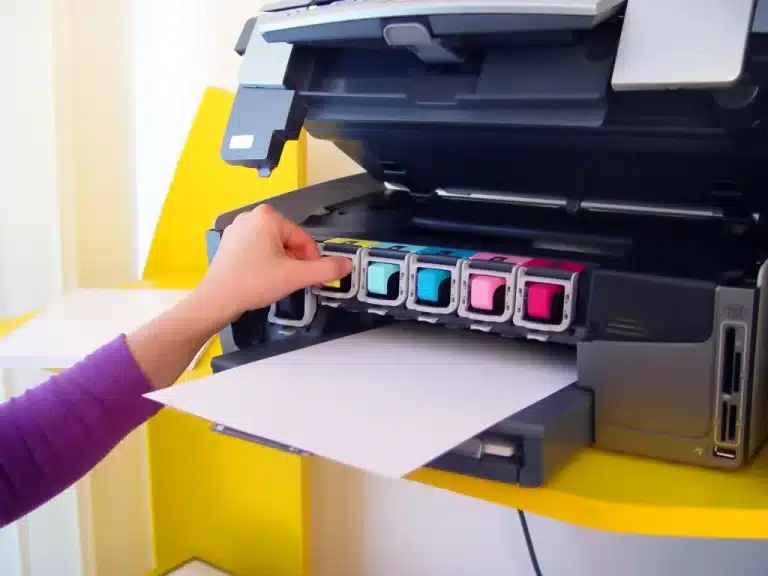
Step 2 — Fill Sublimation Ink Tanks
Now fill the ink tanks with sublimation ink:
- Wear gloves to avoid stains
- Match each color correctly (CMYK)
- Fill slowly to prevent air bubbles
- Do not overfill
Take your time here—this step directly impacts print quality.
Step 3 — Install Printer Drivers
Download the latest drivers from Epson’s official website.
- Install on Windows or Mac
- Connect via USB or WiFi
- Confirm the printer is recognized
Step 4 — Adjust Initial Printer Settings
Before printing, adjust your settings:
- Paper Type: Premium Presentation Paper Matte
- Print Quality: High
- Disable “Vivid” or automatic enhancements
These settings help control ink output and improve sublimation transfer.
Step 5 — Mirror Your Design Before Printing
Always mirror your design before printing.
Sublimation transfers flip during pressing, so skipping this step will result in backward images.
Download the latest drivers directly from the Epson ET-8550 driver download page to ensure your printer is properly installed and updated.
Essential Epson ET-8550 Sublimation Print Settings
To get consistent results, use these baseline settings:
- Paper Type: Matte or Photo Paper
- Quality: High
- Color Mode: RGB workflow
- Color Handling:
- Beginners: Printer manages colors
- Advanced: Use ICC profile + “No Color Adjustment”
For deeper color accuracy control, you can explore ICC profiles for sublimation printing.
Using ICC Profiles for Better Color Accuracy
ICC profiles help match what you see on screen to what you print.
Without proper color management, you may notice:
- dull colors
- incorrect tones
- inconsistent prints
If color accuracy becomes an issue, learning proper color correction for sublimation printing can significantly improve results.
First Test Print Checklist
Before starting real projects, run a test print.
Use a simple design that includes:
- color blocks
- gradients
- sharp shapes
Then:
- Run a nozzle check
- Check alignment
- Press onto a test substrate
This helps identify problems early.
Common Setup Mistakes to Avoid
Many beginners run into avoidable issues:
- Using regular ink instead of sublimation ink
- Forgetting to mirror the design
- Printing on the wrong side of the paper
- Incorrect heat press settings
- Skipping test prints
Avoiding these mistakes saves time, money, and frustration.
Quick Troubleshooting After Setup
Even with a correct setup, issues can happen.
Faded or Dull Colors
- Increase heat or pressing time
- Use polyester or coated materials
If this continues, follow this sublimation troubleshooting guide for deeper fixes.
Blurry Prints
- Reduce pressure slightly
- Remove moisture by pre-pressing
Ghosting Issues
- Secure your transfer with heat-resistant tape
- Avoid movement during pressing
Missing Colors or Lines
- Run a nozzle check
- Clean the print head
Regular maintenance is key here’s how to clean a sublimation printer properly.
Pro Tips for Consistent Sublimation Results
Once your setup is complete, consistency matters most.
- Use polyester or coated sublimation blanks
- Keep surfaces clean and lint-free
- Print regularly to prevent clogs
- Test before bulk production
Small adjustments can make a big difference in final print quality.
Frequently Asked Questions
Can I use regular ink in the Epson ET-8550 for sublimation?
No, regular ink will not transfer under heat and can damage your sublimation workflow.
Do I need an ICC profile for the Epson ET-8550?
Not always, but it helps improve color accuracy, especially for detailed designs.
Is the Epson ET-8550 good for beginners?
Yes, it’s a popular option due to its tank system and print size flexibility.
What temperature works best for sublimation?
Most projects work well between 380–400°F for 45–60 seconds, depending on the material.
Can I switch back to normal ink later?
No, once converted, the printer should remain dedicated to sublimation use.


One Comment