
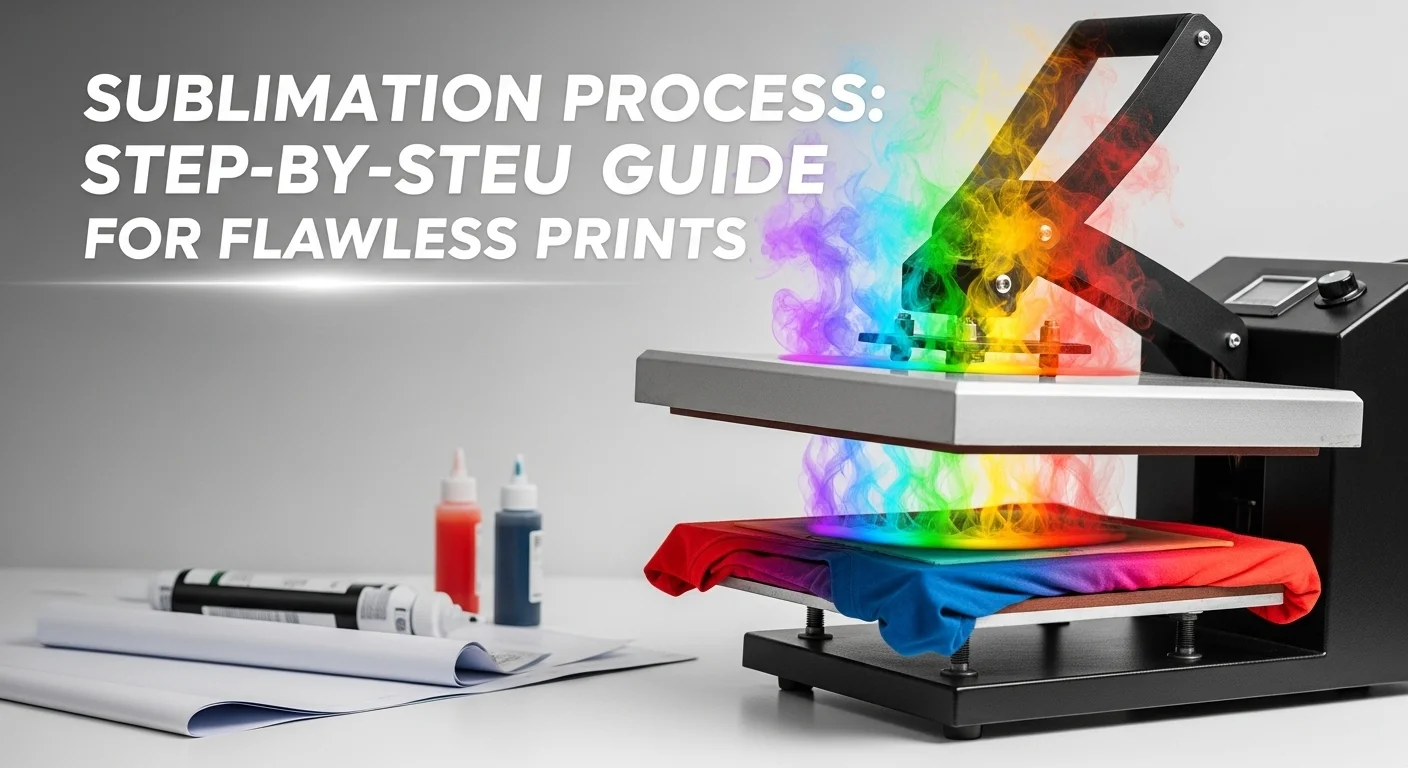
Sublimation Printing Process: Step-by-Step (2026 Guide)

Sublimation printing turns a design into gas with heat, then bonds it permanently into polyester fabric or a polymer-coated surface.
There are five steps: design, print (mirrored), press, transfer, and cool the whole thing takes about 10 minutes once your gear is set up.
Here’s exactly how each step works, the settings that matter, and the mistakes that ruin a transfer.
The Sublimation Printing Process, Step by Step
1. Design Creation Build or download your design in Adobe Illustrator, Canva, or similar. Keep it bold and vector-based so it scales cleanly, and save as a high-resolution PNG. Why it matters: low-res or raster-heavy designs come out blurry once they hit fabric there’s no fixing that after the press.
2. Printing Flip the design horizontally in your software (mirror it), then print onto sublimation paper using your sublimation ink and printer, on the highest quality setting. Why it matters: skip the mirror flip and your text prints backwards this is the single most common beginner mistake.
3. Preparation Preheat your heat press to around 385°F and let it come up to temperature. Lint-roll your blank (shirt, mug, etc.) and give it a quick pre-press to remove moisture and wrinkles. Why it matters: any moisture or debris under the paper shows up as a flaw in the finished print there’s no undo once it’s pressed.
4. Transfer Lay the paper face-down on the blank, secure the edges with heat-resistant tape, and press firmly for 45–60 seconds. Don’t lift the press early that’s the window where the ink turns to gas and bonds into the material. Why it matters: lifting too soon or pressing too lightly is why prints come out faded or patchy heat and pressure both have to hold for the full time.
5. Cooling Peel the paper while it’s still warm (for easy-peel papers) or per your paper’s instructions, then let the piece cool flat for a minute before handling. Why it matters: peeling wrong or handling too soon can smudge or lift ink that hasn’t fully set.
Run through this once on a cheap blank before your first real project a $2 coaster teaches you more than any guide will.
What You Need Before You Start
You can put together a full beginner setup for under $500:
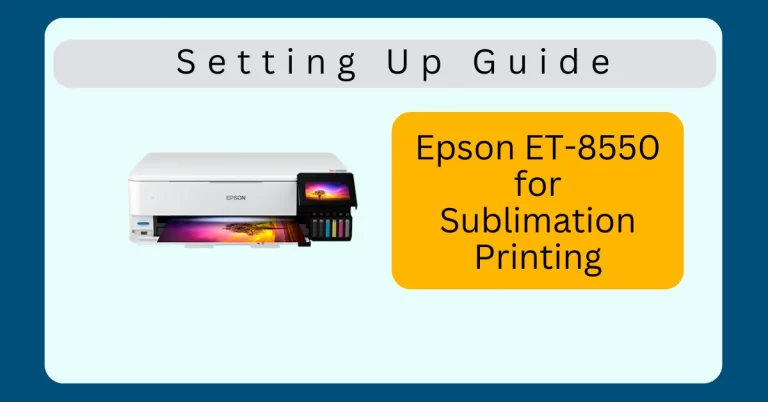
- Printer: Epson EcoTank ET-2720 or SureColor F170 ($170–$400) converts to run sublimation ink without constant refills.
- Ink: A sublimation dye CMYK kit (Hiipoo, Koala, etc.) around $20 for a full set.
- Paper: A-Sub or Epson transfer sheets $20–$35 per 100 sheets.
- Heat press: Cricut EasyPress 2 for flat items ($149), or a mug press for drinkware.
- Blanks: Polyester shirts, coated mugs, or phone cases a few dollars each.
- Extras: Heat-resistant tape, a lint roller, and heat-resistant gloves under $10 total.
Rough total to get started: ~$350–$700 depending on printer choice.
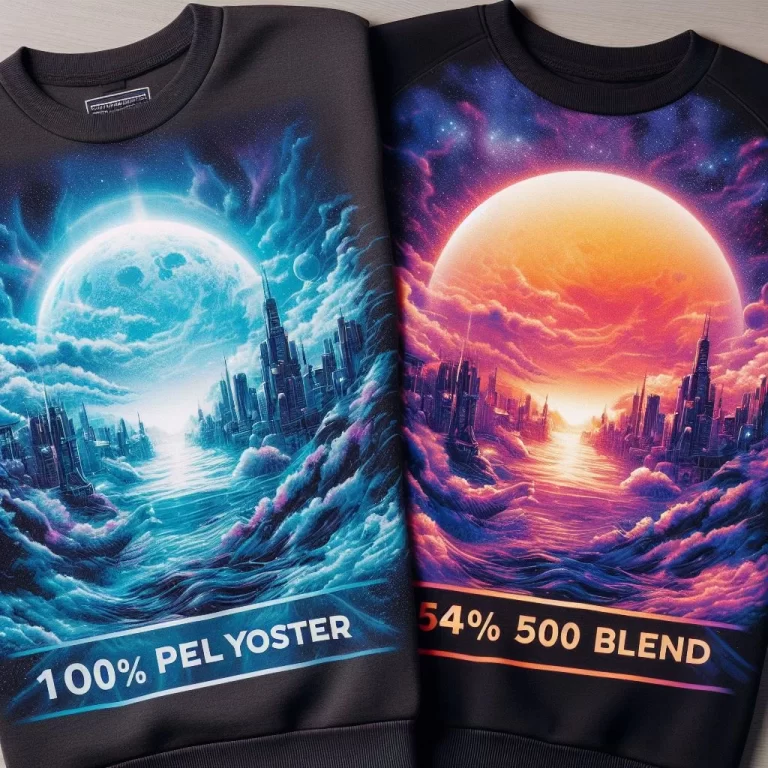
Compatible materials: polyester fabric, white/light ceramic mugs, aluminum or stainless steel, white or clear glass, some woods (birch, beech), plus phone cases and mousepads. Compatibility depends on your specific equipment check the manufacturer’s spec before buying blanks in bulk.
Common Mistakes & Troubleshooting
Fading prints: Usually low heat, short press time, or old ink. Stick to ~385°F for 45 seconds on polyester, and don’t use ink that’s been sitting for 6+ months.
Ghosting: Caused by the paper shifting mid-press. Secure every edge with heat-resistant tape before you press, especially on curved surfaces like tumblers.
Uneven transfers: Usually a heat press with hot spots or uneven pressure. Test with plain paper first to map out any dead zones on your platen.
Backwards designs: You forgot to mirror the image before printing. Flip it every single time, no exceptions set a habit or use registration marks if your software supports them.
Sublimation vs. Other Printing Methods
| Feature | Sublimation | Screen Printing |
|---|---|---|
| Fading resistance | High | Low |
| Wear resistance | High | Low |
| Best fabric | Polyester | Cotton |
| Durability | Long-lasting | Prone to fading |
| Feature | Sublimation | DTG Printing |
|---|---|---|
| Durability | High | Medium |
| Cracking | Less prone | More prone |
| Image quality | Photorealistic | Good |
| Material versatility | Wide range | Limited |
Sublimation also has no minimum order quantity and low setup cost, which makes it the better choice for one-off gifts, prototypes, and small-batch runs screen printing only starts winning on cost once you’re past a few hundred units.
The Chemistry, Briefly
Sublimation is a solid-to-gas phase change the ink skips the liquid stage entirely when heated, which is what lets it bond into the fibers of the material instead of sitting on top like regular ink or vinyl.
It’s the same physical process used in freeze-drying and industrial purification, just applied to printing since the mid-20th century.
Want the full explainer, including what makes it different from other “sublimation” you might have heard of? See What Sublimation Is.
See our details post about sublimation printing.
FAQs
What are the steps for sublimation printing?
Design your artwork, mirror and print it on sublimation paper, preheat your blank and press, transfer with heat and pressure for 45–60 seconds, then cool and peel. See the full step-by-step above.
How is the process of sublimation done?
Heat turns the solid dye directly into a gas (no liquid stage), and that gas bonds into the fibers of a polyester or polymer-coated surface under pressure from a heat press. Once it cools, the dye is locked into the material itself rather than sitting on top of it.
How do I start sublimation printing?
You need a sublimation printer and ink, sublimation paper, a heat press, and a compatible blank (polyester fabric or a coated surface). Budget roughly $350–$700 for a beginner setup see the equipment list above for specific picks.
What is the process of sublimation?
In chemistry, it’s a phase change from solid directly to gas. In printing, that phase change is what lets dye bond permanently into a material under heat see What Sublimation Is for the full explanation.
Do I need a special printer for sublimation?
Yes sublimation ink requires a printer built or converted for it (like the Epson EcoTank line). A regular inkjet printer with regular ink can’t produce a sublimation transfer


25 Comments