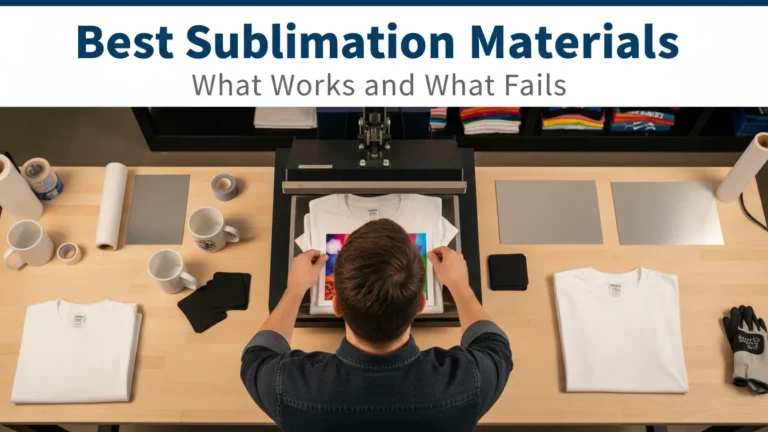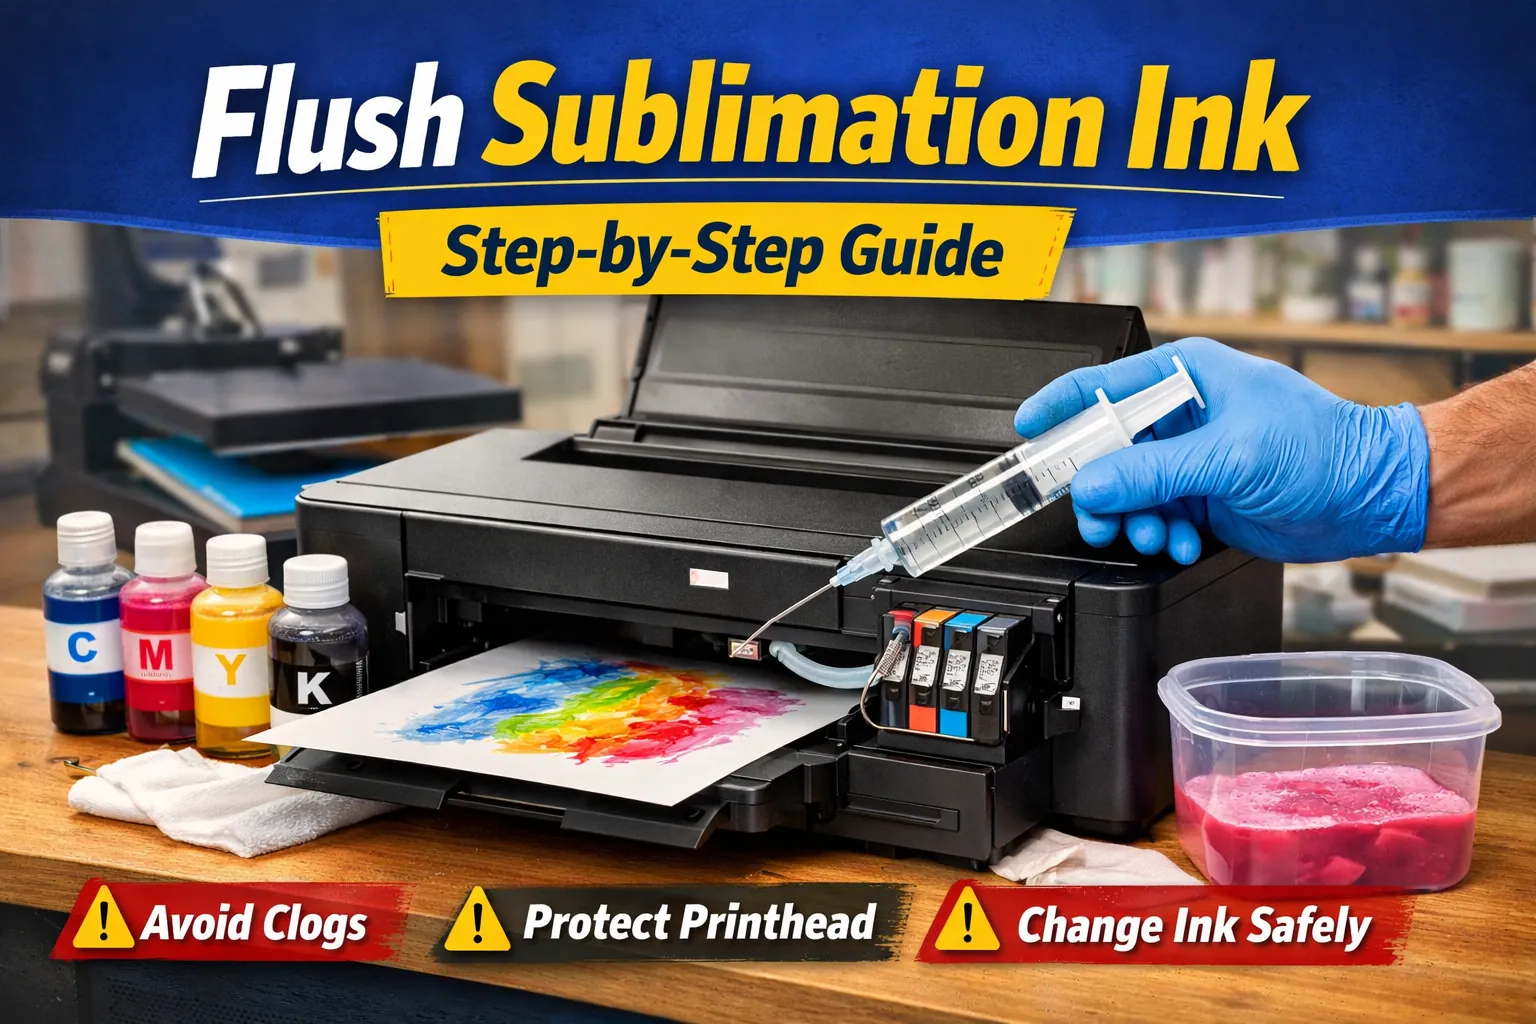
How to Flush Sublimation Ink from a Printer (Step-by-Step Guide)
Flushing sublimation ink isn’t something you do casually. It’s usually necessary when you’re switching ink brands, dealing with contamination, fixing stubborn clogs, or preparing a printer for storage.
Why does this matter? Because leftover ink inside the system can mix with new ink, shift colors, clog lines, and even damage your printhead. Ink chemistry isn’t forgiving. If you’re switching brands, don’t skip this step, especially since mixing sublimation ink brands can create unpredictable results.
Bottom line. Flushing protects your printer and your print quality.
Always follow your printer manufacturer’s guidelines before starting. This guide gives you a clean, practical process, but your specific model’s manual should always take priority.
When Should You Flush Sublimation Ink?
Here’s when flushing is the right move:
➡️ You’re switching to a different sublimation ink brand
➡️ You’re converting a brand-new printer from regular ink to sublimation
➡️ You’re dealing with severe clogging or ink contamination
➡️ You’re preparing the printer for long-term storage
If you’re not switching brands or solving a problem, routine flushing isn’t necessary. Unnecessary flushing increases wear on the system.
If you’re unsure how sublimation ink differs from regular ink and why flushing matters during transitions, this breakdown of sublimation ink vs regular ink explains the chemical difference clearly.
Before You Start (Important Warnings)
Flushing sounds simple. It isn’t risk-free.
➡️ It may void your printer warranty
➡️ Incorrect pressure can damage the printhead
➡️ Wrong cleaning solution can cause internal damage
➡️ Excess cleaning cycles can overheat components
Always:
➡️ Check your printer’s official manual
➡️ Use cleaning solution designed for your printer type
➡️ Work slowly and gently
This is maintenance, not force cleaning.
Tools You’ll Need
Keep it simple.
➡️ Printer-compatible cleaning solution
➡️ Syringe or flushing kit
➡️ Lint-free cloth
➡️ Gloves
➡️ Waste container for expelled ink
No shortcuts here. Don’t use tap water. Don’t improvise chemicals.
Step-by-Step: How to Flush Sublimation Ink from Your Printer
Follow these steps in orderStep 1 – Power Down and Unplug
Turn off the printer completely and unplug it.
You’re working around electrical components and ink systems. Don’t skip this.
Step 2 – Remove Ink from Tanks or Cartridges
Carefully extract the remaining sublimation ink.
➡️ For EcoTank-style printers, remove ink from the tanks
➡️ For cartridge systems, remove cartridges
Dispose of old ink responsibly. Avoid spills inside the printer body.
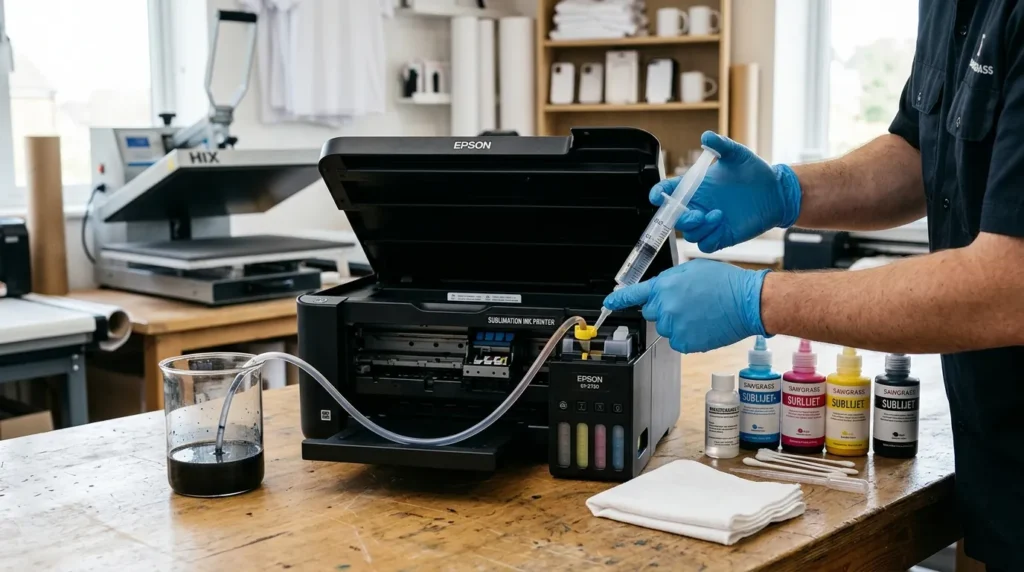
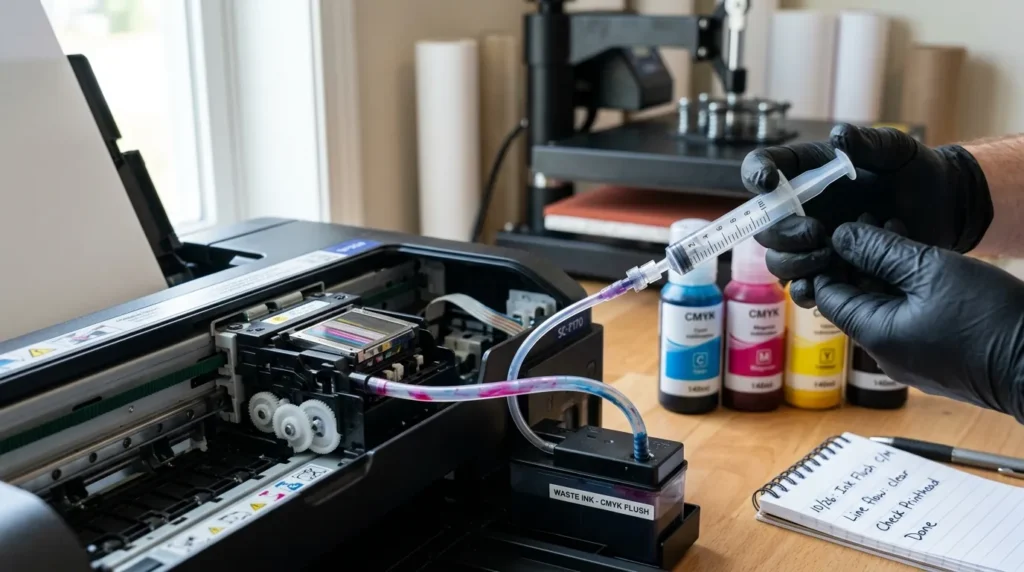
Step 3 – Introduce Cleaning Solution
Using your syringe or flushing kit:
➡️ Slowly inject cleaning solution into the ink lines or cartridges
➡️ Apply gentle, steady pressure
➡️ Never force resistance
The goal is to push remaining ink out, not to blast the system.
Step 4 – Run Cleaning Cycles
Plug the printer back in.
Use the maintenance menu to run head cleaning cycles.
➡️ Run one cycle
➡️ Wait a few minutes
➡️ Run a nozzle check
Don’t run repeated cycles back-to-back without pause. Printheads generate heat.
Step 5 – Repeat Until Clear
You may need to repeat the flush and cleaning cycle process.
Continue until:
➡️ The expelled liquid appears clear
➡️ No colored ink residue remains
Patience here prevents long-term color contamination.
Step 6 – Let System Dry (If Required)
Some manufacturers recommend allowing the system to rest.
➡️ Let residual solution settle
➡️ Allow partial evaporation if required
Check your manual. Don’t assume drying time is optional.
After Flushing: What to Do Next
Now you’re ready to move forward.
➡️ Refill with your new sublimation ink
➡️ Run a nozzle check
➡️ Print a small test design
➡️ Monitor for accurate colors
If colors look off at first, minor adjustments may be needed as the system stabilizes.
Avoid jumping into full production immediately.
Common Mistakes to Avoid
These are the errors that cause most printer damage.
➡️ Mixing different cleaning solutions
➡️ Flushing too aggressively with high pressure
➡️ Using tap water instead of proper solution
➡️ Skipping nozzle tests
➡️ Switching back and forth between brands repeatedly
Frequent brand changes increase contamination risk and instability inside the ink system.
Can You Switch Back to Regular Ink After Sublimation?
Short answer. Not recommended.
Here’s why:
➡️ Residual sublimation dye can remain in the system
➡️ Color contamination becomes likely
➡️ Long-term stability decreases
➡️ Performance becomes unpredictable
Once a printer is converted to sublimation, it’s best to keep it dedicated to that purpose.
Frequently Asked Questions
How long does it take to flush sublimation ink?
Typically 30 to 90 minutes, depending on printer design and clog severity.
Do I need a special cleaning solution?
Yes. Always use a printer-compatible cleaning solution. Never substitute with water.
Can I flush without removing cartridges?
It depends on your printer’s design. Some systems allow in-line flushing, others require cartridge removal.
How many cleaning cycles are too many?
Running too many back-to-back cycles can overheat the printhead. Space them out and monitor temperature.
Should I flush every time I change ink bottles?
Not if you’re staying with the same brand and formula. Flushing is mainly for brand changes or contamination.
Final Words:
Flushing sublimation ink protects your printer.
It prevents color contamination, clogging, and long-term instability.
Follow manufacturer instructions carefully.
Use proper cleaning solution.
Avoid switching ink brands repeatedly.
Clean transitions keep your printer consistent, reliable, and production-ready.