How to Use Polycrylic for Sublimation: A Complete Guide
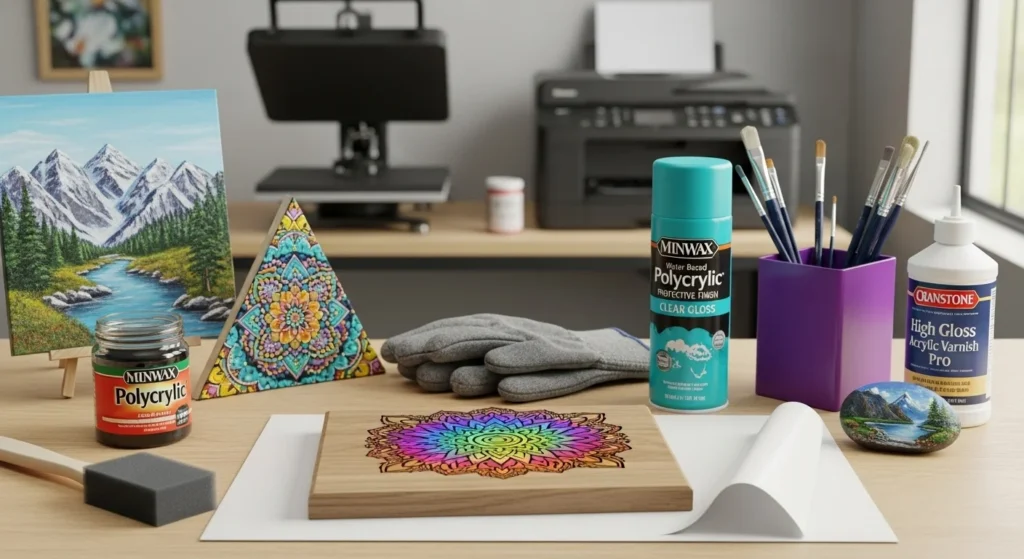
If you want to sublimate on wood, tile, canvas, or other non-polyester surfaces, polycrylic can help make it possible. Sublimation ink bonds best with polyester, and most raw materials simply don’t have that coating. That’s where polycrylic comes in.
When applied correctly, water-based polycrylic creates a smooth, sealed surface that allows sublimation ink to transfer cleanly and produce vibrant, long-lasting results.
In this step-by-step guide, you’ll learn exactly how to prepare the surface, apply polycrylic properly, avoid common mistakes, and press your design for the best outcome. No guesswork, just a clear process you can follow with confidence.
What You Need Before You Start
Before you even open the polycrylic, make sure you’ve got everything ready. Sublimation moves fast once heat is involved, so it’s better to set up first instead of scrambling halfway through.
Here’s what you’ll need:
Materials
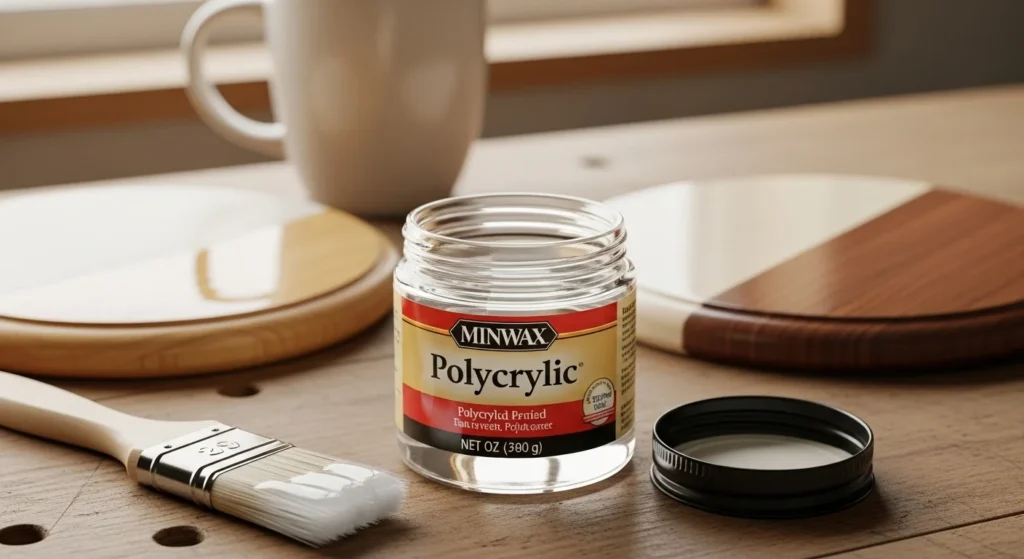
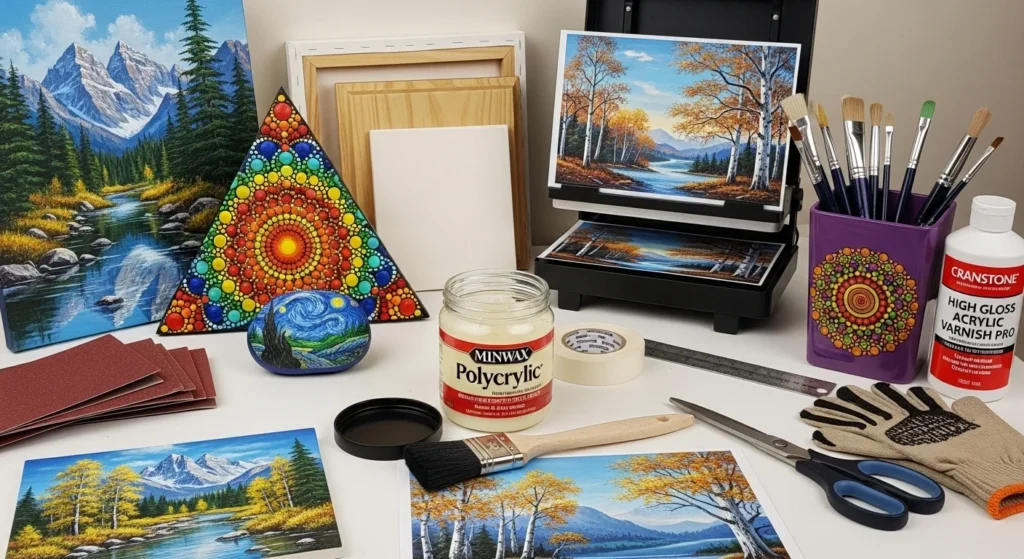
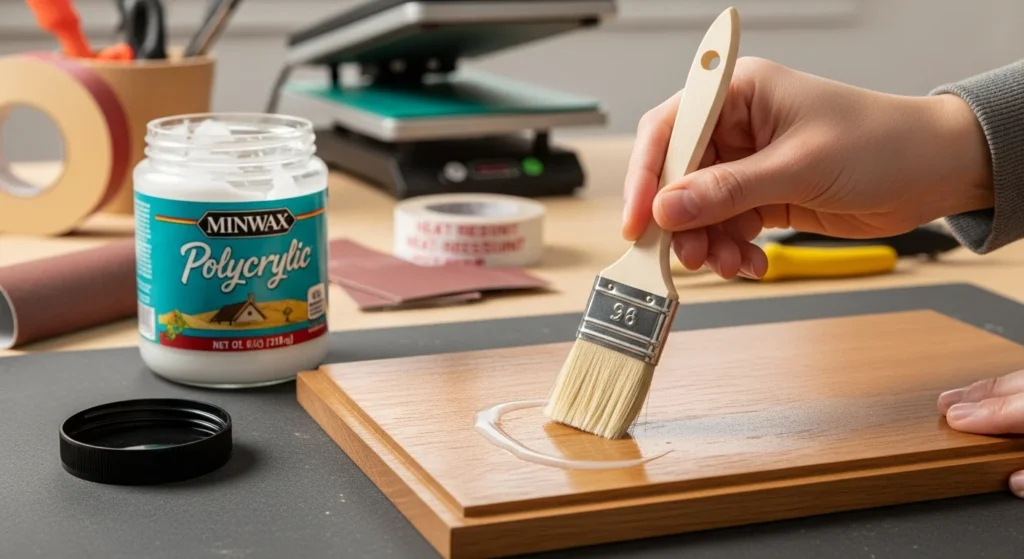
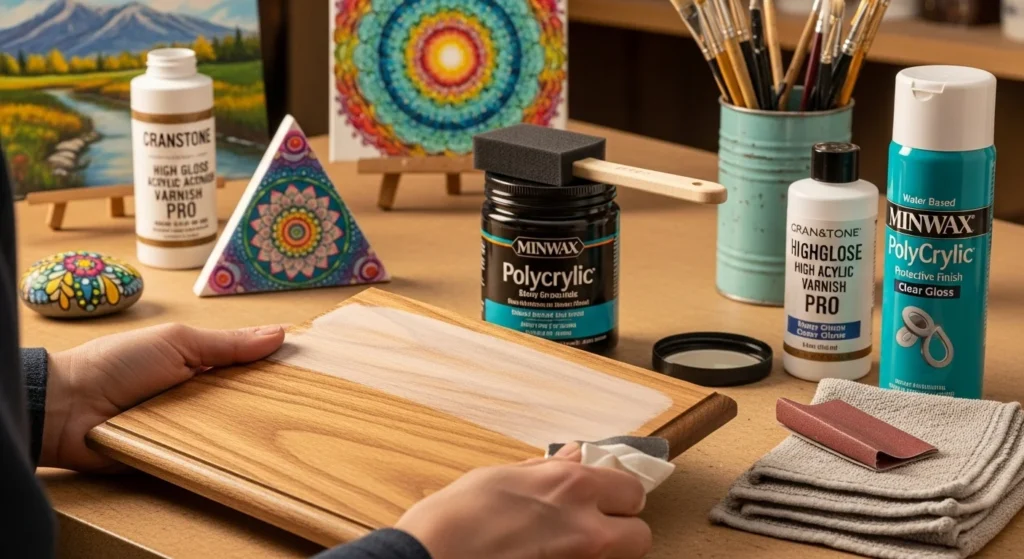
- Water-based polycrylic, liquid or spray
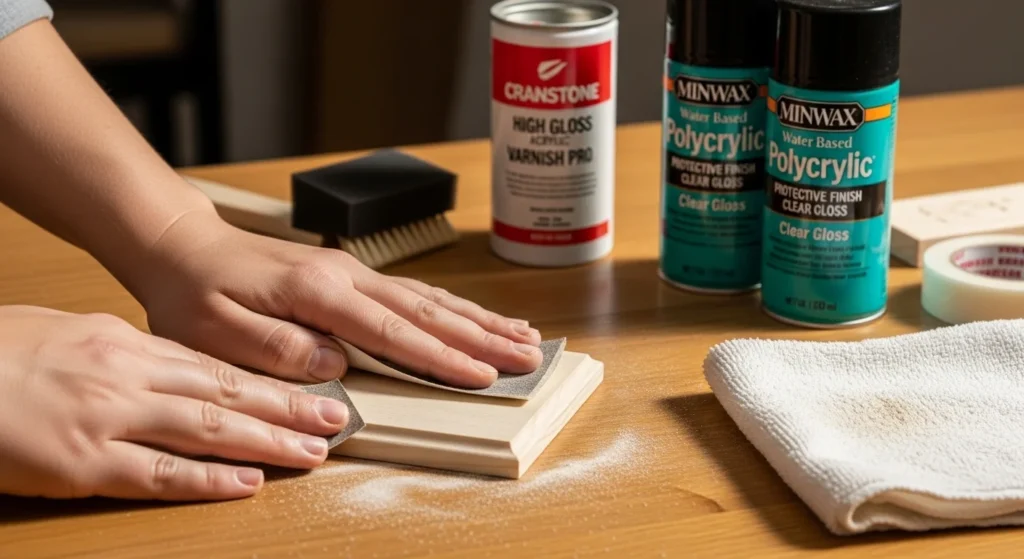
- 120-grit sandpaper
- 400-grit sandpaper
- Foam brush or soft bristle brush
- Lint-free cloth
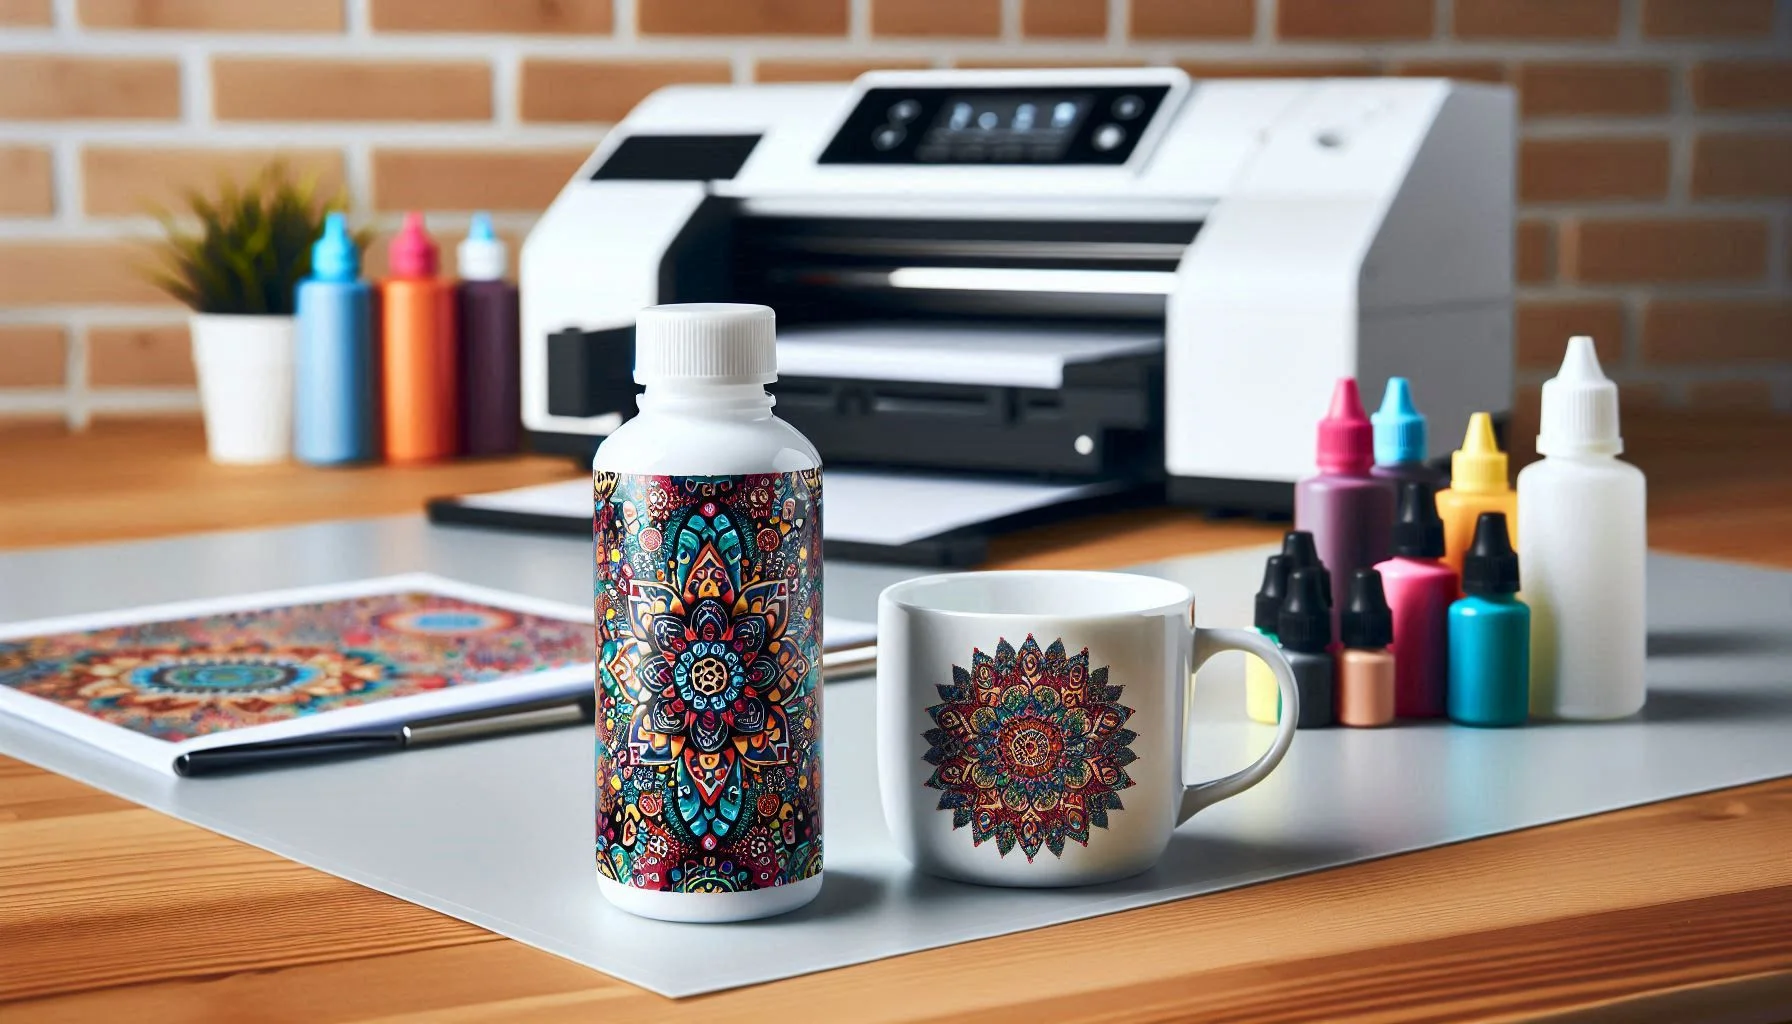
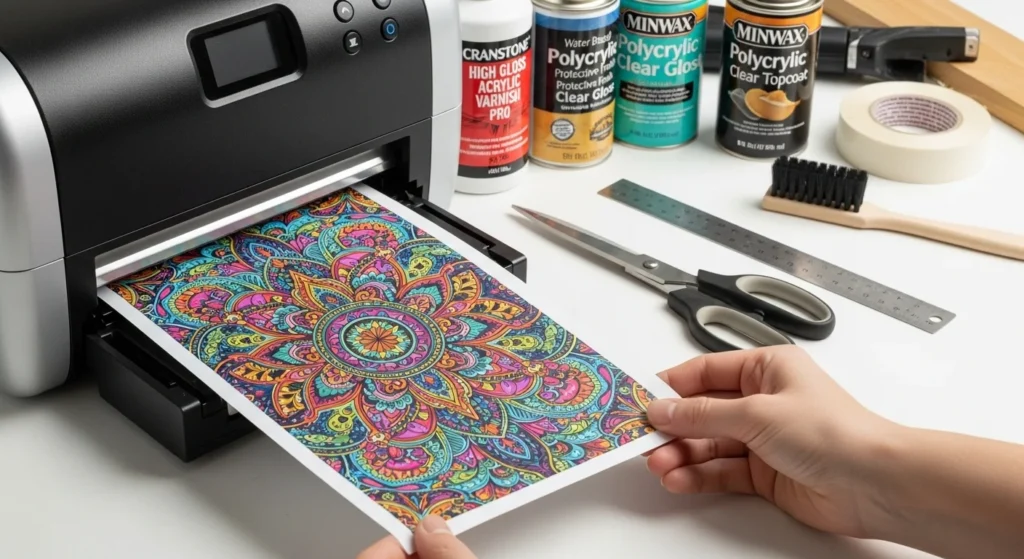
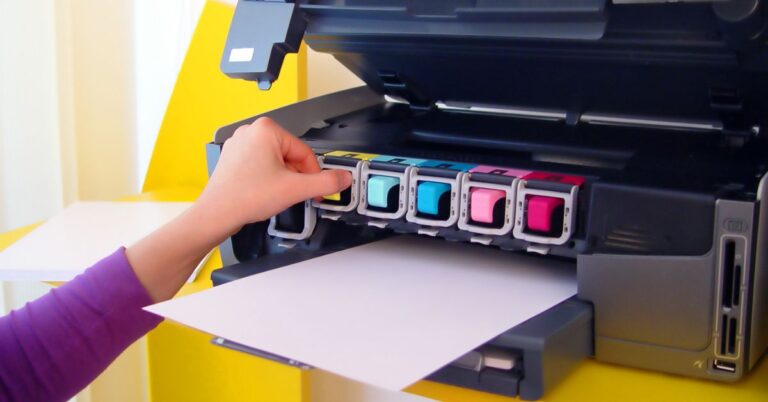
- Sublimation printer and sublimation paper
- Heat press or household iron
- Heat-resistant tape
- Butcher paper
- Heat-resistant gloves
- The surface you’re sublimating on, wood, tile, canvas, or metal
A quick note here. Always use water-based polycrylic, not oil-based. Oil-based versions can yellow over time and don’t handle heat the same way. Water-based dries clear, cures faster, and works better with sublimation transfers.
Also, test on a scrap piece if you can. Different brands of polycrylic and different surfaces can react slightly differently under heat. A small test saves a lot of frustration later.
Once everything’s prepped and within reach, you’re ready to move on to surface preparation.
Step 1: Prepare the Surface
Use the 120-grit sandpaper to lightly sand the surface of the material you want to sublimate. This will remove dirt, dust, or imperfections and create a smooth surface. Wipe off any residue with a damp cloth and let it dry completely.
Step 2: Apply the First Coat
Use the paintbrush to apply a thin and even coat of polyacrylic to the surface. Make sure to cover the entire area where you want to transfer the design. If you are using a spray or wipe-on polyacrylic, follow the instructions on the label. Let the polyacrylic dry for about an hour or until it is no longer tacky.
Step 3: Apply the Second Coat
Use the 400-grit sandpaper to lightly sand the surface again. This will smooth out bubbles or brush strokes and improve the second coat’s adhesion. Wipe off any residue with a damp cloth and let it dry completely. Apply another thin and even coat of polyacrylic to the surface and let it dry overnight or for at least 12 hours.
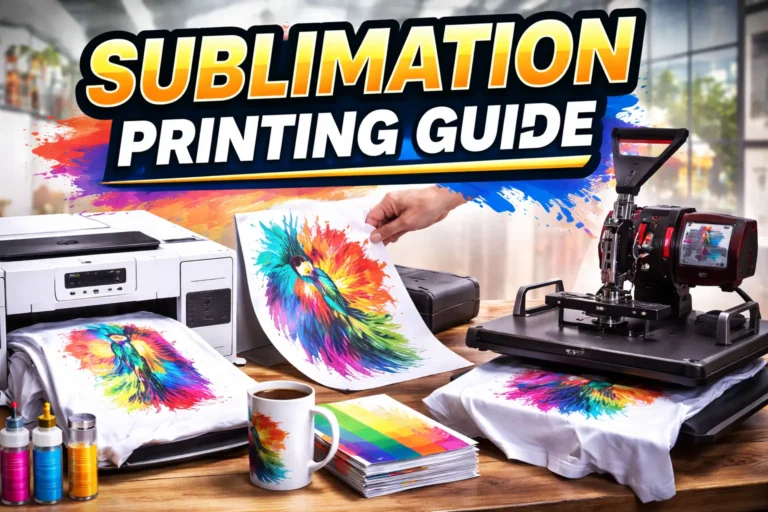
Step 4: Print and Mirror Your Design
Use your sublimation printer and paper to print the design you want to transfer. Make sure to mirror the image and adjust the settings according to the type and size of the paper. Use the scissors and ruler to cut out the design, leaving a small margin around the edges.
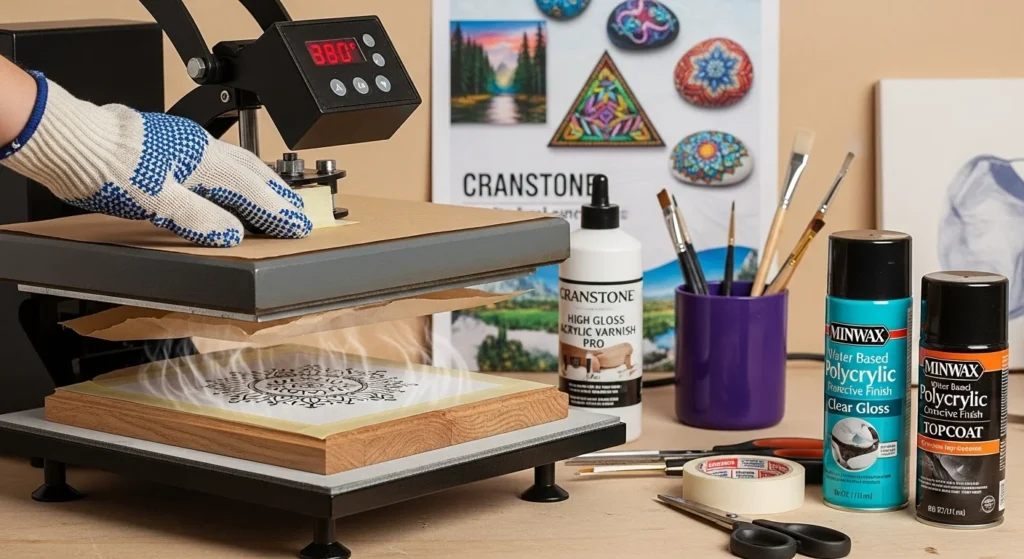
Step 5: Heat Press Settings
Preheat your heat press or iron to the recommended temperature and time for your material.
For example, you may need to press wood at 380°F for 60 seconds, while you may need to press tile at 400°F for 240 seconds.
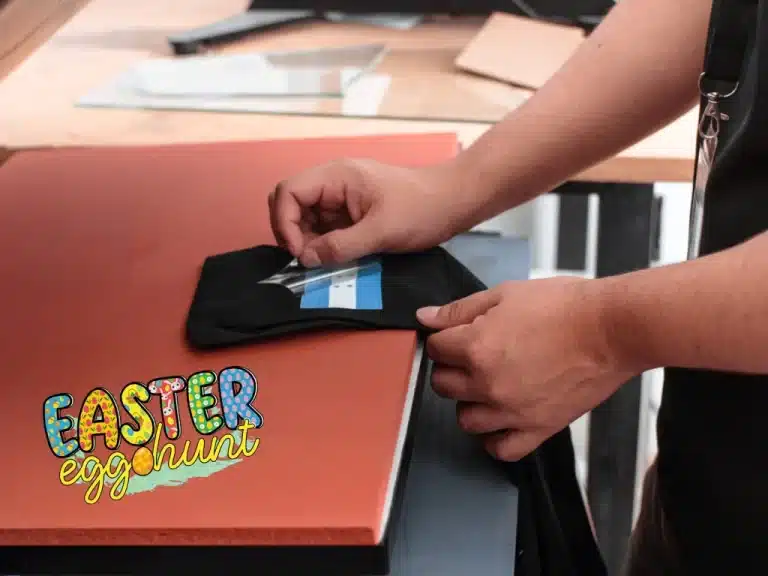
Use heat-resistant tape to secure the design to the surface, ensuring the printed side faces down.
Place the material on the heat press or iron and cover it with a sheet of butcher paper. Press the design firmly and evenly, applying enough pressure and heat.
Carefully remove the material from the heat press or iron and peel off the paper while it is hot. Use heat-resistant gloves to avoid burning yourself.
Polycrylic can be used for sublimation on wood and tumblers, but it is not recommended for sublimation on cotton.
Press Settings by Material
Use these as starting points; test on scraps as results can vary by equipment and environment.
| Material | Temperature (°F) | Time (Seconds) | Pressure |
|---|---|---|---|
| Wood | 385-400 | 45-60 | Medium |
| Ceramic Tiles | 380-400 | 180-300 | Light-Medium |
| Metal | 375-395 | 45-60 | Medium |
| Cotton Fabric | 385-400 | 45-60 | Medium |
| Canvas | 380-400 | 60-90 | Medium |
Common Mistakes to Avoid
Quick truth, most polycrylic sublimation problems aren’t from the printer. They usually happen during prep or coating. A few small mistakes can mean dull colors, peeling, or uneven results.
Here’s what to watch out for:
1. Skipping surface prep
If you don’t sand and clean the surface first, the polycrylic won’t bond properly. Dust, oils, or tiny bumps can show through after pressing. Always sand lightly and wipe everything down before applying your first coat.
2. Applying thick coats
Thicker is not better here. Heavy coats trap moisture and create bubbles. They also take longer to cure and can soften under heat. Stick to thin, even layers. Two or three light coats beat one thick one every time.
3. Not letting it cure fully
Dry and cured are not the same thing. It may feel dry to the touch after an hour, but it still needs proper curing time before pressing. If you rush this step, the heat can cause cloudiness or lifting.
4. Forgetting to sand between coats
Light sanding with fine-grit paper between coats smooths out brush marks and helps the next layer stick better. Skipping this step can leave texture that shows through your final print.
5. Using oil-based polycrylic
Oil-based formulas can yellow over time and don’t respond to heat the same way. For sublimation, always use water-based polycrylic.
6. Incorrect heat settings
Too much heat can scorch the coating. Too little heat can result in faded transfers. Start with recommended settings for your material and adjust based on testing.
7. Peeling the paper too late
For most hard surfaces, you want to remove the transfer paper while it’s still hot. Waiting too long can sometimes cause ghosting or dull areas.
If you avoid these common issues, your colors will look brighter, your surface will stay smooth, and your results will be much more consistent. Small details matter a lot with polycrylic, especially once heat gets involved.
Professional Sublimation Printing & Wholesale Custom Products
Looking for high-quality sublimation printing for apparel, drinkware, and promotional items? Subli Genius Print delivers vibrant color, sharp detail, and long-lasting results for businesses, brands, and resellers across the U.S.
FAQs About Using Polycrylic for Sublimation
Why use polycrylic before sublimation?
Polycrylic creates a sealed surface that allows sublimation ink to bond during heat pressing. Since sublimation works best on polyester-coated materials, applying water-based polycrylic helps non-polyester surfaces like wood accept the transfer more effectively.
Can I use any type of polycrylic?
You should use water-based polycrylic. It dries clear, handles heat better, and does not yellow like oil-based versions. Oil-based finishes can discolor over time and may not respond well under a heat press.
How many coats of polycrylic are needed?
Two to three thin coats are recommended. Thin layers create a smoother surface and reduce bubbles or brush marks. Light sanding between coats improves adhesion and finish quality.
Do I need to sand between coats?
Yes. Light sanding with fine-grit sandpaper between coats helps smooth the surface and ensures the next layer bonds properly. This improves the final print clarity.
Can you use polycrylic for sublimation on cotton?
Polycrylic is not ideal for cotton fabric. Sublimation ink bonds best with polyester fibers. For cotton, you’ll need a dedicated sublimation coating spray designed specifically for fabric.


2 Comments