Printables Templates for Sublimation Printing
If you’ve ever wasted a blank because your design printed too big or off-center, templates are about to be your new best friend. These ready-to-use layouts make sizing and placement almost foolproof.
Sublimation printables and templates are pre-made digital designs or layouts that help streamline the sublimation printing process. They ensure correct sizing, alignment, and design placement on items like mugs, shirts, and tumblers. Templates save time, reduce errors, and provide consistency, especially for common products.
What Are Sublimation Printables & Templates?
- Printables: Ready-to-print digital files (often in PNG, JPG, or PDF) with sublimation-friendly designs.
- Templates: Pre-sized digital layouts (usually PSD, AI, or SVG files) that guide design placement for specific products (e.g., 11 oz mugs, 20 oz tumblers, T-shirts).
| Feature | Printables | Templates |
|---|---|---|
| Format | PNG, JPG, PDF | PSD, AI, SVG |
| Purpose | Ready to print designs | Layouts for accurate placement |
| Editing Needed | Minimal | Often editable layers |
| Best For | Quick projects | Custom sizing & alignment |
Both help reduce trial-and-error by ensuring designs fit the intended substrate.
Why Use Templates in Sublimation?
If you’ve ever had a design print too big, off-center, or get chopped at the edges, templates are your secret weapon. They keep everything consistent so you don’t have to “eyeball” every project.
Think of doing 20 mugs for an event… one well-made template keeps each logo perfectly aligned without constant re-measuring.
Here’s why:
- Accurate Sizing
Templates make sure your design fits the blank exactly, so nothing gets stretched or cut off.
How it helps: Prevents sizing mistakes that waste ink, paper, and blanks. - Consistent Placement
Every print lines up the same way across multiple items.
How it helps: Ideal for bulk orders like uniforms, event merch, or branded drinkware. - Time Saver
You set it up once, then reuse it for future projects.
How it helps: No more resizing or manually aligning each job from scratch. - Less Waste
Fewer test prints and do-overs mean less material in the trash.
How it helps: Saves money on blanks and makes your workflow more efficient. - Professional Results
Designs look sharp and uniform, which boosts your brand’s presentation.
How it helps: Clean, repeatable placement gives a polished, production-ready finish.
Check our guide on unique sublimation project ideas here.
Common File Types for Sublimation Templates
| File Type | Best For | Notes |
|---|---|---|
| PNG | Transparent backgrounds; ready-to-print designs | High resolution recommended (300 DPI). |
| JPG | Simple images | Not transparent; less flexible. |
| Printable sheets; multi-page projects | Good for planners, stickers. | |
| PSD (Photoshop) | Layered editing | Requires Photoshop or compatible software. |
| AI (Illustrator) | Vector editing | Scales without losing quality. |
| SVG | Cricut/Silhouette cutting + sublimation | Editable in many design tools. |
Popular Products That Use Templates
Mugs (11 oz, 15 oz standard sizes)


Mug Sublimation Size Chart (11 oz & 15 oz)
| Mug Size | Print Area (inches) | Print Area (pixels @ 300 DPI) | Notes |
|---|---|---|---|
| 11 oz Standard Mug | 8.5″ W × 3.5″ H | 2550 px × 1050 px | Full wrap design; safe zone slightly smaller to avoid cutoff |
| 15 oz Standard Mug | 9″ W × 4″ H | 2700 px × 1200 px | Full wrap design; check brand specs for small variations |
Tumblers (20 oz straight, 30 oz skinny)


Need some inspiration? Check out these 10 sublimation designs that sell fast and see what’s trending.
Tumbler Sublimation Size Chart (20 oz & 30 oz)
| Tumbler Size | Print Area (inches) | Print Area (pixels @ 300 DPI) | Notes |
|---|---|---|---|
| 20 oz Straight Tumbler | 9.3″ W × 8.2″ H | 2790 px × 2460 px | Full wrap; straight sides make design easier to align |
| 30 oz Skinny Tumbler | 10″ W × 9.5″ H | 3000 px × 2850 px | “Skinny” style helps reduce taper distortion, but sizes can vary by brand |
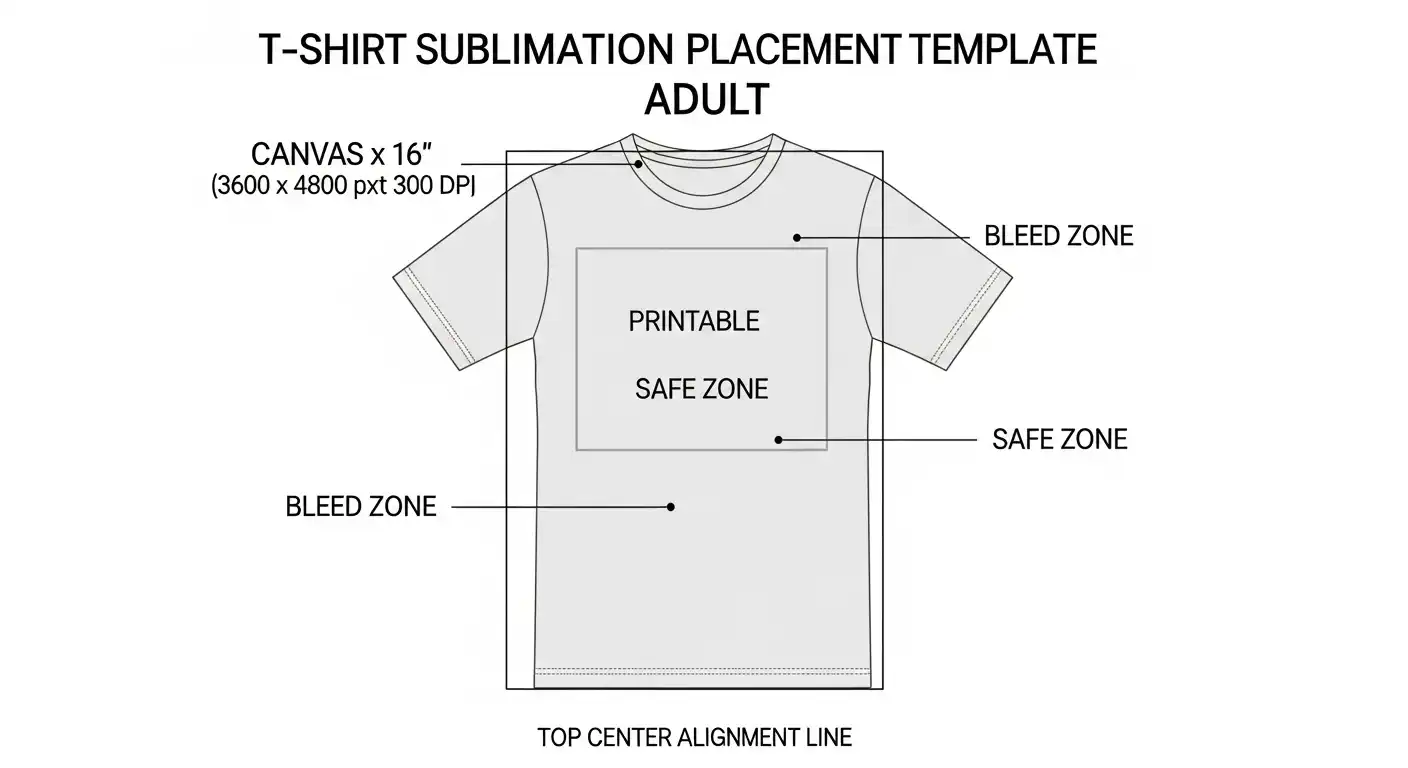
T-Shirts (various adult/youth sizes; front, back, pocket placements)

Sublimation T-Shirt Size & Placement Guide
| Placement | Adult Size (inches) | Adult (pixels @ 300 DPI) | Youth Size (inches) | Youth (pixels @ 300 DPI) | Notes |
|---|---|---|---|---|---|
| Full Front | 12″ W × 16″ H | 3600 × 4800 px | 8″ W × 10″ H | 2400 × 3000 px | Covers chest area; adjust for shirt size |
| Full Back | 12″ W × 16″ H | 3600 × 4800 px | 8″ W × 10″ H | 2400 × 3000 px | Standard back print |
| Center Chest (Logo/Small Design) | 8″ W × 8″ H | 2400 × 2400 px | 6″ W × 6″ H | 1800 × 1800 px | Common for simple designs or slogans |
| Left Chest / Pocket Area | 4″ W × 4″ H | 1200 × 1200 px | 3″ W × 3″ H | 900 × 900 px | Typical logo/pocket placement |
| Sleeve | 3″ W × 3″ H | 900 × 900 px | 2.5″ W × 2.5″ H | 750 × 750 |
✅ Tips for Sublimation T-Shirt Designs
- Always create files at 300 DPI.
- Use transparent PNG backgrounds if printing only a logo or partial design.
- For all-over designs, you’ll need shirt-size-specific templates (varies by brand and style).
- Leave at least 0.25″ bleed to avoid cutoff.
- Test placement with a printable paper mockup before pressing.
If you love designing your own transfers, check out our guide to sublimation printing with Affinity Designer to see how to prep artwork like a pro.
Sublimation Phone Case Design Guide
Typical Sizes (Flat Artwork)
(Always check the exact template from your blank supplier, dimensions vary slightly by brand and model)
| Phone Model | Design Area (inches) | Pixels @ 300 DPI | Notes |
|---|---|---|---|
| iPhone 14 / 15 | ~3″ W × 6.5″ H | 900 × 1950 px | Rounded corners, camera cutout varies |
| iPhone 14 Pro Max / 15 Pro Max | ~3.25″ W × 6.75″ H | 975 × 2025 px | Large camera cutout area |
| Samsung Galaxy S23 | ~3″ W × 6.25″ H | 900 × 1875 px | Slim edges, cutout top center |
| Samsung Galaxy S23 Ultra | ~3.25″ W × 6.75″ H | 975 × 2025 px | Larger width and tall body |
Mousepads & Coasters
Sublimation Size Guide: Mousepads & Coasters
| Product | Common Size (inches) | Pixels @ 300 DPI | Notes |
|---|---|---|---|
| Standard Mousepad (Rectangle) | 9.25″ W × 7.75″ H | 2775 × 2325 px | Rounded corners; add 0.25″ bleed |
| Large Mousepad (Extended) | 31.5″ W × 11.8″ H | 9450 × 3540 px | Popular for gaming setups |
| Square Coaster | 4″ × 4″ | 1200 × 1200 px | Usually hardboard or ceramic |
| Round Coaster | 3.5″ diameter | ~1050 × 1050 px | Circular template needed |
| Hexagon Coaster | 4″ × 4″ | 1200 × 1200 px | Print square, cut to shape |
Pillows & Tote Bags
Sublimation Size Guide: Pillows & Tote Bags
| Product | Common Size (inches) | Pixels @ 300 DPI | Notes |
|---|---|---|---|
| Throw Pillow (Square) | 16″ × 16″ | 4800 × 4800 px | Small size; popular for decorative pillows |
| Throw Pillow (Square) | 18″ × 18″ | 5400 × 5400 px | Standard living room size |
| Throw Pillow (Square) | 20″ × 20″ | 6000 × 6000 px | Large; check pillow insert size |
| Tote Bag (Small) | 13″ × 13″ | 3900 × 3900 px | Often used for kids or light shopping |
| Tote Bag (Medium) | 15″ × 15″ | 4500 × 4500 px | Common everyday tote size |
| Tote Bag (Large) | 18″ × 18″ | 5400 × 5400 px | Oversized; great for beach or groceries |
Check out 5 Reasons Why You Can Sublimate on Canvas Tote Bags
How to Use Sublimation Templates
- Download a template that matches your blank product size.
- Open the file in your design software (Photoshop, Canva, Illustrator, or Silhouette Studio).
- Place your artwork inside the safe print area, making sure nothing important sits outside the bleed zone.
- Print the design on sublimation paper using sublimation ink.
- Press it onto your blank using the recommended time, temperature, and pressure settings for that product.
- Peel & Check your transfer after pressing to make sure the alignment and colors came out clean.
Print a test page on regular paper first to double-check placement before committing to your blank. This simple step can save you from wasted materials.
Tips for Working With Sublimation Templates
- Always double-check dimensions in pixels or inches before printing.
- Use high-resolution designs (300 DPI) for best print quality.
- Print a test sheet on plain paper before sublimation.
- Keep a library of templates for commonly used blanks.
- Label template files with product size and brand for quick access.
New to Cricut? Here’s a simple Cricut Design Space walkthrough to help you get started fast.
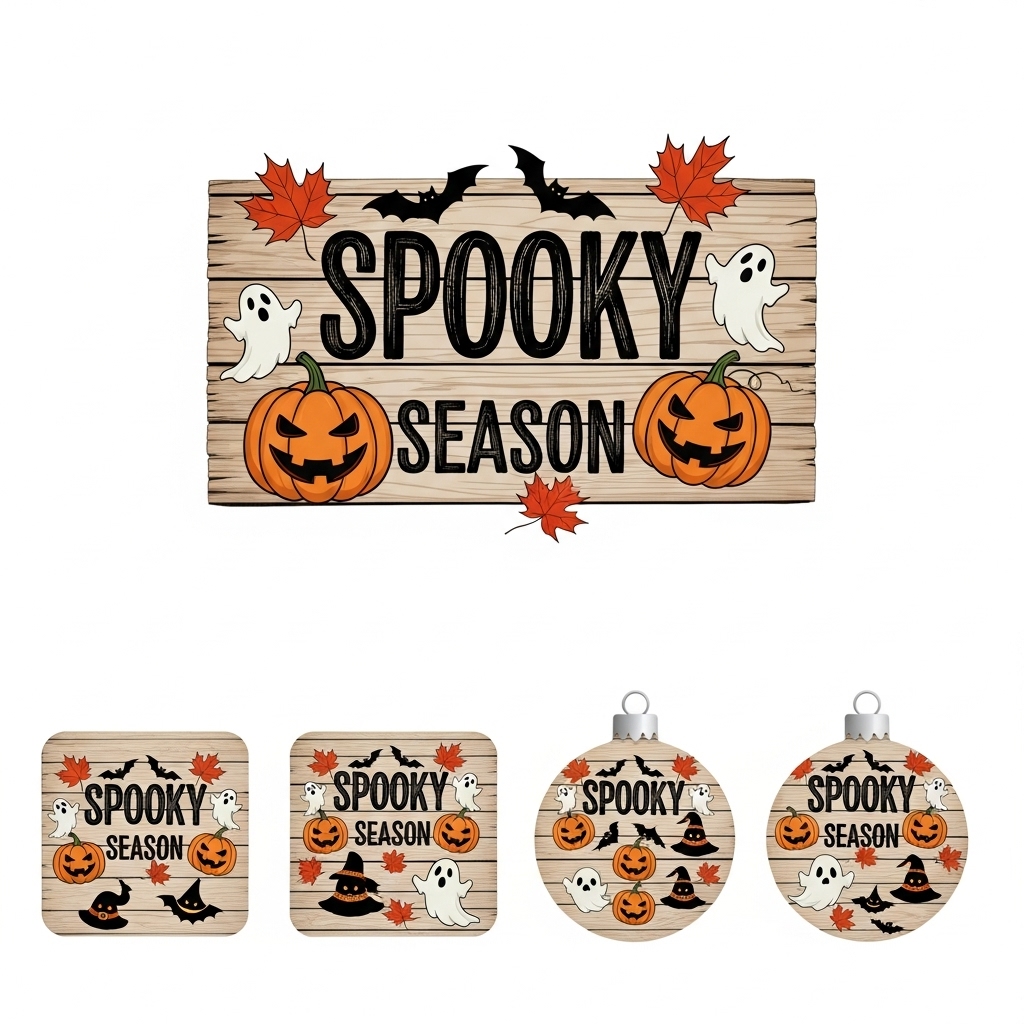
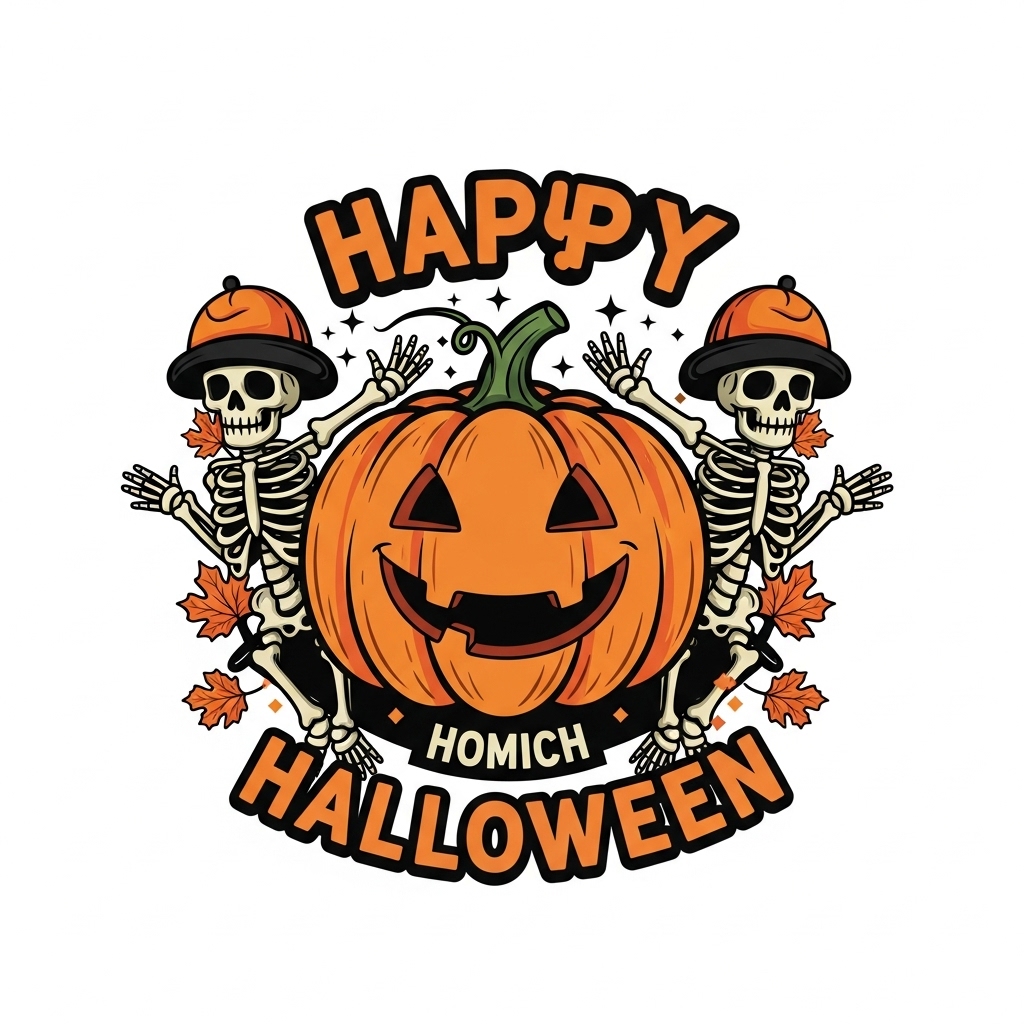
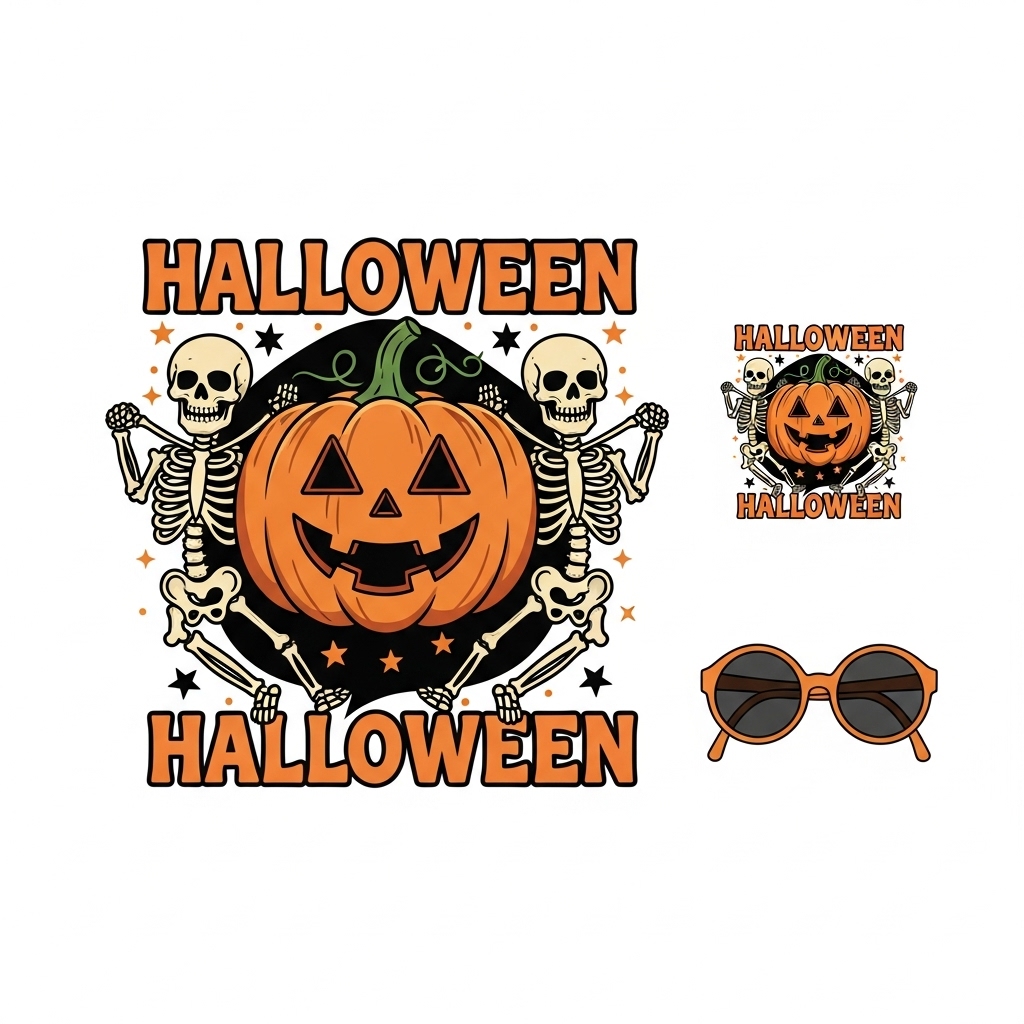
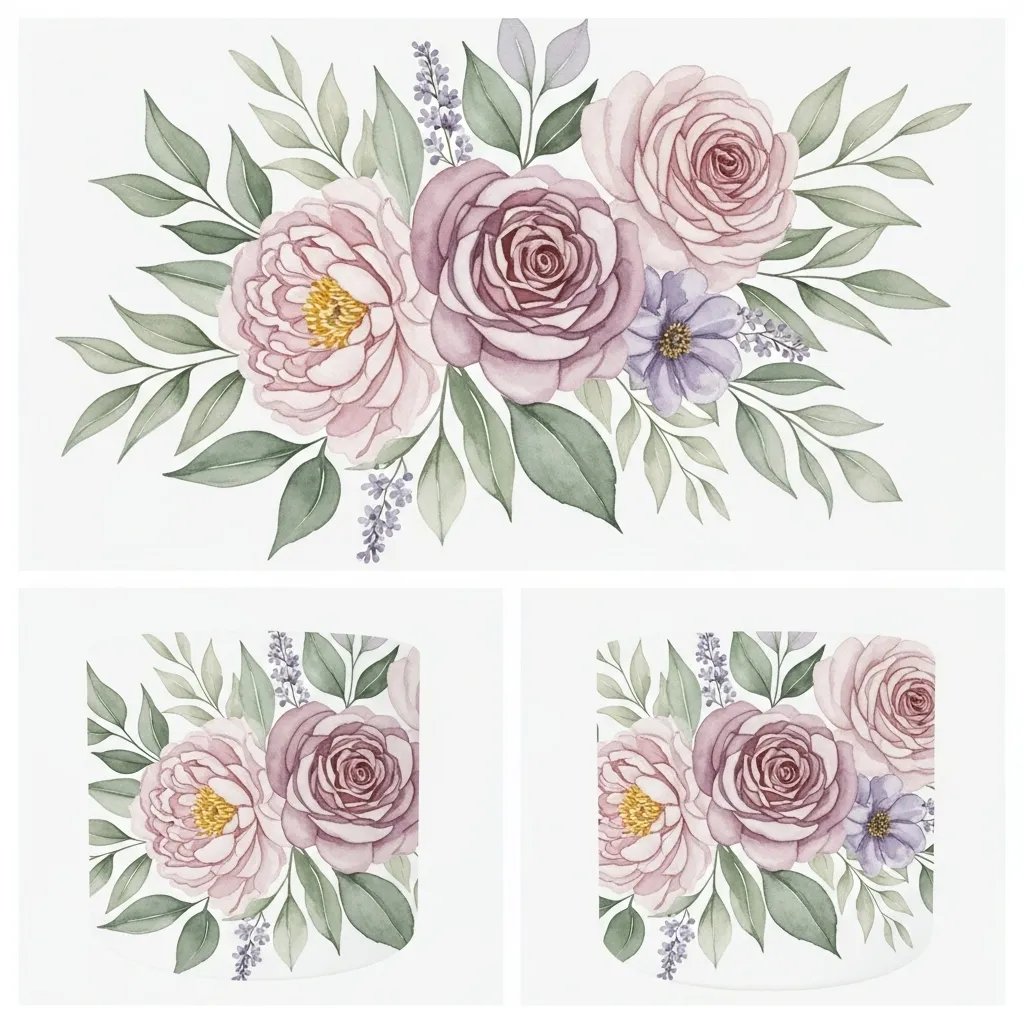
Gallery For Download Free


Professional Sublimation Printing & Wholesale Custom Products
Looking for high-quality sublimation printing for apparel, drinkware, and promotional items? Subli Genius Print delivers vibrant color, sharp detail, and long-lasting results for businesses, brands, and resellers across the U.S.
Grab ready-to-use Cricut and Silhouette SVG cut files that make your designs pop.