Sublimation Troubleshooting: 10 Common Problems, Causes & Fixes

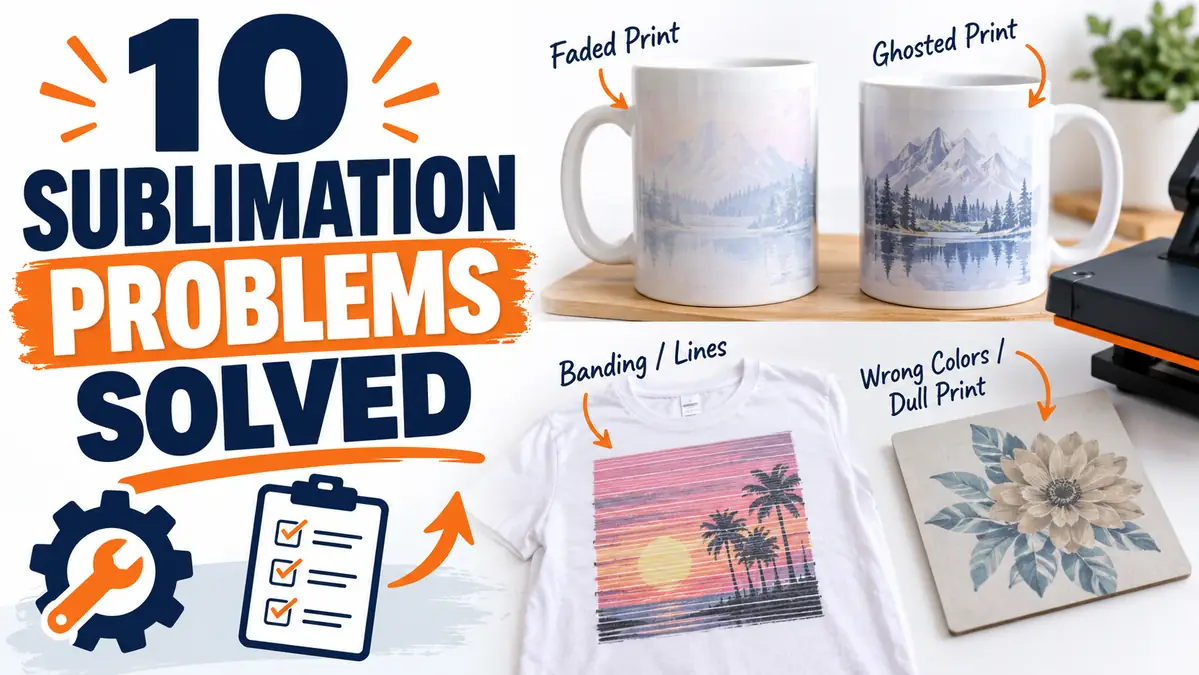
If your sublimation print is faded, ghosted, blurry, streaky, uneven, or not transferring, start by identifying whether the problem appeared before or after pressing.
Printer-side problems usually show on the transfer paper. Press-side problems usually appear after heat is applied.
Consistent testing, record-keeping, and proper care of equipment form the foundation of high-quality sublimation printing.
Quick Sublimation Troubleshooting Chart
| What You See | Most Likely Cause | Check First |
|---|---|---|
| Faded or pale colors | Heat, blank, moisture | Blank compatibility + press temperature |
| Shadow/double image | Transfer movement | Tape/wrap |
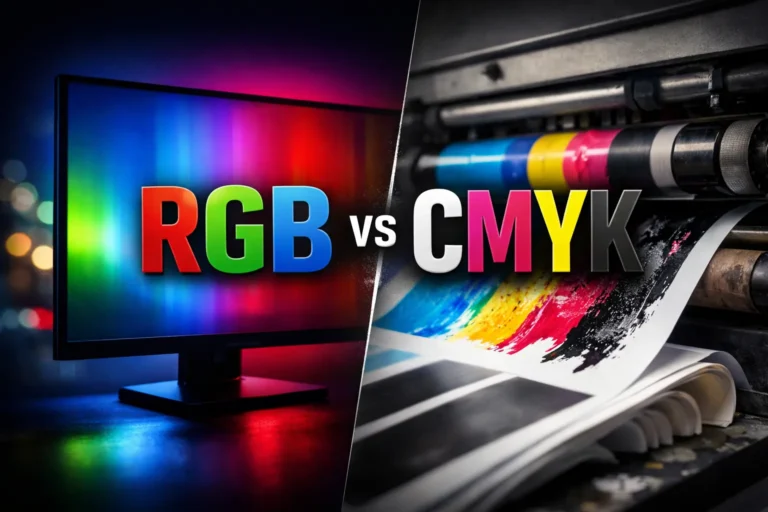
| Wrong colors | Color management | ICC profile + printer settings |
| Horizontal lines | Nozzle/print-head issue | Nozzle check |
| Soft or blurry edges | Artwork or movement | Original file + transfer movement |
| Missing/light areas | Uneven heat/pressure | Press contact |
| Paper sticks | Moisture, coating, excessive heat | Blank + press settings |
| Ink spreads outside edges | Excessive heat/ink/movement | Press settings |
| White/light spots | Lint, debris, moisture | Clean substrate |
| Almost no transfer | Wrong substrate/coating | Blank compatibility |

This guide breaks down 10 common sublimation problems and provides clear solutions. By following these steps, printers can avoid wasted blanks and improve output consistency.
Is It the Printer, Heat Press, or Blank?
Transfer already looks wrong on paper
Check:
- nozzle check
- banding
- missing colors
- printer driver
- ICC profile
- artwork resolution
Epson specifically recommends running a nozzle check when prints have lines, uneven output or missing/faint areas, and cleaning only when the nozzle pattern shows a problem.
Transfer looks normal, but the pressed product looks wrong
Check:
- heat
- time
- pressure
- moisture
- transfer movement
- blank coating
Only one type of blank fails
Suspect:
- coating
- polyester content
- blank-specific settings
- surface contact
Everything you press fails
Start with:
- Printer/nozzle check
- Heat press temperature
- Pressure
- Paper
- Ink/color management
1. Faded or Dull Prints
Faded images are one of the most common frustrations in sublimation.
Causes: For related planning, see What Is a Sublimated Patch? Differences, Uses & Benefits.
- Incorrect heat press temperature or time
- Low-quality sublimation inks or paper
- Blanks with poor or no polyester coating
- Wrong color profile settings
Solutions:
- Confirm your press temperature with an infrared thermometer. Some presses read inaccurately.
- Use ICC profiles provided by the ink manufacturer.
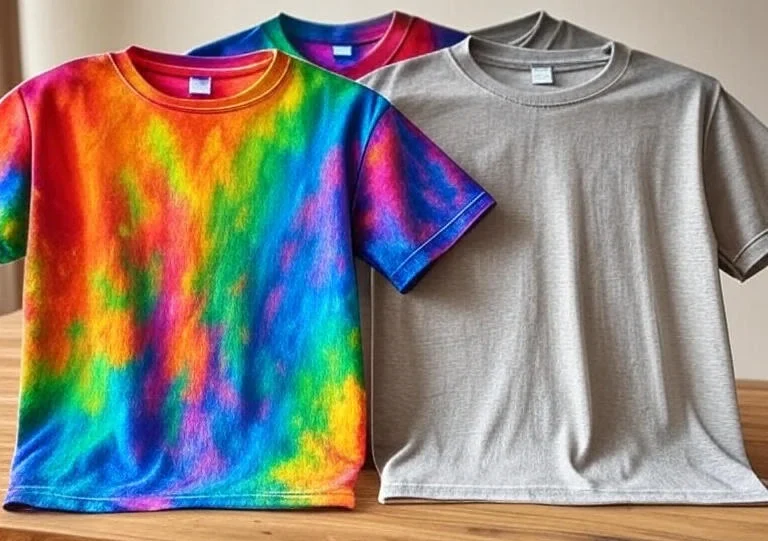
- Stick to blanks labeled for sublimation (polyester fabric or polymer-coated items).
- Store sublimation paper in a cool, dry place to prevent moisture absorption.
2. Ghosting or Shadow Images
Ghosting happens when the sublimation transfer shifts while the dye is still active, creating a faint second image, shadow, or doubled edge.
What usually causes ghosting
- Sublimation paper is not taped securely
- The transfer shifts when the heat press opens
- The blank moves before the paper is safely removed
- Paper is loose around curved surfaces such as mugs
- The transfer is repositioned after heating has started
How to fix ghosting
- Secure the transfer firmly. Use heat-resistant tape so the paper cannot slide during pressing.
- Keep the blank still. Avoid bumping or dragging the transfer when closing or opening the press.
- Lift the press smoothly. Sudden movement can shift the paper while the dye is still hot.
- Wrap mugs tightly. Make sure the transfer stays in full contact with the mug surface without loose edges.
- Follow the blank and transfer-paper instructions for removal. Do not assume every sublimation project requires a hot peel or a cold peel.
If ghosting happens mainly on mugs, the problem is often transfer movement, loose wrapping, or uneven pressure rather than the design itself.
Watch the video below to see how paper movement and other common mug mistakes can cause ghosting, faded colors, and uneven transfers.
3. Colors Not Matching Screen
If the transfer is sharp and evenly pressed but the colors still look wrong, the problem is usually color management rather than heat or pressure.
Check these first
- Make sure the correct ICC profile is selected for your printer and ink combination
- Confirm the printer driver is not applying a second color correction
- Check that the design software and printer settings are using the intended color workflow
- Compare the pressed result to a printed color chart instead of relying only on the monitor
Sublimation colors often look dull on paper before pressing, so judge the final color after heat transfer, not from the unpressed print.
If colors are still inaccurate after checking the basic settings, use the detailed Sublimation Color Problems & Fixes guide for ICC profiles, screen-to-print mismatch, color shifts, and manual correction.
4. Banding or Lines in Prints
Horizontal lines, missing color bands, or streaks usually point to a printer-side problem rather than the heat press.
Check the nozzle pattern first
Print a nozzle check before changing heat, pressure, or color settings.
- Pattern is complete: Check print quality settings, paper feed, and print-head alignment.
- Pattern has gaps or missing colors: Run the printer’s recommended head-cleaning cycle.
- Lines remain after cleaning: Stop repeating cleanings and follow the troubleshooting steps for your specific printer model.
Avoid running unnecessary cleaning cycles because they consume ink and do not help when the nozzle check is already complete.
If banding keeps returning, see How to Prevent Banding, Clogging, and Print Head Issues for deeper troubleshooting.
You can also use a Printer Test Page to check whether the issue starts before the design reaches the heat press.
5. Blurry or Smudged Images
Blurry sublimation prints can come from low-resolution artwork, transfer movement, or excessive heat. The pattern of the blur usually tells you where to look first.
If the whole design looks soft
Check:
- Original image resolution
- Artwork scaling
- Export quality
- Printer quality settings
A low-resolution design will usually look soft before pressing too.
If you see a second fuzzy edge or shadow
The transfer probably moved during or immediately after pressing. Secure the paper with heat-resistant tape and keep the blank steady when opening the press.
If the paper print looks sharp but the final transfer looks soft
Check:
- Transfer movement
- Excessive heat or press time
- Moisture in the blank or paper
- Uneven pressure
For deeper troubleshooting, see How to Get Sharp Sublimation Prints Every Time.
6. Incomplete Transfers
If parts of the design transfer well but other areas look pale, missing, or uneven, the problem is usually poor contact, uneven heat, or inconsistent pressure.
If the same area is missing every time
Check:
- Heat press temperature across the platen
- Uneven pressure
- Warped or damaged blanks
- Heating-element hot or cold spots
A repeated defect in the same location often points to the press or the blank rather than the artwork.
If the missing area changes from one project to another
Check:
- Transfer placement
- Paper movement
- Moisture
- Uneven blank surfaces
- Inconsistent pressure
What to do first
- Confirm the blank is flat and sublimation-compatible.
- Make sure the transfer has full contact with the surface.
- Verify the press temperature is accurate.
- Check pressure before increasing time or temperature.
- Change only one setting at a time so you can see what actually fixes the problem.
If you suspect the press is not heating evenly, use the How to Check if Your Heat Press Temperature Is Accurate guide before changing your normal press settings.
7. Paper Sticking to Substrate
Sublimation paper sticking to the blank usually points to excessive heat, too much press time, moisture, or an interaction between the paper and the substrate coating.
Check these first
- Verify the recommended temperature and press time for the blank
- Make sure the substrate is dry before pressing
- Check whether the paper type is suitable for the blank
- Inspect the coating for tackiness, damage, or uneven application
- Avoid adding extra press time unless testing shows it is necessary
If the paper sticks only on one type of blank, the problem is more likely related to that substrate or coating than to the printer.
Let the item cool or remove the transfer according to the blank and paper manufacturer’s instructions. Do not treat hot-peel or cold-peel timing as a universal rule.
8. Ink Bleeding Outside Design
Ink bleeding happens when color spreads beyond the intended edge of the design. It can look similar to blur or ghosting, but the causes are different.
Identify what you are seeing
- Bleeding: Color spreads outward from the design edge
- Ghosting: A second offset image or shadow appears
- Blur: The design lacks sharp edges without a clear duplicate image
Common causes of bleeding
- Excessive temperature
- Pressing for too long
- Too much ink in heavily saturated artwork
- Moisture in the substrate or paper
- Transfer movement during pressing
Start by checking the recommended settings for the blank. If heat and time are already correct, test the same design with slightly lower saturation or a different paper before changing several settings at once.
9. Uneven Colors or Spots
White spots, pale areas, or uneven color usually mean something prevented the transfer from making consistent contact with the surface.
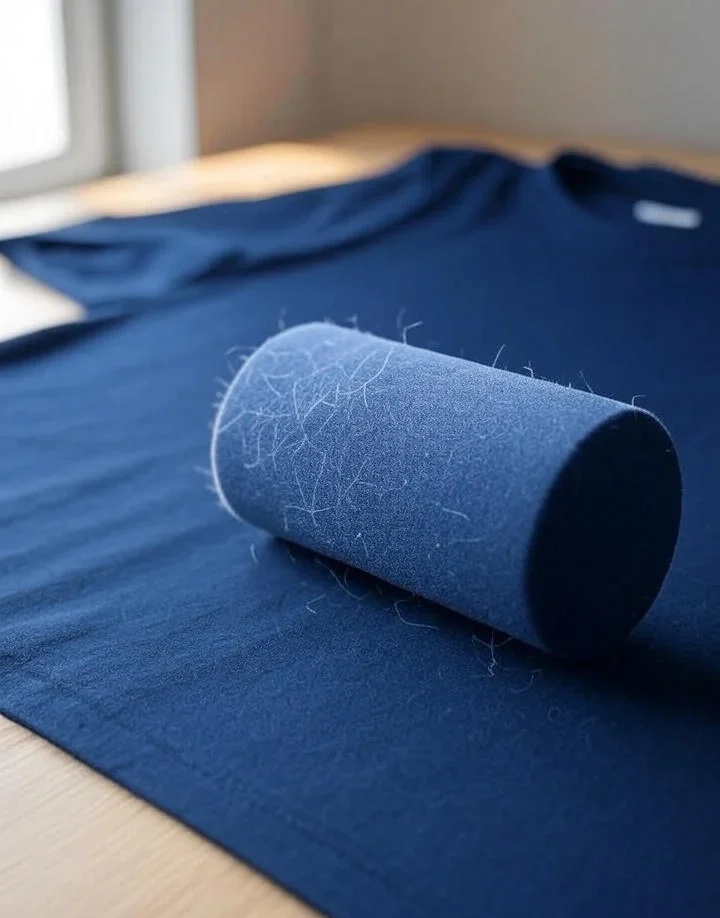
Small white dots
Check for:
- Lint
- Dust
- Hair
- Small debris on the blank
Clean the substrate before pressing and avoid touching the printable surface after cleaning.
Larger pale or uneven areas
Check:
- Uneven pressure
- Moisture
- Poor contact between the transfer and blank
- Cold spots on the heat press
- Warped or uneven substrates
If the same pale area appears in the same location repeatedly, test the heat press for temperature consistency.
Brown or scorched areas
Reduce heat exposure and check whether the substrate can tolerate the current temperature and press time.
If you suspect uneven heating, see How to Check if Your Heat Press Temperature Is Accurate.
10. Blanks Not Accepting Sublimation
If the design barely transfers or will not transfer at all, check the substrate before changing printer or color settings.
Sublimation dye needs polyester or a compatible sublimation coating to bond properly.
For fabric
Higher polyester content generally produces stronger color.
- 100% polyester: strongest and most predictable color
- High-polyester blends: good color with a slightly softer result
- Low-polyester blends: noticeably faded or vintage-looking result
- 100% cotton: standard sublimation ink will not bond directly to the fibers
For mugs, metal, wood, and other hard blanks
The surface must have a compatible sublimation coating or be specifically manufactured for dye sublimation.
Check before pressing
- Confirm the product is sold as a sublimation blank
- Check which side is coated
- Verify the recommended temperature and time
- Inspect the coating for damage
- Test one blank before running a larger batch
If several unrelated blanks fail, investigate the printer, press temperature, and transfer setup. If only one type of blank fails, suspect the material or coating first.
For more detail, use the Sublimation Material Guide or How to Choose the Right Sublimation Blank.
Change One Setting at a Time
Changing several settings at once makes sublimation problems harder to diagnose. If you adjust temperature, time, pressure, paper, and color settings together, you will not know which change actually fixed the print.
A better approach is to test one variable at a time.
Use this troubleshooting order
- Confirm the blank is sublimation-compatible.
- Check the printed transfer for banding, missing colors, or poor image quality.
- Verify the heat press temperature.
- Check pressure and surface contact.
- Test press time.
- Check for moisture or transfer movement.
- Investigate ICC profiles and color settings if the physical transfer is clean but the colors are still wrong.
Keep the same design, blank, paper, and ink during testing whenever possible. Change one setting, press another sample, and record the result.
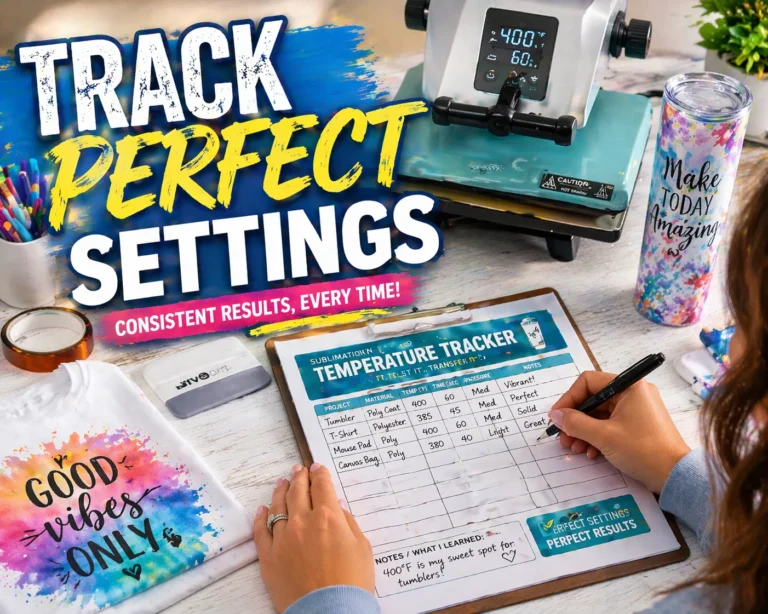
Record Every Test
A simple test record can help you avoid repeating failed settings and make successful results easier to reproduce.
Record:
- Blank or substrate
- Printer and ink
- Sublimation paper
- Temperature
- Press time
- Pressure
- Pre-press time, if used
- Result
- Problem observed
- Change made for the next test
For example:
| Test | Temperature | Time | Pressure | Change Tested | Result |
|---|---|---|---|---|---|
| 1 | 385°F | 50 sec | Medium | Starting setting | Pale areas |
| 2 | 385°F | 50 sec | Firmer | Pressure only | More even transfer |
| 3 | 390°F | 50 sec | Firmer | Temperature only | Better color |
The exact numbers above are only an example. Use the recommended starting settings for your specific blank and equipment.
Download the Sublimation Troubleshooting Test Record
Use the Sublimation Troubleshooting Test Record PDF to track each press test, the setting you changed, and the result.
Download: here
Keeping a record is especially useful when testing a new blank, changing suppliers, switching paper or ink, or troubleshooting a problem that keeps returning.
Professional Sublimation Printing & Wholesale Custom Products
Looking for high-quality sublimation printing for apparel, drinkware, and promotional items? Subli Genius Print delivers vibrant color, sharp detail, and long-lasting results for businesses, brands, and resellers across the U.S.
Frequently Asked Sublimation Troubleshooting Questions
Why is my sublimation not transferring?
Start by checking the blank. Sublimation dye needs polyester or a compatible sublimation coating to bond properly. If the blank is compatible, check the printed transfer, actual press temperature, time, pressure, and surface contact. If several different blanks fail, investigate the printer and heat press before changing color settings.
Why does my sublimation look faded after pressing?
Faded sublimation can come from an incompatible blank, insufficient heat, incorrect press time, moisture, poor contact, or color-management problems. First confirm the blank and press settings. If the transfer is evenly pressed but the colors are still inaccurate, check the ICC profile, printer driver, and ink-to-profile combination.
What causes ghosting in sublimation?
Ghosting happens when the transfer moves while the sublimation dye is still active. Loose paper, insufficient heat tape, movement when opening the press, or a poorly wrapped mug can create a faint second image. Secure the transfer firmly and keep the blank and paper from shifting during and immediately after pressing.
How do I know if the problem is my printer or heat press?
Inspect the transfer paper before pressing. Banding, missing colors, or poor image quality already visible on the paper usually point to the printer, artwork, or print settings. If the paper looks clean but the finished blank is faded, patchy, ghosted, or uneven, investigate heat, pressure, moisture, movement, and the substrate.
Why are my sublimation colors wrong after pressing?
If the transfer is sharp and evenly pressed but the colors are wrong, check color management. Make sure the correct ICC profile is being used for your printer and ink, and make sure the printer driver is not applying unwanted additional color correction. Compare the finished transfer with a pressed color chart rather than judging the unpressed paper.
Can a failed sublimation print be fixed?
It depends on the material and the type of mistake. Some mug and tumbler errors may be covered or reduced with another design, while many polyester fabric transfers are effectively permanent once the dye has bonded with the fibers. Before attempting a repair, identify whether the problem came from alignment, color, pressure, heat, or the blank itself.