How to Make Sublimation Ornaments (Step-by-Step Guide)
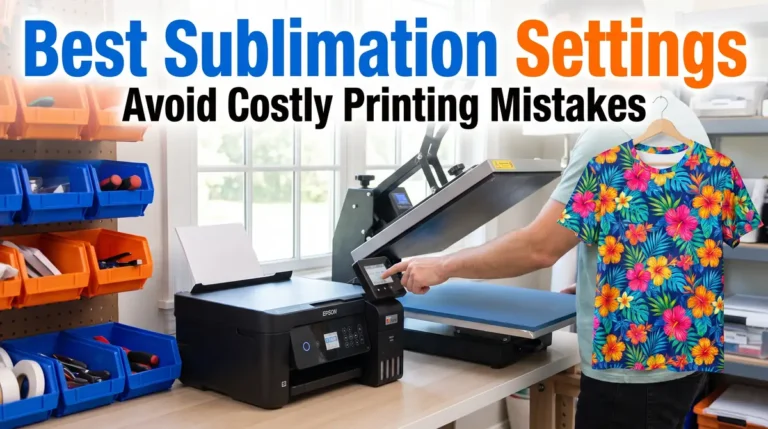
If your sublimation ornaments are coming out faded, blurry, or uneven, the issue usually comes down to incorrect materials, poor setup, or wrong heat press settings.
In this guide, you’ll learn exactly how to make sublimation ornaments step by step including the best blanks to use, correct time and temperature settings, and how to avoid common mistakes.
Whether you’re crafting for holiday gifts or selling custom products, this walkthrough will help you get clean, vibrant results every time.
Sublimation Ornament Crafting
Hi there, and welcome! This is Subli Genius Print, and today, we’re thrilled to guide you through making personalized photo ornaments using your sublimation printer.
Let’s begin the exciting process of crafting sublimation ornaments. Sublimation ornaments can be used to create endless creative possibilities, whether it’s making keepsakes for your holiday tree or unique gifts for loved ones.
Metal, porcelain, and glass are the three types of blanks we will be exploring and showing you how to transform them into stunning photo ornaments.
What Are Sublimation Ornaments?
Sublimation ornaments are custom decorations created using heat transfer sublimation, where ink turns into gas and bonds with a coated surface.
This process works best on:
- polymer-coated blanks
- polyester-based materials
- specially prepared substrates
If you’re new to the process, review this sublimation printing guide to understand how the full workflow works.

Best Blanks for Sublimation Ornaments
Choosing the right blank directly affects your final results.
Most Popular Options:
- Ceramic – glossy, vibrant, classic look
- Metal (Aluminum) – beginner-friendly and consistent
- Wood (coated) – rustic finish
- Acrylic (coated) – modern and shatterproof
- Glass (frosted/coated) – premium finish
For a deeper breakdown, see this sublimation blanks and substrates guide.
Quick Tip:
Always choose blanks labeled “sublimation-ready” to ensure proper ink bonding.
Supplies You Need (Simple Checklist)
You don’t need a complicated setup. Start with:
- Sublimation printer + sublimation ink
- Sublimation paper
- Heat press machine
- Heat-resistant tape
- Butcher paper (protective sheets)
- Lint roller or alcohol wipes
- Heat-resistant gloves
- Sublimation ornament blanks
Keep your setup clean and consistent small preparation mistakes often lead to poor results.
Step-by-Step: How to Make Sublimation Ornaments
Follow this process for consistent, professional results.
Step 1: Print Your Design
- Resize design slightly larger than the blank
- Mirror the image before printing
- Use high-quality sublimation paper
- Select correct printer settings for your material
Step 2: Prepare the Ornament
- Clean the surface using lint roller or alcohol
- Remove dust, oils, and fingerprints
- Position the design carefully
- Secure using heat-resistant tape
Step 3: Press the Ornament
Use the correct pressing method depending on material:
Metal Ornaments
- 400°F for 75 seconds
- Medium to heavy pressure

Wood Ornaments
- 400°F for 60 seconds
- Medium pressure

Ceramic Ornaments
- 400°F for 240–360 seconds
- Medium pressure with padding

Glass Ornaments
- 385°F for 480 seconds
- Medium pressure with Nomex pad
For more detailed settings, refer to this heat press temperature for sublimation guide.
Ornament Design Pack Preview
Preview the included sublimation ornament designs before downloading. Each file is optimized for clean transfers, strong color output, and easy resizing.


Download Your Free Sublimation Ornament Design Pack
Get instant access to all 6 high-quality sublimation ornament designs in one convenient download.
What’s Included:
- 6 PNG files (300 DPI, print-ready)
- Transparent backgrounds for clean transfers
- Sized for standard ornament blanks (3–4 inches)
- Beginner-friendly and easy to customize
How to Use the Files
- Download and unzip the file
- Open your chosen design in your software
- Resize to match your ornament blank
- Mirror the image before printing
- Press using correct sublimation settings
For best results, follow proper heat press temperature for sublimation settings.
Best Time and Temperature for Sublimation Ornaments
Most sublimation ornaments require 400°F with time ranging from 60 to 360 seconds depending on the material.
Quick reference:
- Metal → 75 sec @ 400°F
- Wood → 60 sec @ 400°F
- Ceramic → 240–360 sec @ 400°F
- Glass → 480 sec @ 385°F
Incorrect settings are one of the most common causes of dull or faded prints.

Common Problems and How to Fix Them
Faded or Dull Colors
- Low temperature or time
- Incorrect ink saturation
- Poor ICC profile
Fix color issues using this sublimation troubleshooting guide.
Ghosting or Blurry Edges
- Transfer moved during pressing
- Not enough tape
Fix: Secure design tightly before pressing
White Spots on Design
- Dust or lint on surface
Fix: Clean blank thoroughly before pressing
Cracked Ceramic Blanks
- Too much pressure
- No padding
Fix: Use pressing pillow or rubber pad
What Materials Work (and What Don’t)
Works Best:
- Polymer-coated ceramic
- Coated metal
- Sublimation-treated wood
- Frosted glass
Avoid:
- Plain plastic
- Uncoated wood
- Raw glass
- Regular paper
These materials cannot properly absorb sublimation ink.
Simple Sublimation Ornament Ideas
Keep this section short and practical:
- Photo ornaments (family, pets, memories)
- Holiday-themed quotes
- Personalized name ornaments
- Business logo ornaments
Focus on designs that print clearly and transfer evenly.
Frequently Asked Questions
How long do you heat press sublimation ornaments?
Most ornaments require 60 to 360 seconds at 400°F, depending on the material.
What temperature is best for sublimation ornaments?
The standard temperature is 400°F, with slight adjustments for glass (385°F).
Can you sublimate on acrylic ornaments?
Yes, but only if the acrylic is sublimation-coated. Regular acrylic will not work.
Why do my sublimation ornaments look faded?
Faded prints usually happen:
- low temperature
- short pressing time
- incorrect color settings
Do I need a special printer for sublimation?
Yes, you need a printer that uses sublimation ink, either dedicated or converted.