Sublimation Printing Settings: Best Printer & Heat Press Guide
Great sublimation results rarely come from one perfect setting. They come from a repeatable process that combines the right printer configuration, accurate color management, quality materials, and consistent heat press techniques.
Start with the recommended settings in this guide, make one adjustment at a time, and record what works. Before long, you’ll have a workflow that delivers reliable, professional-looking prints every time.
If you’re new to sublimation, start by learning how sublimation printing works before adjusting printer or heat press settings. Understanding the complete process makes it much easier to troubleshoot print quality later.
What Are the Best Sublimation Printing Settings?
Quick Answer: For most Epson EcoTank sublimation setups, start with Premium Presentation Matte paper, High Quality print mode, 300 DPI, Mirror Image enabled, and the correct ICC profile for your ink and paper. Pair these with substrate-specific heat press settings for the best results.
| Setting | Recommended Starting Point |
|---|---|
| Print Quality | High / Best |
| Paper Type | Premium Presentation Matte |
| Resolution | 300 DPI |
| Mirror Image | Enabled |
| Color Management | ICC Profile (preferred) |
| High-Speed Printing | Off |
| Heat Press | Follow substrate recommendations |
These settings provide an excellent baseline, but you’ll still want to test them with your specific printer, ink, paper, and blank.
Why Sublimation Printing Settings Matter
Sublimation ink behaves differently from standard ink. During pressing, heat converts the solid dye into gas, allowing it to bond with polyester fibers or polymer-coated surfaces.
Because of this process, every stage matters:
- Printer settings determine image quality.
- ICC profiles influence color accuracy.
- Paper affects ink release.
- Heat and pressure determine how completely the dye transfers.
A common mistake is adjusting only one variable. In practice, the best results come from treating sublimation as a complete workflow rather than a collection of separate settings.
If your prints look faded or inconsistent even with the correct settings, follow our sublimation troubleshooting guide to identify the root cause before changing multiple settings at once.

Recommended Epson Printer Settings for Sublimation
Many beginners use Epson EcoTank printers because they offer excellent print quality and affordable running costs.
For most EcoTank models, these settings work well:
Paper Type
Choose Premium Presentation Matte or the paper type recommended by your paper manufacturer.
This controls how much ink the printer lays down.
Print Quality
Always choose:
- High
- Best Quality
Higher quality reduces banding and improves detail.
Mirror Image
Enable Mirror Image before printing.
Since sublimation transfers face-down, forgetting this step will produce backwards text.
High-Speed Printing
Turn High-Speed Printing off whenever image quality is more important than production speed.
Color Settings
If you’re using an ICC profile:
- Disable printer color management.
- Let your design software manage colors.
If you are not using an ICC profile:
- Use Manual Color Correction.
- Avoid applying both ICC correction and printer color adjustments at the same time, as this can create inaccurate colors.
If you’re still choosing equipment, our guide to the best sublimation printers for beginners compares popular Epson and Sawgrass options.
Understanding ICC Profiles
An ICC profile tells your printer how to reproduce colors accurately for a specific combination of:
- printer
- sublimation ink
- transfer paper
- substrate
Without the correct profile, you may notice:
- dull reds
- green skin tones
- purple blues
- washed-out blacks
Many beginners immediately blame the printer when the real issue is incorrect color management.
Whenever you change ink brands or paper, print a small color test before beginning production.
Accurate color depends on using the correct profile. Learn how to install and use ICC profiles for sublimation and when manual color correction is a better choice.
Professional Sublimation Printing & Wholesale Custom Products
Looking for high-quality sublimation printing for apparel, drinkware, and promotional items? Subli Genius Print delivers vibrant color, sharp detail, and long-lasting results for businesses, brands, and resellers across the U.S.
Best Heat Press Settings by Material
These settings are reliable starting points. Always confirm the recommendations for your specific blank.
| Material | Temperature | Time | Pressure |
| Polyester Shirt | 385–400°F | 45–60 sec | Medium |
| Ceramic Mug | 375–400°F | 180–240 sec | Medium |
| Tumbler | 360–400°F | Varies by press | Medium |
| Aluminum Panel | 400°F | 60 sec | Medium |
| MDF Board | 385–400°F | 60 sec | Medium |
| Mouse Pad | 400°F | 45–60 sec | Medium |
| Glass (coated) | Manufacturer recommendation | Varies | Light-Medium |
Instead of memorizing temperatures, keep a settings log for every blank you use. This becomes one of your most valuable production resources over time.
Temperature and pressure vary by substrate. Our complete heat press settings for sublimation guide includes recommendations for shirts, mugs, tumblers, MDF, and other popular blanks.
Step-by-Step Sublimation Printing Workflow
Following the same workflow every time improves consistency.
Step 1: Prepare Your Artwork
- Use high-resolution images.
- Design in RGB if recommended by your workflow.
- Confirm sizing before printing.
Step 2: Configure Printer Settings
Select:
- High Quality
- Correct paper type
- Mirror Image
- Appropriate color management
Step 3: Load Sublimation Paper Correctly
Always print on the coated side.
A surprisingly common mistake is loading the paper upside down.
Step 4: Print a Test
Before large production runs:
- print a small sample
- inspect colors
- check sharpness
- verify alignment
Testing first saves ink, paper, blanks, and time.
Step 5: Secure the Transfer
Use heat-resistant tape whenever the blank could shift during pressing.
Movement during pressing often causes ghosting.
Step 6: Press Using the Recommended Settings
Allow the press to reach full temperature before starting.
Consistent pressure is just as important as temperature.
Step 7: Inspect the Finished Product
After cooling:
- compare colors with your reference
- inspect edges
- look for ghosting
- record any adjustments for next time
Common Sublimation Printing Problems and Solutions
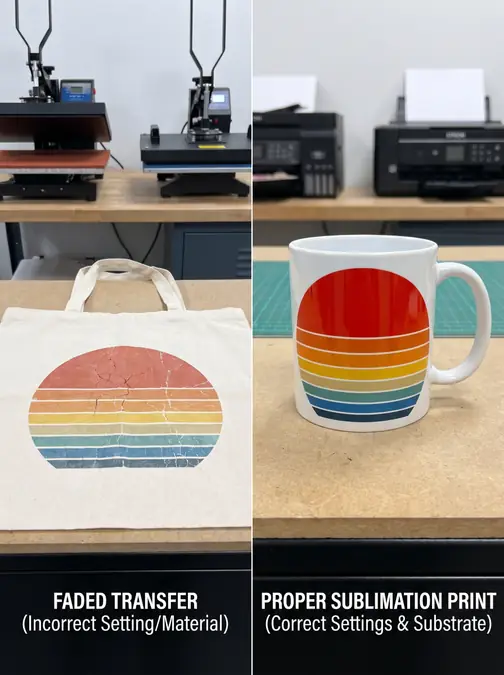
Colors Look Dull
Usually caused by:
- incorrect ICC profile
- low press temperature
- insufficient dwell time
- poor-quality blanks
Prints Look Blurry
Check:
- print resolution
- paper movement
- image quality
- printer maintenance
Ghosting
Ghosting almost always happens because the transfer paper moved during pressing.
Prevent it by:
- using heat-resistant tape
- opening the press smoothly
- avoiding sudden movement
Banding
Banding is often related to clogged print heads or incorrect print quality settings.
Run a nozzle check before beginning large jobs.
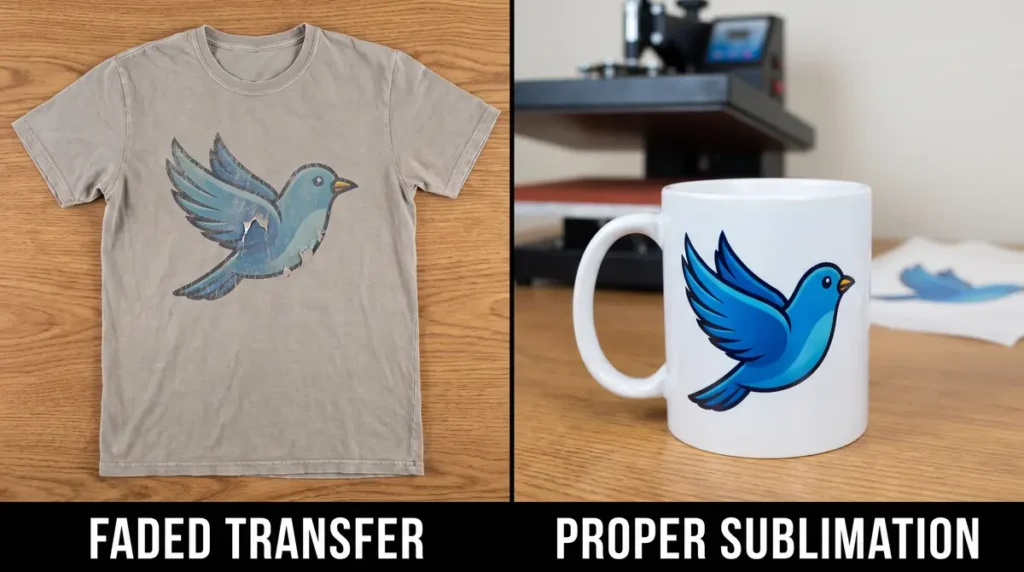
Colors Change After Pressing
Remember that sublimation prints often look dull on paper.
The final colors appear only after heat activates the dye.
If your colors appear washed out after pressing, see Why Sublimation Colors Look Dull and How to Fix Them for a detailed troubleshooting workflow.
If you’re dealing with color shifts instead of faded prints, our guide on sublimation color problems and fixes explains how to diagnose and correct them.
Best Practices for Consistent Results
After many test prints, these habits consistently produce better outcomes:
- Keep a notebook of successful settings.
- Test new blanks before accepting customer orders.
- Store sublimation paper in a dry environment.
- Perform routine nozzle checks.
- Clean print heads before quality declines.
- Use the same paper, ink, and ICC profile whenever possible.
- Change only one variable at a time when troubleshooting.
Consistency almost always outperforms constant experimentation.
Routine maintenance is just as important as printer settings. Learn how to clean a sublimation printer head to reduce banding, clogged nozzles, and inconsistent output.
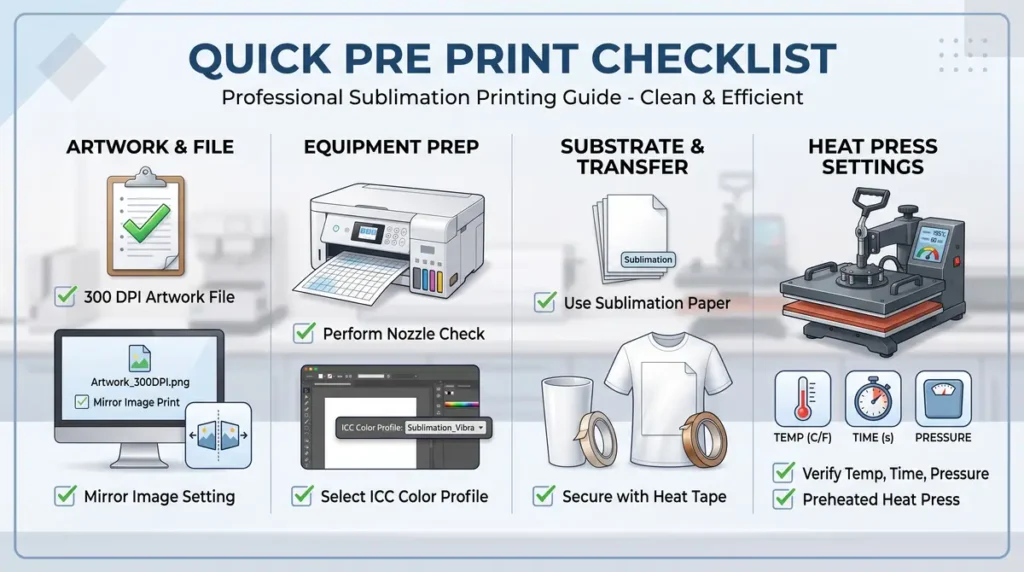
Quick Pre-Print Checklist
Before every project, confirm:
- Printer nozzle check is clean.
- Correct ICC profile is selected.
- Proper paper type is chosen.
- Mirror Image is enabled.
- Artwork is at 300 DPI.
- Heat press is fully preheated.
- Transfer is secured with heat-resistant tape.
- Correct temperature, time, and pressure are set.
This simple routine helps prevent many of the most common printing issues.
Frequently Asked Questions
Is RGB or CMYK better for sublimation?
Most sublimation workflows use RGB because it provides a wider color range before conversion through the ICC profile.
What printer settings should I use for sublimation?
Start with High Quality printing, Premium Presentation Matte paper, Mirror Image enabled, and the correct ICC profile.
What temperature works best for 50/50 polyester shirts?
Most 50/50 blends require testing, but many manufacturers recommend settings close to standard polyester with adjusted pressing time.
What DPI should I use for sublimation?
For most projects, 300 DPI provides excellent print quality.
Should sublimation images always be mirrored?
Yes. Images containing text or directional graphics should be mirrored before printing.
Why do sublimation colors look different after pressing?
The dye changes from a solid to a gas during heat transfer. Because of this, colors often appear muted on paper but become vibrant after pressing.