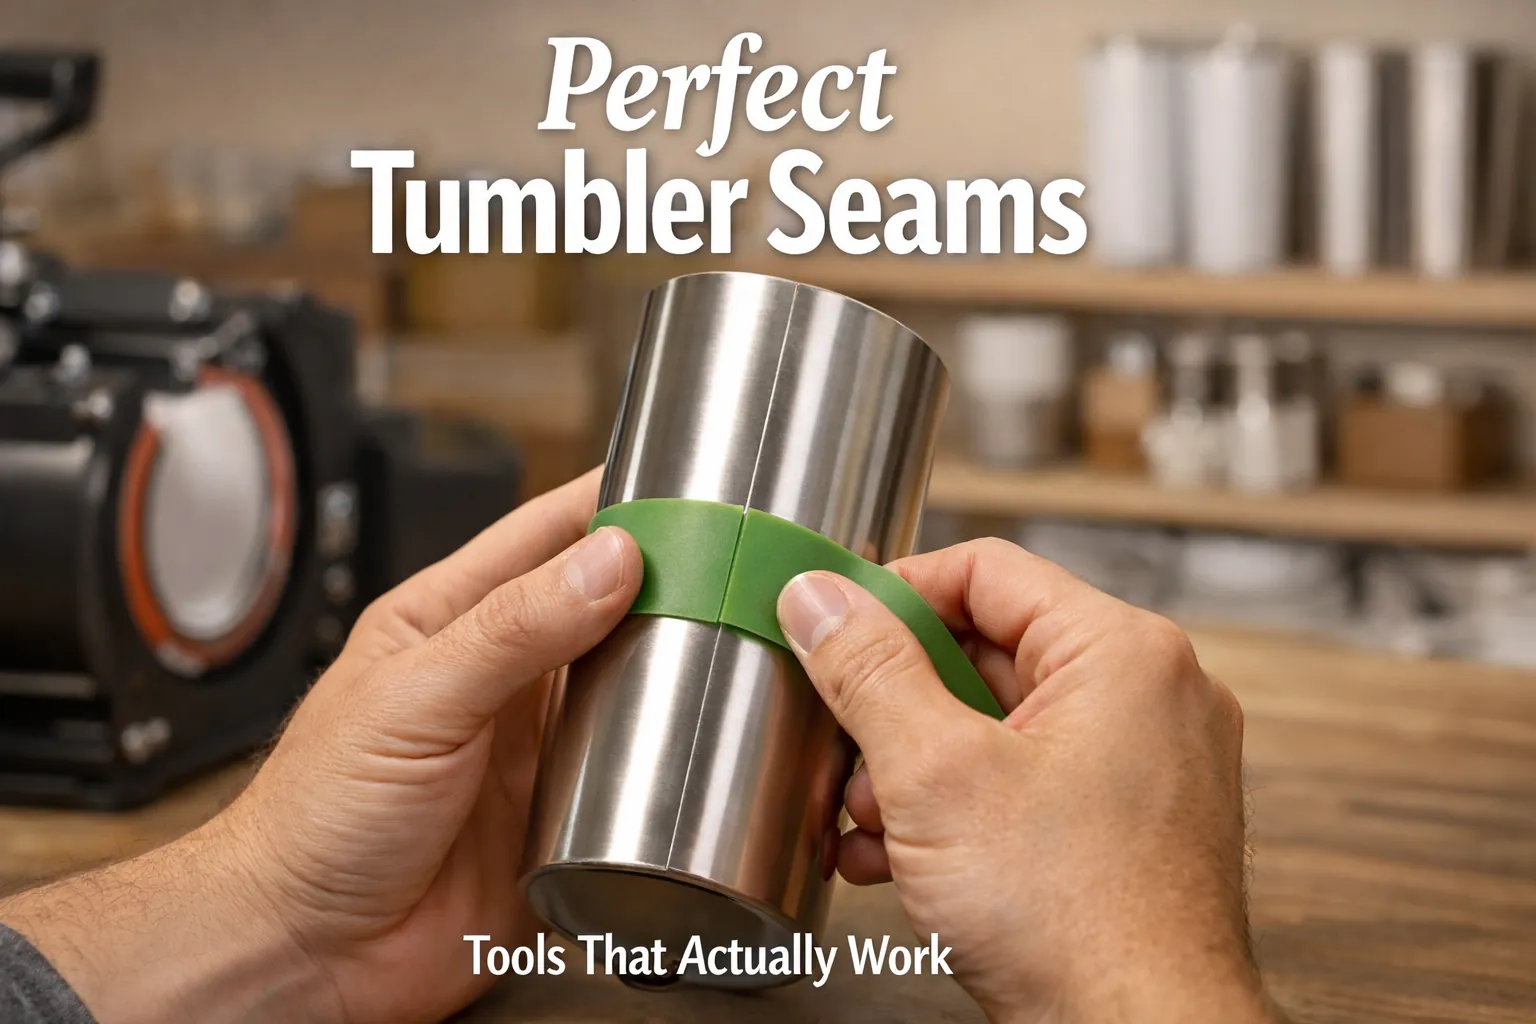
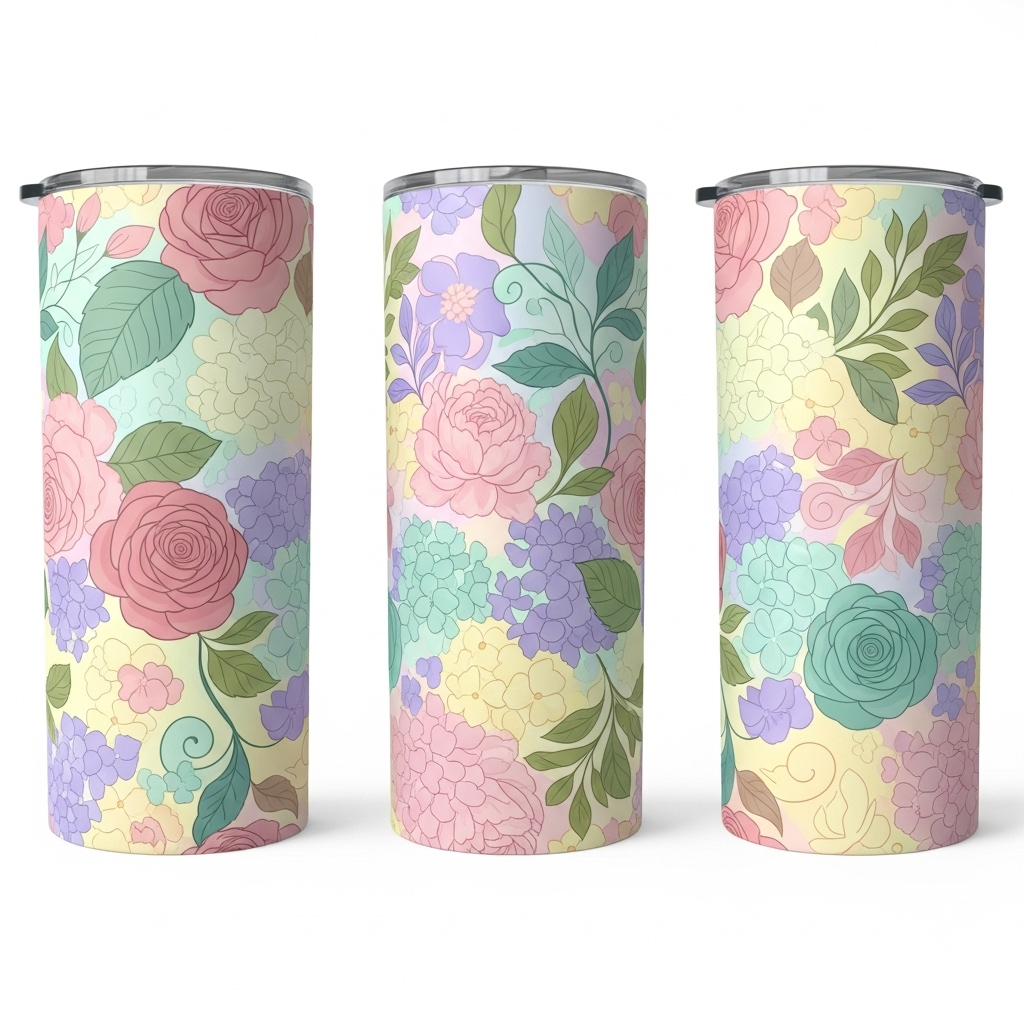
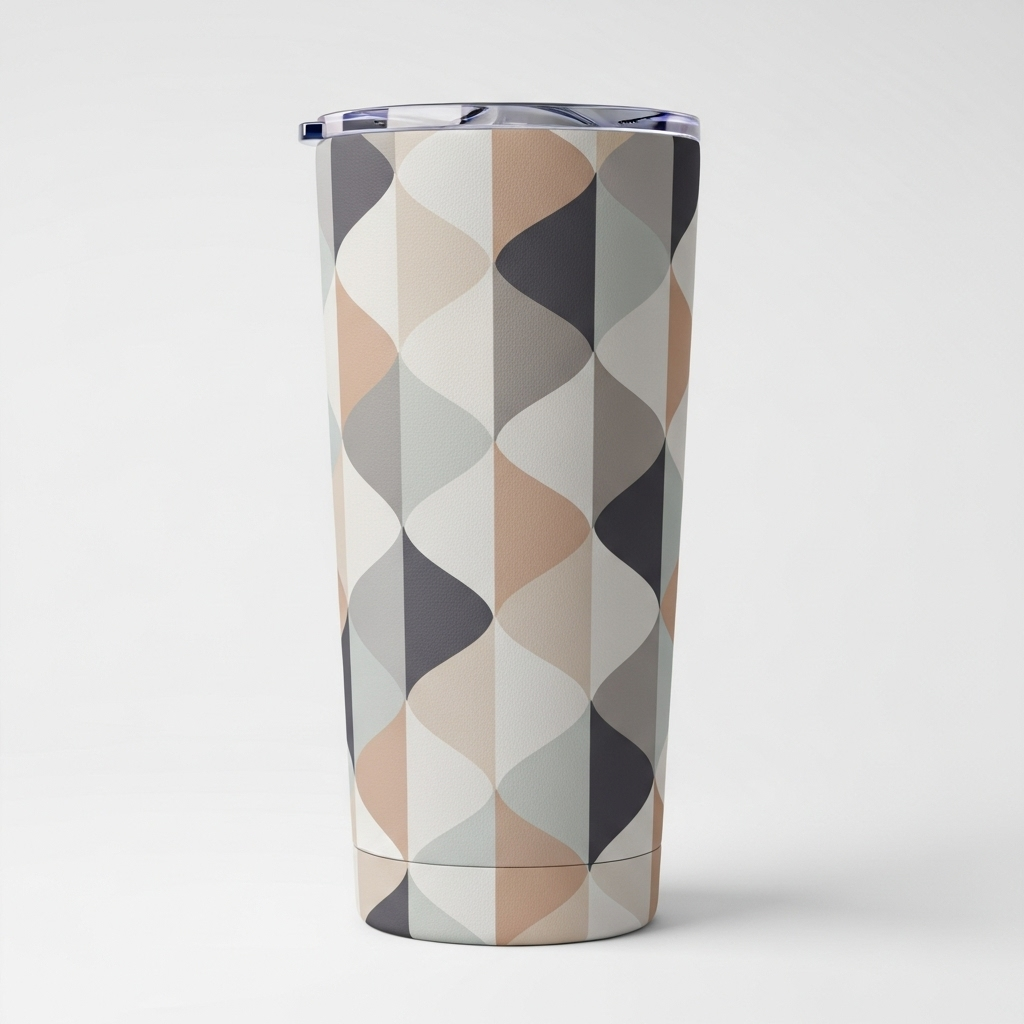
Best Sublimation Tumbler Tools for Seamless Results
I used to think ugly tumbler seams meant bad blanks or cheap ink. Turns out, it was none of that.
One small shift in tools and wrapping control completely changed how my seams looked, especially once I stopped guessing and started treating tumblers like precision blanks, not just cups, similar to what we explain in this guide on sublimation tumbler blanks.
Once you understand how pressure, overlap, and movement work together, seams stop being a gamble.
The right sublimation tumbler tools don’t just make things easier, they make results predictable. That’s the difference between a handmade look and a clean, retail finish.
Quick Seam Fix Checklist (Fast Results)
If your tumbler seams keep failing, check these first:
- Use tight, even wrap tension
- Keep a small consistent overlap (not edge-to-edge)
- Apply heat-resistant tape to lock alignment
- Add shrink wrap or silicone for pressure stability
- Avoid over-pressing the seam area
- Let the tumbler cool before removing paper
If even one of these is off, your seam will show.
Understand Why Tumbler Seams Go Wrong (and Why Tools Matter)
Before you buy a single tool, here’s the quick truth.
Bad seams usually aren’t a design problem. They’re a pressure, alignment, or wrap problem.
If you’ve ever pulled a tumbler out of the press and thought,
“Why does everything look great… except that one ugly line?”
Yeah, that’s the seam talking.
What a bad seam actually looks like
Most seam issues fall into a few buckets:
- A faded vertical line where the design meets
- A dark overlap stripe from too much paper overlap
- Ghosting or blur right at the seam edge
- Tiny white gaps that break the design flow
They’re small, but they scream handmade in the wrong way, especially if you’re selling tumblers.
Why seams fail even with good designs
This part surprises a lot of people. You can do everything else right and still get bad seams if the wrap isn’t controlled or if heat and pressure aren’t dialed in correctly. That’s why understanding the correct temperature for sublimation tumblers matters more than most beginners realize.
Your heat press isn’t the villain here. The missing piece is control.
Where tools come into play
Good seam tools help you:
- Hold the wrap tight without warping the paper
- Keep overlap consistent every time
- Stop micro-movement during heating
- Apply even pressure around the full cylinder
Think of tools as guardrails. They don’t replace skill, but they make mistakes much harder to make.
Free Seam-Safe Tumbler Designs (Download + Preview)
Quick heads-up. These designs are print-ready, built to hide seams, and sized for both 20oz and 30oz straight tumblers. No mockups. No edits needed. Download, print, press.
What you’ll get in the free pack
Each design is included in PNG format, 300 DPI, RGB, with seam-friendly edge handling.


The Core Sublimation Tumbler Tools That Fix Seams
Perfect seams don’t come from one magic tool. They come from a small setup that controls pressure, wrap tension, and movement at the same time.
Tumbler heat press or press attachment
This is your pressure engine.
A proper tumbler press gives you:
- Even pressure all the way around
- Consistent heat at the seam area
- Fewer hot spots that darken overlaps
Uneven pressure is the fastest way to create faded or blown-out seam lines. A press designed for tumblers keeps the wrap pressed flat instead of pinched. If you’re still dialing in settings, this breakdown of sublimation heat press guidelines helps avoid common mistakes.

Shrink wrap sleeves
Shrink wrap does one thing extremely well. It locks the design in place.
- Pulls the paper tight from top to bottom
- Eliminates loose edges near the seam
- Reduces ghosting during heat-up
Most seam blur happens in the first 30 seconds of heating. Shrink wrap removes movement before it starts, which is especially useful for full-wrap designs.
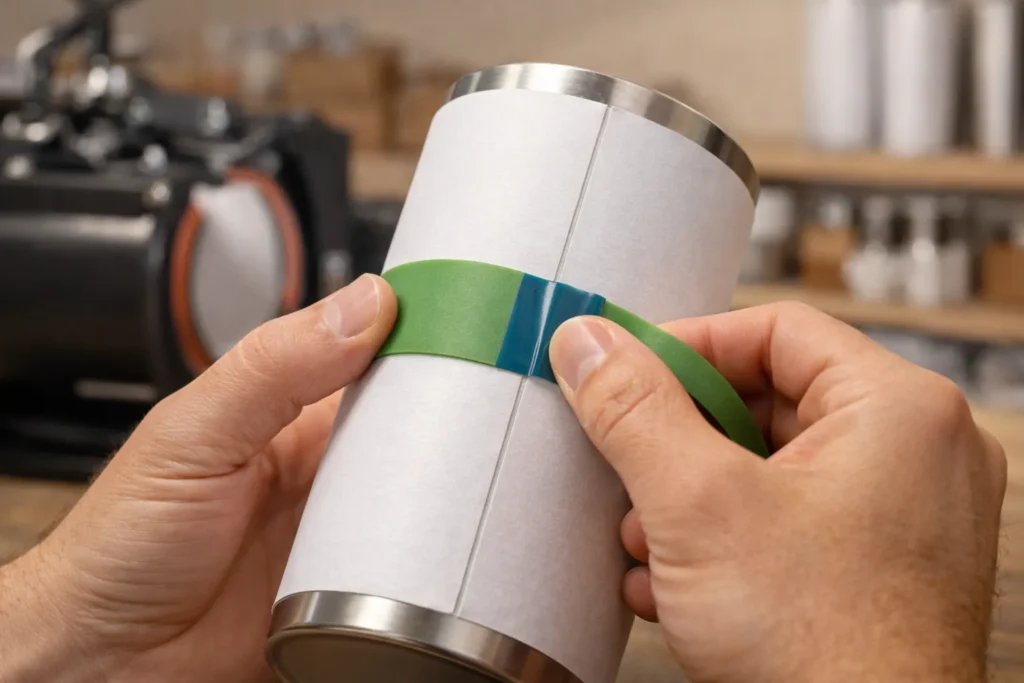
Silicone wraps and bands
These are pressure stabilizers.
- Apply uniform compression over the seam
- Help flatten slight paper ridges
- Prevent overlap edges from lifting
Paper overlap creates thickness. Silicone spreads pressure evenly so that thickness doesn’t turn into a dark stripe.
Heat-resistant tape
Simple, cheap, and still essential.
Heat tape helps:
- Anchor the seam edge exactly where you want it
- Prevent paper creep during pressing
- Keep alignment clean while wrapping
If tape keeps failing you, it’s often the tape itself. This comparison of the best heat tapes for sublimation explains why some hold better under pressure.
Seam alignment guides or jigs
These tools remove guesswork.
They help you:
- Set consistent overlap width
- Line designs up straight every time
- Speed up batch work
Human eyeballing changes day to day. Guides don’t.
Wrap the Tumbler the Right Way (This Is Where Seams Are Won or Lost)
Most seam problems happen before heat ever touches the tumbler. Wrapping is the moment that decides everything.
Start with a clean, prepped tumbler
- Wipe with a lint-free cloth
- Use rubbing alcohol to remove oils
- Let it fully dry
Oils and dust cause tiny gaps. Tiny gaps turn into visible seam lines.
Position the design before taping
- Wrap the paper loosely
- Center the design visually
- Check top and bottom spacing
Look at the seam area first, not the artwork front. If the seam looks clean now, it’ll look clean later.
Set the seam overlap intentionally
- Aim for a small, consistent overlap
- Avoid edge-to-edge butt seams
- Avoid wide overlaps that stack ink
A controlled overlap hides the seam. Random overlap highlights it.
Lock everything with shrink wrap or silicone
This step prevents micro-movement during heating, which is the number one cause of blurry seams.
Real Workflow Example (What Actually Works)
Here’s a simple setup that consistently produces clean seams:
- Print design at full wrap size with slight overlap
- Clean tumbler with alcohol and lint-free cloth
- Wrap and align seam visually first
- Tape seam tightly (top, middle, bottom)
- Add shrink wrap sleeve
- Press at 375°F for 60 seconds with medium pressure
- Let cool before removing
This setup removes most seam problems without needing advanced tools.
Dial In Heat, Pressure, and Time (So the Seam Actually Disappears)
Even a perfect wrap can still fail if settings are off. This step is about balance, not cranking things higher.
Proven baseline settings
- Temperature, 360–385°F
- Time, 45–70 seconds per cycle
- Pressure, medium to firm
Too much heat or pressure darkens overlap areas. Too little leaves faded seams.
Watch pressure more than temperature
If your seam looks darker than the rest of the design, pressure is usually the culprit, not heat. Over-pressing causes ink blowout, brownish seam lines, and loss of sharp detail.
Advanced Tools That Take Seams From Okay to Retail-Clean
If you’re already getting decent seams, these tools push results into that professional zone.
- Seam protectors to diffuse pressure
- Pre-press alignment jigs for batch work
- Cooling racks to prevent seam smears
These upgrades shine if you do full wraps, dark designs, or sell tumblers regularly.
Seam Mistakes Tools Can’t Fix (But You Still Need to Avoid)
- Overlapping too much “just to be safe”
- Wrapping tighter on one end than the other
- Ignoring paper grain direction
- Mixing old and new ink or paper
- Rushing removal while hot
If a seam looks bad, heat is rarely the answer. Adjust pressure or overlap first. If tape pressure is causing marks, consider methods discussed in alternatives to heat tape for sublimation.
The Smart Buying Checklist (What to Get First and What Can Wait)
Start with these non-negotiables
- Reliable tumbler press or proven oven setup
- Heat-resistant tape that actually holds
- Consistent sublimation paper and ink
Add these once basics are solid
- Shrink wrap sleeves
- Silicone wraps or bands
- Seam alignment guides
Clean seams come from control, not price. A well-wrapped tumbler with basic tools beats sloppy work with expensive gear every time. If you want a broader foundation, this overview of sublimation printing basics ties everything together.
Once you lock in a repeatable setup, seam quality stops feeling like luck and starts feeling automatic.
Tumbler Seam Troubleshooting Guide
| Problem | Likely Cause | Fix |
|---|---|---|
| Faded seam line | Low pressure or loose wrap | Tighten wrap + increase pressure slightly |
| Dark seam stripe | Too much overlap or pressure | Reduce overlap and avoid over-pressing |
| Ghosting at seam | Paper movement during heating | Use shrink wrap or better tape |
| White gap line | No overlap (butt seam) | Add small controlled overlap |
| Blurry seam edge | Movement or overheating | Lock wrap and reduce heat/time |
If your seams still look off even after adjusting tools and wrap technique, it helps to review a complete sublimation troubleshooting guide to identify hidden issues like pressure imbalance, ghosting, or incorrect heat settings.
FAQs:
Can I get clean seams without a tumbler press?
Yes, you can. An oven with shrink wrap works, but you’ll need tighter wrap control and more testing since pressure isn’t as even as a press.
Do I need shrink wrap for every sublimation tumbler?
Not always. Shrink wrap helps most with full-wrap or busy designs. Simple logo wraps can look great with tape and silicone bands alone.
Why does my seam look darker than the rest of the design?
That usually means too much pressure or too much overlap. Heat alone rarely causes dark seam lines.
Is it okay if the paper edges touch instead of overlap?
It’s risky. Butt seams often leave thin white lines. A small, controlled overlap hides seams better.
What’s the best way to stop seam ghosting?
Lock the wrap tightly, don’t overheat, and avoid moving or peeling the paper while the tumbler is still hot.
Do silicone wraps replace heat tape?
No. Silicone helps with pressure. Heat tape controls alignment. They work best together.
Should I change settings just for the seam area?
No. Keep settings consistent. Fix seam issues with wrap technique and pressure control, not spot adjustments.