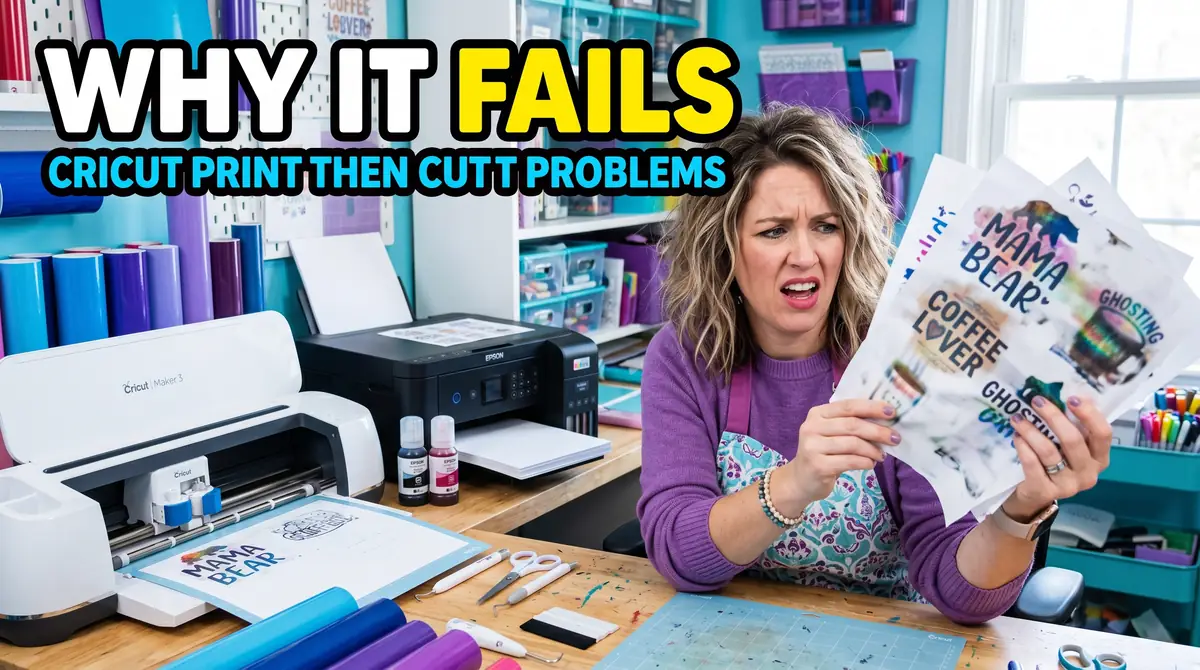
Why Cricut Print Then Cut Does Not Work With Sublimation
Cricut Print Then Cut does not work well with sublimation because the two systems were designed for different workflows.
Print Then Cut depends on optical sensor registration marks, while sublimation relies on heat-activated transfer printing. That mismatch creates scanning errors, alignment issues, and accidental border transfers.
The good news is that Cricut still works extremely well for sublimation when used correctly. Instead of relying on Print Then Cut, focus on trimming, offsets, sublimation HTV, and proper heat press workflows.
Once you separate sticker-cutting workflows from sublimation transfer workflows, the entire process becomes much easier and more reliable.
What Cricut Print Then Cut Actually Does
Cricut Print Then Cut is designed for projects like:
- stickers
- printable vinyl
- cardstock
- paper crafts
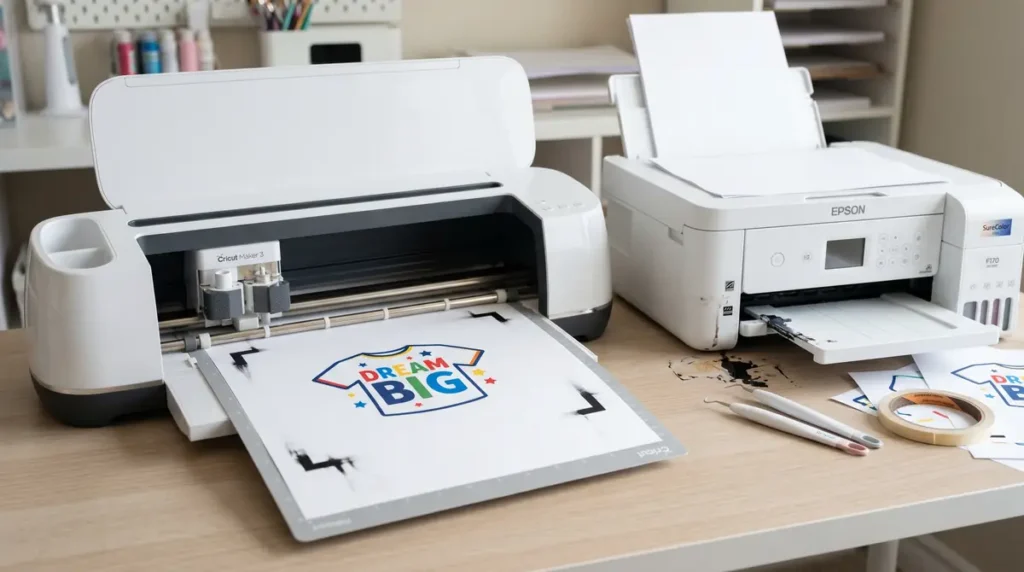
The feature works by printing black registration marks around your design. Cricut’s optical sensor scans those marks so the machine knows exactly where to cut.
In a normal Print Then Cut workflow:
- Design is created in Cricut Design Space
- Printer adds registration marks
- Cricut scans the marks
- Machine cuts around the printed design
This works well for sticker paper and printable vinyl because standard inkjet ink creates dark readable sensor lines.
Sublimation printing works differently.
Sublimation designs are heat-activated transfers, not final printed products. The transfer paper is only part of the process.
Why Cricut Print Then Cut Does Not Work Properly With Sublimation
The biggest issue is that Cricut Print Then Cut was never designed for sublimation ink workflows.
Here are the main reasons problems happen.
Sublimation Ink Prints Differently
Sublimation ink looks dull and faded before pressing because the colors activate under heat.
That lighter appearance can make registration marks harder for Cricut sensors to detect consistently.
You may notice:
- Cricut cannot find sensor marks
- cutting shifts off-center
- the machine stops during scanning
This becomes even worse under bright lighting or glossy sublimation paper glare.
Mirrored Printing Creates Alignment Problems
Sublimation designs must be mirrored before printing.
Print Then Cut workflows are not built around mirrored heat-transfer alignment. Many beginners accidentally mirror the design incorrectly or end up cutting the wrong side.
That leads to:
- reversed text
- offset cuts
- uneven borders
The Black Registration Box Can Transfer During Pressing
One of the most frustrating mistakes happens when the Cricut registration box accidentally gets heat pressed onto the shirt.
Because sublimation ink permanently bonds under heat, the black border can transfer onto polyester fabric if it is too close to the artwork.
Many beginners discover this only after ruining a shirt.
Cricut Sensors Struggle With Sublimation Paper
Sublimation paper often reflects light differently than standard paper.
That glare can interfere with Cricut’s optical sensor system, especially on:
- glossy sublimation paper
- high-saturation prints
- faded registration lines
This is why Cricut sometimes repeatedly says it cannot detect the cut sensor marks.
The Biggest Misunderstanding About Sublimation and Print Then Cut
A common beginner assumption is:
“Print Then Cut should work because sublimation involves printing.”
But sublimation is not a sticker-cutting workflow.
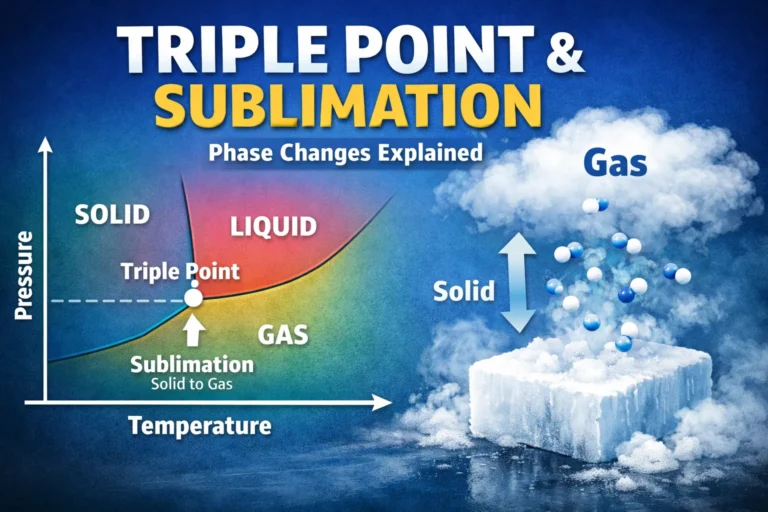
Sublimation is a heat transfer process where ink turns into gas and bonds with polyester or polymer-coated surfaces.
Print Then Cut is designed for precision contour cutting on physical printed media.
They overlap slightly, but they are not built for the same workflow.
In most sublimation setups, Cricut is used for:
- trimming transfers
- cutting sublimation HTV
- creating offsets
- preparing layered craft designs
- working with Infusible Ink sheets
Not for traditional Print Then Cut sticker-style workflows.
For a broader setup walkthrough, you can review this Cricut sublimation guide.
Can You Use Cricut With Sublimation at All?
Yes, Cricut works very well with sublimation when used correctly.
You simply should not rely on standard Print Then Cut as your primary workflow.
The best Cricut sublimation uses include:
- cutting sublimation HTV
- trimming transfer edges
- creating shirt placement guides
- making custom offsets
- preparing layered craft elements
- working with Cricut Infusible Ink
Many creators successfully combine Cricut and sublimation every day using the proper workflow.
You can also learn more about using Cricut for sublimation.
Common Problems People Experience
Cricut Cannot Detect Registration Marks
This is the most common issue.
Usually the problem comes from:
- sublimation paper glare
- faded black lines
- bright overhead lighting
- dirty Cricut sensor
- glossy paper reflections
A common workaround is placing matte tape over glossy areas near the registration marks to reduce glare.
Print Then Cut Is Cutting Incorrectly
If cuts are shifted or uneven, the causes are usually:
- Cricut calibration problems
- mirrored artwork confusion
- incorrect paper sizing
- inaccurate registration scans
Recalibrating Print Then Cut sometimes helps, but sublimation workflows remain inconsistent compared to sticker printing.
Black Box Transfers Onto Shirt
This happens when the registration border is too close to the artwork during pressing.
The safest solution is avoiding Print Then Cut registration marks entirely for sublimation projects.
Sublimation Print Colors Look Wrong
Many beginners think their sublimation print failed because the colors look faded before pressing.
That is normal.
Sublimation colors become vibrant only after heat activation.
However, poor color management can still create problems. Incorrect ICC profiles often cause:
- dull colors
- color shifts
- faded transfers
- inaccurate skin tones
This ICC profile for sublimation printing guide explains why color management matters.
The Correct Cricut Sublimation Workflow
Here is the workflow most sublimation crafters use successfully.
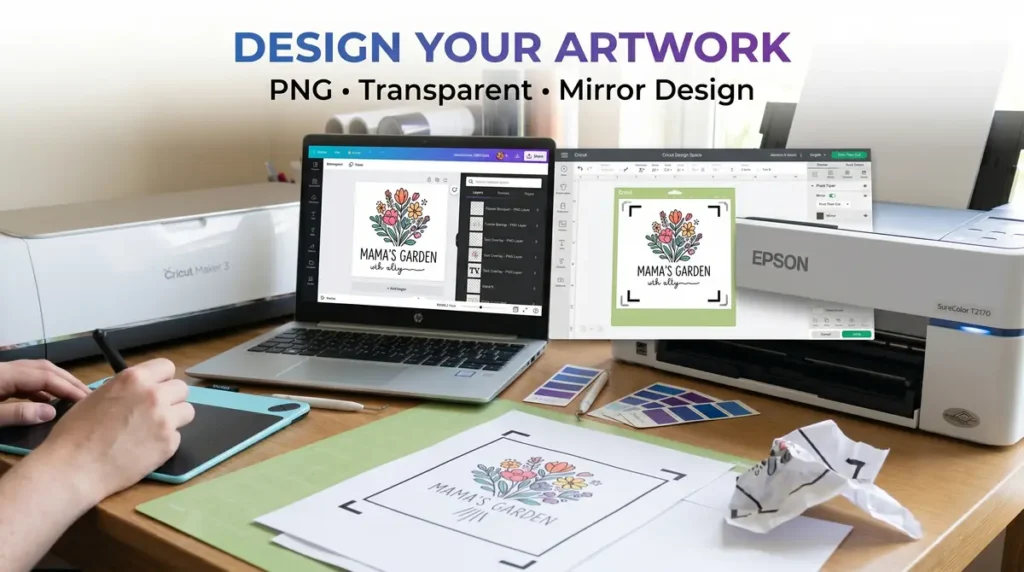
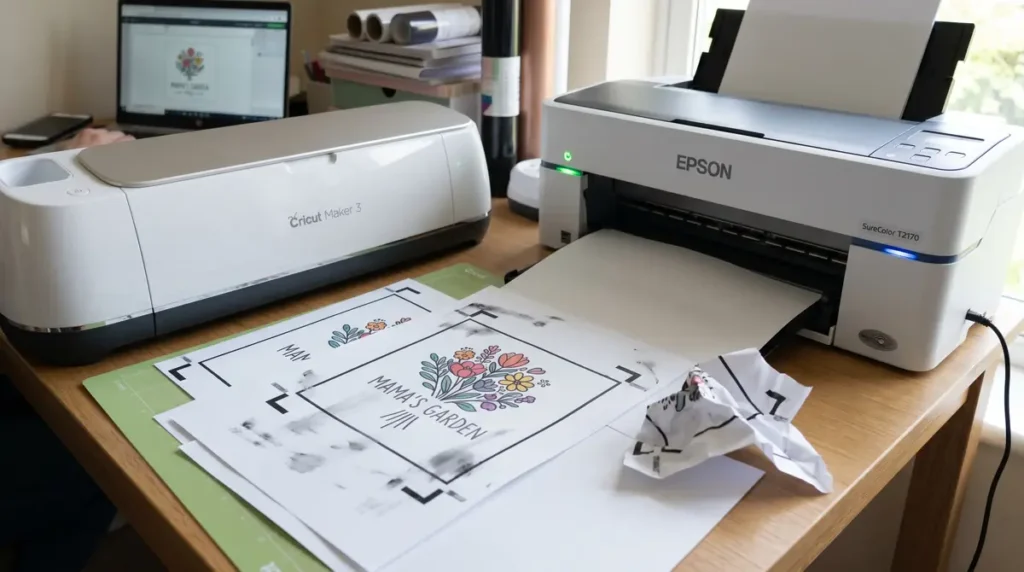
Step 1: Design Your Artwork
You can design inside Cricut Design Space, but many creators prefer:
- Canva
- Photoshop
- Illustrator
- Affinity Designer
These tools offer better control for sublimation artwork.
Keep in mind:
- high-resolution PNG files work best
- transparent backgrounds are helpful
- mirrored designs are required before printing
Step 2: Print From Your Sublimation Printer
Print directly from your sublimation printer without relying on Print Then Cut registration marks.
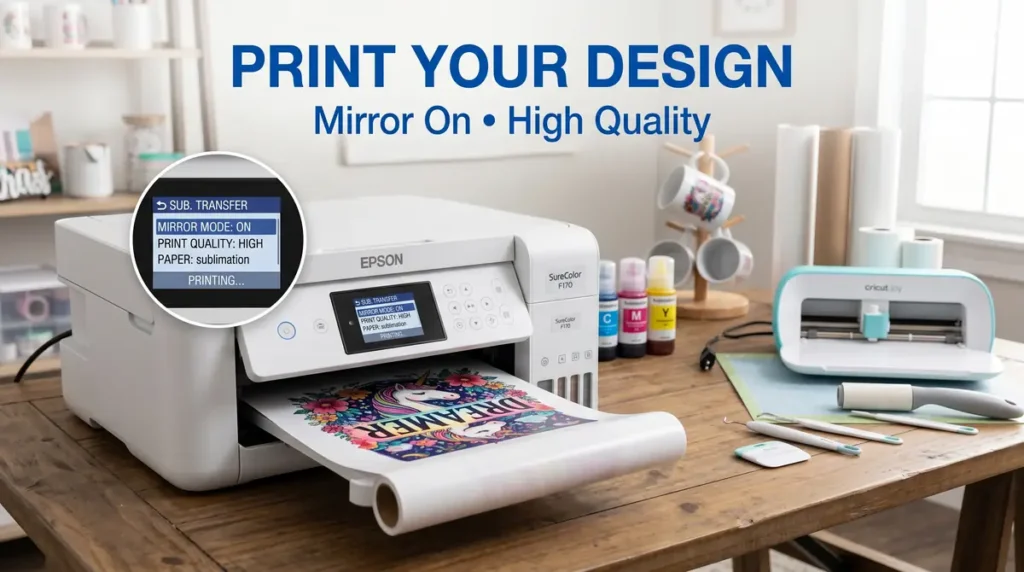
Important settings include:
- mirrored image enabled
- correct paper profile selected
- high-quality print settings
- proper ICC profile configuration
Step 3: Trim the Design
After printing, you can:
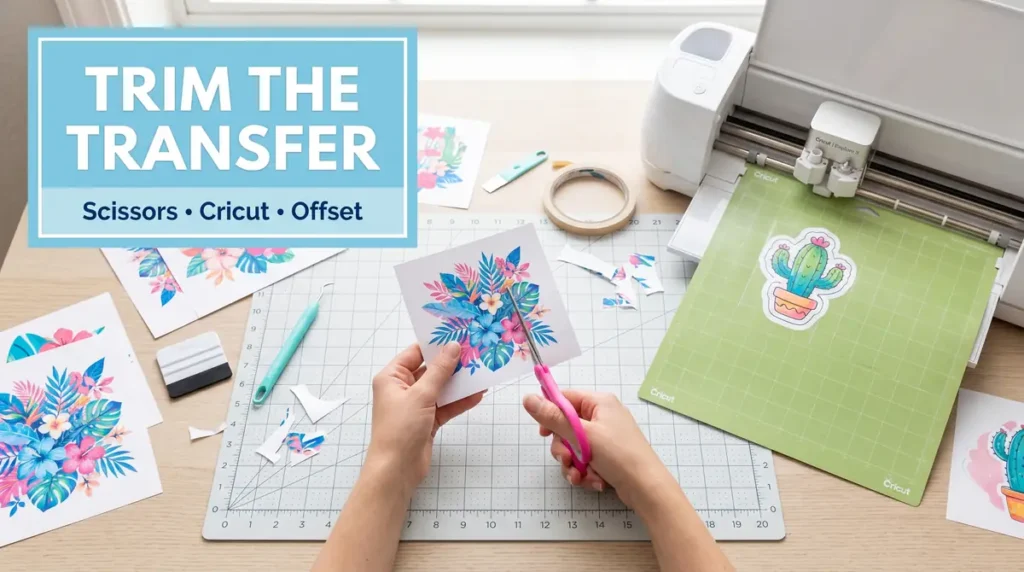
- manually trim with scissors
- use Cricut for simple shape trimming
- create offsets manually
Many sublimation transfers do not require extremely precise contour cutting.
Step 4: Heat Press the Design
Press the sublimation transfer using the correct:
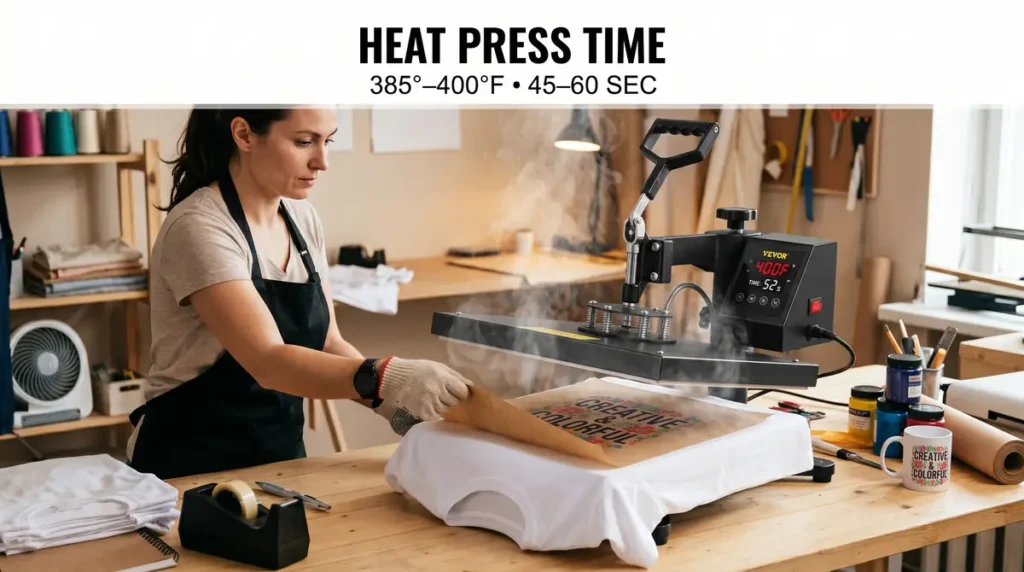
- temperature
- pressure
- pressing time
Most polyester shirt sublimation projects work well around:
- 385°F–400°F
- medium pressure
- 45–60 seconds
Results vary depending on the material and heat press calibration.
For better consistency, follow this sublimation troubleshooting guide.
Cricut Hacks People Use for Sublimation
Some creators still attempt Print Then Cut workarounds.
Popular hacks include:
- fake registration boxes
- offset contour methods
- manually drawn sensor marks
- cutting around transparent offsets
Sometimes these methods work.
Sometimes they fail completely.
The problem is consistency. Small lighting or paper changes can break the workflow.
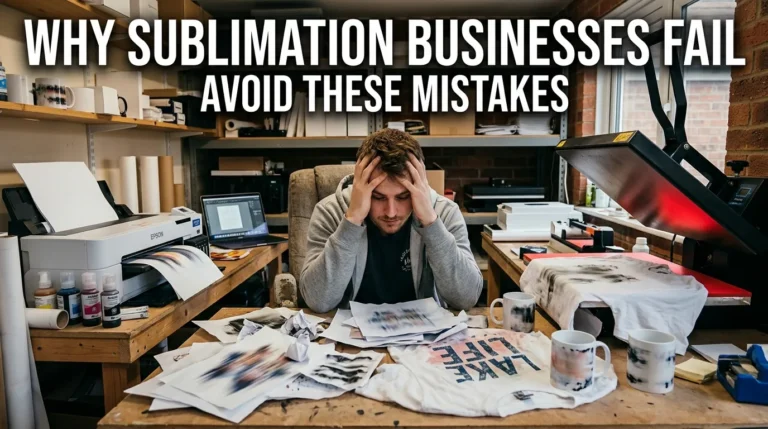
If you produce sublimation products regularly, relying on hacks often becomes frustrating.
Better Alternatives to Cricut Print Then Cut for Sublimation
In most cases, these options work better:
Manual Trimming
Simple and reliable for many shirt transfers.
Sublimation HTV
Allows sublimation designs on darker fabrics while using Cricut mainly for cutting vinyl shapes.
Printable HTV
Better suited for contour cutting workflows than sublimation paper.
Professional Contour Cutting Machines
Advanced cutting systems handle print alignment more accurately than Cricut when production volume increases.
Print Then Cut vs Sublimation: Key Differences
| Feature | Print Then Cut | Sublimation |
|---|---|---|
| Purpose | Sticker and vinyl cutting | Heat transfer printing |
| Uses registration marks | Yes | No |
| Requires Cricut sensor | Yes | No |
| Heat activated | No | Yes |
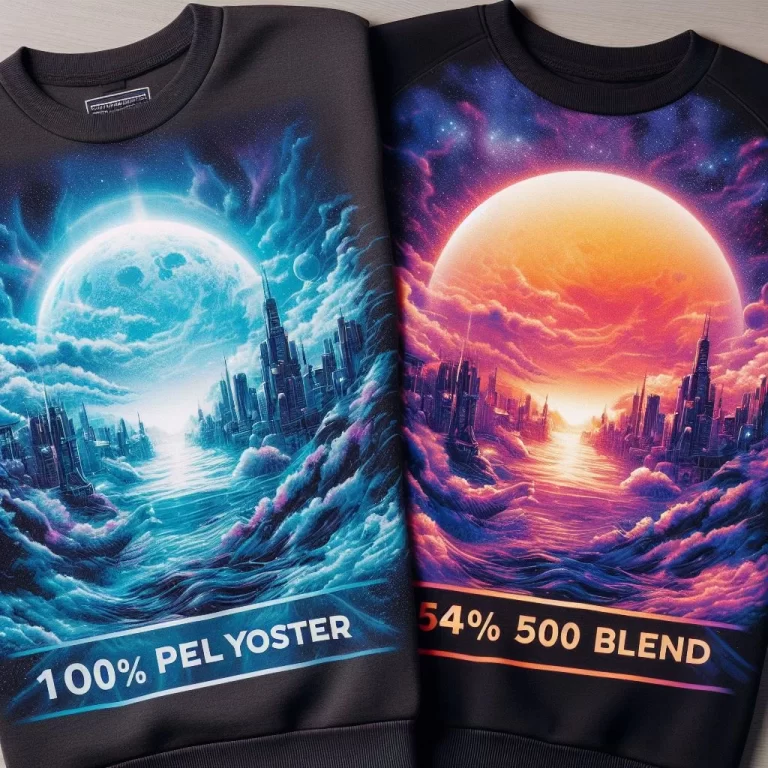
| Best materials | Sticker paper, cardstock | Polyester and coated blanks |
Best Cricut Features for Sublimation Projects
Even without Print Then Cut, Cricut still offers useful sublimation tools.
Offset Tool
Helps create clean borders and layered designs.
Flatten Tool
Useful when preparing printable sublimation artwork.
Attach Tool
Keeps multiple design elements aligned properly.
Infusible Ink Compatibility
Cricut Infusible Ink is closely related to sublimation technology and works well with Cricut workflows.
You can also explore more about Cricut Infusible Ink vs sublimation.
Mistakes Beginners Make With Cricut Sublimation
A few mistakes appear repeatedly.
Using Print Then Cut Unnecessarily
Most sublimation projects do not need contour cutting.
Forgetting to Mirror the Design
This causes reversed text and incorrect transfers.
Sublimating on Dark Cotton
Sublimation works best on:
- polyester fabrics
- light-colored blanks
- polymer-coated surfaces
Using Regular Ink Instead of Sublimation Ink
Standard inkjet ink will not produce sublimation transfers.
Ignoring Color Management
Incorrect color settings are one of the biggest causes of disappointing transfers.
This sublimation color troubleshooting guide can help fix common print quality problems.
Frequently Asked Questions
Do you use Print Then Cut for sublimation?
Usually no. Most sublimation workflows avoid Cricut Print Then Cut because registration marks and sensor reading are unreliable with sublimation prints.
Why is my Cricut only doing Print Then Cut?
This usually happens because the design operation type is set to “Print Then Cut” instead of “Basic Cut” inside Cricut Design Space.
Why is my sublimation print not working?
The issue may involve:
- incorrect heat settings
- wrong materials
- poor ICC profiles
- low-quality sublimation paper
- printer setup problems
Can Cricut read sublimation prints?
Sometimes, but inconsistently. Cricut sensors often struggle with sublimation registration marks because of glare, faded ink appearance, and mirrored workflows.
Can I remove the black border in Print Then Cut?
No. Cricut requires registration marks for Print Then Cut scanning. The better solution for sublimation is avoiding the Print Then Cut workflow entirely.
Can I sublimate without Cricut?
Yes. Many sublimation projects only require a sublimation printer and heat press.
Is Cricut Infusible Ink the same as sublimation?
They are very similar. Infusible Ink uses sublimation-style heat transfer technology.
Why does Cricut not recognize my sublimation printer?
Cricut Design Space does not directly support all sublimation printer workflows because it primarily targets standard print-and-cut crafting setups.
Does sublimation need contour cutting?
Not always. Many sublimation transfers are simply trimmed manually before pressing.