Can Cooler Sublimation: How to Do It + Best Blanks
If you’ve been searching for “can cooler sublimation,” you’re probably trying to customize koozies or 4-in-1 drink coolers not large ice coolers.
The good news is: yes, you can sublimate can coolers but only if you use the right type.
In this guide, you’ll learn exactly how to sublimate can coolers, which blanks actually work, and how to get clean, professional results without wasting materials.
Can You Sublimate Can Coolers? (Quick Answer)
Yes, you can sublimate can coolers but only sublimation-ready blanks.
These include:
- Polyester or neoprene koozies
- Sublimation-coated stainless steel coolers
Regular plastic or untreated coolers will not work.
If you’re unsure why material matters, this sublimation printing guide explains how ink bonding works.
What Types of Can Coolers Work for Sublimation
Not all can coolers are the same. Choosing the right one is the most important step.
Fabric Can Coolers (Koozies)
- Made from neoprene or polyester
- Easy to press
- Great for beginners
These are the simplest and most affordable option.
Stainless Steel Can Coolers (4-in-1)
- Require a sublimation coating
- Allow full-wrap designs
- Look more premium
These are popular for selling or gifting.
What Does NOT Work
- Plastic coolers
- Uncoated metal
- Cheap blanks without coating
Using the wrong blank leads to faded or failed prints.
What You Need for Can Cooler Sublimation
You don’t need a complicated setup to get started.
Basic equipment:
- Sublimation printer
- Sublimation paper
- Heat press or tumbler press
- Heat tape
- Optional: shrink wrap for metal coolers
If you’re building your setup, this getting started with sublimation guide helps you choose the right tools.
How to Sublimate a Can Cooler (Step-by-Step)
This process is simple, but small mistakes can affect your results.
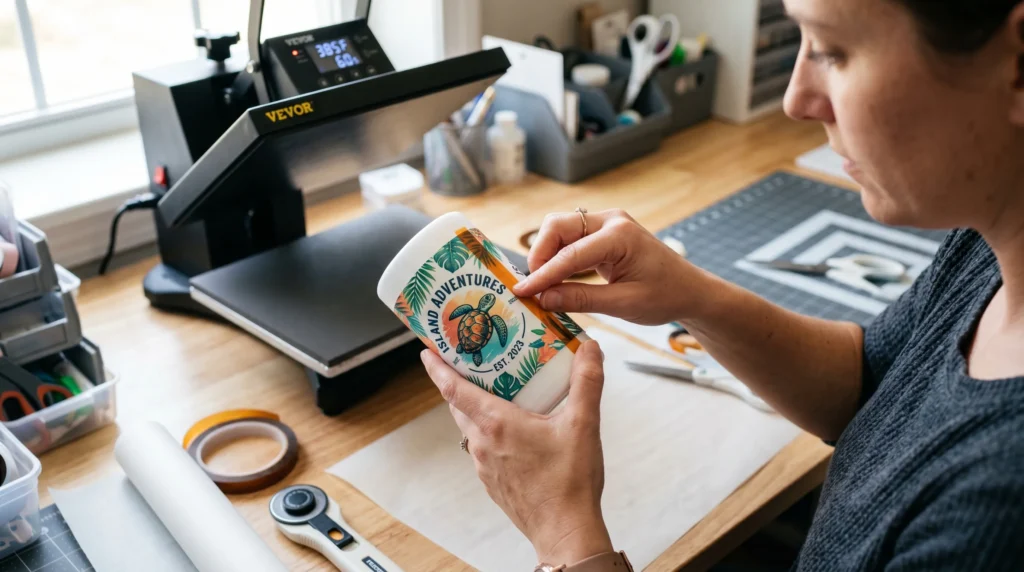
Step-by-step:
- Design your artwork to match the cooler size
- Print using sublimation ink
- Align and secure the design with heat tape
- Press using the correct temperature and pressure
- Remove carefully and let it cool
Why this matters:
- Proper alignment prevents ghosting
- Correct pressure ensures even transfer
- Cooling helps set the design
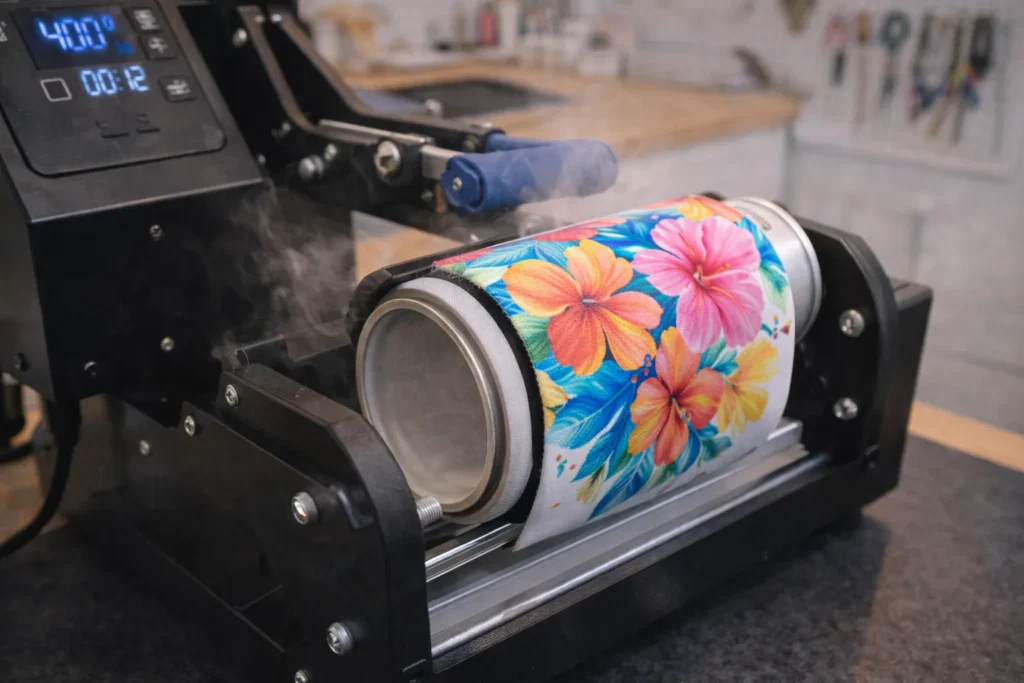
Sublimation Settings for Can Coolers
Settings vary depending on the material, but here’s a reliable starting point:
- Temperature: 385°F
- Time: 45–60 seconds
- Pressure: Medium
Always test first, especially when using a new blank.
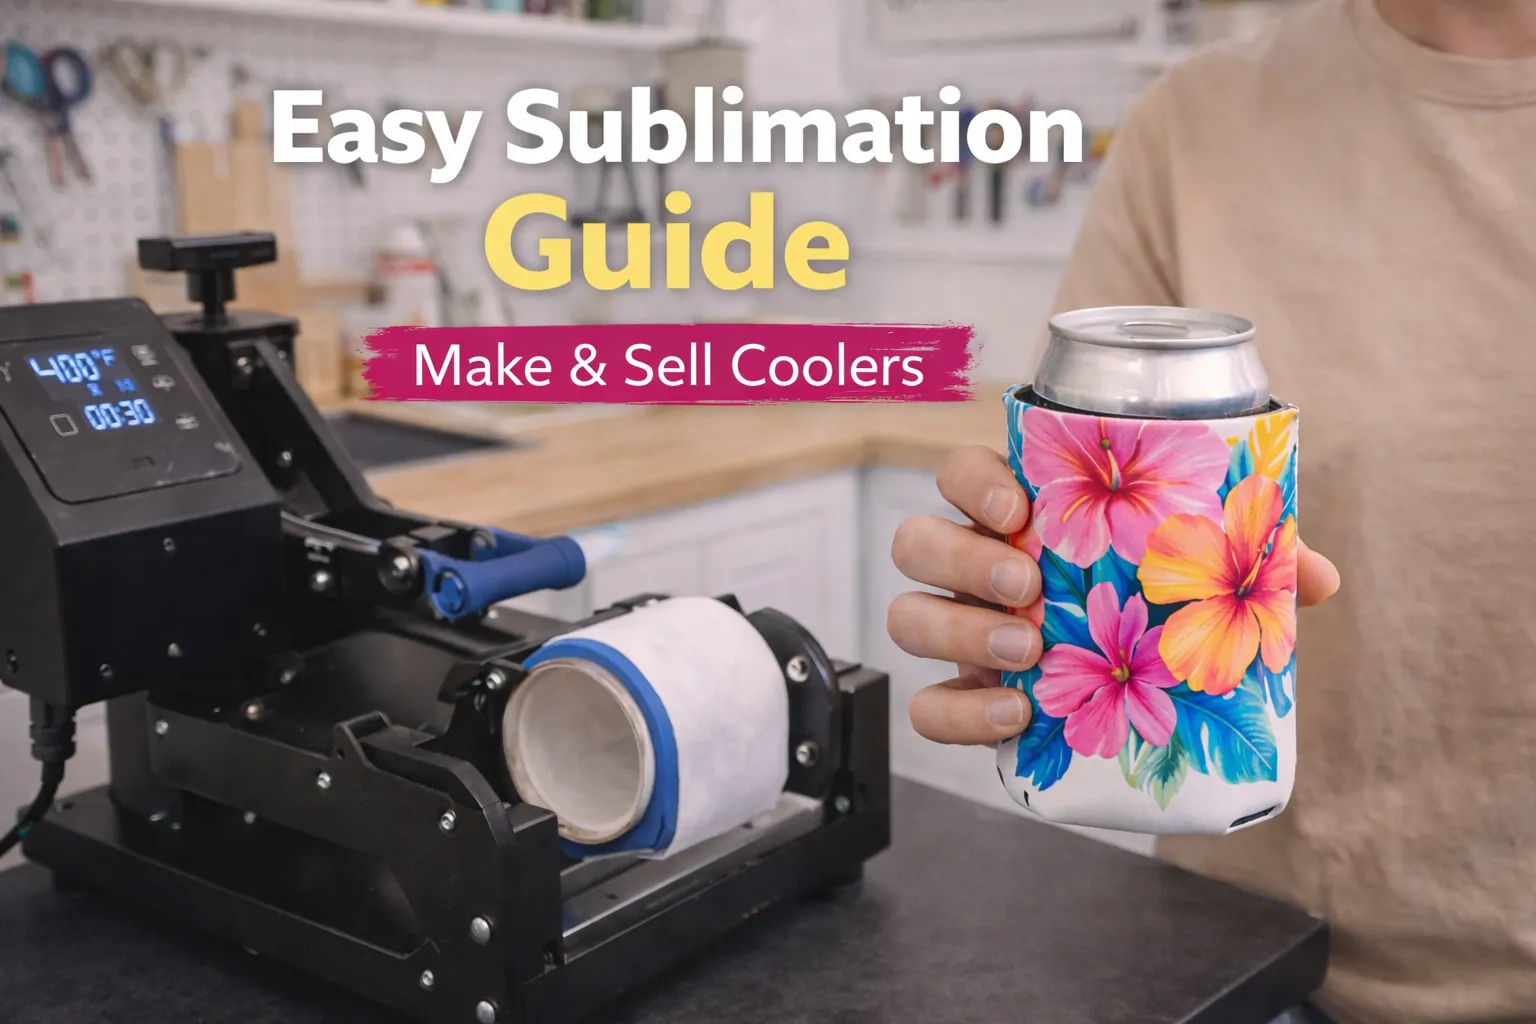
Image suggestion:
Heat press applying a sublimation design to a can cooler with temperature and timer visible.
If you’re working with stainless steel coolers, it’s worth understanding what a sublimation oven is and when to use it for full-wrap and batch production.
Common Problems (and How to Fix Them)
Even small issues can ruin your final result.
Faded colors
- Cause: low temperature or time
- Fix: increase heat slightly
Ghosting (blurry design)
- Cause: movement during pressing
- Fix: secure with heat tape
Uneven prints
- Cause: inconsistent pressure
- Fix: adjust press settings
If you run into issues, follow this sublimation troubleshooting guide to fix them quickly.
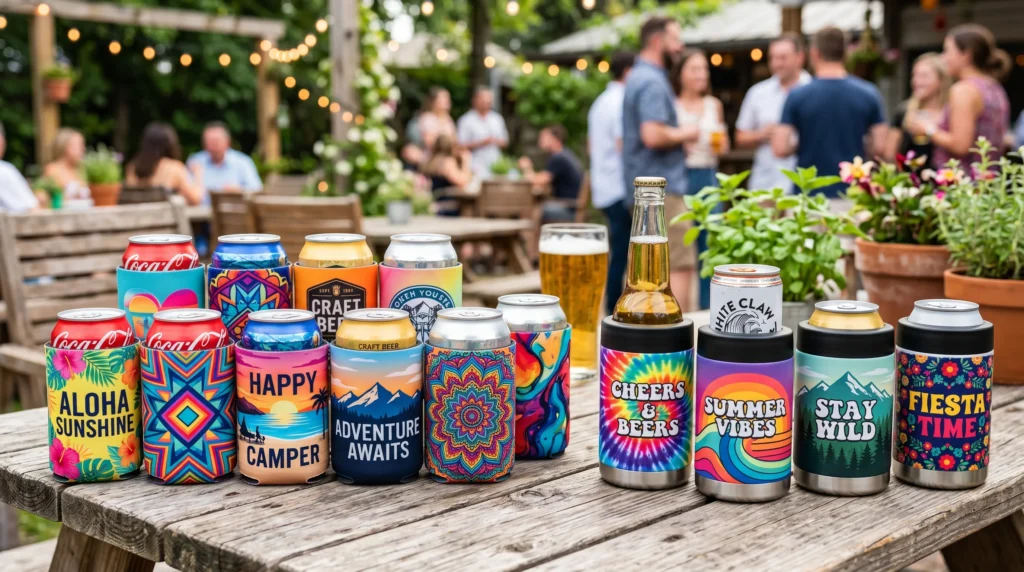
Best Can Cooler Blanks for Sublimation
Choosing the right blank makes a huge difference in your results.
Recommended options:
- Neoprene koozies for beginners
- 4-in-1 stainless steel coolers for premium products
- Slim can coolers for modern designs
What to look for:
- Sublimation coating (for metal)
- Polyester content (for fabric)
- Good reviews and supplier reputation
Better blanks = better prints = fewer mistakes.
Heat Press vs Tumbler Press for Can Coolers
Your equipment depends on the type of cooler.
Heat press:
- Best for flat koozies
- Simple and beginner-friendly
Tumbler press:
- Best for stainless steel coolers
- Provides even pressure around curves
Choosing the right tool improves consistency.
Can You Use a Sublimation Oven for Can Coolers?
Yes, you can use an oven for stainless steel can coolers.
This is especially useful for:
- Batch production
- Full-wrap designs
If you want to understand when this makes sense, read what a sublimation oven is and when to use it for curved items.
Common Beginner Mistakes
Avoid these if you want clean results:
- Using non-sublimation blanks
- Incorrect sizing of designs
- Not securing the transfer properly
- Skipping test prints
These mistakes lead to wasted time and materials.
Tips for Better Results
Small improvements can make your work look professional.
- Pre-press fabric to remove moisture
- Use a lint roller before pressing
- Test settings on new blanks
- Avoid over-pressing
Consistency is what separates beginner results from sellable products.
Frequently Asked Questions
Can you sublimate neoprene can coolers?
Yes, as long as they contain polyester or are sublimation-compatible.
What temperature is best for can cooler sublimation?
Around 385°F works well for most blanks, but always test first.
Can I use Cricut EasyPress for can coolers?
Yes, but it works best for flat koozies, not metal coolers.
Do I need a tumbler press for metal coolers?
Yes, it provides better pressure and more consistent results.
Can I sublimate plastic can coolers?
No, plastic does not support sublimation unless specially coated.