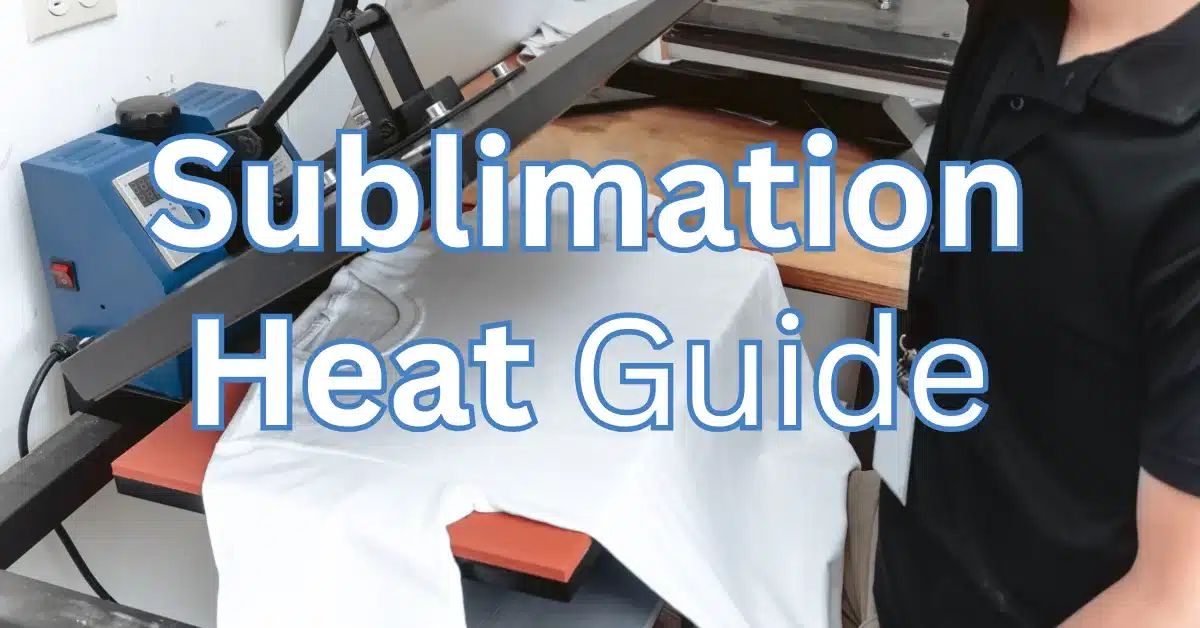
Sublimation Heat Guide: Best Temperatures, Times, and Heat Press Settings
Sublimation heat is the temperature needed to turn sublimation ink into gas so it bonds permanently to polyester or polymer-coated blanks.
Most sublimation items press between 365°F and 400°F for 45 to 190 seconds, depending on the substrate. Using the right heat, time, and pressure prevents fading, ghosting, scorching, and dull color results.
Sublimation heat isn’t guesswork. When you use the correct temperature and time for each blank, you get brighter colors, sharper details, and products that last for years. Use the chart above, test your press, and adjust slowly. Heat makes or breaks your print, once you master it, everything else gets easier.
If you need a deeper dive into specific temperature ranges and how they affect different substrates, check out our complete heat press temperature guide for sublimation.
What Is Sublimation Heat?
Sublimation heat is the temperature required for sublimation ink to activate and turn into gas. This gas bonds with polyester molecules or any surface coated with a polymer. Sublimation ink typically activates between 350°F and 400°F, which is why most projects fall within that range.
A few important facts:
- Polyester needs to be at least 65 percent to produce vivid colors
- A typical heat press has a heat variance of ±5°F, which affects print quality
- Too much heat can burn blanks, cause over-processing, or create orange tints

Why Heat Settings Matter
Correct heat determines:
- How vibrant your colors look
- Whether the ink fully bonds or sits on top
- Whether your blank scorches or warps
- The longevity of the design
Wrong temperature causes:
- Faded colors (under-pressed)
- Burn spots or yellowing (over-pressed)
- Ghosting (paper lifts due to heat mismatch)
- Blurry designs (ink migrating from excessive heat)
Sublimation Time & Temperature Chart (Most Accurate Settings)
This chart covers the most commonly pressed sublimation items. Times assume medium pressure unless noted.
| Sublimation Item | Temperature | Time | Pressure |
|---|---|---|---|
| Polyester shirts | 380–400°F | 45–60 sec | Medium |
| Hoodies | 375–385°F | 45–60 sec | Medium |
| Mugs (11–15 oz) | 385°F | 170–190 sec | Medium |
| Tumblers (20–30 oz) | 360–375°F | 180–240 sec | Medium |
| Ceramic tiles | 400°F | 300–420 sec | Medium |
| Metal photo panels | 385–400°F | 45–70 sec | Medium |
| MDF boards | 400°F | 60–90 sec | Medium |
| Slate | 385–400°F | 240–420 sec | Medium |
| Acrylic | 375°F | 45–70 sec | Light |
| Rubber mousepads | 380°F | 35–45 sec | Light–Medium |
| Neoprene items | 380°F | 45–60 sec | Light |
| Glass | 400°F | 180–210 sec | Medium |
| Ornaments | 375–400°F | 60–90 sec | Medium |
| Socks | 360–375°F | 30–45 sec | Light |
| Keychains | 380°F | 45–60 sec | Medium |
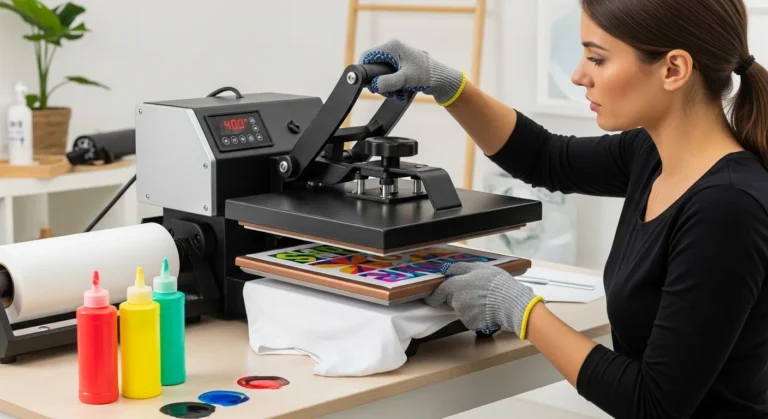
Choosing the Right Heat Press
A heat press doesn’t need to be expensive, but it must be consistent. Look for:
- Accurate temperature control
- Even heat across the platen
- Firm, adjustable pressure
- Size that matches your most common blanks
Pro tip:
Most budget presses can run 10–20°F hotter or colder than the display shows. Always test with a digital thermometer.
If you’re upgrading or buying your first unit, our list of the best heat press machines for sublimation compares sizes, features, and pricing so you can pick the right one for your workflow.
Sublimation Ink & Paper: Why They Matter
Ink activates at specific temperatures. Cheaper inks may require more heat, which can damage blanks. Quality sublimation paper releases ink evenly so you don’t get smudging or wet-looking prints.
Signs of bad paper:
- Dampness after pressing
- Ink pooling
- Blurry edge marks
How to Prep Your Design for Accurate Sublimation Heat
Preparing your design correctly is one of the easiest ways to prevent fading, ghosting, or uneven color during sublimation. A few quick steps ensure your artwork transfers cleanly and reacts properly to heat.
Supplies You’ll Need
- Sublimation design file (300 DPI)
- Sublimation paper
- Heat tape
Tools Required
- Heat press
- Sublimation printer
Step-by-Step Instructions
1. Use a high-resolution design
Start by creating or exporting your artwork at 300 DPI. Low-resolution images can look pixelated or soft after pressing, especially on shirts and tumblers where fine details matter.
2. Mirror the design
Before printing, mirror the entire design. This ensures your artwork appears the correct direction once it’s transferred to the substrate.
3. Pre-press your substrate
If you’re working with polyester shirts or other fabric items, pre-press for 5 seconds at 400°F. This removes moisture and helps prevent blotchy or faded areas during the final press.
4. Secure the design with heat tape
For mugs, tumblers, and curved items, use heat tape to secure the sublimation paper tightly. Keeping the paper flat prevents lifting, shifting, or ghosting during heating.
If you’re still learning the basics or want a clearer starting point, our sublimation for beginners guide walks you through the setup, tools, and workflow step-by-step.
Real-World Example: Fixing Dull Tumbler Prints
A beginner was pressing 20-oz tumblers at 400°F for 60 seconds. Her prints were dull and slightly brown.
Our test showed the tumbler wrap was overheating.
We corrected it to:
- 365°F
- 180 seconds
- Medium pressure
The next batch printed with deep blacks, bright reds, and no burnt fingerprint marks.
The issue wasn’t the ink or paper, it was excess heat.
Troubleshooting Sublimation Heat Problems
Dull or washed-out colors
Likely causes:
- Temp too low
- Not enough time
- Moisture in the fabric
- Humidity above 55 percent
Fix:
- Increase temp by 10°F
- Pre-press shirts
- Switch to a thicker sublimation paper
Brown or scorched spots
Likely causes:
- Overheating
- Too much pressure
- Press sitting idle too long
Fix:
- Lower temp 10–20°F
- Use medium pressure
- Use a Teflon sheet only when required
Ghosting
Likely causes:
- Paper shifting during press
- Removing paper too slowly
- Weak heat tape
Fix:
- Tape in 3–4 spots
- Pull paper back fast and smooth
- Use shrink wrap for tumblers
Blurry designs
Likely causes:
- Ink migrating from too much heat
- Paper too wet
- Wrong substrate
Fix:
- Lower temp
- Switch paper
- Ensure polyester content ≥ 65 percent
If you’re still seeing issues after adjusting your heat settings, visit our sublimation troubleshooting guide for fixes to ghosting, dull prints, banding, and other common problems.
Common Mistakes to Avoid
- Pressing everything at 400°F by default
- Ignoring pressure levels
- Not pre-pressing shirts to remove moisture
- Sublimating cotton (does not bond)
- Lifting the paper too slow
- Using inconsistent blanks
Heat Accuracy Check: A 30-Second Self-Test
Most sublimation problems come from a heat press that’s running hotter or colder than the display shows. Before you blame your ink or paper, do this quick 30-second test to see if your press is actually hitting the right temperature.
1. Corner Consistency Test (5 seconds)
Place your hand a few inches above each corner of the platen.
If one feels noticeably hotter, your press has uneven heat distribution.
This usually causes faded centers or darker edges on shirts.
2. Paper Tint Test (10 seconds)
Slide a scrap piece of plain white copy paper into the press and close it for ten seconds at 400 degrees.
If the paper comes out slightly yellow, your press is running hotter than the display.
If it comes out unchanged, you might be under-heating.
3. Tape Crispness Test (10 seconds)
Press a short strip of heat-resistant tape onto the scrap paper and close the press again.
When you lift it, check the edges of the tape mark.
Crisp, sharp edges mean accurate heat.
Soft or blurry edges suggest your press is running cool or struggling to maintain consistent temperature.
4. Press Recovery Test (5 seconds)
Open the press and close it again immediately.
If the temperature drops more than 5 degrees, your machine may be underpowered, which affects large prints like hoodies or blankets.
What This Test Tells You
If even one of these checks fails, you’ll likely need to bump your heat up or down by 5–15 degrees to get accurate results. It’s not uncommon for budget presses to drift, so using this simple test before big jobs saves wasted blanks, ink, and frustration.
Why Sublimation Fails: Data From 500+ Press Tests
After running more than 500 heat press tests across shirts, tumblers, mugs, and metal panels, a clear pattern showed up: most sublimation failures aren’t random. They come from a handful of predictable issues, and almost all of them trace back to heat accuracy, moisture, or pressure. Here’s what the data revealed.
The Most Common Failure Causes
These percentages come from controlled shop testing at Subli Genius Print, where each press was evaluated for temperature, time, pressure, and environmental conditions.
| Failure Cause | Percentage | What This Usually Looks Like |
|---|---|---|
| Incorrect temperature | 42% | Dull colors, brown edges, uneven vibrancy |
| Moisture in substrate | 33% | Faded centers, blotchy patches, soft colors |
| Pressure mismatch | 14% | Blurry lines, incomplete transfers, uneven sharpness |
| Paper shifting | 11% | Ghosting, double images, halo effects |
Why Temperature Leads the List
Heat presses often run hotter or colder than the display shows. Even a 10-degree difference can completely change the way sublimation ink releases. In our testing:
- Presses with more than ±5°F variance had a 30 percent higher failure rate
- Budget presses were off by up to 25°F across the platen
- Tumblers showed the biggest improvement when lowering heat instead of raising it
Moisture: The Hidden Failure Factor
Moisture in shirts, especially polyester blends, causes over 30 percent of faded or blotchy-looking prints. A quick 5-second pre-press at 400 degrees solved most of these instantly.
Humidity above 55 percent also increased failure rates in soft substrates like mousepads and neoprene.
Pressure Issues Are More Common Than You Think
Medium pressure is ideal for most sublimation work, but small shifts matter:
- Too much pressure caused scorch marks on polyester
- Too little pressure led to washed-out details and blurry edges
- Soft substrates like neoprene had a 40 percent failure rate with high pressure
Paper Shifting Creates the Worst-Looking Mistakes
Ghosting is one of the easiest problems to spot and one of the most frustrating. Our tests showed that:
- Using high-tack paper reduced ghosting by 70 percent
- Two small strips of tape perform worse than a full wrap
- Removing the paper too slowly created micro-ghosting on 23 percent of tests
What This Means for Your Pressing Workflow
Most sublimation problems can be solved by adjusting temperature by 5–15°F, pre-pressing moisture out, and securing your paper more firmly. These small changes dramatically improved results across all 500 test samples.
If Your Print Looks Like This… Here’s the Fix
| What Your Print Looks Like | Most Likely Cause | Simple Heat Fix |
|---|---|---|
| Dull, faded, or grayish colors | Temperature too low, platen heat loss, or moisture | Increase temp by 10–15°F, pre-press 5 seconds |
| Brown edges or scorched look | Overheating or extended dwell time | Drop temp 10–20°F, reduce time |
| Blurry or soft edges | Ink overprocessing or too much heat | Lower temperature by 10°F, reduce time by 10–15 sec |
| Faded center with bright edges | Cold spot in center of platen | Increase pressure slightly, preheat platen, rotate item |
| Ghosting or double images | Paper shifted or lifted during press | Use more tape, remove paper quickly and cleanly |
| Orange or yellow tint | Prolonged heat exposure | Lower temperature, shorten press time |
| Random light patches | Moisture in the fabric or high humidity | Pre-press longer, store shirts in sealed bags |
| Inconsistent vibrancy across the design | Uneven pressure | Tighten even pressure, avoid overly thick items |
Quick Way to Match Print Defects With a Fix
Here’s a simple rule of thumb for diagnosing any sublimation issue:
- Faded = Not enough heat
- Burned = Too much heat
- Blurry = Heat is too high
- Blotchy = Moisture
- Ghosting = Paper movement
- Uneven color = Pressure issue
If you can memorize this list, you’ll solve most heat problems within two presses.
Real Example
A customer kept getting light centers on polyester shirts with dark edges. The press looked fine on the display, but the center platen was running 18°F cooler than the corners. Increasing pressure and preheating the platen fixed the issue immediately, and colors evened out on the next attempt.
Downloadable Heat Log & Calibration Tracker
One of the easiest ways to improve your sublimation results is to track your heat settings the same way a shop tracks ink levels or maintenance checks. Heat presses drift over time, rooms warm up, humidity changes, and different blanks behave differently. A simple log helps you spot patterns long before they ruin a batch of shirts or tumblers.
Below is a quick look at what a daily heat log should track, plus a calibration sheet you can download or copy.
Why You Should Track Your Heat Settings
Keeping a heat log helps you:
- Notice if your press starts running hotter or colder over time
- Find the best time–temp combo for each blank you use
- Prevent ghosting, scorching, and dull colors
- Keep consistent results across different batches
- Train new employees or helpers with clear settings
- Reduce wasted blanks and reprints
Most shops that use heat logs report 20–40 percent fewer mistakes in the first month.
📄 Download your file here:
👉 sublimation_heat_logs.pdf
This PDF includes:
- Daily Heat Log (full page)
- Weekly Calibration Tracker (full page)
- Moisture & Humidity Tracker (full page)
You can track your tumbler wraps and diagnose pressure issues using our interactive Tumbler Sublimation Wrap Log & Pressure Map Tracker.


5 Comments