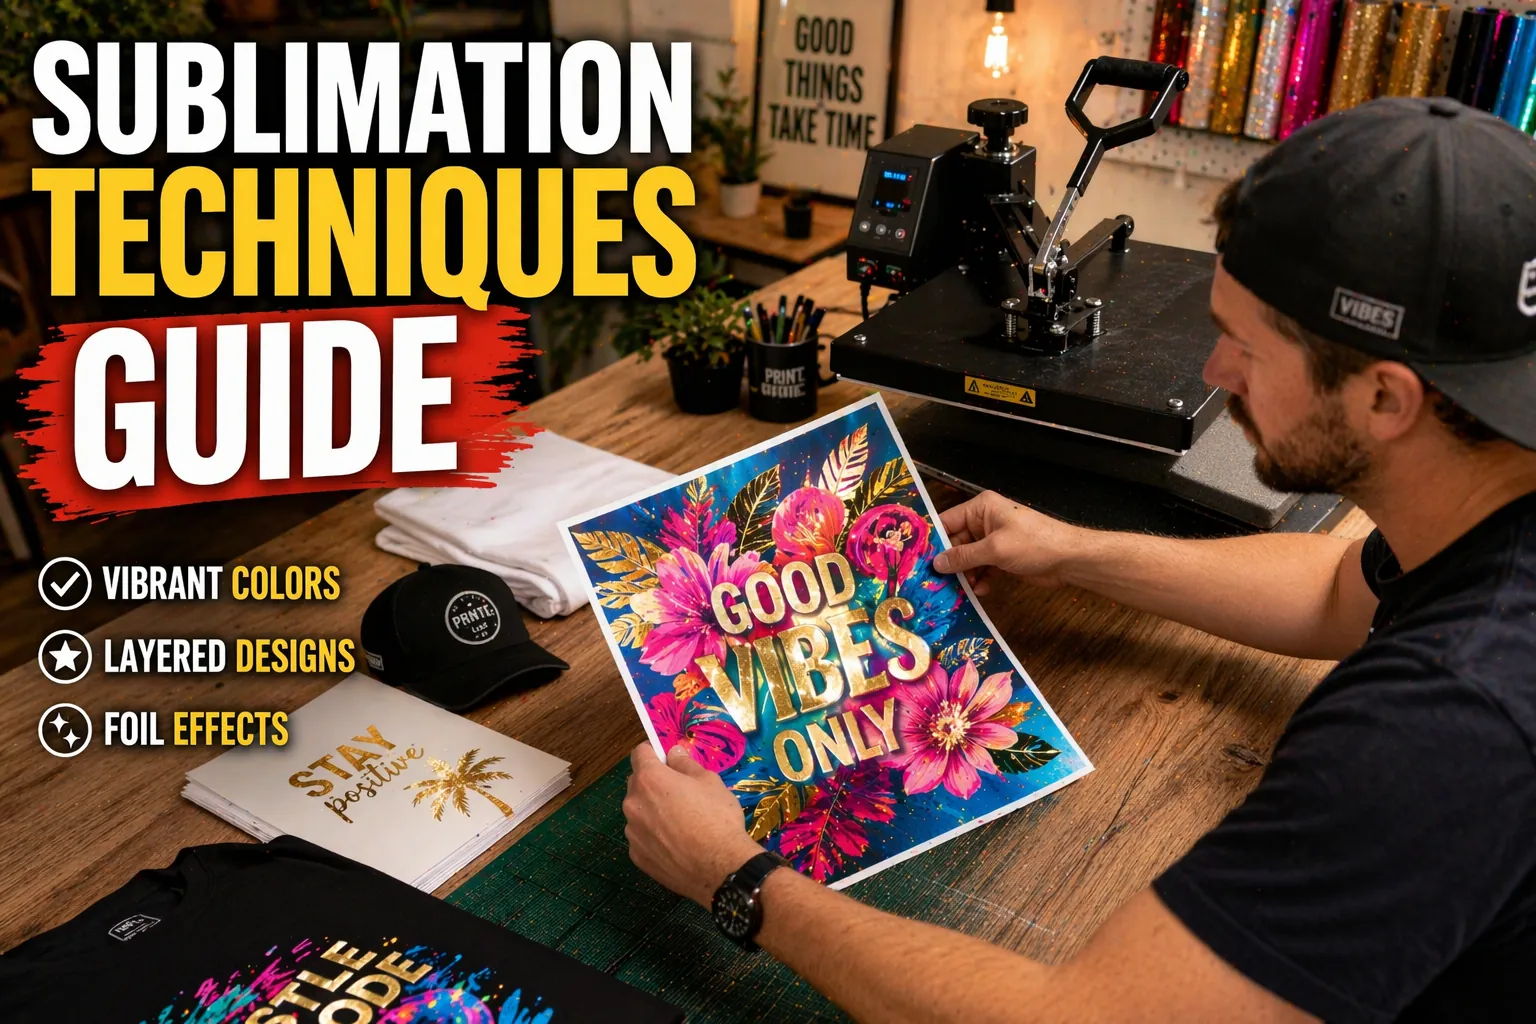
Sublimation Techniques: Complete Guide to Better Prints
If your sublimation prints look flat, dull, or just “basic,” the problem is not your equipment. It is usually your technique.
This guide walks you through the most effective sublimation techniques that improve depth, texture, and overall print quality. You will learn how each method works, when to use it, and how to avoid common mistakes.
What Are Sublimation Techniques?
Sublimation techniques are methods used to control how sublimation ink transfers, blends, and appears on different materials.
Instead of just pressing a design once, these techniques help you:
- Add depth and dimension
- Create texture or visual effects
- Improve color appearance
- Make products look more premium
If you are new to sublimation, start with a basic understanding from this
complete sublimation printing guide
Why Sublimation Techniques Matter
Using the right technique can completely change how your final product looks.
Without techniques:
- Prints look flat
- Colors may feel lifeless
- Designs lack visual interest
With techniques:
- Designs feel intentional
- Products look more premium
- You can charge higher prices
A common issue many beginners face is dull results. If that happens, review this guide on fixing sublimation color problems
Core Sublimation Techniques Explained
Layering Sublimation
Best for: Depth and multi-color designs
Layering involves pressing multiple design elements one at a time instead of all at once.
Key benefits:
- Adds visual depth
- Helps highlight important elements
- Creates a more dynamic design
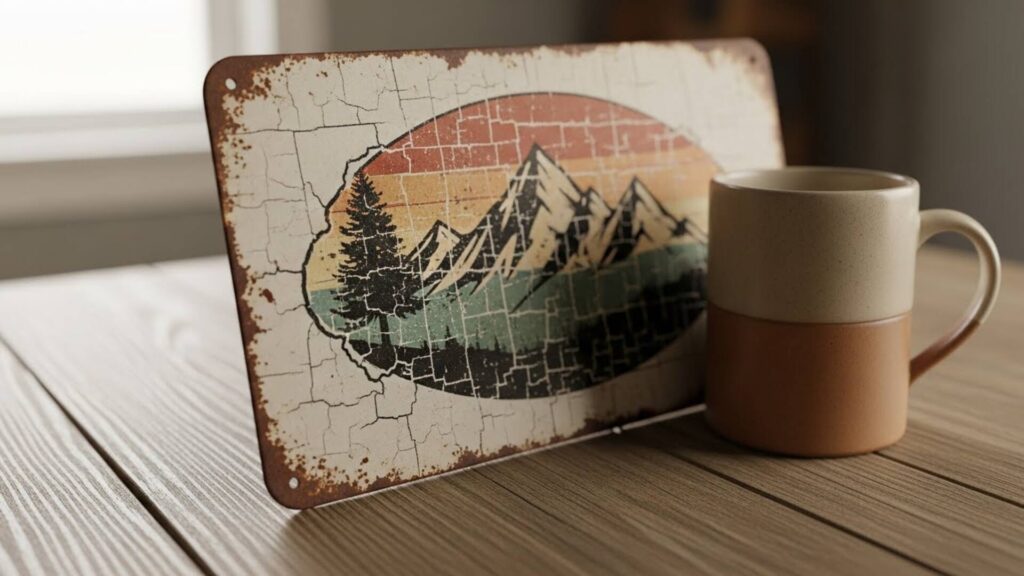
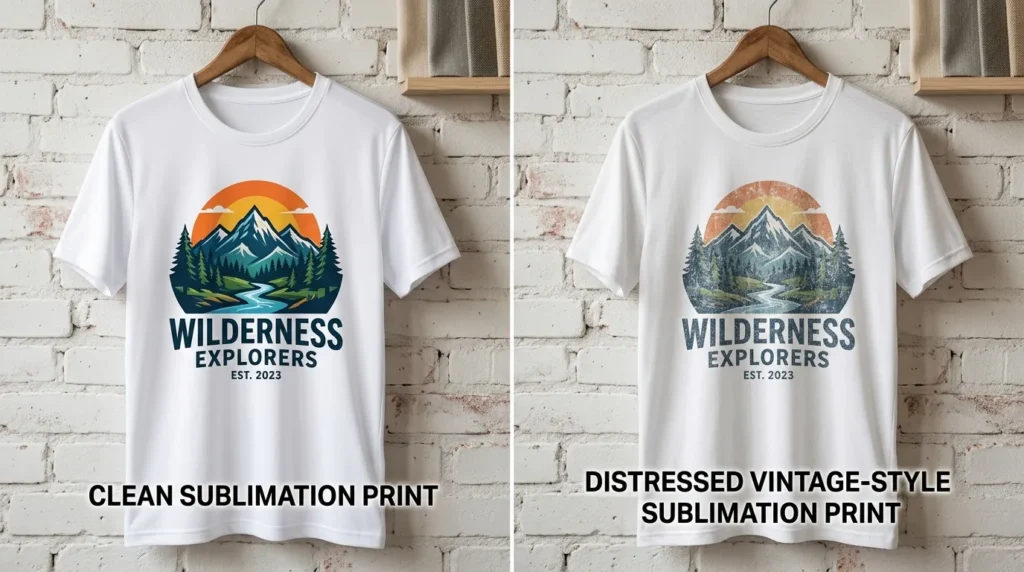
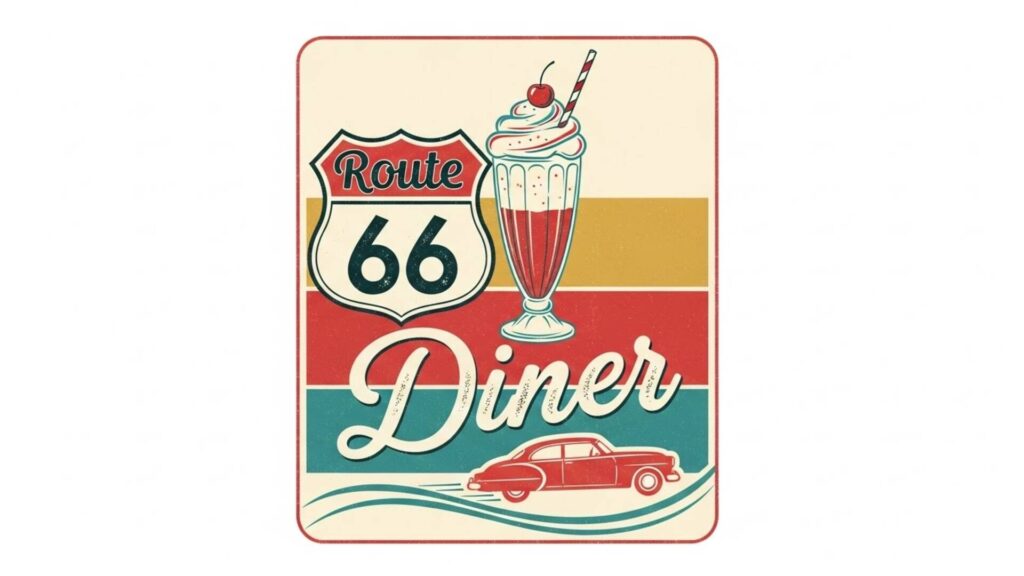
Distressed Sublimation
Best for: Vintage and rustic designs
This technique intentionally disrupts ink transfer to create worn or faded effects.
Why it works:
- Breaks perfect ink transfer
- Creates natural texture
- Makes designs feel handmade
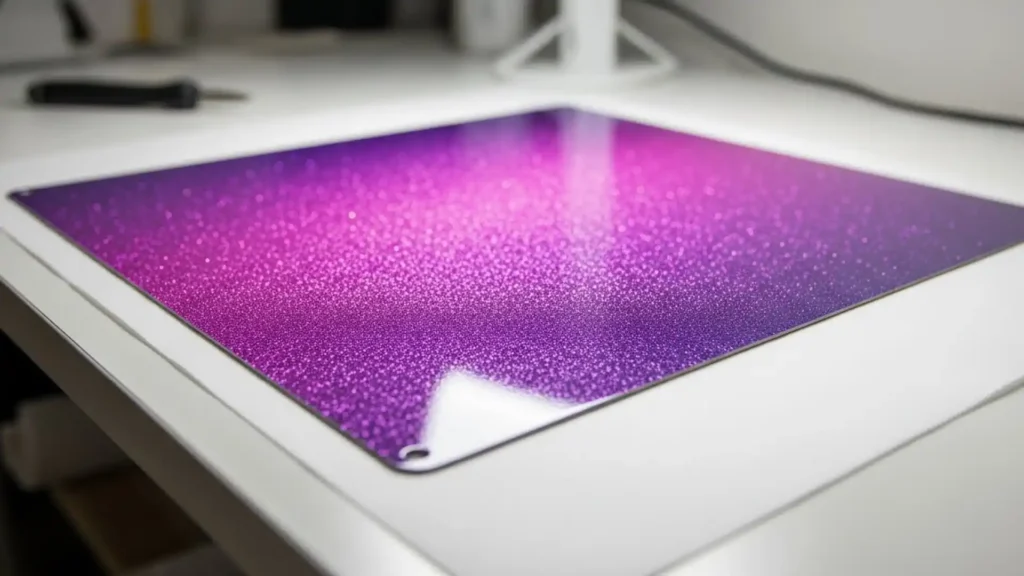
Glitter Sublimation
Best for: Eye-catching accents
Glitter surfaces reflect light through the ink, creating a shimmer effect.
Important note:
- Works best with bold designs
- Requires proper pressure and temperature
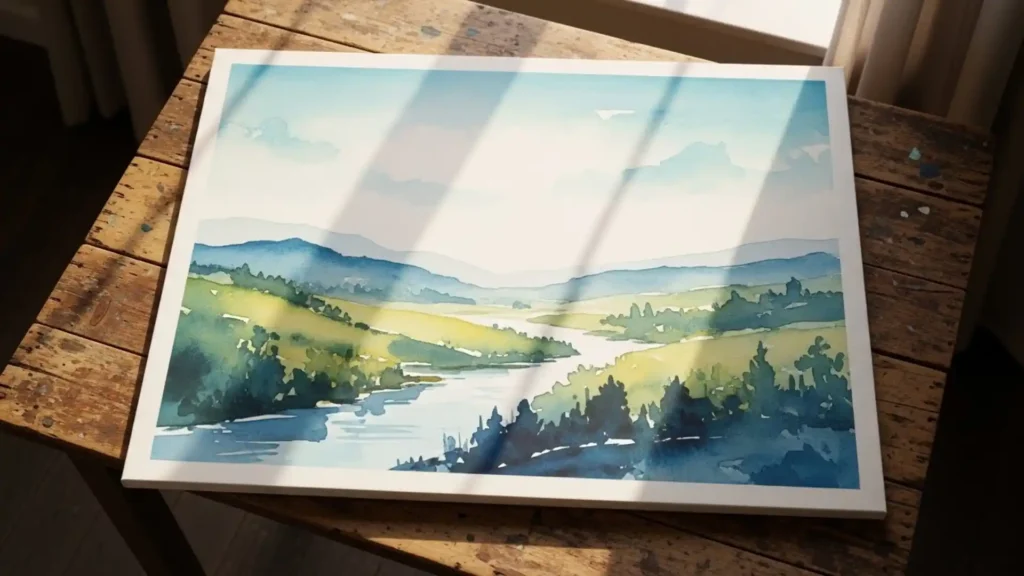
Watercolor Sublimation
Best for: Soft artistic designs
This technique softens edges after pressing to create a painted effect.
Why it matters:
- Reduces harsh edges
- Creates a natural blended look
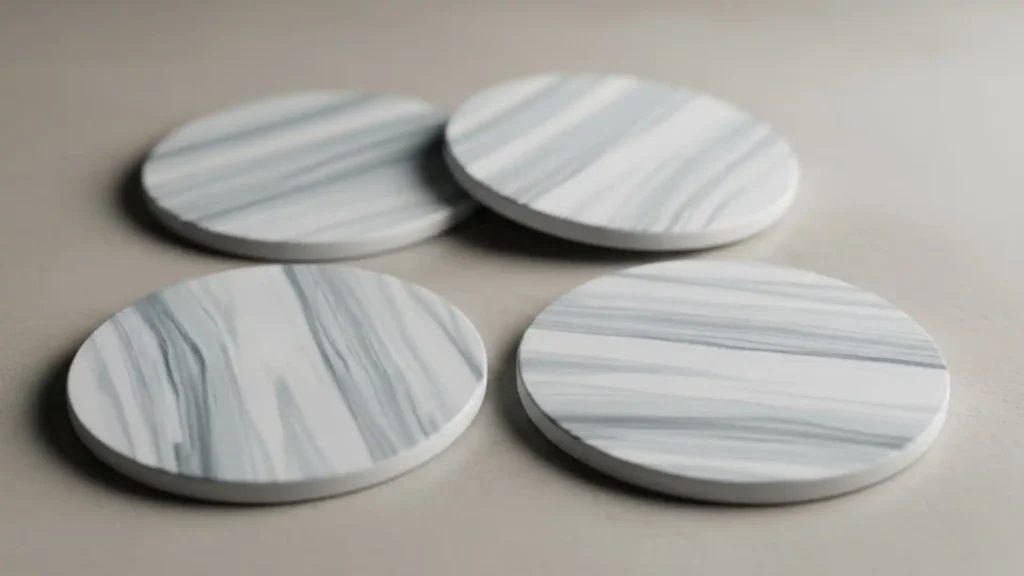
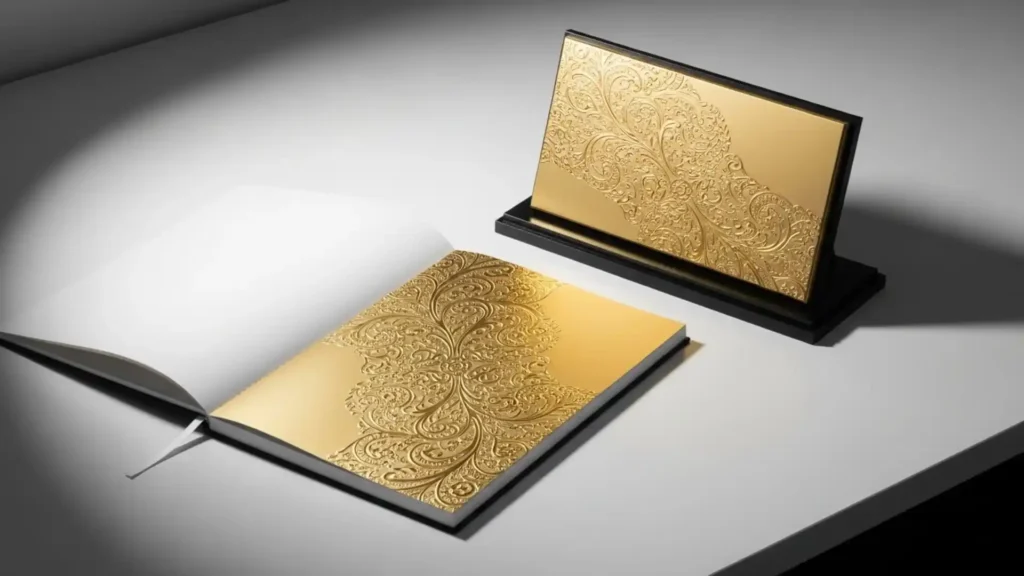
Marble Sublimation
Best for: Elegant and premium products
Marble effects add subtle texture and movement to backgrounds.
Best use cases:
- Coasters
- Decorative tiles
- Home decor
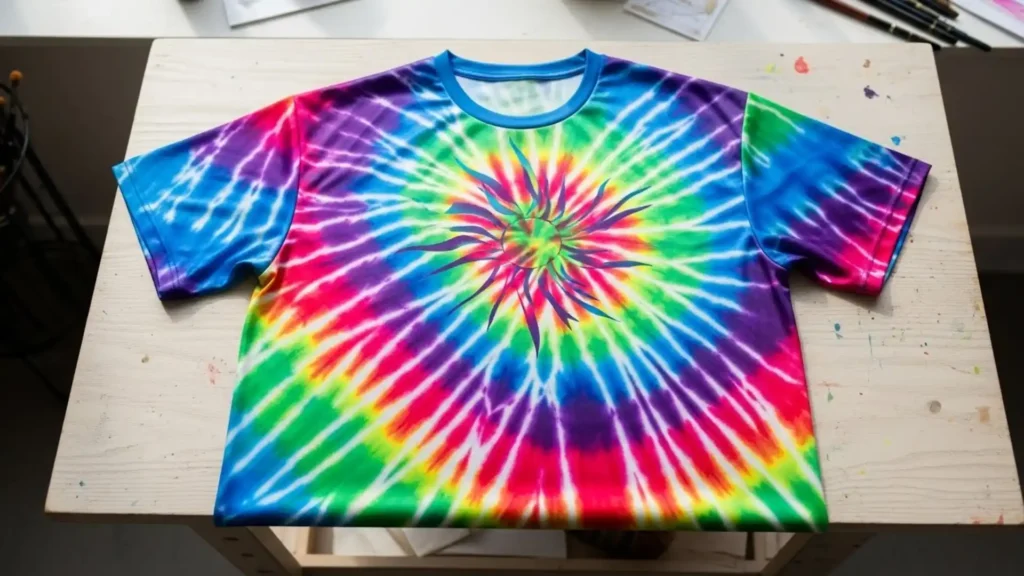
Tie-Dye Sublimation
Best for: Colorful, playful designs
This technique combines sublimation with dye patterns to create unique results.
Key advantage:
- Every product looks different
Foil Sublimation
Best for: Metallic accents
Foil is applied after sublimation to create reflective highlights.
Important:
- Requires a second pressing step
- Works best with bold shapes
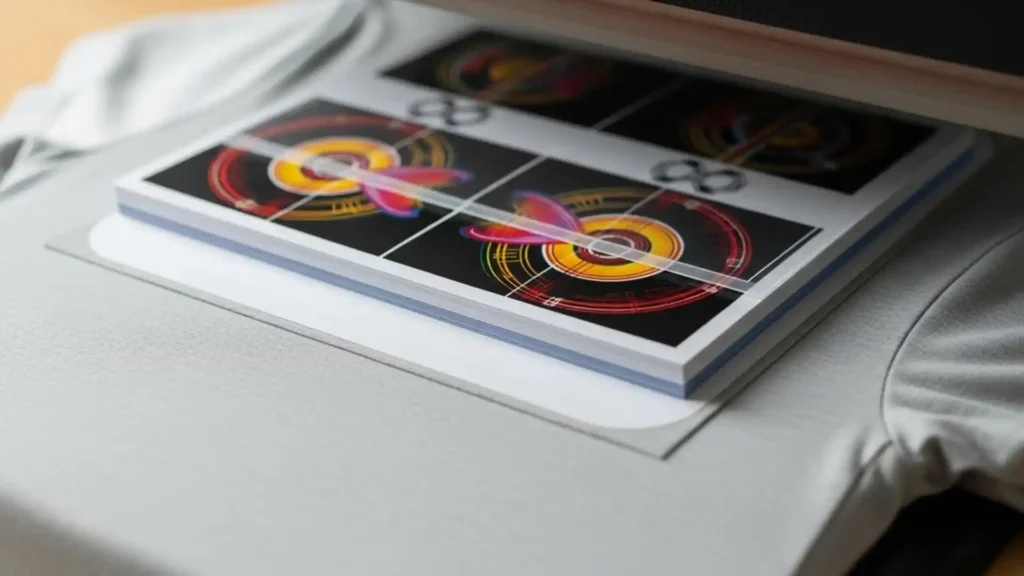

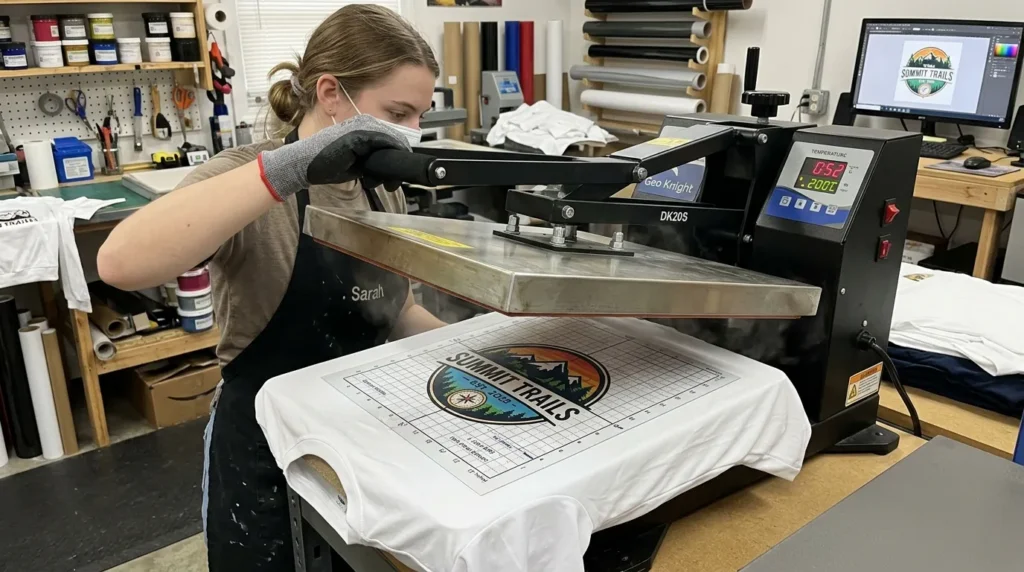
Step-by-Step: How to Apply Sublimation Techniques Correctly
- Prepare your design
- Mirror the image
- Adjust colors if needed
- Choose the right material
- Polyester or coated blanks work best
- Review compatible options in this
sublimation materials guide
- Set correct heat press settings
- Temperature
- Time
- Pressure
If you are unsure, follow this
heat press settings for sublimation
- Apply technique-specific steps
- Layering: press multiple times
- Distressed: texture paper
- Foil: second press
- Let the product cool properly
- Prevent ghosting
- Maintain design integrity
Common Mistakes When Using Sublimation Techniques
- Over-pressing designs
- Using too much ink
- Ignoring cooling time
- Choosing wrong materials
- Applying techniques on every design
A lot of print issues come from basic errors. Review this
sublimation troubleshooting guide
Best Practices for Professional Results
- Test every technique on scrap material first
- Keep designs simple when trying new methods
- Use consistent pressure and temperature
- Avoid mixing too many techniques in one design
- Focus on clarity over complexity
When to Use Each Sublimation Technique
| Technique | Best Use Case | Difficulty |
|---|---|---|
| Layering | Multi-color designs | Medium |
| Distressed | Vintage look | Easy |
| Glitter | Decorative accents | Medium |
| Watercolor | Artistic prints | Medium |
| Marble | Premium decor | Medium |
| Tie-Dye | Casual apparel | Easy |
| Foil | Metallic highlights | Advanced |
Frequently Asked Questions
Can I use multiple sublimation techniques on one product?
Yes, but keep it simple. Combining too many techniques can make the design look messy.
Do I need special materials for sublimation techniques?
Some techniques like glitter or foil require specific materials, but most work on standard sublimation blanks.
What is the easiest sublimation technique for beginners?
Distressed and tie-dye sublimation are the easiest to start with because they are forgiving.
Why do my sublimation techniques not look right?
This usually happens incorrect heat settings, pressure, or material choice.
Is layering sublimation safe for all materials?
No. It works best on polyester and coated hard blanks that can handle multiple presses.
One Comment