Sublimation Temperature Tracker (Free Printable Guide)
If you’re constantly guessing your heat settings, you’re not alone. One small change in temperature or time can completely change your results.
A sublimation temperature tracker helps you stop guessing and start repeating what actually works. Instead of wasting blanks, you’ll build your own proven settings for every material you use.
In this guide, you’ll learn how to use a tracker, what to record, and how it improves your sublimation workflow.
What Is a Sublimation Temperature Tracker?
A sublimation temperature tracker is a simple log sheet where you record:
- Temperature settings
- Pressing time
- Material type
- Equipment used
- Final print results
It helps you identify what works best so you can repeat successful prints without trial and error.
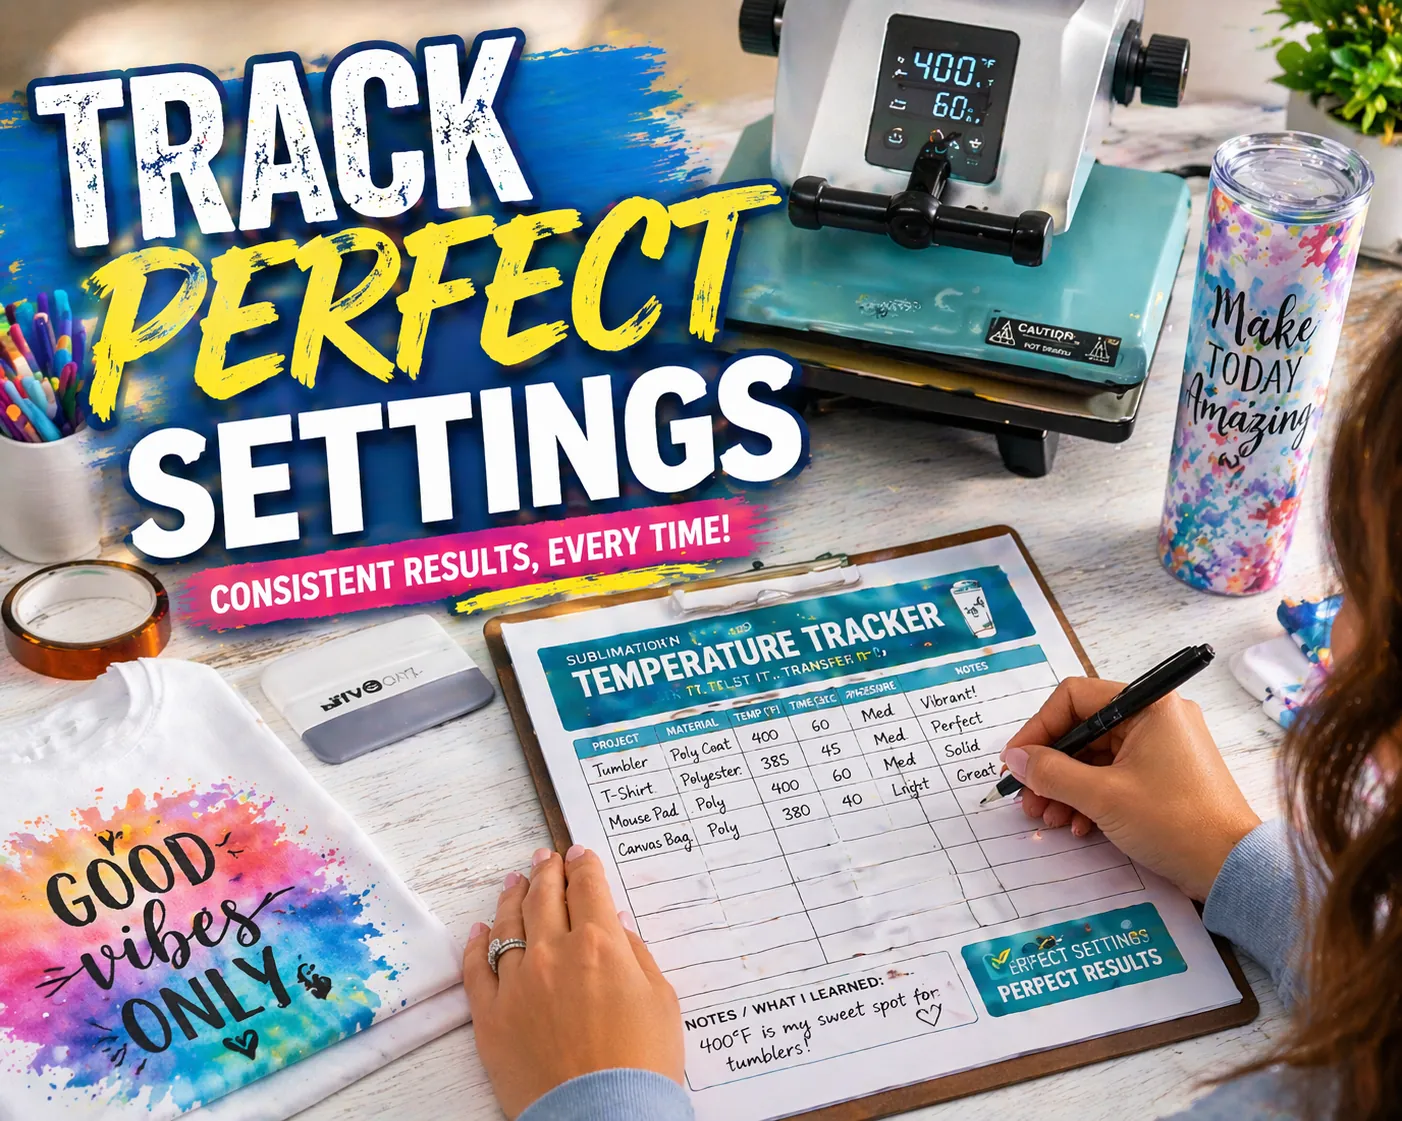
Instead of guessing each time, record your best settings so you can repeat perfect results with confidence. Download Now: “Track every print, perfect your process.”
What’s Inside the Tracker
Your free Sublimation Temperature Tracker (PDF) includes:
✅ Color Outcome Notes: Quick space to jot results ( “Perfect red saturation” or “slightly faded blue”)
✅ Tumbler Type & Material: Stainless steel, plastic, or coated
✅ Brand Name: Note the manufacturer or blank supplier
✅ Temperature Range: Record what worked best (e.g. 380°F for 7 min)
✅ Ink & Paper Brand: Track which combo gave the richest colors
✅ Pressure & Wrap Type: Shrink wrap, silicone sleeve, or heat press
Why You Need a Sublimation Tracker
Without tracking, you rely on memory and that’s where mistakes happen.
A tracker helps you:
- Avoid repeating failed settings
- Improve color consistency
- Save time and materials
- Standardize your workflow
- Build reliable production settings
If you’re still learning the basics, start with this sublimation printing guide to understand how heat, ink, and materials work together.
What to Include in Your Tracker
A useful tracker should capture real-world variables that affect your results.
Essential Fields
- Date
- Project Type (tumbler, shirt, mug, etc.)
- Material / Blank Type
- Brand or Supplier
- Temperature (°F)
- Time (seconds or minutes)
- Pressure Level
Advanced Fields (Highly Recommended)
- Ink Brand
- Paper Type
- Heat Source (press or oven)
- Wrap Method (tape, shrink wrap, silicone sleeve)
- Color Outcome Notes
How to Use the Tracker Step-by-Step
- Start with standard settings
Use recommended ranges for your material. - Record everything
Write down temperature, time, and setup details. - Evaluate your result
Note color quality, sharpness, and any defects. - Adjust one variable at a time
Change temperature OR time not both. - Repeat and refine
After 2–3 tests, you’ll find your ideal settings.
If your results look off, check this sublimation troubleshooting guide to diagnose the issue faster.
Example: Tracking a Sublimation Tumbler
Here’s how a real entry might look:
- Product: 20oz Skinny Tumbler
- Material: Stainless Steel
- Temperature: 385°F
- Time: 7 minutes
- Method: Shrink wrap + convection oven
- Result: Strong color, slight fade near seam
From this, you might adjust:
- Increase time slightly
- Improve wrap tightness
Common Mistakes When Using a Tracker
Even with a tracker, mistakes can still happen.
Avoid these:
- Changing multiple settings at once
- Skipping result notes
- Not recording blank brands
- Ignoring environmental differences
- Inconsistent pressure application
For better consistency, review proper heat press temperature for sublimation settings alongside your tracker.
Tips to Get the Most Accurate Results
- Always preheat your blanks
- Use the same equipment when testing
- Label your finished samples
- Keep your tracker in your workspace
- Review past entries before new projects
Consistency comes from repetition not guessing.
Frequently Asked Questions
Can I reuse the same settings for all sublimation projects?
No, different materials and coatings require different temperature and time settings.
Do I need a tracker if I only sublimate occasionally?
Yes, even occasional users benefit from recording what works to avoid repeating mistakes.
Is a digital tracker better than a printable one?
Both work. Printable trackers are faster to use during pressing, while digital ones are easier to organize long-term.
How many test runs should I record?
At least 2–3 tests per new material to find reliable settings.
What’s the biggest benefit of using a tracker?
It helps you achieve consistent, repeatable results without wasting materials.