A Complete Guide: What Temperature for Sublimation Tumbler
Getting the temperature right is the difference between a vibrant tumbler and a dull, faded print.
If your colors look washed out, blurry, or uneven, your heat settings are usually the problem. The good news is that once you understand the correct temperature range, you can fix most issues quickly.
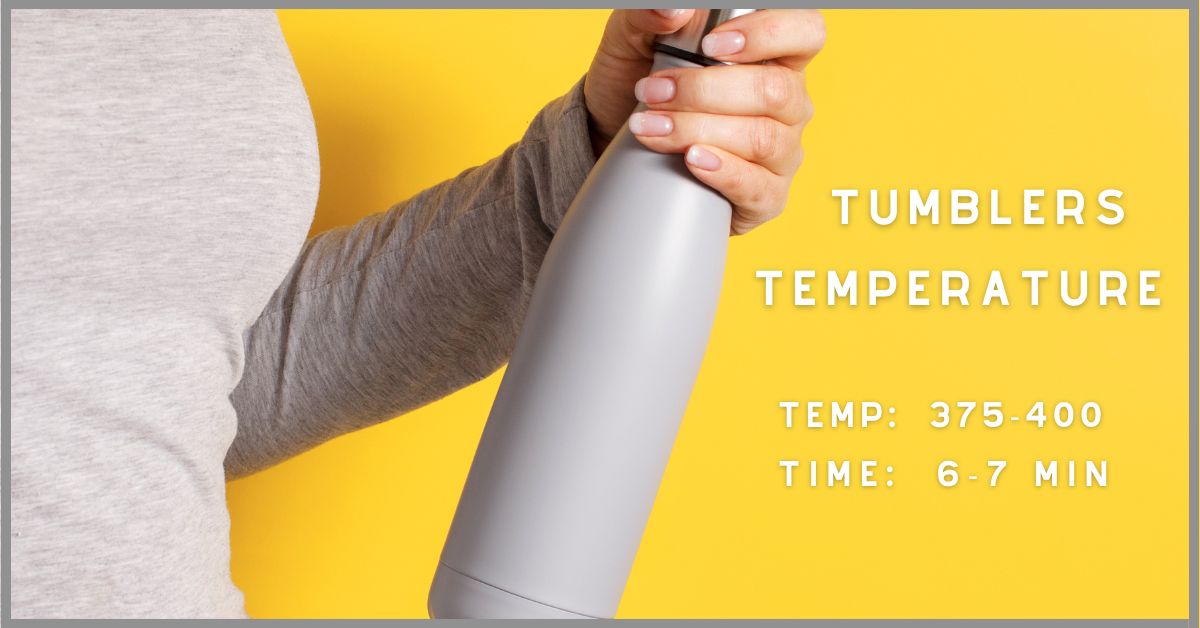
The ideal temperature for sublimation tumblers is 380°F to 400°F for 6–8 minutes, but the best results come from small adjustments based on your setup.
If your prints look dull or uneven, focus on improving heat consistency, pressure, and wrapping technique. Once those are dialed in, you’ll get vibrant, long-lasting results every time.
What Temperature Is Best for Sublimation Tumblers?
The best temperature for sublimation tumblers is 380°F to 400°F for 6–8 minutes with medium pressure.
This range works for most stainless steel and coated tumblers because it allows proper ink vaporization and bonding with the sublimation coating.
If your setup varies slightly, small adjustments (±5°F or ±30 seconds) can make a noticeable difference.
Ideal Temperature & Time by Tumbler Type
Different materials react differently to heat. Use this quick reference:
| Tumbler Type | Temperature | Time | Notes |
|---|---|---|---|
| Stainless Steel | 380–400°F | 6–8 minutes | Most common, reliable results |
| Coated Tumblers | 375–400°F | 5–7 minutes | Follow manufacturer guidance |
| Plastic Tumblers | 350–375°F | 4–6 minutes | Lower heat to avoid melting |
If you’re unsure about your blank, check the supplier or review this sublimation materials guide to confirm compatibility.
Why Temperature Matters in Sublimation
Sublimation printing works by turning solid dye into gas using heat. That gas then bonds with the polymer coating on your tumbler.
Here’s what happens when temperature is off:
- Too low: Ink doesn’t fully transfer → faded or dull colors
- Too high: Coating overheats → yellowing or blurry prints
- Uneven heat: Patchy or inconsistent color
This is why stable heat and correct timing matter just as much as your design or printer settings.
If you want a deeper understanding of the process, this sublimation printing guide explains how everything works together.

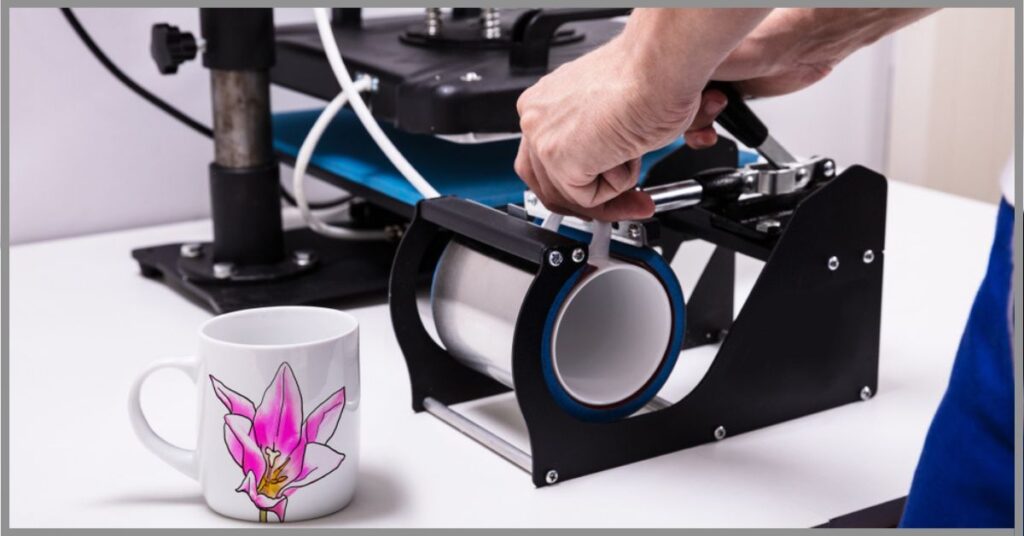
Step-by-Step: How to Sublimate a Tumbler Correctly
Follow this workflow for consistent results:
- Preheat the tumbler
Warm it for 5–10 seconds to remove moisture and improve ink bonding. - Wrap your design tightly
Use sublimation paper and secure it with heat-resistant tape.
Any gaps can cause ghosting. - Set your temperature and time
- 380°F–400°F
- 6–8 minutes
- Medium pressure
- Apply even heat
Use a tumbler press or convection oven. Rotate if needed for full coverage. - Cool naturally
Let the tumbler cool at room temperature. Avoid water or cold surfaces.
If your setup struggles with consistency, review proper heat press temperature for sublimation to fine-tune your settings.
Common Temperature Problems and Fixes
Here’s how to quickly diagnose issues:
| Problem | Likely Cause | Fix |
|---|---|---|
| Faded colors | Temperature too low | Increase to 385–400°F |
| Ghosting/blurry | Paper shifted | Secure with heat tape |
| Uneven print | Inconsistent heat | Rotate or use convection oven |
| Yellowing | Too much heat | Reduce temperature slightly |
| Peeling design | Poor coating | Use sublimation-ready blanks |
For deeper troubleshooting, follow this sublimation troubleshooting guide.
Download the Temperature Chart PDF: Access a comprehensive chart that provides precise temperature guidelines for various tumbler materials.
Tips for Consistent Results
Consistency is what separates average prints from professional ones.
Keep these tips in mind:
- Always preheat your tumbler
- Use shrink wrap or silicone sleeves for even pressure
- Avoid using kitchen ovens (not safe for sublimation)
- Test new blanks before full production
- Keep a record of your best settings
Small adjustments can dramatically improve color vibrancy and clarity.
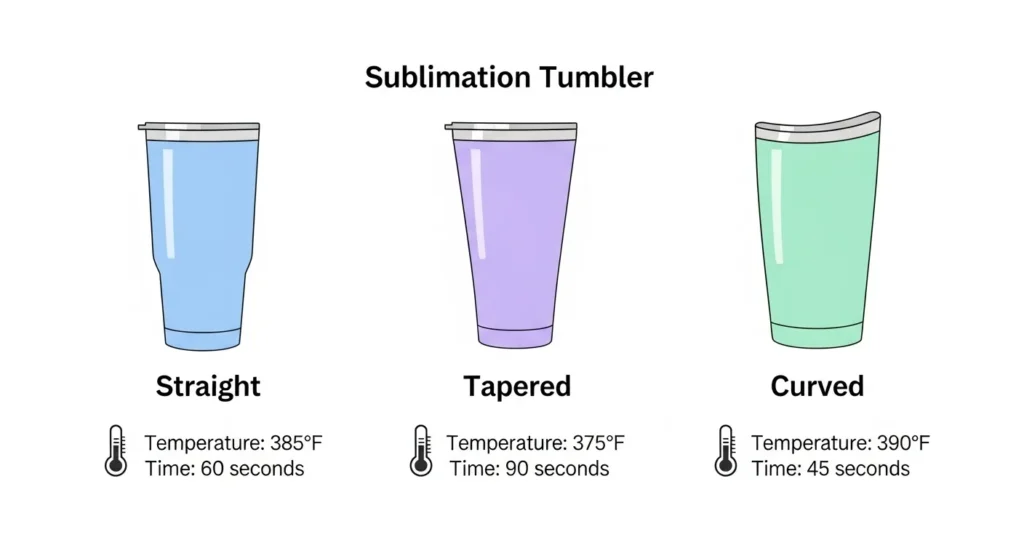
Do Different Tumbler Shapes Change Temperature?
Yes, shape affects heat distribution.
Straight Tumblers
- 380–400°F for 6–8 minutes
- Even heat contact
- Best for beginners
Tapered Tumblers
- 375–385°F for 7–9 minutes
- Uneven pressure zones
- Requires rotation or wraps
If you notice faded edges or gaps, the issue is often pressure not just temperature.

Frequently Asked Questions
Can I sublimate tumblers at 350°F?
Yes, but only for plastic tumblers. Stainless steel usually needs higher heat for proper ink transfer.
Do I need to rotate tumblers in an oven?
Yes, rotating helps ensure even heat distribution and prevents patchy prints.
Is 400°F too hot for sublimation tumblers?
It’s safe for most stainless steel tumblers, but going higher can damage coatings.
What’s the best time for sublimation tumblers?
Typically 6–8 minutes, depending on thickness and material.
Can I use different settings for different brands?
Yes, always test new blanks since coatings vary between manufacturers.
Keep a record of your best settings so you don’t have to guess each time. Using a sublimation temperature tracker makes it much easier to repeat successful prints.

Top Causes of Sublimation Print Errors (2025 Survey Snapshot)
Based on a 2025 industry snapshot. Use as directional insight and update with your own data if available.
Professional Sublimation Printing & Wholesale Custom Products
Looking for high-quality sublimation printing for apparel, drinkware, and promotional items? Subli Genius Print delivers vibrant color, sharp detail, and long-lasting results for businesses, brands, and resellers across the U.S.

2 Comments