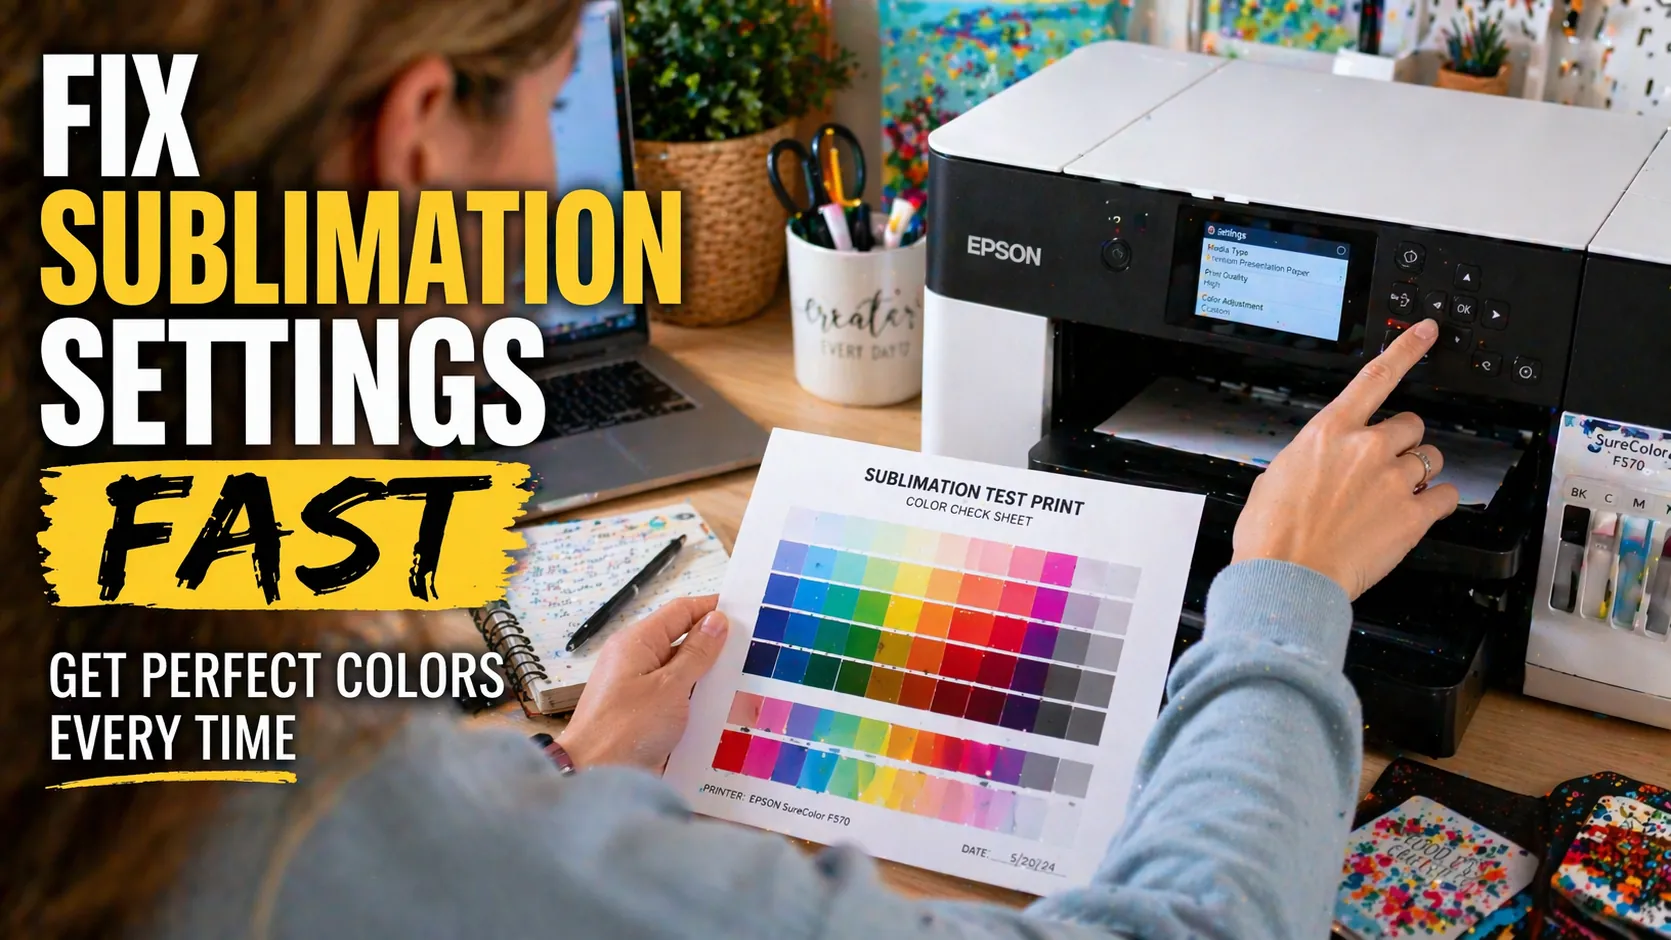
Sublimation Printer Settings: Fix Print Quality, Colors & Alignment
If your sublimation prints look dull, blurry, or off-color, your printer settings are usually the problem.
Many beginners assume the issue is ink or paper, but in most cases, it comes down to incorrect sublimation printer settings. The good news is that once you fix a few key settings, your prints become sharper, more vibrant, and consistent.
In this guide, you’ll learn the exact settings that work, why they matter, and how to fix common print quality issues step by step.
What Are the Best Sublimation Printer Settings?
The best sublimation printer settings are:
- ICC profile enabled
- Premium Presentation Paper Matte
- Print Quality set to High or Best
- Mirror printing turned ON
- Color correction turned OFF (when using ICC profile)
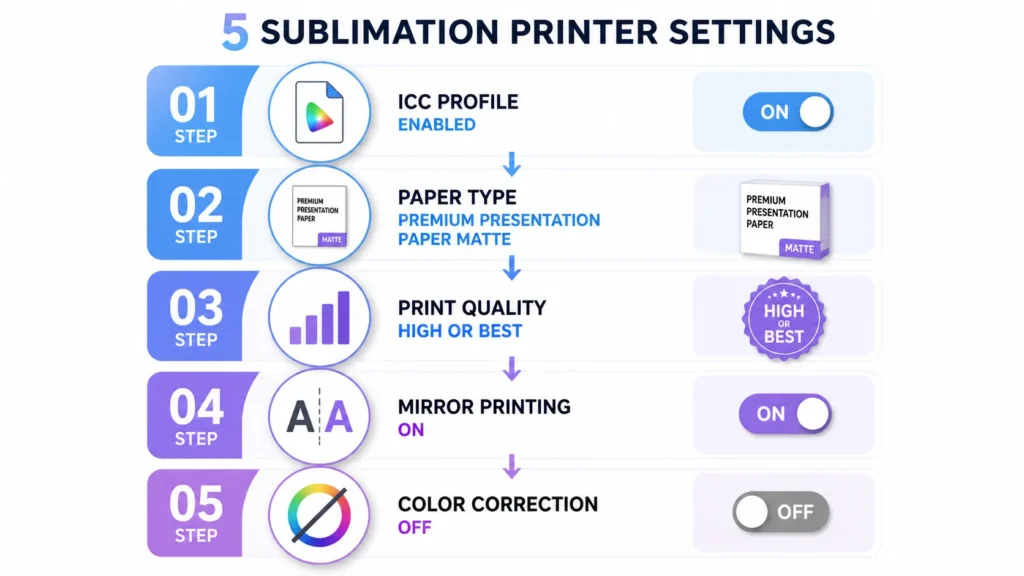
These settings work together to control how ink is applied, how colors are interpreted, and how the design transfers during heat pressing.
If even one of these is wrong, you may notice faded colors, banding, or incorrect tones.
Why Your Sublimation Prints Look Wrong
Before fixing your settings, it helps to understand what’s causing the issue.
Dull or Faded Colors
This usually happens when:
- No ICC profile is used
- Print quality is too low
- Incorrect paper type causes poor ink absorption
Banding or Lines in Prints
You may notice horizontal lines if:
- Fast or bi-directional printing is enabled
- The print head needs cleaning
If this happens often, follow this sublimation troubleshooting guide to identify deeper issues.
Incorrect Colors (Too Dark or Too Green)
This is often caused by:
- Double color management
- Wrong color profile
- Mismatch between software and printer settings
To fix this properly, you’ll need correct ICC profiles for sublimation printing.
Ghosting or Misalignment
This can happen when:
- Paper shifts during printing or pressing
- Mirror setting is incorrect
- Printer feeds unevenly
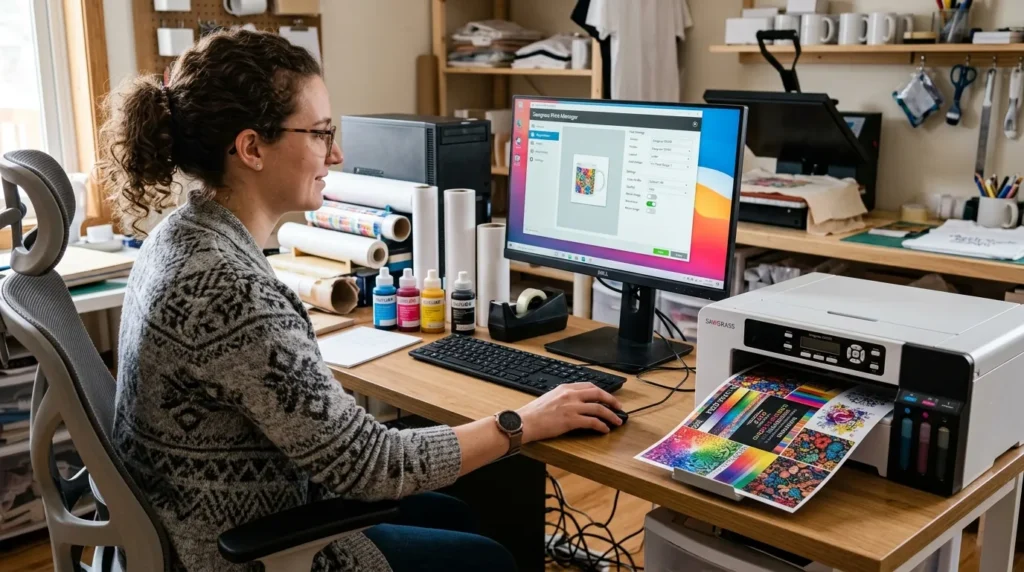
Best Sublimation Printer Settings (Step-by-Step)
Follow this exact setup to get consistent results.
Step 1: Set the Correct ICC Profile
Your ICC profile controls how colors are printed.
- Install the profile from your ink or paper supplier
- Select it in your design software or print settings
Why this matters:
Without it, your colors won’t match what you see on screen.
Step 2: Choose the Right Paper Type
Set your printer to:
- Premium Presentation Paper Matte (recommended)
Why this matters:
This setting controls how much ink is released. Using plain paper settings can cause over-inking or dull prints.
Step 3: Select High Print Quality
Always choose:
- High or Best quality
Why this matters:
Higher quality ensures better ink saturation, sharper edges, and smoother gradients.
Step 4: Enable Mirror Printing
Turn mirror (flip) printing ON before printing.
Why this matters:
Sublimation transfers in reverse during heat pressing. If you skip this step, your design will appear backward on the final product.
Step 5: Turn Off Double Color Management
When using an ICC profile:
- Disable printer color adjustments
- Let your design software manage colors
Why this matters:
If both the printer and software adjust colors, your prints will look incorrect or oversaturated.

Sublimation Paper for Large Images on Cricut
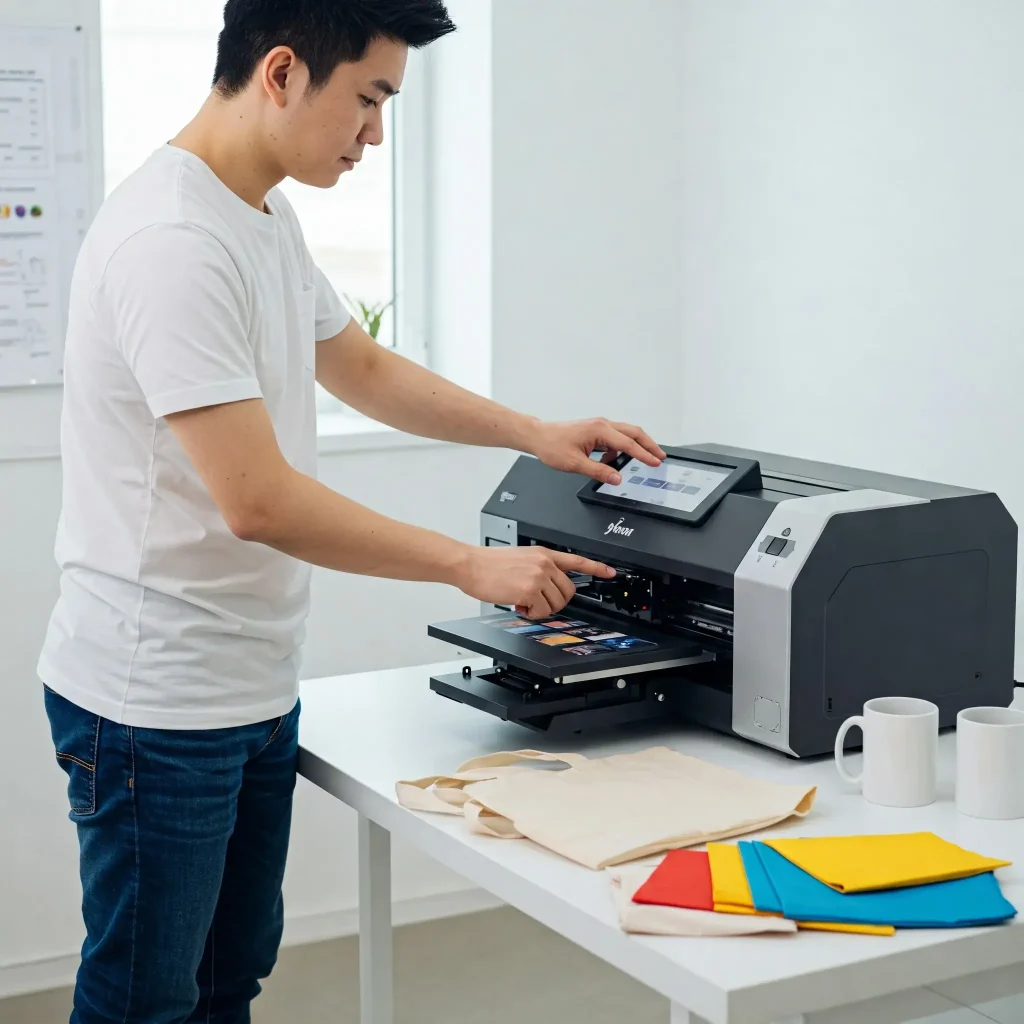
Advanced Printer Settings (Optional Tweaks)
Once your basic setup is correct, you can fine-tune your results.
- Disable bi-directional printing to reduce banding
- Use 300 DPI resolution for sharp prints
- Adjust saturation slightly only if needed
These adjustments help improve consistency, especially for detailed designs.
Common Mistakes That Ruin Sublimation Prints
Many print issues come from small mistakes.
Avoid these:
- Using plain paper setting instead of matte
- Forgetting to mirror the design
- Printing in draft or standard quality
- Using incorrect ICC profiles
- Allowing both printer and software to manage colors
If your colors still look off, check this guide on why sublimation colors look dull and how to fix it.
Quick Sublimation Printer Settings Table
| Setting | Recommended Option | Why It Matters |
|---|---|---|
| ICC Profile | Enabled | Ensures accurate colors |
| Paper Type | Premium Matte | Prevents over-inking |
| Print Quality | High or Best | Improves detail and sharpness |
| Mirror Print | ON | Correct transfer orientation |
| Color Mode | No Adjustment (with ICC) | Prevents color conflicts |
When Printer Settings Alone Won’t Fix the Problem
Sometimes, even perfect settings won’t solve everything.
Check for:
- Clogged print heads
- Low-quality sublimation paper
- Incorrect heat press settings
If you suspect a hardware issue, learn how to fix it with this guide on cleaning a sublimation printer head.
You can also review proper sublimation heat press settings to ensure your transfer process is correct.t makes it possible to reproduce colors accurately across multiple prints, ensuring that your sublimation prints are consistent and high-quality.
Pro Tips for Consistent Sublimation Results
To avoid repeated issues:
- Always run test prints before large batches
- Keep a record of your best settings
- Calibrate your monitor for better color accuracy
- Use high-resolution images (300 DPI or higher)
You may notice your results improve significantly just by staying consistent.
What printer setting should I use for sublimation?
For sublimation printing, use the highest quality print setting available in your printer software. Most sublimation printers work best with:
- Paper Type: Premium Presentation Paper Matte or similar
- Print Quality: High or Best
- Color Mode: ICC profile enabled
- Mirror Image: Turned on
- Color Correction: Off if using an ICC profile
Using the correct settings helps improve ink saturation, color vibrancy, and transfer quality during the sublimation printing process.
How to print high quality sublimation?
To print high-quality sublimation transfers:
- Use high-resolution PNG or SVG files
- Select the correct ICC profile
- Print using premium sublimation paper
- Use high-quality sublimation ink
- Apply proper heat press temperature and pressure
- Keep printer nozzles clean to avoid banding
Accurate printer color profiles and proper heat press settings make the biggest difference in dye sublimation printing quality.
What temperature to sublimate on 50/50?
Most 50/50 cotton-polyester blends sublimate best between 385°F and 400°F for 45 to 60 seconds using medium pressure.
Because 50/50 fabrics contain cotton, colors may appear softer or vintage compared to 100% polyester sublimation printing. Lower temperatures can help reduce scorching and preserve fabric texture.
How do I get the most vibrant sublimation?
To achieve vibrant sublimation colors:
- Use 100% polyester or polymer-coated blanks
- Apply the correct ICC profile
- Increase print quality settings
- Use fresh sublimation ink
- Preheat garments to remove moisture
- Maintain even heat press pressure
- Use proper sublimation transfer paper
Vibrant sublimation results depend on color calibration, heat activation, and high-quality sublimation substrates.
Frequently Asked Questions
Can I use regular printer settings for sublimation?
No, sublimation requires specific settings like ICC profiles and matte paper selection to produce accurate results.
Do I need an ICC profile for sublimation printing?
Yes, an ICC profile is essential for matching screen colors to printed output.
What print quality should I use for sublimation?
Always use High or Best quality for sharp and vibrant prints.
Why are my sublimation colors dull even with correct settings?
This may be due to poor paper quality, incorrect heat press settings, or clogged print heads.
Should I turn on mirror printing every time?
Yes, sublimation designs must always be mirrored before printing.


12 Comments