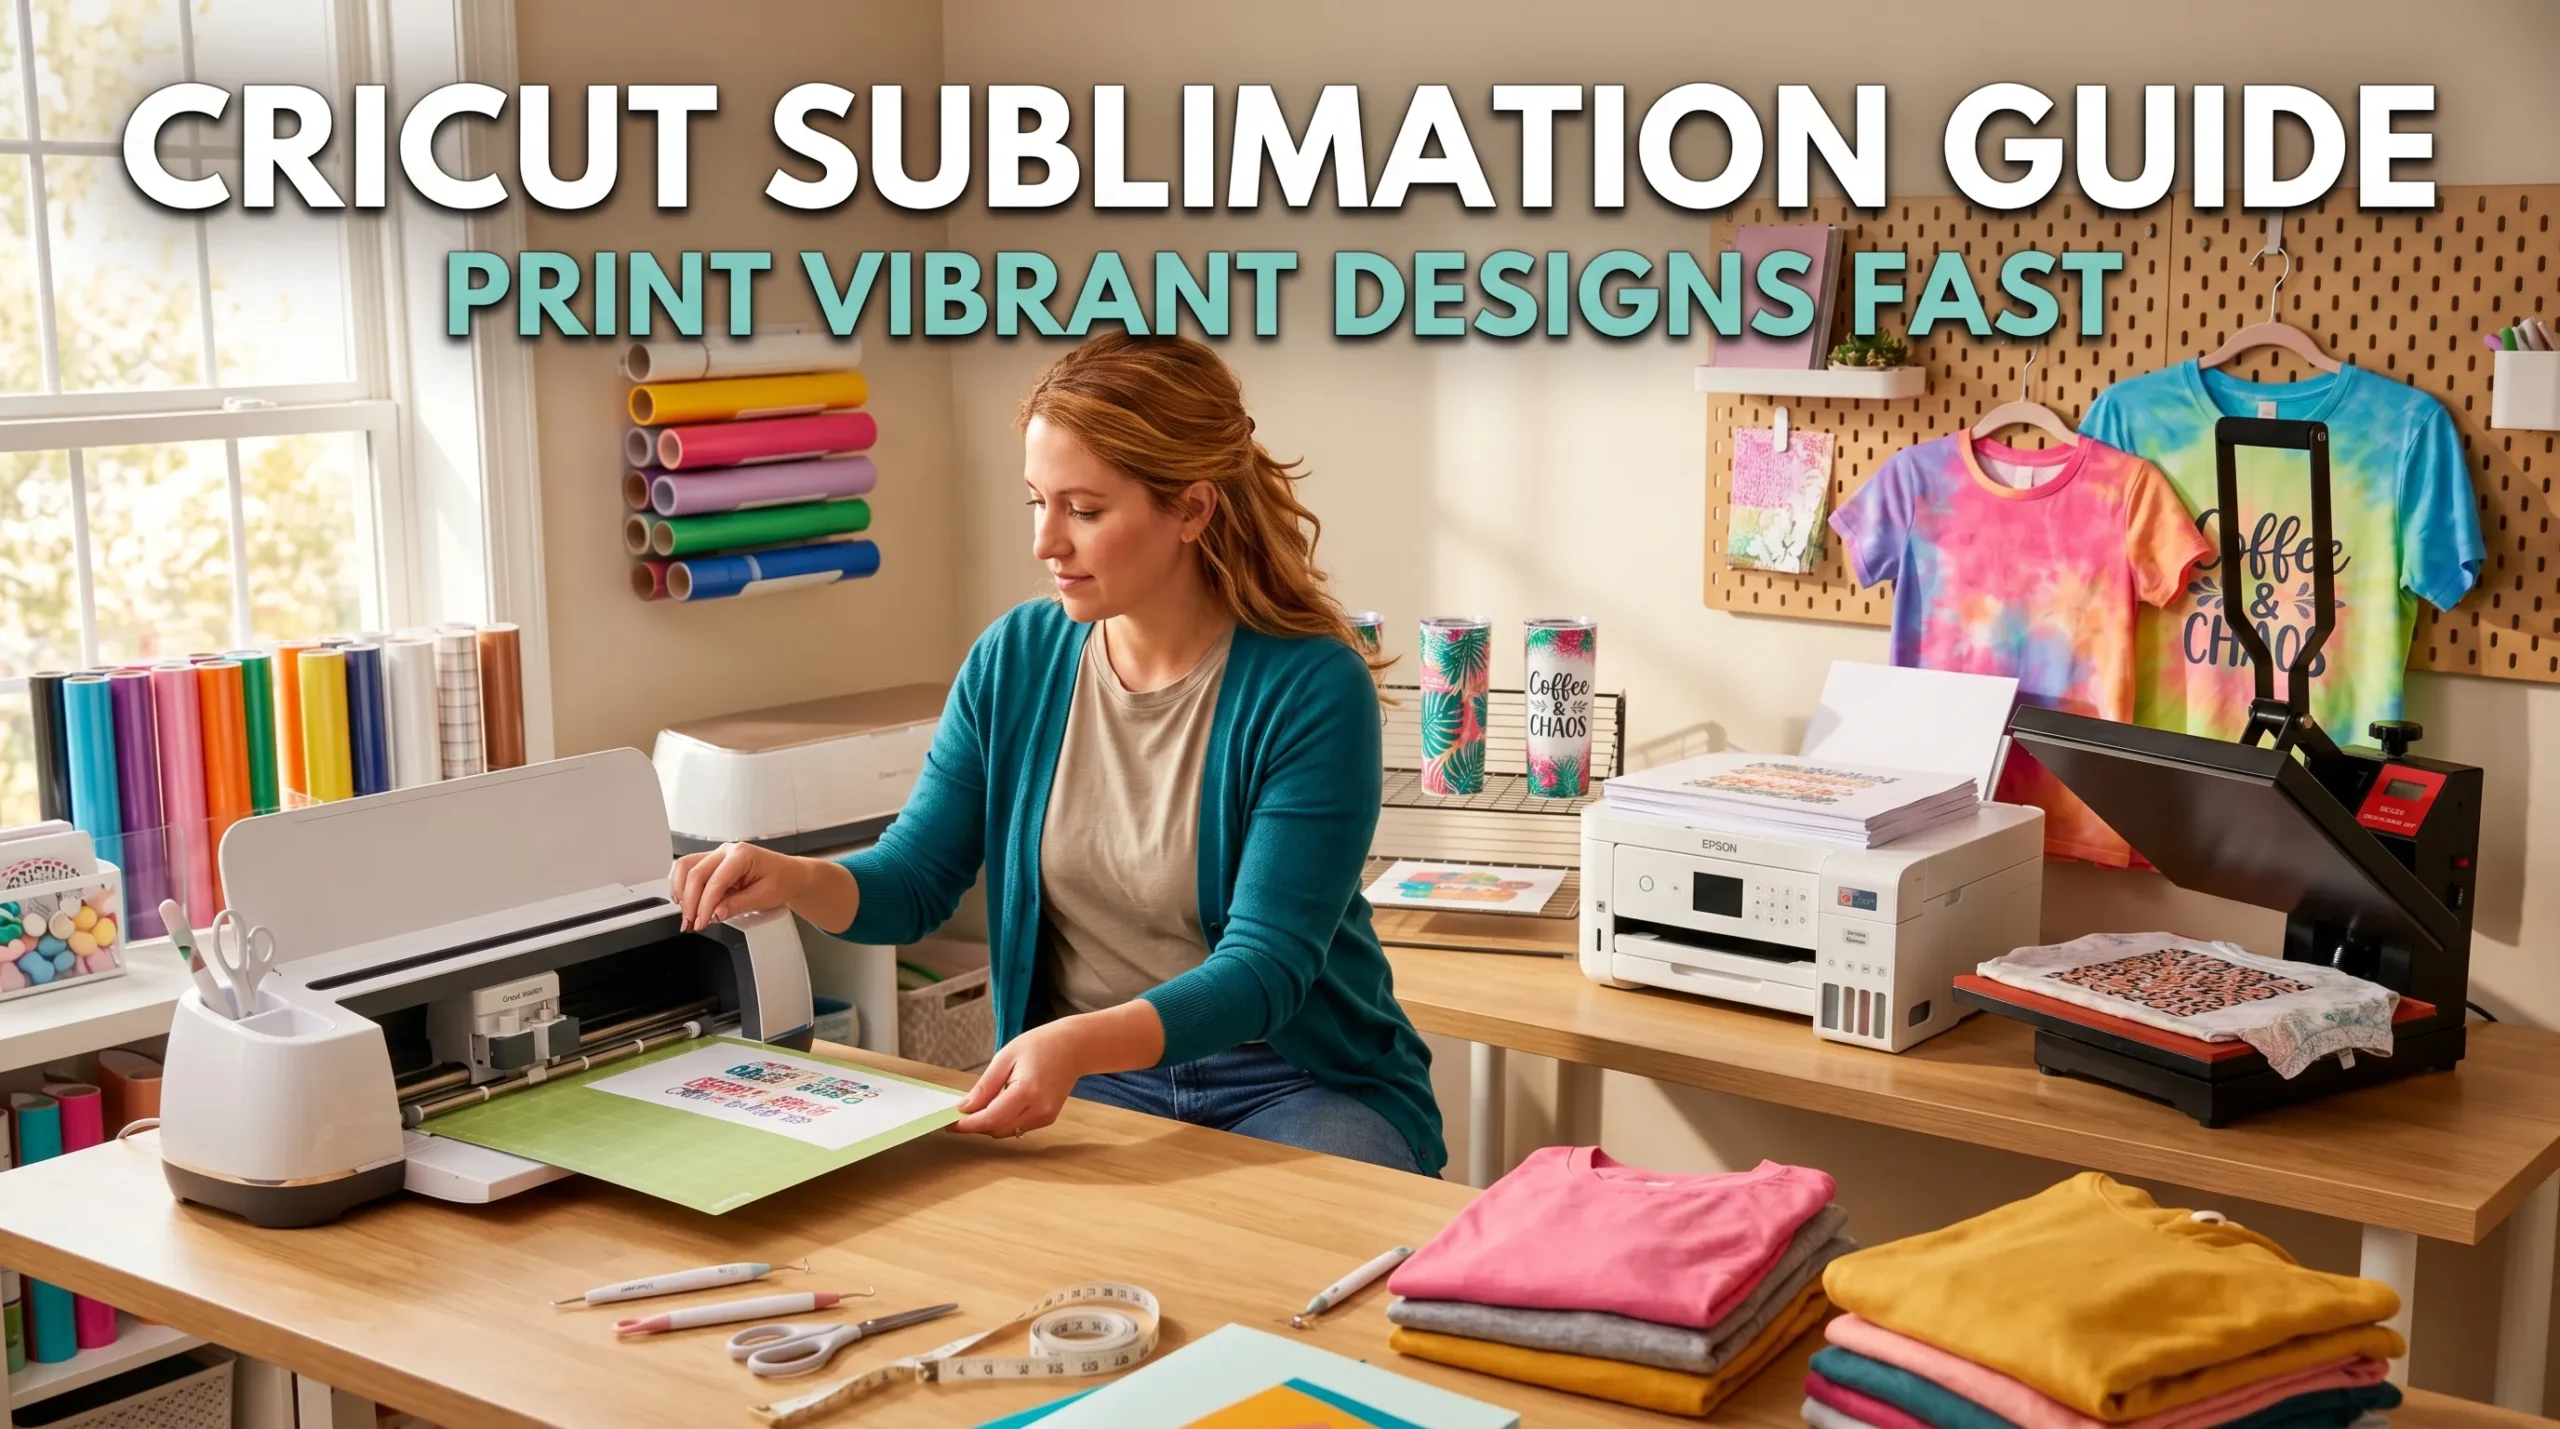
How to Print Sublimation on Cricut Step by Step
Cricut machines cannot print sublimation ink directly, but they are incredibly useful for preparing sublimation designs, resizing artwork, and creating clean transfers for shirts, mugs, tumblers, and other custom projects.
The actual sublimation workflow combines Cricut Design Space, a sublimation printer, sublimation paper, and a heat press. Once you understand how these tools work together, creating vibrant full-color sublimation projects becomes much easier.
This guide explains exactly how to print sublimation on Cricut step by step, including Design Space setup, printing workflow, heat press settings, and beginner mistakes to avoid.
What You Need Before Starting
Before printing sublimation designs with Cricut, gather these tools and materials:
- Cricut Maker, Explore, or Joy Xtra
- Sublimation printer
- Sublimation ink
- Sublimation paper
- Heat press or Cricut EasyPress
- Polyester or polymer-coated blanks
- Heat-resistant tape
- Lint roller
- Butcher paper
If you are still choosing equipment, review these beginner sublimation printer options.
You can also explore a complete Cricut sublimation workflow before starting your first project.
Can Cricut Do Sublimation Printing?
No. Cricut machines do not print sublimation ink directly.
A Cricut machine is used to:
- prepare designs
- resize artwork
- cut printed sublimation sheets
- organize layouts inside Design Space
The actual printing is done using a sublimation printer loaded with sublimation ink.
This is one of the biggest beginner misunderstandings. Many people assume Cricut works like a regular printer, but Cricut is mainly a cutting and crafting machine.
How Cricut Works With Sublimation
Cricut becomes part of the sublimation process during design preparation and cutting.
A typical sublimation workflow looks like this:
- Create or upload artwork
- Prepare the design in Cricut Design Space
- Mirror the image
- Print using a sublimation printer
- Cut or trim the transfer if needed
- Heat press onto the blank
Many crafters also use Cricut for detailed full-color sticker-style designs. You can learn more in this guide about Cricut full-color image projects.
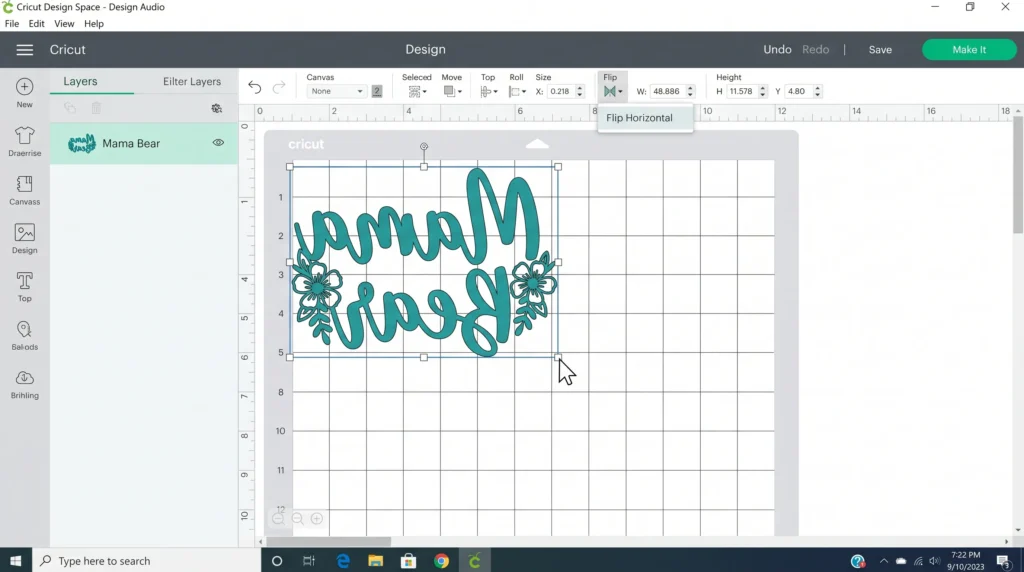
How to Set Up Cricut Design Space for Sublimation
Correct Design Space setup helps prevent blurry transfers, sizing problems, and mirrored text mistakes.
Upload Your Design
Upload a high-resolution PNG with a transparent background whenever possible.
PNG files usually work best for:
- shirts
- tumblers
- mugs
- tote bags
- full-color graphics
Resize the Design Properly
Measure your blank before resizing the design.
A common sublimation mistake is making the artwork too large for the pressing area.
For larger projects, review these best settings for large sublimation images on Cricut.
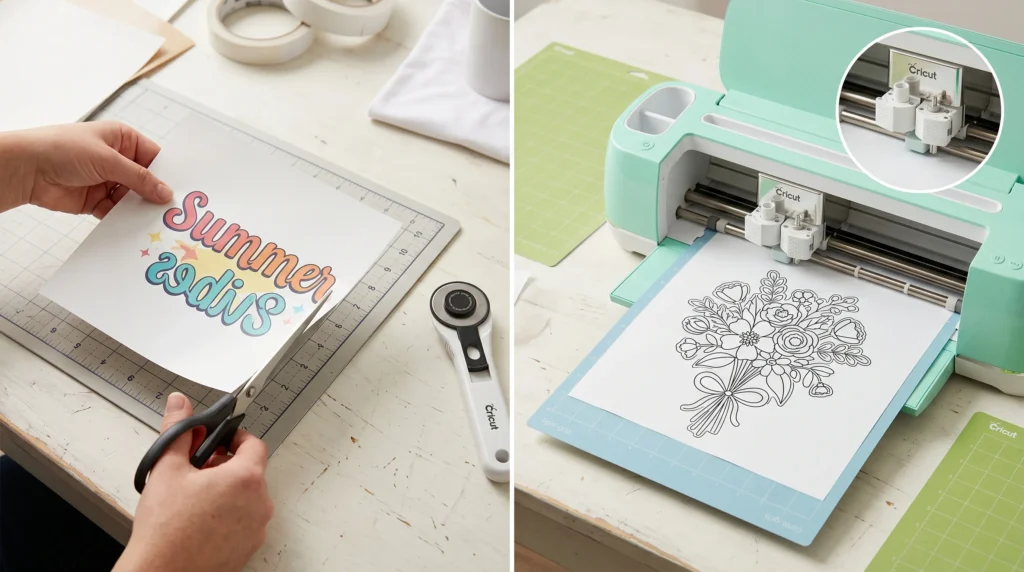
Mirror the Image
Always mirror sublimation designs before printing.
This is especially important for:
- text
- logos
- directional graphics
If you forget to mirror the image, the final transfer will appear backward after pressing.
Understand Print Then Cut Limitations
Cricut Print Then Cut is different from sublimation printing.
With sublimation:
- Cricut does not control color output
- the sublimation printer handles printing
- Cricut mainly assists with alignment and cutting
Many beginners accidentally confuse the two workflows.
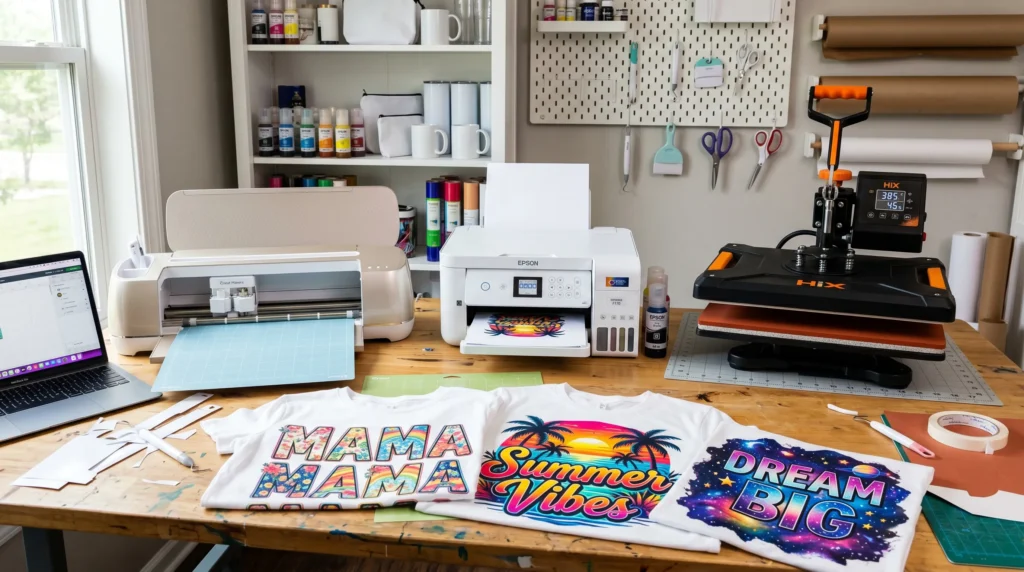
Step-by-Step: How to Print Sublimation on Cricut
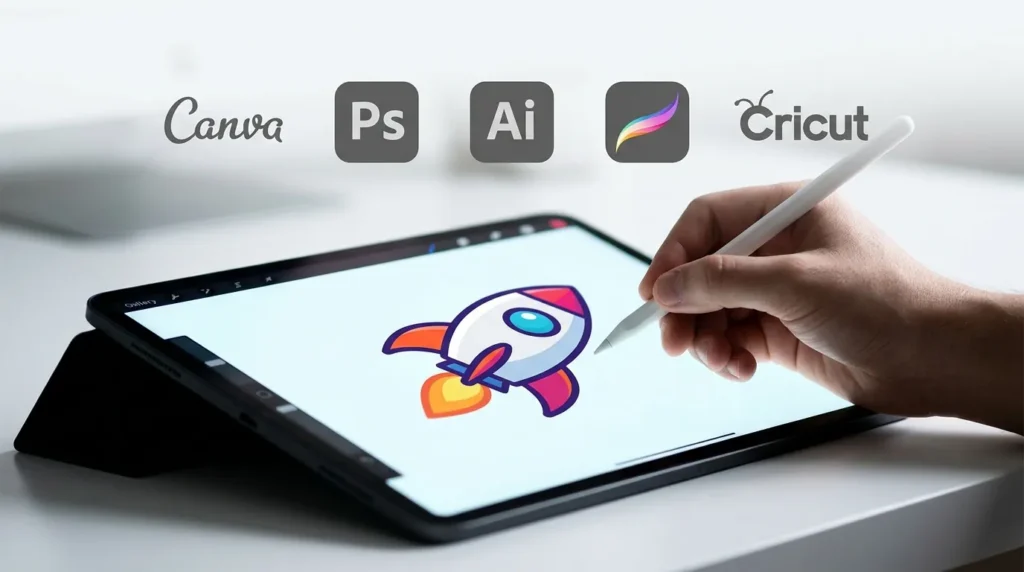
Step 1: Create or Upload Your Design
Use:
- Canva
- Photoshop
- Illustrator
- Procreate
- Cricut Design Space
High-resolution artwork gives cleaner transfers and better color vibrancy.
Step 2: Prepare the Design in Design Space
Inside Design Space:
- resize the artwork
- mirror the design
- position the layout correctly
Double-check alignment before printing.
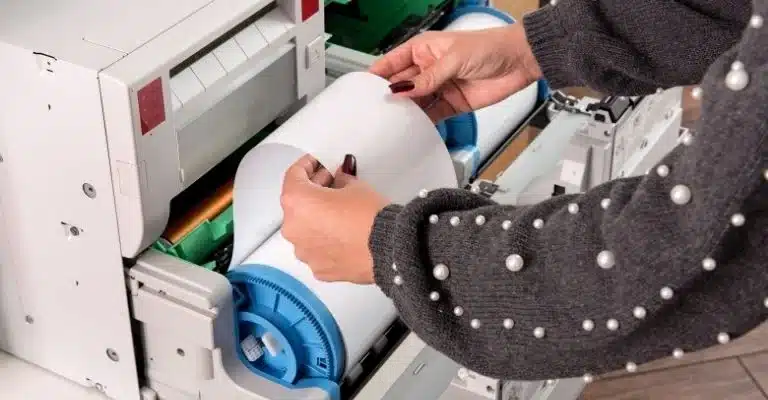
Step 3: Print Using a Sublimation Printer
Load sublimation paper correctly into your printer.
Use:
- high-quality print settings
- correct ICC profile
- proper paper selection
If your colors look faded or inaccurate, this guide on fixing sublimation color accuracy can help.
Step 4: Trim or Cut the Transfer
Some sublimation projects only require trimming with scissors or a paper cutter.
For shaped projects, Cricut can cut around the design more precisely.
Use:
- strong grip mat
- light grip mat depending on paper thickness
- clean cutting blade
Step 5: Prepare the Blank
Before pressing:
- lint roll the surface
- remove moisture with pre-pressing
- clean dust or fibers
Moisture is a common cause of ghosting and blurry sublimation transfers.
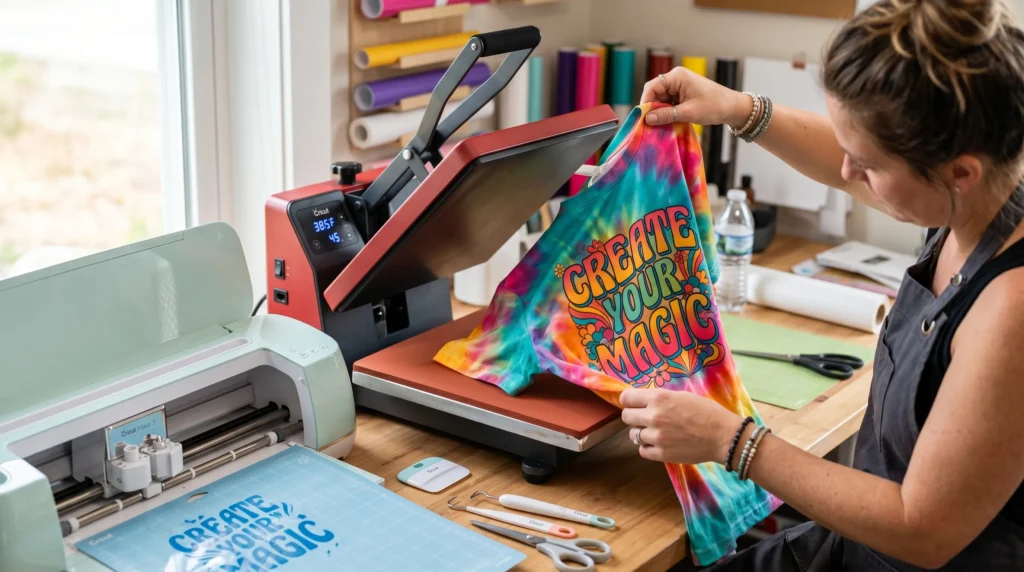
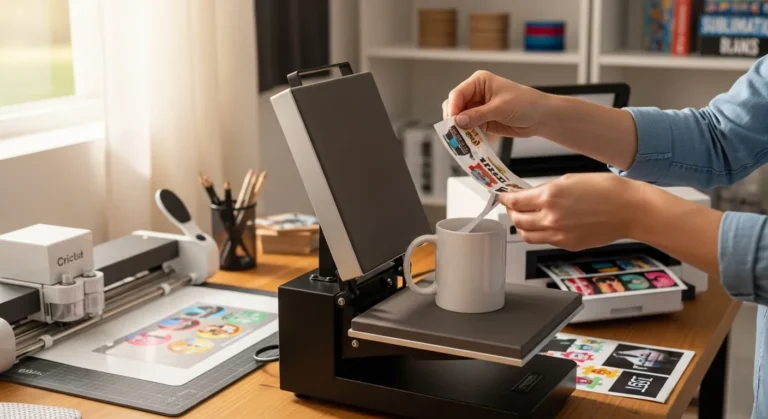
Step 6: Heat Press the Design
Place:
- butcher paper underneath
- sublimation transfer face down
- protective paper on top
Apply firm pressure using recommended temperature and pressing time.
For detailed settings, follow this heat press sublimation settings guide.
Best Cricut Settings for Sublimation Projects
The best settings vary depending on the material and project type.
General beginner recommendations:
| Setting | Recommendation |
|---|---|
| Mirror Design | Yes |
| Image Format | PNG |
| Print Quality | High |
| Press Temperature | 385°F–400°F |
| Press Time | 45–60 seconds |
| Pressure | Medium |
| Blank Material | Polyester or coated surface |
Heat press calibration matters more than many beginners realize. Uneven heat distribution can create dull or patchy transfers.
Common Cricut Sublimation Mistakes
1. Forgetting to Mirror the Design
This is the most common beginner error.
Always mirror designs before printing.
2. Using Cotton Shirts
Sublimation works best on polyester fabrics or polymer-coated blanks.
Cotton does not bond well with sublimation ink.
If you want blended fabric results, read this guide on sublimating 50/50 cotton polyester blends.
3. Incorrect Heat Settings
Low temperature or uneven pressure often causes faded transfers.
Always test your heat press settings before production runs.
5. Using Regular Ink Instead of Sublimation Ink
Standard inkjet ink will not transfer correctly during sublimation.
You must use sublimation-compatible ink.
6. Printing on the Wrong Side of the Paper
Many sublimation papers only have one printable side.
Printing on the wrong side usually causes weak color transfer.
Troubleshooting Cricut Sublimation Problems
Why Do My Sublimation Colors Look Dull?
Dull colors usually come from:
- incorrect ICC profiles
- low heat
- poor sublimation paper
- low polyester content
This sublimation troubleshooting guide covers common print quality problems in more detail.
Why Is My Transfer Blurry?
Blurry sublimation transfers are often caused by:
- movement during pressing
- moisture
- excessive pressure
- overheating
Heat-resistant tape helps stabilize transfers during pressing.
Why Does My Design Look Faded After Pressing?
Faded transfers usually happen when:
- pressing time is too short
- heat is inconsistent
- the blank is not sublimation compatible
Many beginners accidentally use blanks that are not polymer coated.
Can I Use Cricut EasyPress for Sublimation?
Yes. Cricut EasyPress works for many sublimation projects.
However, larger production workflows usually benefit from a dedicated heat press because pressure consistency is better.
Cricut Sublimation Workflow Table
This quick workflow table helps simplify the entire Cricut sublimation process for beginners.
| Step | What You Do | Tool Needed |
|---|---|---|
| Create Design | Make or upload artwork | Canva, Photoshop, or Design Space |
| Prepare Artwork | Resize and mirror the image | Cricut Design Space |
| Print Transfer | Print on sublimation paper | Sublimation printer |
| Trim or Cut Design | Cut around the printed artwork | Cricut machine or scissors |
| Prepare Blank | Remove lint and moisture | Lint roller and heat press |
| Transfer Design | Heat press the image onto the blank | Heat press or Cricut EasyPress |
Many beginners find sublimation easier once they understand that Cricut is mainly used for design preparation and cutting rather than actual printing.
If you want to create detailed colorful graphics, this guide on Cricut full-color image projects shows how full-color Cricut designs work with sublimation workflows.
Can You Use Cricut EasyPress for Sublimation?
Yes. Cricut EasyPress works well for many sublimation projects, especially beginner-friendly items like:
- polyester shirts
- tote bags
- mousepads
- coasters
- small fabric blanks
Cricut EasyPress combines heat and pressure in a compact format, making it popular for home crafting setups.
However, there are some limitations compared to a traditional heat press.
When Cricut EasyPress Works Best
EasyPress is usually a good option for:
- occasional sublimation projects
- smaller transfers
- lightweight blanks
- hobby crafting
Many beginners start with EasyPress before upgrading to a larger heat press machine.
When a Heat Press Works Better
A dedicated heat press often provides:
- more consistent pressure
- larger pressing area
- better heat distribution
- faster production workflow
This becomes more important for:
- large shirts
- tumblers
- bulk orders
- full-front graphics
Uneven pressure is one of the biggest causes of faded or patchy sublimation transfers.
For best results, always follow proper heat press sublimation settings based on your blank material.
Cricut EasyPress Sublimation Tips
To improve transfer quality:
- preheat the blank for a few seconds
- use butcher paper above and below the transfer
- apply steady pressure
- avoid shifting the design during pressing
- lint roll fabric before pressing
Many ghosting issues happen because the transfer paper moves while lifting the EasyPress.
Best Blanks for Cricut Sublimation
Polyester fabrics and polymer-coated blanks work best for Cricut sublimation projects.
Sublimation ink needs a compatible surface to bond correctly during heat transfer. Without the right material, colors may appear faded or wash out quickly.
Best Beginner Sublimation Blanks
These are some of the easiest blanks for beginners:
- polyester T-shirts
- sublimation mugs
- tumblers
- mousepads
- tote bags
- ceramic coasters
- aluminum photo panels
- keychains
- puzzles
These materials usually provide:
- vibrant color transfer
- cleaner pressing results
- better durability
You can explore more compatible materials in this sublimation blanks and substrates guide.
Why Polyester Matters
Sublimation works best on high-polyester surfaces because the sublimation dye bonds directly with polyester fibers during heat activation.
For shirts:
- 100% polyester gives the brightest colors
- 65% polyester blends still work reasonably well
- cotton produces faded results unless special techniques are used
If you want softer vintage-style designs, this guide on sublimating 50/50 cotton polyester blends explains what to expect.
Best Cricut Sublimation Projects for Beginners
Good beginner projects include:
- T-shirts
- mugs
- tote bags
- bookmarks
- mousepads
- simple tumblers
These projects are easier because they require:
- less alignment precision
- fewer pressure adjustments
- smaller transfer areas
As your workflow improves, you can move into larger full-color sublimation projects and custom product designs.
Frequently Asked Questions
Can Cricut Maker print sublimation designs?
No. Cricut Maker does not print sublimation ink directly. You still need a sublimation printer for printing transfers.
Do I need special paper for sublimation?
Yes. Sublimation paper is designed to release sublimation ink properly during heat transfer.
What printer works best with Cricut sublimation?
Many beginners use converted Epson EcoTank printers or dedicated sublimation printers.
Can I use Cricut vinyl for sublimation?
No. Regular Cricut vinyl is different from sublimation printing. Sublimation uses heat-activated dye rather than layered vinyl material.
What temperature works best for sublimation?
Most polyester sublimation projects work best between 385°F and 400°F depending on the blank and transfer size.
Quick Recap
Printing sublimation on Cricut is really about combining several tools into one workflow.
Cricut helps organize, resize, and cut designs, while the sublimation printer handles ink transfer and the heat press activates the final image onto the blank.
Once you understand Design Space setup, mirror settings, and heat press workflow, creating clean full-color sublimation projects becomes much more consistent.
Testing different blanks, temperatures, and printer settings will help you improve faster and avoid many
Professional Sublimation Printing & Wholesale Custom Products
Looking for high-quality sublimation printing for apparel, drinkware, and promotional items? Subli Genius Print delivers vibrant color, sharp detail, and long-lasting results for businesses, brands, and resellers across the U.S.

One Comment