How to Print Large Sublimation Images on Cricut Without Losing Quality
Printing large sublimation images on Cricut is completely possible, even if Cricut Design Space and your printer have size limits. The real challenge is learning how to split oversized designs correctly, keep alignment clean, and avoid blurry or faded transfers.
Once you understand image tiling, Print Then Cut limitations, and proper heat press alignment, you can create professional-looking oversized sublimation projects without buying expensive commercial equipment.
This guide explains how to resize, split, print, and press large sublimation images on Cricut while keeping colors sharp and seams nearly invisible.
Cricut Print Then Cut Size Limits Explained
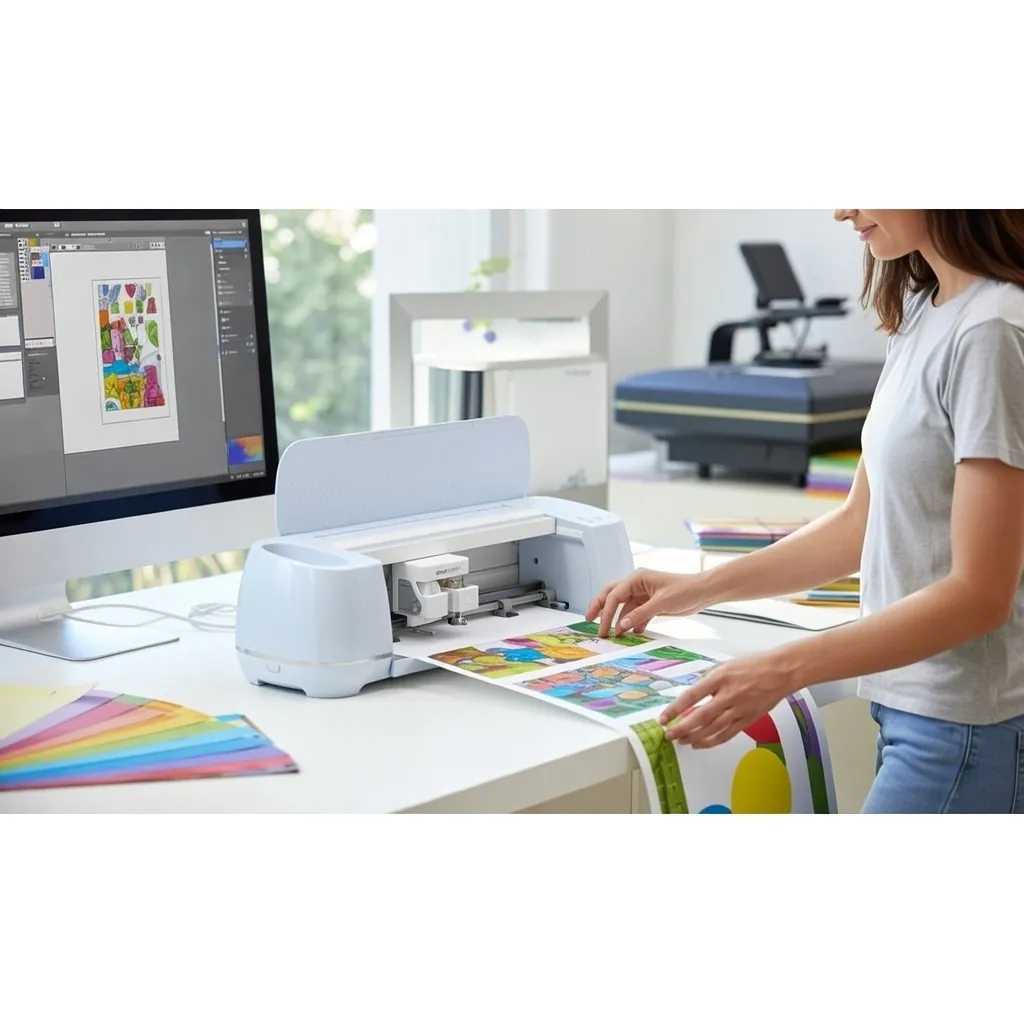
Cricut machines do not print sublimation ink themselves. Your printer handles the printing, while Cricut Design Space manages sizing, alignment, and cutting workflows.
The biggest limitation comes from Cricut Print Then Cut boundaries.
For most standard setups:
- Letter-size paper supports smaller printable areas
- Cricut restricts Print Then Cut dimensions
- Large sublimation graphics must be divided into sections
This is why many users see errors like:
“Image too large for Print Then Cut.”
The solution is not enlarging the image endlessly. Instead, you split the design into multiple printable sections and align them carefully during pressing.
If you are still learning the Cricut sublimation workflow, this complete guide to sublimation with Cricut helps explain the overall process.
Best Ways to Print Oversized Sublimation Designs
There are three practical methods for handling large sublimation prints on Cricut.
1. Image Tiling
This is the most common method.
The design is divided into separate printable panels that fit your paper size. After printing, the sections are aligned during pressing.
Best for:
- Shirts
- Hoodies
- Large tote bags
- Blanket panels
2. Split-Panel Method
Instead of hiding seams, you intentionally separate the design into multiple artistic sections.
This works well for:
- Back shirt graphics
- Sleeve designs
- Sports jerseys
- Decorative layouts
3. Overlap Pressing Method
Some large projects require slight press overlap between sections to avoid visible gaps.
This requires:
- even pressure
- accurate alignment
- consistent heat distribution
Many beginners accidentally create dark seam lines by overlapping too aggressively.
How to Split Large Sublimation Images in Cricut Design Space
This is the most important part of oversized Cricut sublimation printing.
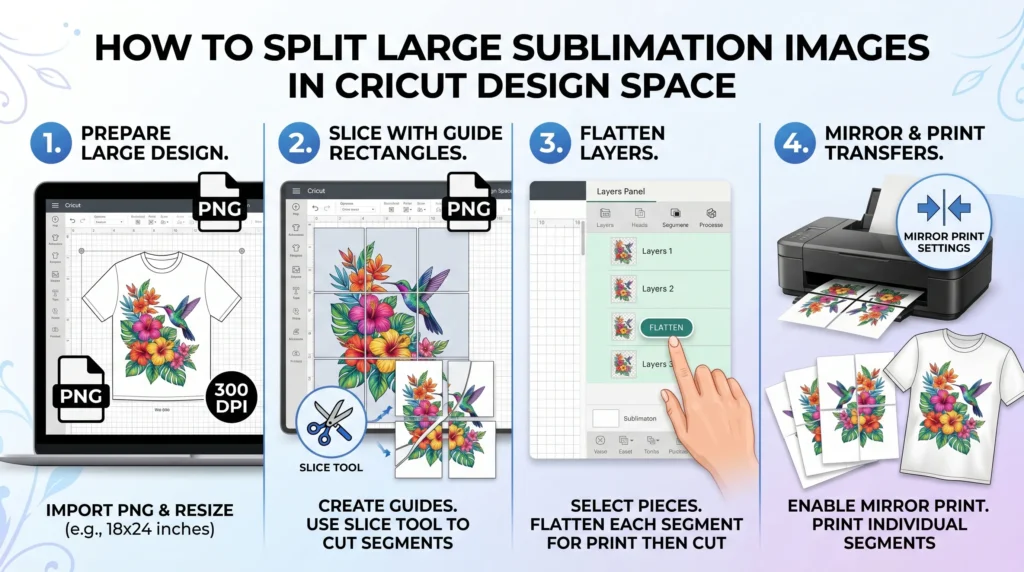
Step 1: Upload a High-Resolution Image
Large sublimation prints magnify imperfections quickly.
For best results:
- Use 300 DPI images
- Avoid low-resolution screenshots
- Use PNG files whenever possible
- Avoid stretching small graphics
A common sublimation mistake is enlarging small artwork too much. Even good printers cannot fix poor source quality.
If you want a complete beginner-friendly walkthrough, this guide on Cricut full-color images explains the full Print Then Cut workflow step by step.
Step 2: Resize the Design Carefully
Resize the image to your actual substrate dimensions before splitting it.
Examples:
- Full front shirt design
- Oversized sweatshirt graphic
- Large tumbler wrap
Avoid increasing image size by more than 10–15 percent if possible.
Step 3: Slice the Design Into Sections
Inside Cricut Design Space:
- Duplicate the image
- Add guide shapes or rectangles
- Use the Slice tool
- Separate the image into printable sections
- Flatten each section individually
Many users skip flattening and end up with incorrect print layouts.
Step 4: Export or Print Each Section
Print each section separately using:
- mirrored settings
- sublimation paper
- correct ICC profiles
- high-quality print settings
If your colors already appear faded before pressing, review this guide on fixing sublimation color accuracy.
Best Print Settings for Large Sublimation Images
Large sublimation projects need consistent color and detail across every panel.
Recommended Settings
- 300 DPI resolution
- High-quality print mode
- Mirror enabled
- ICC profile matched to ink and paper
- Correct paper profile selected
Incorrect color profiles often create visible differences between image sections.
For deeper color management help, this guide on ICC profiles for sublimation printing explains how to improve consistency.
Best File Types
| File Type | Best Use |
|---|---|
| PNG | Best overall for sublimation |
| JPG | Acceptable for photos |
| SVG | Best for layered vector artwork |
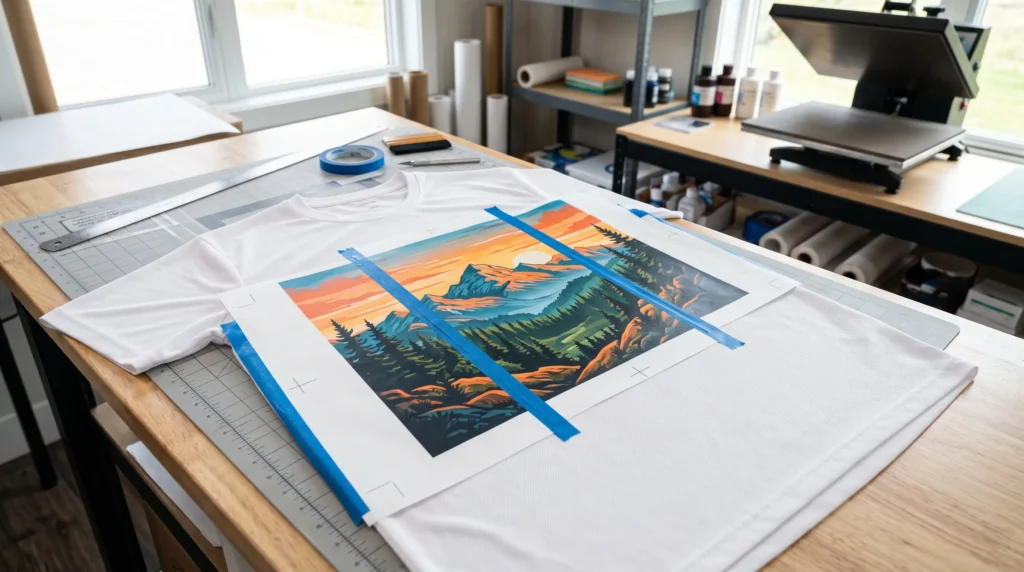
How to Align Large Sublimation Transfers Correctly
Alignment problems become much more obvious on oversized prints.
Use Heat-Resistant Tape Properly
Secure every section firmly before pressing.
Tips:
- Tape corners first
- Keep edges tight
- Never allow overlap between panels
- Test alignment before heating
Use Registration Marks if Needed
Small alignment marks can help position large sections evenly.
This is especially helpful for:
- oversized shirt backs
- repeating patterns
- multi-panel artwork
Press Consistently
Large sublimation projects fail when pressure changes between sections.
Focus on:
- medium pressure
- stable temperature
- consistent pressing time
This sublimation heat press guide helps avoid uneven transfers and faded edges.
Common Problems With Large Cricut Sublimation Prints
Why Does Cricut Say the Image Is Too Large?
Cricut Design Space limits Print Then Cut dimensions, so oversized designs must be divided into smaller printable sections.
Why Do Large Sublimation Prints Look Blurry?
Blurry prints usually come from:
- low-resolution artwork
- excessive image scaling
- incorrect print quality settings
Why Are Seams Visible After Pressing?
Visible seams usually happen because of:
- overlapping transfer edges
- uneven alignment
- shifting paper during pressing
Why Do Colors Look Different Between Sections?
Color inconsistency often comes from:
- uneven heat
- incorrect ICC profiles
- different print settings between panels
Why Does Ghosting Happen on Large Prints?
Ghosting happens when the transfer paper shifts during pressing.
This becomes more common with oversized transfers because larger paper sections are harder to secure evenly.
For more troubleshooting help, follow this common sublimation printing problems guide.
Best Materials for Oversized Sublimation Projects
Large sublimation graphics work best on materials that hold even color and pressure.
Good options include:
- polyester shirts
- polyester hoodies
- coated fabric panels
- sublimation blankets
- large tote bags
Avoid highly textured surfaces when starting out because alignment becomes harder.
Can You Print Bigger Than 8.5 x 11 on Cricut?
Yes, but not as one single print.
You must split the design into multiple sections that fit your paper size and printer limitations.
Many experienced sublimation users create oversized shirt graphics this way without needing commercial wide-format printers.
Can Cricut Make Full Sublimation Shirt Designs?
Yes. Cricut works well for full sublimation shirt graphics when paired with:
- proper image tiling
- accurate alignment
- consistent heat press settings
- high-resolution artwork
Large designs simply require more preparation than smaller projects.
Quick Recap
Large sublimation printing on Cricut works best when you focus on preparation instead of forcing oversized images into unsupported dimensions.
The most important factors are:
- high-resolution artwork
- proper image tiling
- consistent alignment
- stable heat press settings
- accurate color management
Once your workflow becomes consistent, oversized sublimation projects become much easier and more repeatable.
Frequently Asked Questions
How do I print an oversized image on Cricut?
Most oversized Cricut and sublimation designs are created by splitting the artwork into multiple printable sections using Cricut Design Space or other design software.
How do I print bigger than 8.5 x 11 on Cricut?
You can print larger Cricut designs by tiling the image into separate sections and aligning them carefully during pressing or assembly.
Can I print full-size sublimation shirts with Cricut?
Yes. Many Cricut users create full-size sublimation shirt designs by dividing large artwork into multiple printable panels and pressing them section by section.
Do I need a large-format printer for oversized sublimation?
No. Standard inkjet sublimation printers can still produce oversized designs by printing multiple tiled sections that are combined during transfer.
What is the best resolution for large sublimation images?
300 DPI is generally recommended for large sublimation and Cricut Print Then Cut projects because it helps maintain sharp details and cleaner transfers.
Why do my large sublimation prints look faded?
Faded sublimation prints usually come from incorrect heat settings, weak ICC color profiles, low-quality artwork, or inconsistent heat press pressure.
Can I split large images directly in Cricut Design Space?
Yes. Cricut Design Space allows you to divide oversized artwork using shapes, Slice tools, and separate layers for easier printing and cutting.
What should I do when Cricut says the image is too large?
When Cricut reports that an image is too large, resize the design or split it into smaller printable sections that fit within Print Then Cut size limitations.
How do I print full sublimation designs with Cricut?
Full sublimation designs are usually printed using sublimation paper and a compatible printer, then aligned and pressed using Cricut workflows for cutting or positioning.
Professional Sublimation Printing & Wholesale Custom Products
Looking for high-quality sublimation printing for apparel, drinkware, and promotional items? Subli Genius Print delivers vibrant color, sharp detail, and long-lasting results for businesses, brands, and resellers across the U.S.

2 Comments