How Do I Print a Sublimation Image Without Messing It Up
To print a sublimation image, first mirror your design and load it into compatible software. Use sublimation ink and paper with a supported printer. Set the correct print size and resolution, then print. After drying, transfer the image onto your blank using a heat press at the recommended temperature and time for best results.
Yo, so the first time I tried sublimation printing, I totally botched three shirts, scorched one, and was this close to throwing in the towel. I figured, “How tough can it be?” Spoiler: it’s a disaster if you’re clueless about the steps or using the wrong gear.
My prints came out faded, colors bled everywhere, and nothing lined up. Sound like your last attempt? Don’t sweat it, you’re not the only one who’s cursed out their printer.
The good news? I cracked the code with the right tools and a few tweaks. No need for a pro setup, just the right know-how. Let’s how i do sublimation printing without the headache.
What You Need to Get Started
Sublimation printing works best when every tool plays its part. The right gear avoids wasted prints and uneven results.
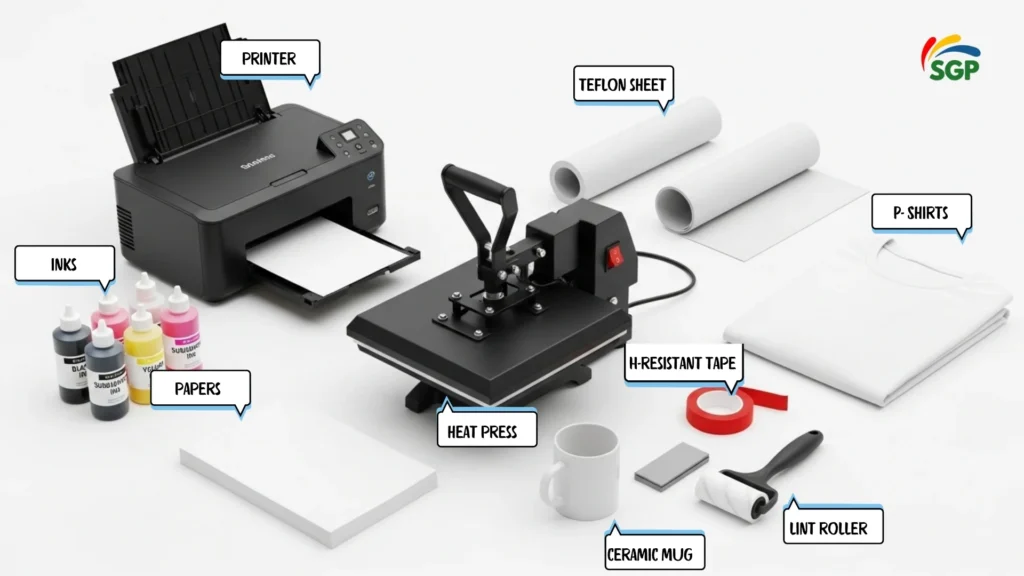
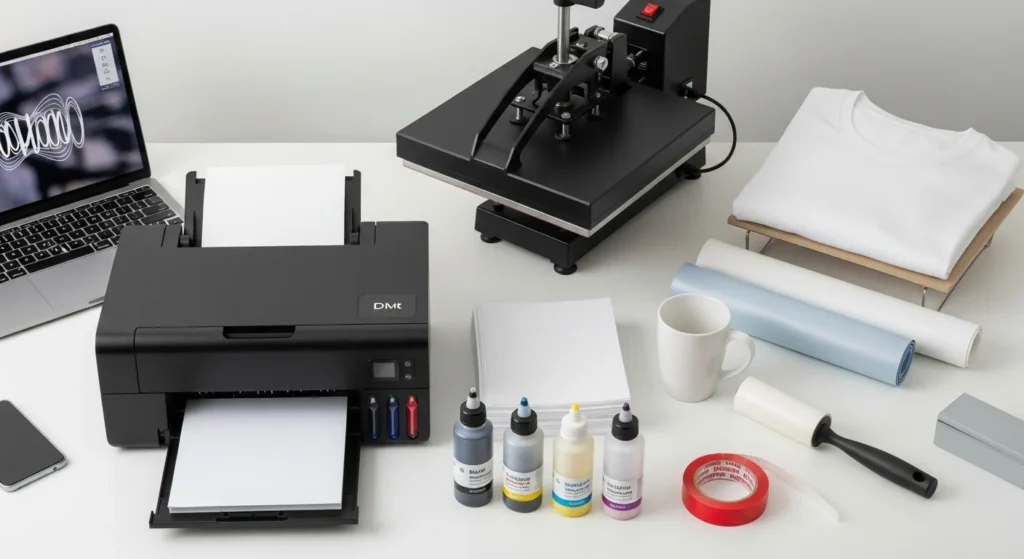
Core equipment:
- Sublimation printer and ink – designed for dye-sublimation, not standard office printing.
- Transfer paper – formulated to hold ink until heat turns it into gas.
- Heat press – controls temperature, pressure, and timing for a clean transfer.
Materials:
- Substrates – fabrics with at least 60% polyester or hard goods with a polymer coating.
Accessories:
- Teflon or butcher paper – prevents ink bleed-through.
- Lint roller – removes fibers that cause blue specks after pressing.
- Heat-resistant tape – keeps the transfer sheet perfectly aligned.
Getting these right sets the stage for sharp, vibrant, long-lasting prints.
Prepare Your Workspace & Design
A clean, organized space keeps problems away before the first print even starts. Dust, stray fibers, and poor lighting can all ruin a transfer.
Set up your workspace
- Work on a flat, clutter-free table.
- Keep your heat press nearby but with room for safe operation.
- Store paper in a dry area to avoid moisture that causes color shift.
Design tips
- Resize artwork to match your blank exactly.
- Use 300 DPI for sharp detail.
- Mirror the design if it includes text or directional elements.
Printer settings
- Choose high-quality print mode in your printer software.
- Load sublimation paper on the correct side, usually the bright white one.
- Let prints dry before handling to prevent smudging.
Taking a few extra minutes here avoids costly reprints later.
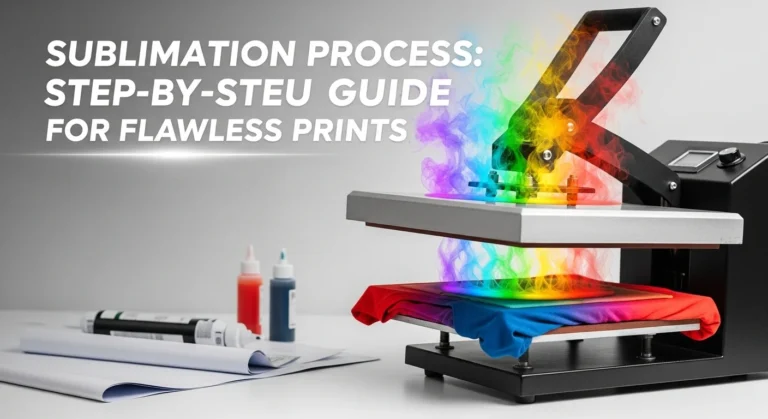
Printing & Pressing Process
Getting this stage right locks in the color and durability of your sublimation print. Even small errors here can waste materials.
Print your transfer
- Mirror the design before sending it to the printer.
- Double-check resolution and print speed for smooth gradients and crisp lines.
- Use sublimation ink and paper designed to work together.
Prep the blank
- Wipe away dust and debris with a lint roller or microfiber cloth.
- Position the transfer with precision, misalignment shows instantly.
- Secure the paper with heat-resistant tape to avoid ghosting.
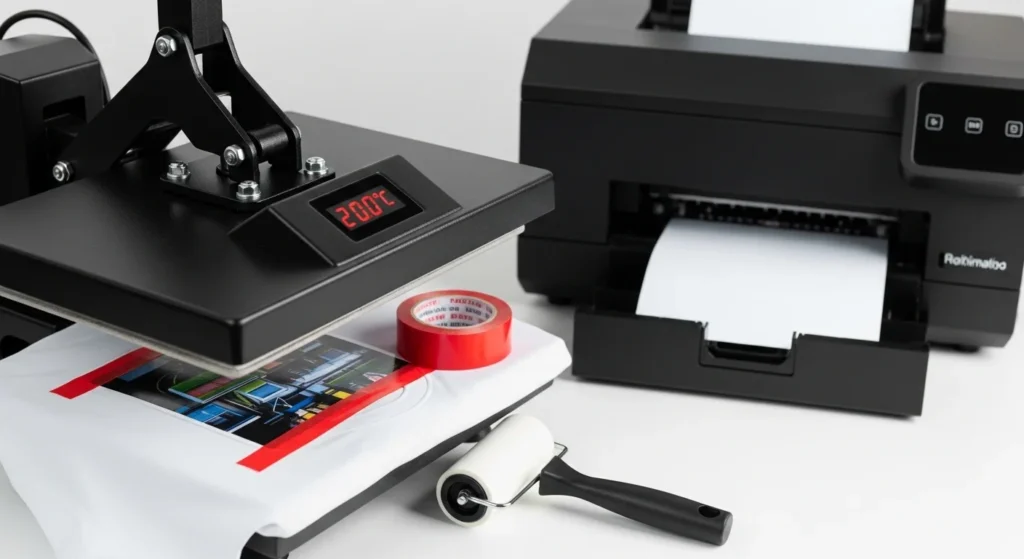
Set up the heat press
- Standard range: 195–205 °C (390–400 °F).
- Time: 35–60 seconds under medium, even pressure.
- Avoid lifting the press too quickly, steady removal prevents smears.
Once cooled, remove the transfer paper to reveal a sharp, permanent design.
Post-Press Steps & Troubleshooting
The work isn’t done when the press lifts, how you handle the cooling stage impacts the final print.
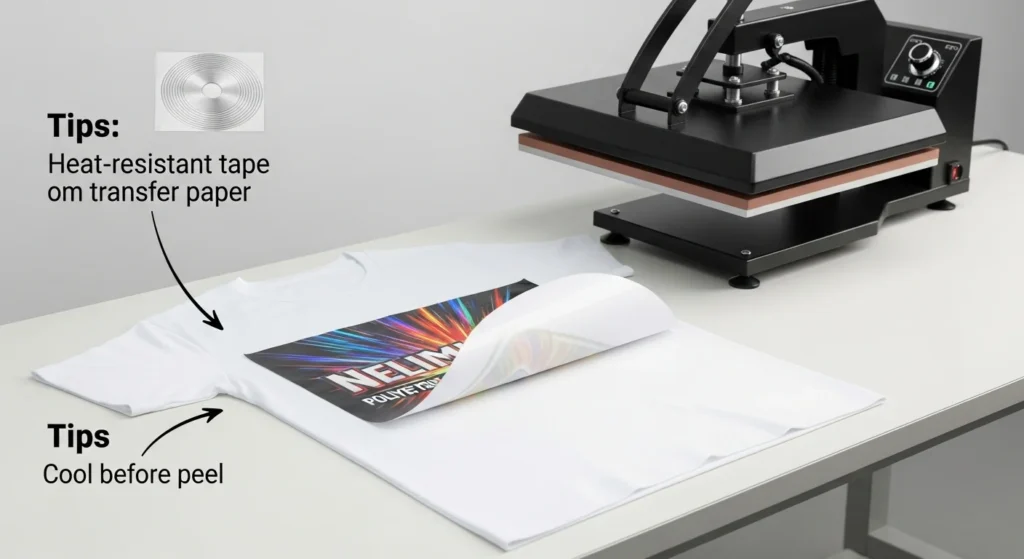
Cooling & peel
- Let the item cool to room temperature before peeling off the transfer.
- Early peeling can cause ghosting, smudges, or blurred edges.
Common issues & quick fixes
- Fading or bleeding → Lower temperature slightly or reduce pressing time; check pressure is even.
- Misalignment or ghosting → Use more heat-resistant tape and confirm exact placement before pressing.
- Ink looks dull → Inspect ink expiration date, switch to high-quality sublimation ink, and run printer calibration.
By refining these final steps, each print will stay vivid, sharp, and professional for the long haul.
15 Way: How do I print a sublimation image
Step 1: Choose the Right Sublimation Printer
You’ll need a reliable sublimation printer to embark on your sublimation printing journey. Look for a printer specifically designed for sublimation and ensure it has excellent colour reproduction capabilities. Consider factors like cost, print size options, and connectivity features.
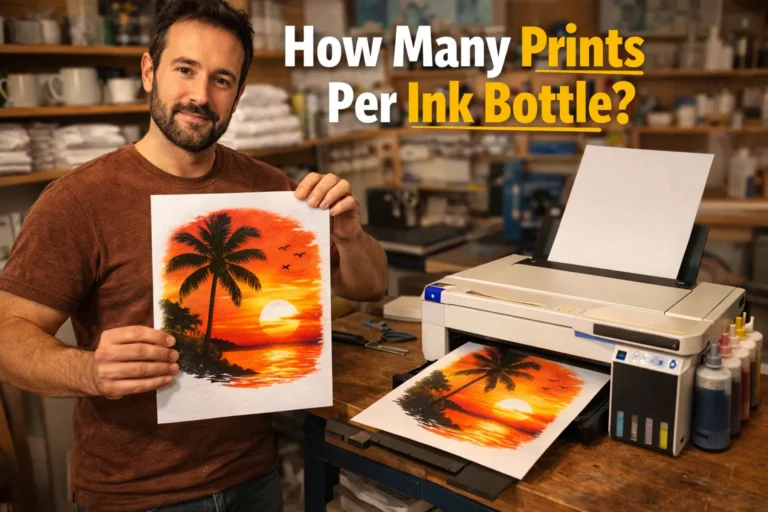
Step 2: Select High-Quality Sublimation Inks
Investing in high-quality sublimation inks is crucial to obtain vibrant and durable prints. Ensure the inks are compatible with your chosen printer and offer a wide colour gamut for accurate colour representation. Remember, quality inks lead to stunning results!
Step 3: Pick the Perfect Sublimation Paper
Choosing the right sublimation paper is essential for achieving sharp and vivid images. Opt for a high-quality paper that is specifically designed for sublimation printing. Consider factors such as thickness, drying time, and compatibility with your printer and inks.

Step 4: Prepare Your Image Design
Before printing, ensure your image design is optimized for sublimation. Use professional graphic design software to create or customize your artwork. Remember, the quality of your image will significantly impact the final print.
Step 5: Adjust Image Settings
Adjust the image settings according to your printer’s specifications to ensure accurate colours and optimal print quality. Pay attention to factors like colour saturation, contrast, and resolution. Investigation with different settings to achieve the desired outcome.
Step 6: Print a Test Image
Printing a test image is vital in evaluating colors, clarity, and overall appearance. It allows you to make the required adjustments before proceeding to the final print. Take your time to review the test print and fine-tune your image if needed.
Step 7: Choose the Substrate
Selecting a suitable substrate is crucial for successful sublimation printing. Popular options include ceramic mugs, polyester fabrics, aluminium panels, and phone cases. Ensure your chosen substrate is compatible with the sublimation process and can withstand the required heat and pressure.
Step 8: Prepare the Substrate
Proper practice of the substrate is vital for optimal image transfer. Clean and remove any dust, dirt, or coatings from the surface. Ensure it is dry and smooth, as imperfections may affect the final result.
Step 9: Secure the Sublimation Paper
Carefully align and secure the sublimation paper onto the substrate using heat-resistant tape or adhesive. It’s crucial to prevent any movement during the heat press process, as this can cause blurring or misalignment of the image.
Step 10: Heat Press Setup
Set up your heat press machine according to the manufacturer’s instructions. Adjust the temperature, pressure, and time settings based on the substrate and sublimation paper requirements. It’s crucial to maintain consistency throughout the printing process.
Step 11: Transfer the Image
Position the substrate with the secured sublimation paper onto the heat press machine. Ensure proper alignment and smoothness. Close the heat press, applying even pressure to ensure an appropriate ink transfer.
Step 12: Heat Press Process
The magic happens during the heat press method! The combination of heat and pressure will cause the sublimation inks to become gas and penetrate the substrate. The ink particles will solidify, resulting in a vibrant, permanent image.
Step 13: Peel Away the Paper
Once the heat press process is complete, carefully remove the substrate from the machine. Let it cool down for a few points. Then, with a steady hand, peel away the sublimation paper to reveal your stunning printed image.
Step 14: Finishing Touches
Inspect your printed image for any imperfections or colour variations. Use a heat gun or heat press pillow to fix any areas that need extra attention. This step ensures a flawless and professional finish.
Step 15: Care and Maintenance
Congratulations on successfully printing your sublimation image! To ensure longevity, follow the specific care instructions for the substrate. Proper washing, handling, and storage techniques will help your print withstand the test of time.
📰 Related Articles
- 🔧 Step-by-step instructions on unclogging your sublimation printer and getting it back in working order.
- 🌈 This article explores the numerous advantages of sublimation printing.
Extras for High-Impact Results
Fine-tuning your process pays off in sharper prints and happier customers.
Why setup matters
- Use ICC profiles to keep colors consistent, especially when changing inks or printers.
- Color calibration ensures reds stay vibrant and blacks remain deep, print after print.
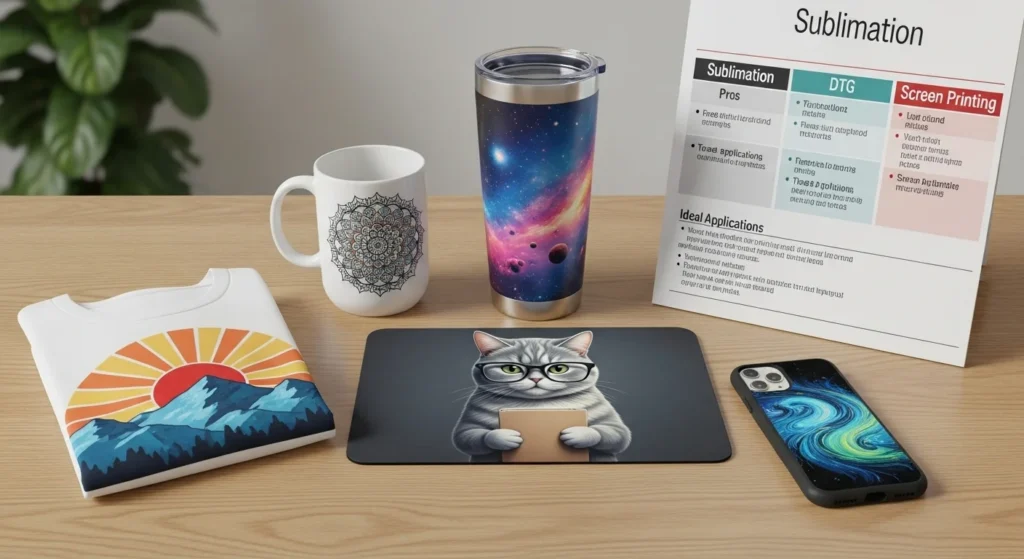
Alternative techniques
- Sublimation bonds with polyester fibers for lasting vibrancy.
- DTG (Direct-to-Garment) handles cotton well but may fade faster.
- Screen printing offers bold, opaque designs but needs more setup for each color.
Materials beyond shirts
- Expand your range with mugs, tumblers, mousepads, phone cases, and keychains.
- Sublimation works wherever a polyester coating exists.
Small adjustments here can turn a standard print shop into a one-stop custom product hub.
Professional Sublimation Printing & Wholesale Custom Products
Looking for high-quality sublimation printing for apparel, drinkware, and promotional items? Subli Genius Print delivers vibrant color, sharp detail, and long-lasting results for businesses, brands, and resellers across the U.S.