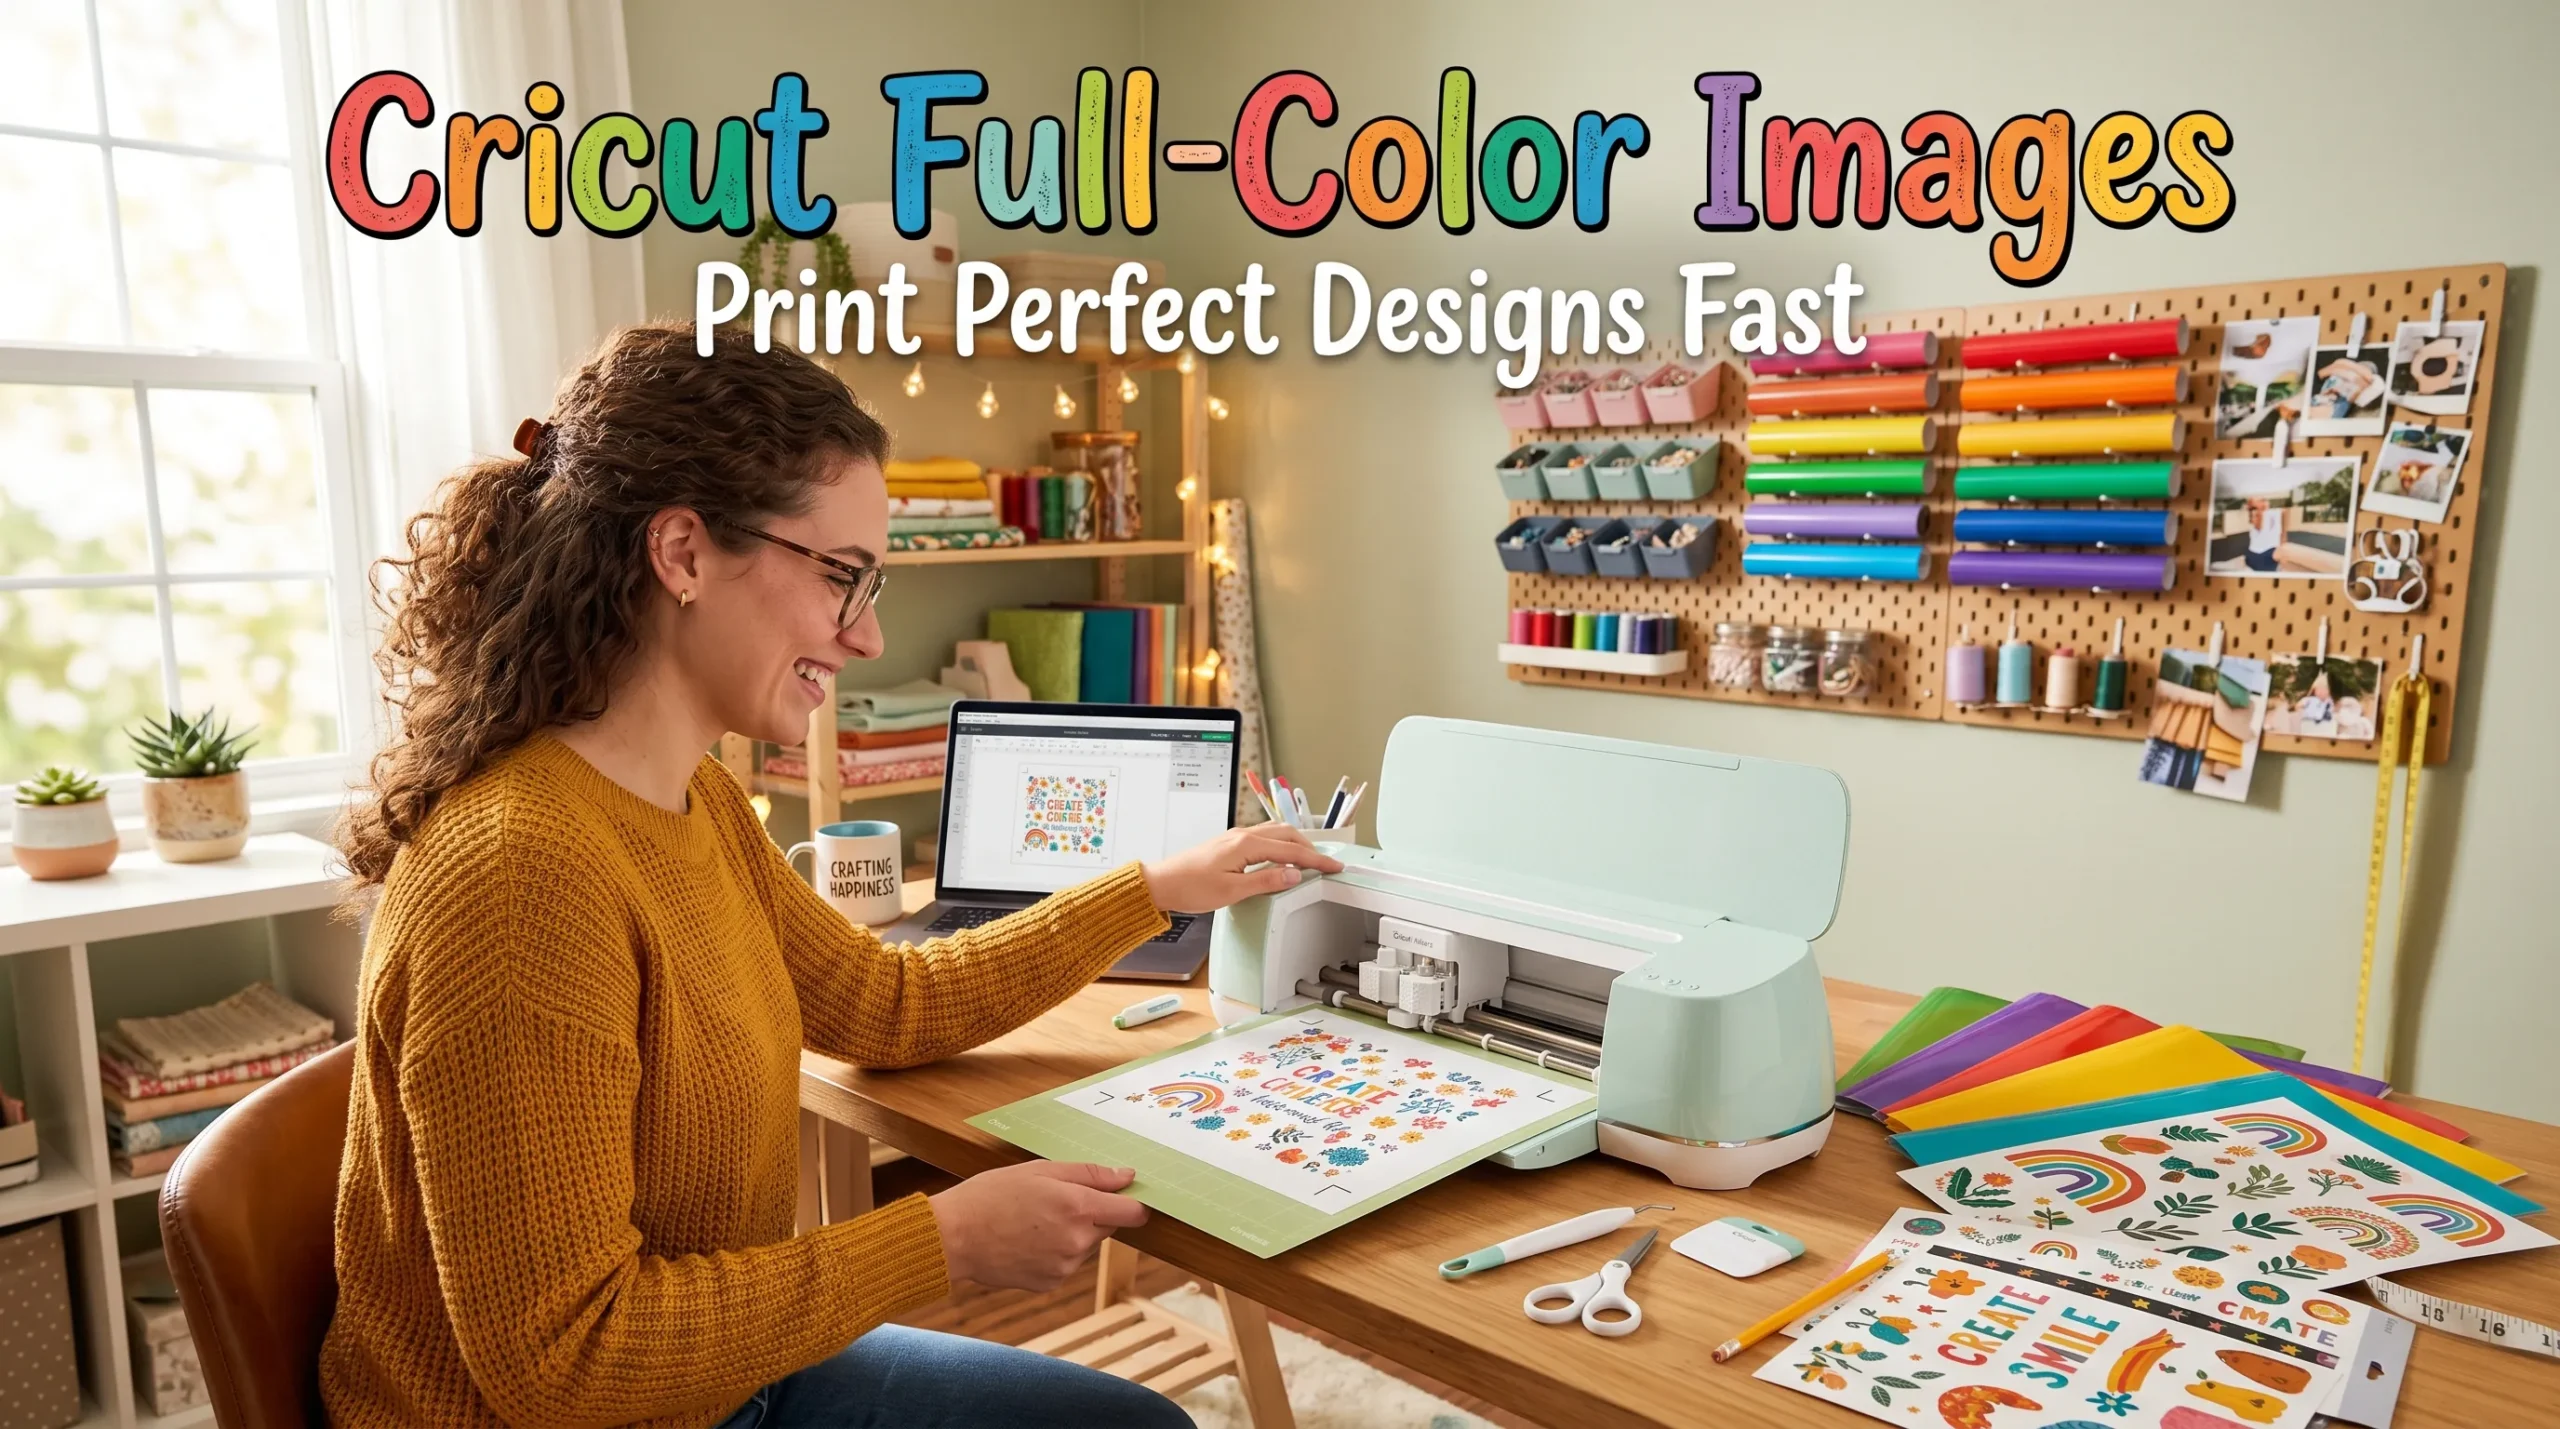
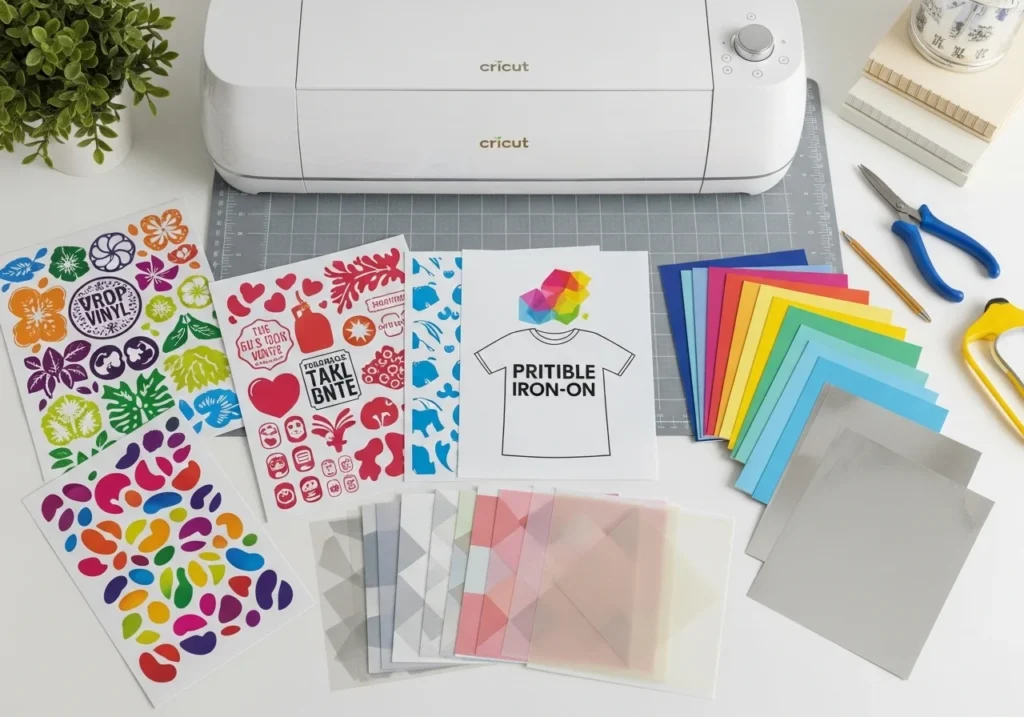
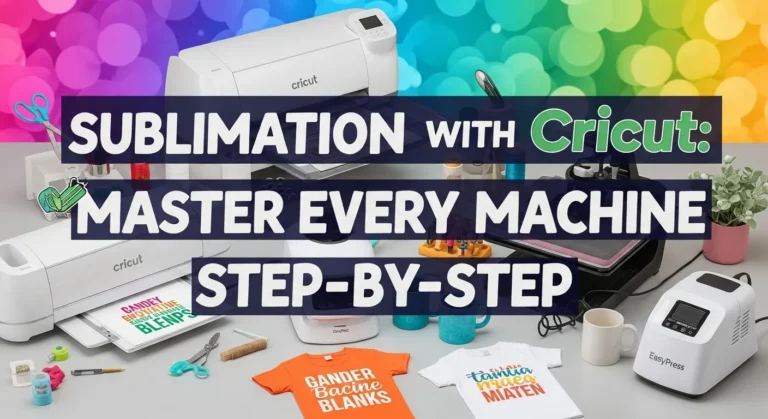
Cricut Full-Color Images: Print Stunning Designs Fast
Cricut can create impressive full-color designs, but many beginners get confused about how the process actually works. The key is understanding that your printer handles the color while your Cricut machine handles the cutting.
Once you learn the Print Then Cut workflow, creating colorful stickers, shirts, mugs, labels, and custom crafts becomes much easier. This guide explains how to upload colored images, prepare files correctly, avoid blurry prints, and create clean multi-color Cricut projects step by step.
If you’re also exploring sublimation workflows, this guide on sublimation with Cricut helps explain how Cricut fits into dye sublimation projects.
What Is a Cricut Full-Color Image?
A Cricut full-color image is a printed design that includes multiple colors, gradients, or detailed artwork instead of simple single-color cuts.
Cricut machines do not print ink themselves. Instead:
- Your home printer prints the image
- Cricut scans registration marks
- The machine cuts around the printed design
This process is called Print Then Cut.
It works especially well for:
- Custom shirt graphics
- Stickers
- Printable HTV
- Labels
- Full-color decals
- Greeting cards
- Sublimation transfers
Can Cricut Print Full-Color Images?
Cricut does not directly print color images.
Instead, your printer creates the colored design while Cricut precisely cuts around it using the Print Then Cut feature inside Cricut Design Space.
This workflow allows you to create:
- Full-color stickers
- Multi-color heat transfer designs
- Printable vinyl projects
- Detailed photo graphics
- Sublimation transfers
Many beginners assume Cricut works like a regular printer, but Cricut is primarily a cutting machine.
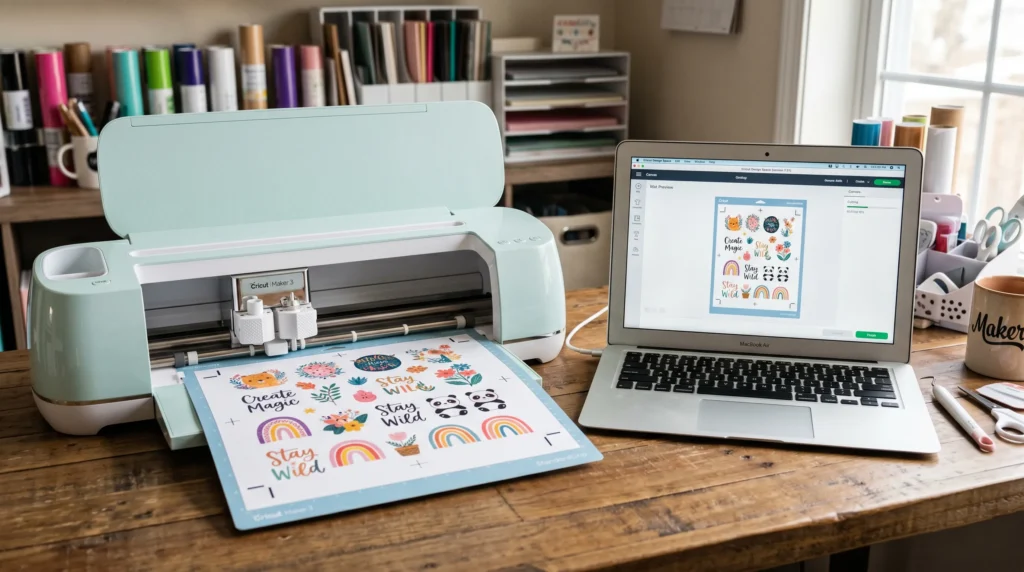
How to Upload a Colored Image to Cricut Design Space
Uploading colored images correctly is one of the biggest factors in getting clean results.
Step 1: Choose the Right File Type
The best image formats are:
- PNG for transparent backgrounds
- SVG for layered vector designs
- JPG for simple photo projects
PNG files usually work best for Cricut full-color projects because they preserve image quality and transparent backgrounds.
If you need design resources, these SVG cut files for Cricut can save time during setup.
Step 2: Open Cricut Design Space
Go to the official Cricut Design Space software:
Select:
- New Project
- Upload
- Upload Image
Step 3: Clean the Image
After uploading:
- remove unwanted backgrounds
- erase rough edges
- smooth transparent areas
- check image quality before saving
Low-quality uploads often create blurry or jagged cuts later.
Step 4: Save as Print Then Cut
Choose: Print Then Cut Image
NOT: Basic Cut
This is a very common beginner mistake.
How to Use Print Then Cut on Cricut
Print Then Cut is the core workflow for Cricut full-color images.
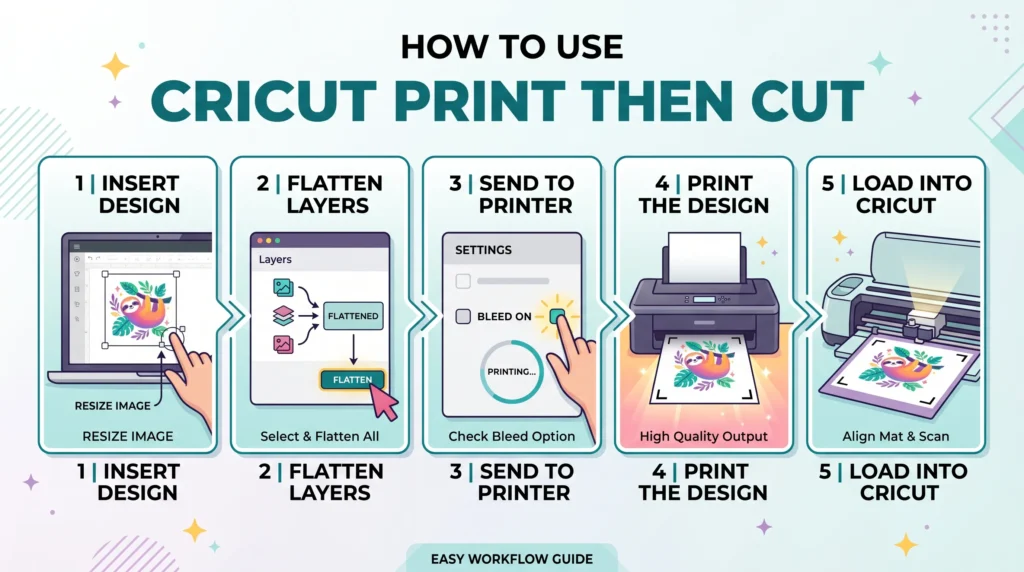
Step 1: Insert Your Design
After uploading your image:
- place it on the canvas
- resize if needed
- keep important details inside cut boundaries
Step 2: Flatten the Layers
Select all layers and click:
- Flatten
Flattening tells Cricut to print the image as one complete design.
Without flattening, Cricut may try cutting each individual layer separately.
Step 3: Send to Printer
Click:
- Make It
- Continue
- Send to Printer
Turn bleed ON for cleaner edge cutting unless your design specifically requires sharp borders.
Step 4: Print the Design
Use high-quality print settings:
- Best quality mode
- Correct paper type
- Proper color profile
- Premium printable vinyl or transfer paper
If your colors look dull or inaccurate, this guide on Cricut Design Space can help improve workflow setup.
Step 5: Load Into Cricut
Place the printed sheet onto the cutting mat carefully.
Make sure:
- corners are aligned
- paper is flat
- registration marks remain visible
Then let Cricut scan and cut automatically.
Best File Types for Cricut Full-Color Designs
Choosing the correct file format improves both print quality and cutting accuracy.
| File Type | Best Use | Notes |
|---|---|---|
| PNG | Print Then Cut | Best for transparent backgrounds |
| SVG | Layered designs | Ideal for multi-layer cuts |
| JPG | Photos | Lower flexibility |
| DXF | Basic cut files | Limited color support |
For most users, PNG files are the safest and easiest option.
How to Make Multi-Color Cricut Designs
There are two common methods for multi-color Cricut projects.
Printable Method
This method uses:
- printable vinyl
- sticker paper
- printable iron-on
The printer creates all colors while Cricut cuts around the image.
Best for:
- photos
- gradients
- realistic artwork
- detailed graphics
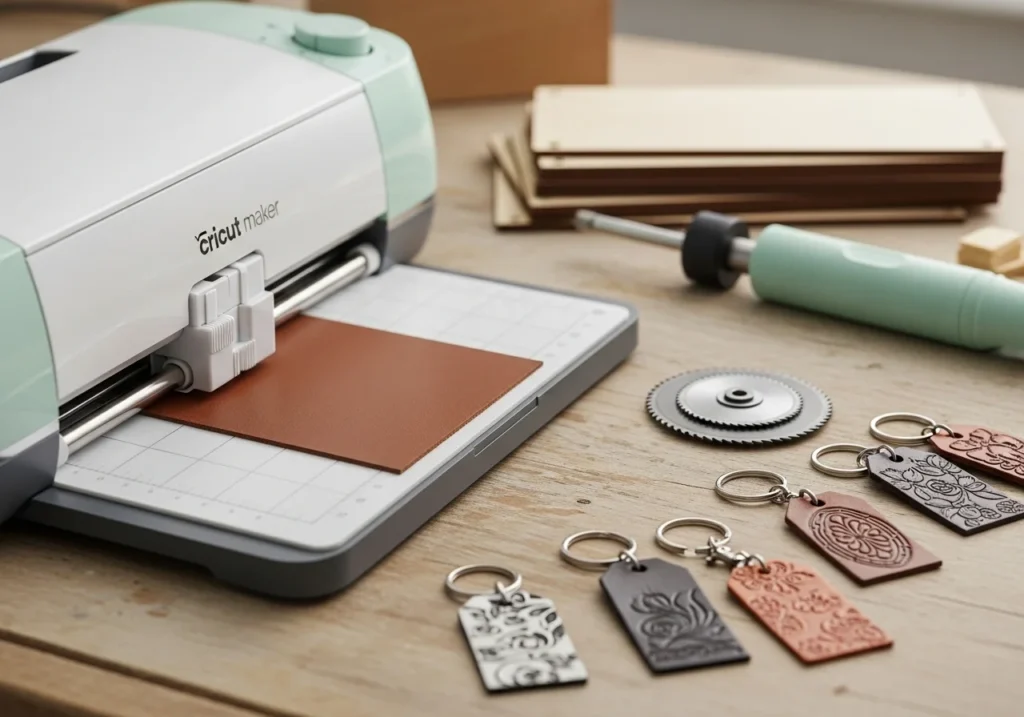
Layered Vinyl Method
This method cuts separate colored vinyl layers individually.
Best for:
- logos
- bold text
- simple graphics
- HTV shirt designs
Layering requires careful alignment but creates durable professional-looking designs.
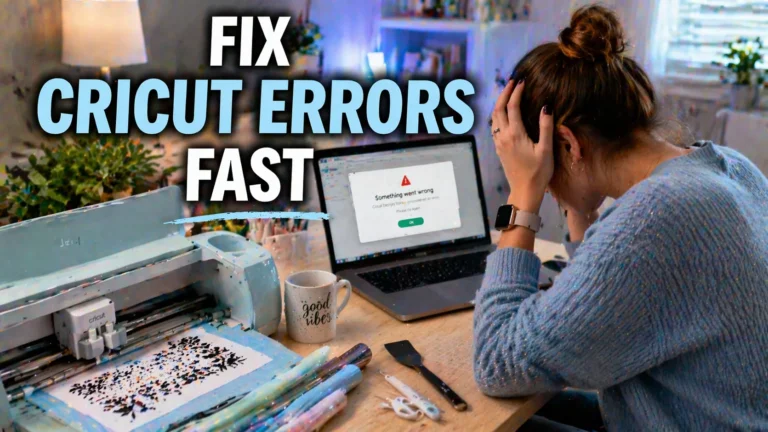
Why Cricut Full-Color Images Print Blurry
Blurry Cricut prints usually come from setup problems rather than the machine itself.
Common Causes
- low-resolution images
- compressed PNG files
- wrong printer settings
- incorrect paper type
- dirty printer nozzles
- poor calibration
Quick Fixes
- use 300 DPI images
- print in high-quality mode
- calibrate Print Then Cut
- avoid screenshots as artwork
- use premium printable materials
If you regularly work with sublimation or printable transfers, these best settings for large sublimation images on Cricut can help improve image sharpness.
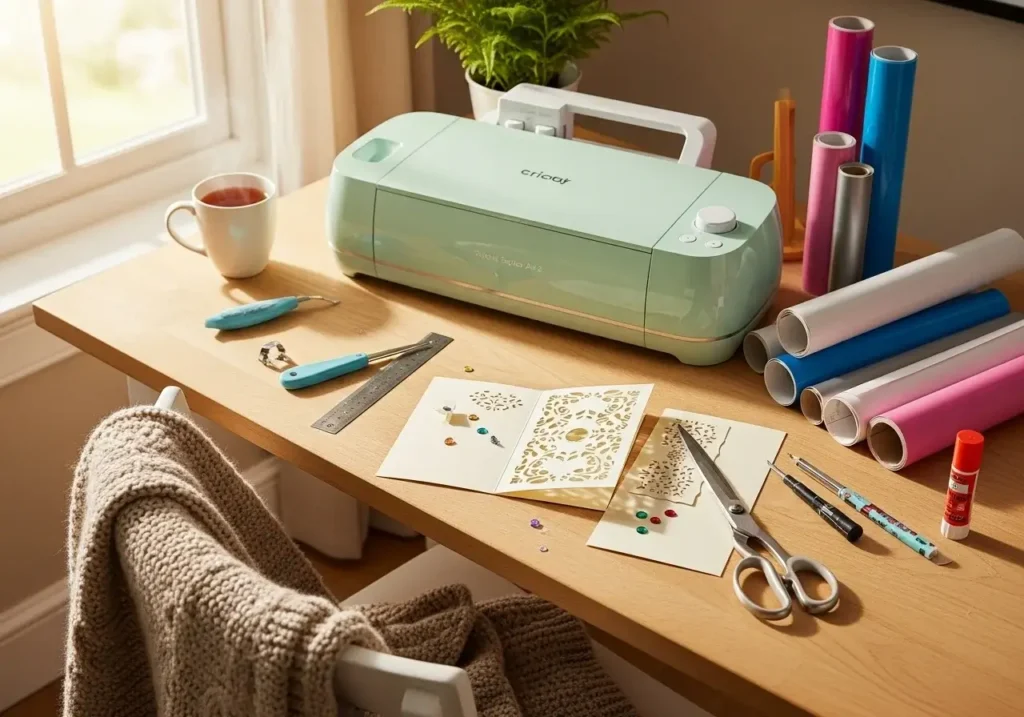
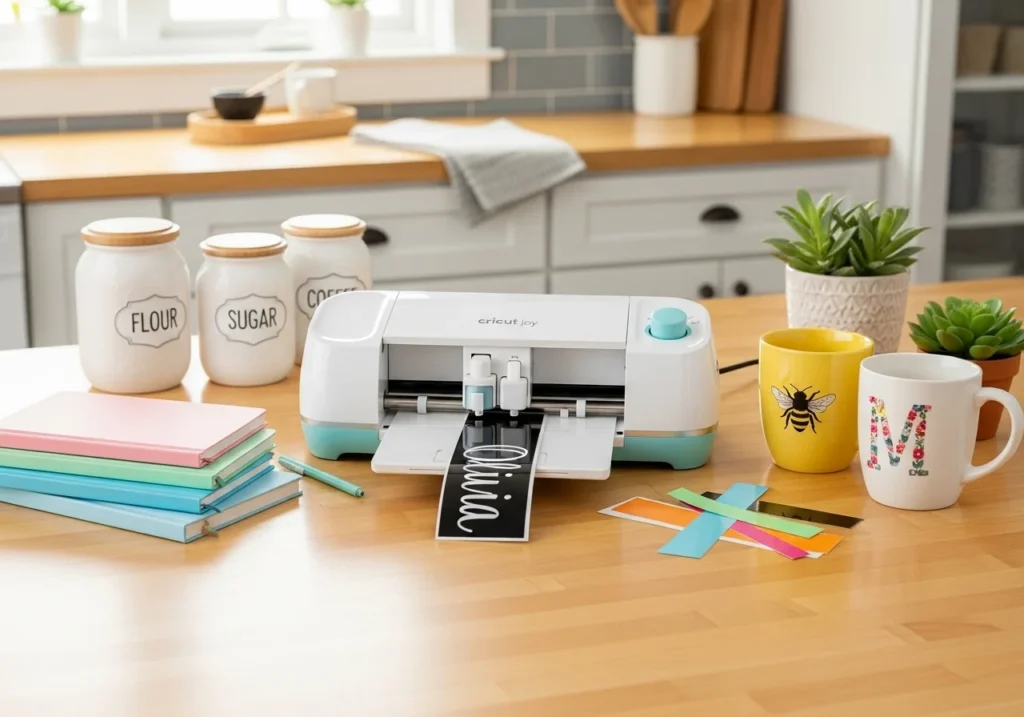
Best Materials for Cricut Full-Color Projects
Different materials produce very different results.
Printable Vinyl
Excellent for:
- stickers
- labels
- decals
Works well with glossy or matte finishes.
Printable Iron-On
Best for:
- T-shirts
- tote bags
- fabric projects
Always mirror iron-on designs before pressing.
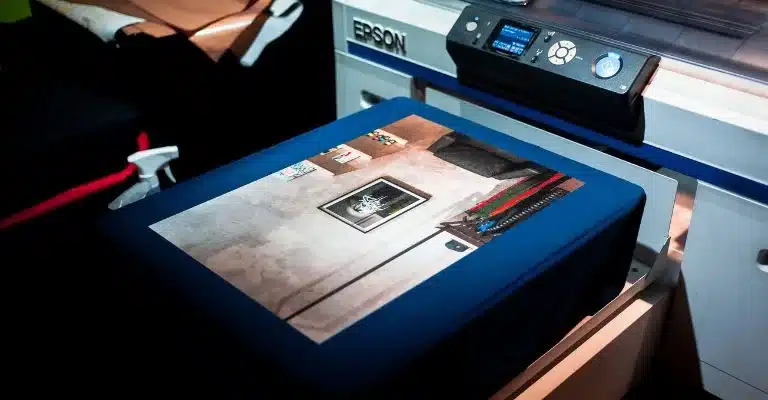
Sublimation Paper
Ideal for:
- polyester shirts
- mugs
- tumblers
- coated blanks
If you’re learning sublimation workflows, this updated guide on how to print sublimation on Cricut explains the setup process in detail.
Cardstock
Useful for:
- invitations
- layered paper crafts
- decorative projects
Common Cricut Full-Color Mistakes
Many beginners run into the same issues early on.
Forgetting to Flatten Layers
Without flattening, Cricut treats layers as separate cuts.
Using Low-Resolution Images
Poor image quality becomes obvious after printing.
Ignoring Calibration
Print Then Cut calibration improves cutting accuracy dramatically.
Choosing the Wrong Material Setting
Incorrect settings can tear paper or create uneven cuts.
Printing With Draft Settings
Draft mode reduces color vibrancy and sharpness.
Practical Tips for Better Results
Use High-Quality Images
A clean design file saves frustration later.
Test Small Samples First
Testing helps avoid wasting expensive printable vinyl or sublimation blanks.
Keep Mats Clean
Dust and fibers can affect cutting accuracy.
Store Printable Materials Properly
Humidity can warp printable sheets and affect print quality.
Use Correct Printer Profiles
Color settings matter more than many beginners realize.
The official Cricut help center also provides a useful walkthrough for Print Then Cut calibration and setup: Cricut Print Then Cut Help Center
Frequently Asked Questions
Does Cricut print color images?
No. Your printer creates the colors while Cricut cuts around the printed design.
How do I upload a colored image to Cricut?
Upload a PNG, JPG, or SVG file into Cricut Design Space and choose Print Then Cut during setup.
Can Cricut cut multi-color designs?
Yes. Cricut can cut layered vinyl colors separately or cut around printed full-color images.
Why is my Cricut image blurry?
Blurry results usually come from low-resolution files, incorrect printer settings, or poor calibration.
What file type works best for Cricut full-color images?
PNG files work best for most Print Then Cut projects because they support transparency and high-quality printing.
Quick Recap
Creating Cricut full-color images becomes much easier once you understand the Print Then Cut workflow.
The biggest improvements usually come from:
- using high-quality PNG files
- flattening layers correctly
- printing with proper settings
- calibrating Cricut accurately
- choosing the right printable materials
Focus on workflow consistency instead of rushing projects. Small setup improvements often make the biggest difference in final print quality.

2 Comments