Sublimation on Leather: Step-by-Step Guide for Clean, Vibrant Prints
Sublimation on leather becomes simple once you use the right material and settings. The key is sticking to coated or faux leather, using proper heat press settings, and following a consistent process.
Start with small test pieces, refine your technique, and you’ll quickly be able to create clean, vibrant designs that last.
If you want a deeper walkthrough focused specifically on materials and techniques, check out this detailed guide on faux leather sublimation.
Can You Sublimate on Leather?
Yes, you can sublimate on leather but only on coated or faux leather like PU leather.
Sublimation requires a polyester-based or polymer-coated surface for the ink to bond properly. Real leather doesn’t have this coating, so the ink won’t transfer correctly and usually results in dull or uneven prints.
If you want consistent, vibrant results, always use sublimation-compatible faux leather.
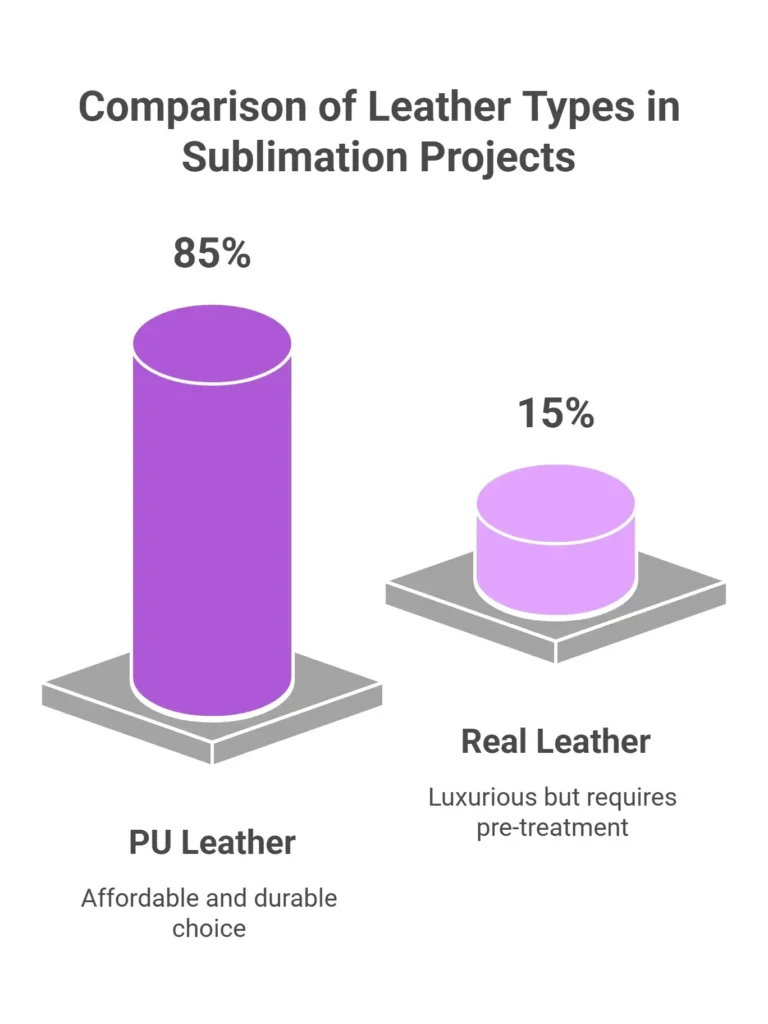
Why Sublimation Works on Faux Leather (PU vs Real)
Faux leather (PU leather) works because it has a smooth polymer coating that allows sublimation ink to bond during heat transfer.
Real leather:
- Absorbs ink unevenly
- Lacks coating
- Produces faded or patchy results
PU leather:
- Has a consistent coated surface
- Supports dye sublimation printing
- Produces sharp, vibrant designs
This is why most sublimation projects use synthetic leather instead of genuine leather.
Materials You Actually Need
To get started, you don’t need a complicated setup.
Here’s what you actually need:
- Sublimation printer with sublimation ink
- Sublimation paper
- Faux leather (PU leather blanks)
- Heat press machine
- Heat-resistant tape
- Butcher paper or protective sheet
- Lint roller
If you’re new to the process, it helps to understand the full workflow in this
beginner sublimation printing guide
Best Heat Press Settings for Leather
The best settings for sublimation on PU leather are 385°F, medium pressure, and 45–60 seconds.
Recommended Settings Table
| Material | Temperature | Pressure | Time |
|---|---|---|---|
| PU Leather | 385°F | Medium | 45–60 sec |
| Faux Suede | 400°F | Medium-High | 60–70 sec |
| Coated Leather | 380°F | Low-Medium | 50–60 sec |
Small adjustments may be needed depending on your heat press and material thickness.
For a deeper breakdown of heat and pressure control, see this guide on
heat press temperature for sublimationt.
Step-by-Step: How to Sublimate on Leather
This is the most important part. Follow these steps carefully for clean results.
1. Prepare Your Design
- Create or select your design
- Resize it to match your leather blank
- Mirror the image before printing
2. Print Your Sublimation Transfer
- Use sublimation paper
- Print using correct color settings
- Let the print dry for a few seconds
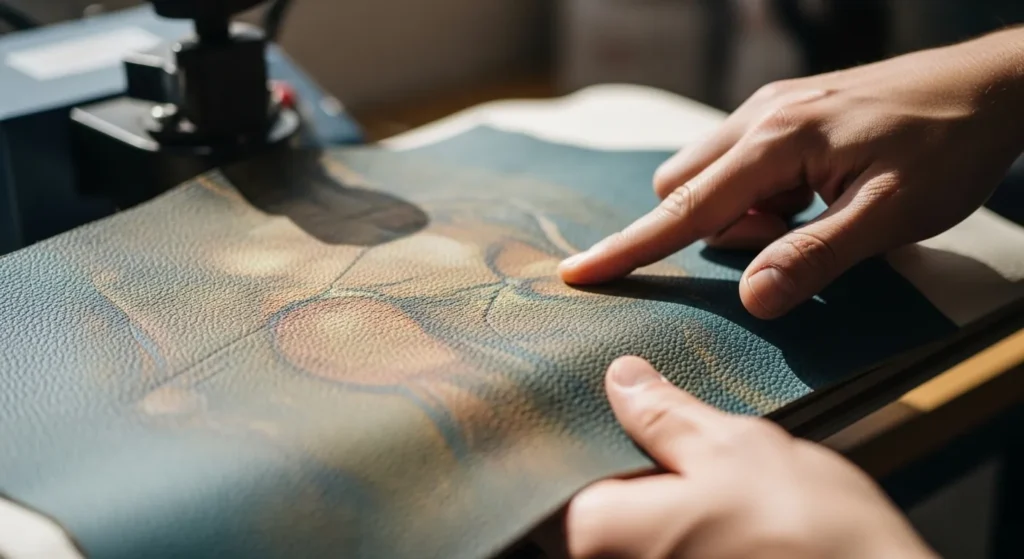
3. Prepare the Leather Surface
- Use a lint roller to remove dust
- Preheat the leather for 5–10 seconds
- This removes moisture and improves ink bonding
4. Position and Secure the Design
- Place the printed design face down on the leather
- Secure it with heat-resistant tape
- Make sure nothing shifts during pressing
5. Apply Heat Press
- Set your press to ~385°F
- Apply medium pressure
- Press for 45–60 seconds
Place butcher paper on top to protect both the material and press.
6. Remove and Cool
- Open the press carefully
- Remove the paper while warm
- Let the leather cool completely
Your design should now appear vibrant and fully transferred.
Common Problems and How to Fix Them
Even small mistakes can affect your results. Here’s how to fix the most common issues.
Burn Marks
Cause: Too much heat or time
Fix: Reduce temperature by 5–10°F or shorten press time
Faded Colors
Cause: Incorrect material or low heat
Fix: Use coated leather and verify your temperature
If color issues continue, follow this
sublimation troubleshooting guide
Blurry or Ghosting Prints
Cause: Paper movement during pressing
Fix: Secure firmly with heat-resistant tape
Ink Bleeding
Cause: Too much pressure or heat
Fix: Reduce pressure slightly and retest
Pro Tips for Better Results
- Always test on a small sample first
- Use a lint roller before pressing
- Avoid excessive pressure
- Use a Teflon or butcher sheet for protection
- Keep your heat press surface clean
Choosing the right blank also matters. Learn more in this sublimation material guide
What Leather Products Work Best
Some items work better than others for sublimation.
Best options include:
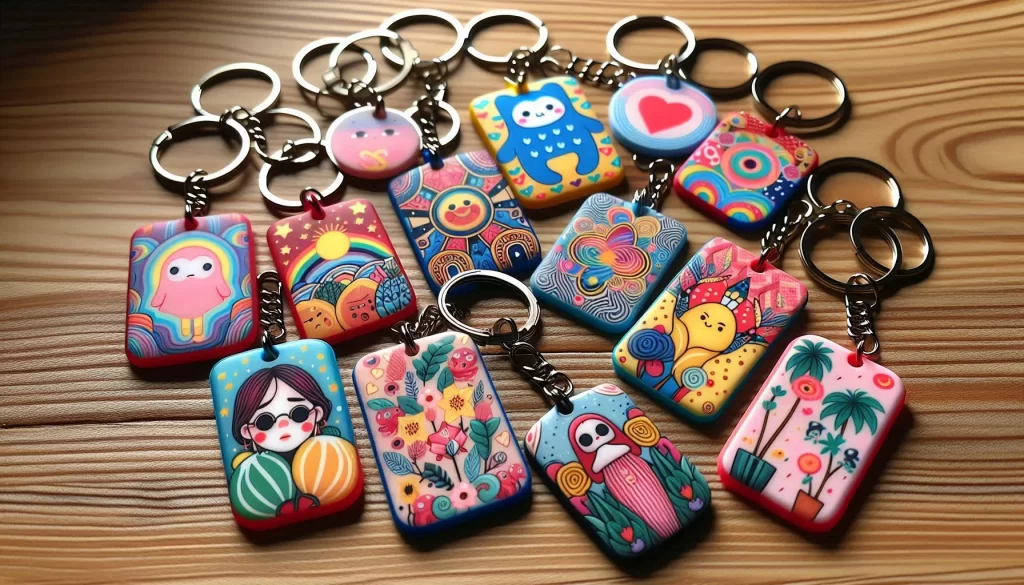
- Keychains
- Wallets
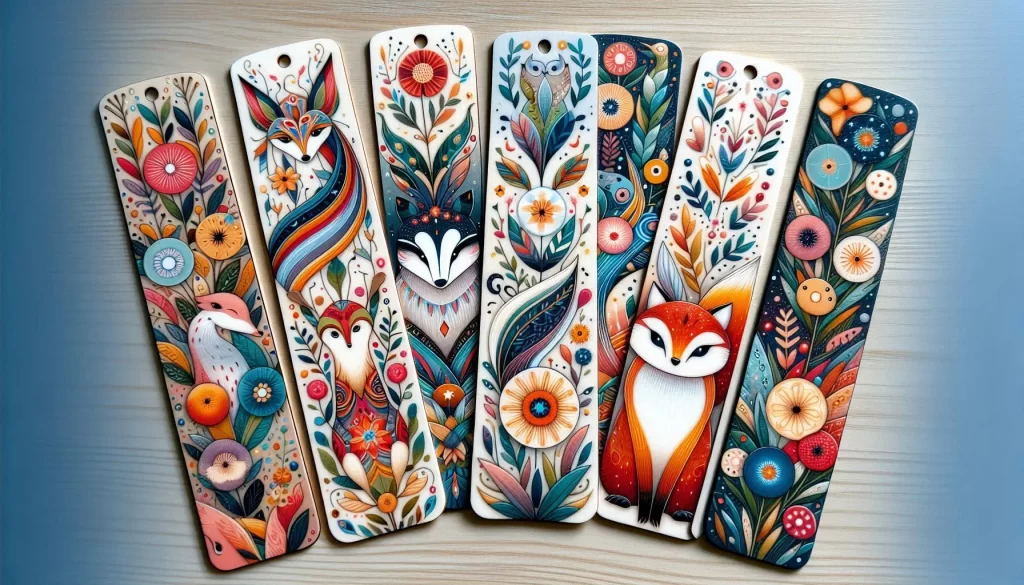
- Bookmarks
- Patches
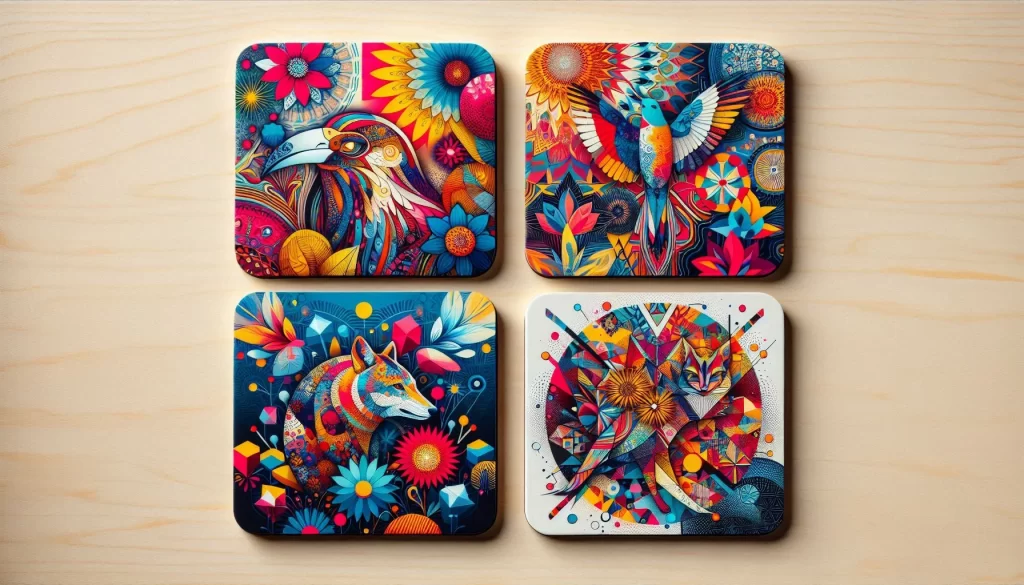
- Coasters
These products have flat surfaces, making heat transfer more consistent and reliable.
Frequently Asked Questions
Can you sublimate real leather?
No. Real leather lacks the coating needed for sublimation ink to bond properly.
Why are my sublimation colors dull?
This usually happens due to low temperature, incorrect material, or missing color profiles.
Can you sublimate on dark leather?
No. Sublimation ink is transparent and works best on white or light-colored surfaces.
Do you need a special coating for leather?
Yes. Either use coated faux leather or apply a sublimation coating to make the surface compatible.
Check out Faux Leather Sublimation: A Step-by-Step Guide
FAQs
References: For more detailed information on the materials and processes discussed, you can refer to the following sources:
Billykirk Journal: What is Natural Leather? This article provides an in-depth look at the composition and characteristics of natural leather, helping to differentiate it from synthetic alternatives like faux leather.


One Comment