How to Sublimate Tumblers for Summer: Heat, Pressure, Color Guide

Learning how to sublimate tumblers for summer becomes much easier once you focus on controlled heat, even pressure, and proper color management.
Most beginner problems come from inconsistent wrap tension, overheating bright colors, or rushing the seam alignment process. Small adjustments usually produce much cleaner and more vibrant summer tumbler results.
Keep notes on successful settings, test one tumbler style at a time, and build a repeatable workflow as your confidence grows.
Why Summer Tumbler Designs Need Different Sublimation Settings
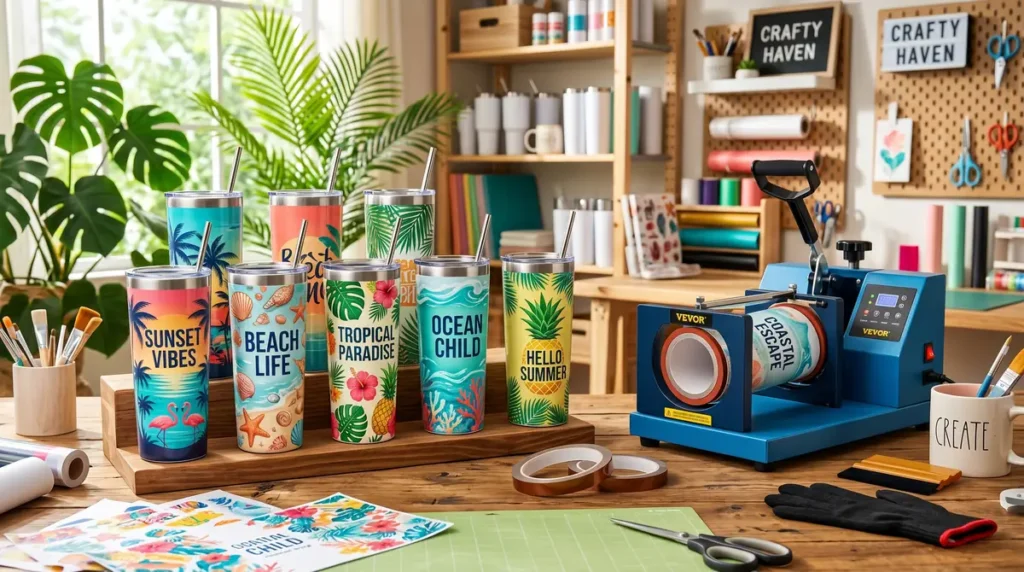
Summer tumbler designs usually contain:
- bright turquoise
- neon coral
- warm yellow
- sunset gradients
- beach graphics
- watercolor backgrounds
These high-saturation colors reveal transfer problems faster than darker designs.
A common sublimation mistake is pressing summer designs too hot or too long. This can:
- oversoften bright colors
- create blurry edges
- dull turquoise tones
- produce brownish yellows
- cause ghosting near seams
Most beginner-friendly sublimation tumbler workflows work best with controlled heat consistency rather than maximum temperature.
If you are still learning the overall process, review this beginner-friendly sublimation printing guide.
Supplies You Need to Sublimate Tumblers
For beginner summer tumbler projects, keep your setup simple.
Basic Supplies
- Sublimation tumbler blank
- Sublimation printer
- Sublimation paper
- Heat-resistant tape
- Shrink wrap or tumbler press
- Heat gloves
- Lint roller
- Butcher paper
- Heat-resistant mat
Optional but Helpful Tools
- Silicone wraps
- Convection oven thermometer
- Seam alignment ruler
- Pressure test strips
Many beginners get cleaner results by using high-quality paper and stable heat tape. Cheap tape often lifts during heating and causes blurry summer patterns.
You can also compare different materials in this sublimation blanks and substrates guide.
Best Heat Settings for Summer Sublimation Tumblers
The best temperature for sublimation tumblers usually falls between 360°F and 400°F depending on your equipment and tumbler coating.
Recommended Beginner Heat Settings
| Method | Temperature | Time | Pressure |
|---|---|---|---|
| Tumbler Press | 365°F–385°F | 50–70 sec per side | Medium |
| Convection Oven | 375°F–400°F | 5–7 min | Even wrap pressure |
| Skinny Tumblers | 370°F | 60 sec | Medium-firm |
| Large Tumblers | 385°F | 70 sec | Medium |
Quick Answer
For most beginner summer tumbler projects, 370°F with medium pressure gives the safest starting point for vibrant colors without overheating.
A common beginner issue is assuming higher heat equals brighter colors. In most sublimation setups, overheating actually softens bright summer tones.
If your colors look dull after pressing, review this guide on why sublimation colors look dull and how to fix it.
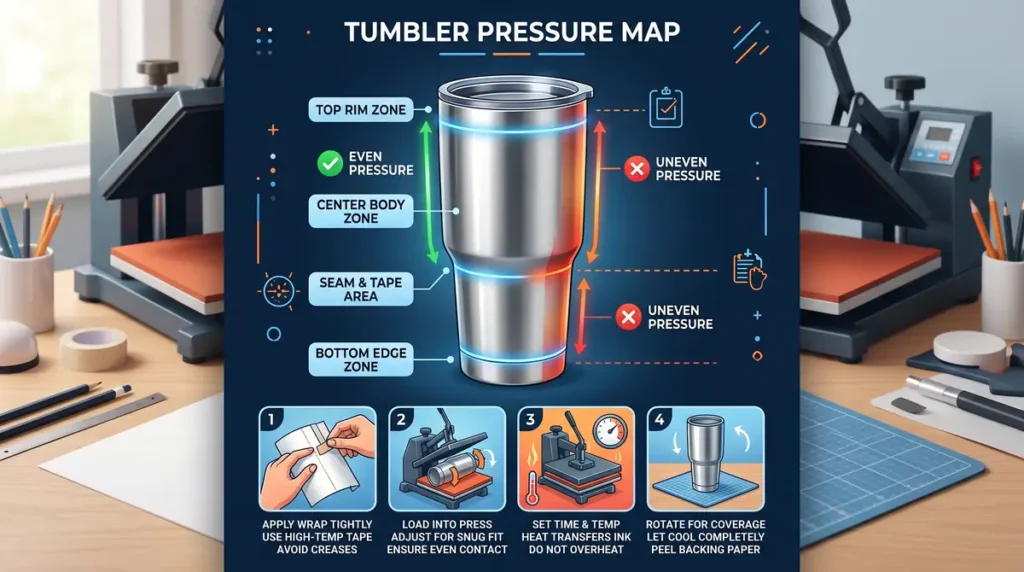
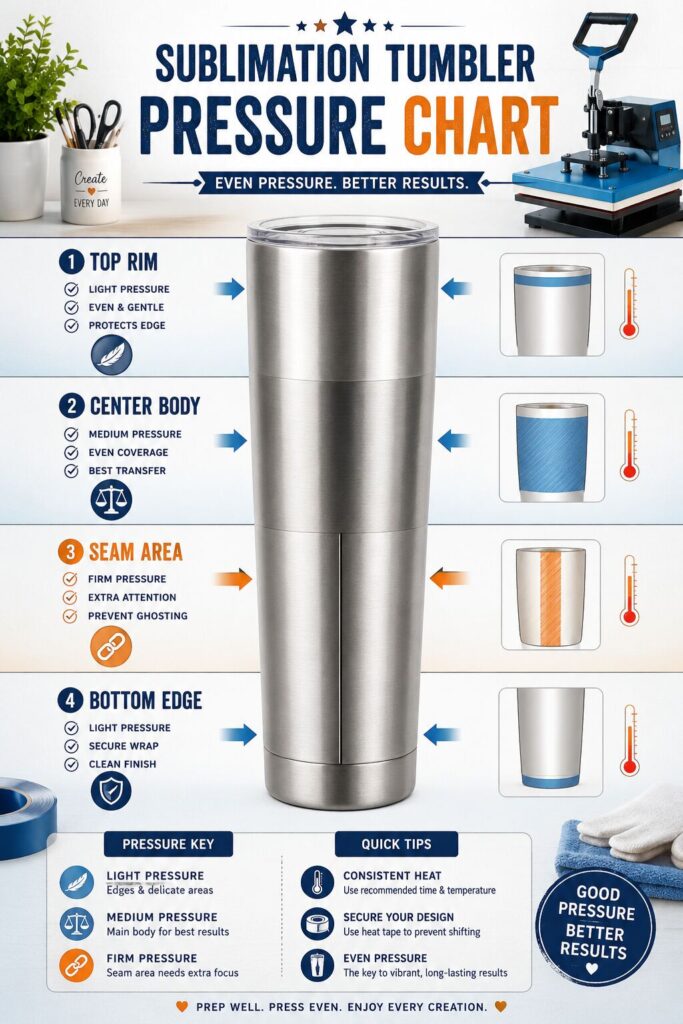
Tumbler Pressure Map for Even Transfers
Pressure matters more than many beginners realize.
Uneven pressure creates:
- faded top edges
- blurry center wraps
- pale seam lines
- inconsistent color saturation
Beginner Pressure Zones
| Tumbler Area | Common Problem | Fix |
|---|---|---|
| Top Rim | Faded print | Increase upper clamp pressure slightly |
| Center Body | Blurry image | Reduce overpressure |
| Bottom Edge | Incomplete transfer | Rotate and repress carefully |
| Seam Area | Ghosting | Tape tighter with overlap alignment |
Simple Pressure Testing Workflow
- Tape the design tightly around the tumbler.
- Check for lifting near the seam.
- Apply equal wrap tension from top to bottom.
- Press once before adjusting pressure.
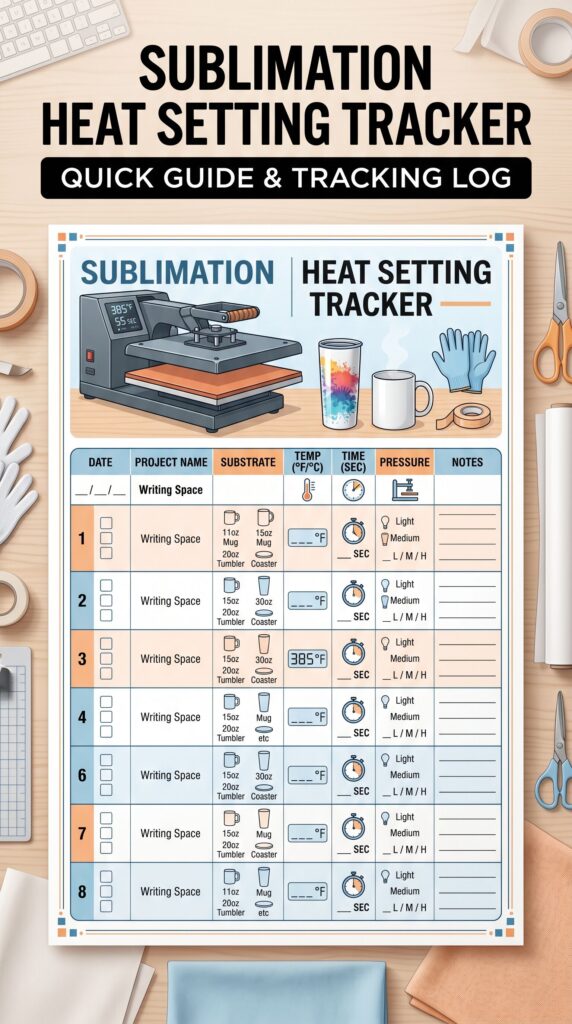
- Record successful settings for future summer projects.
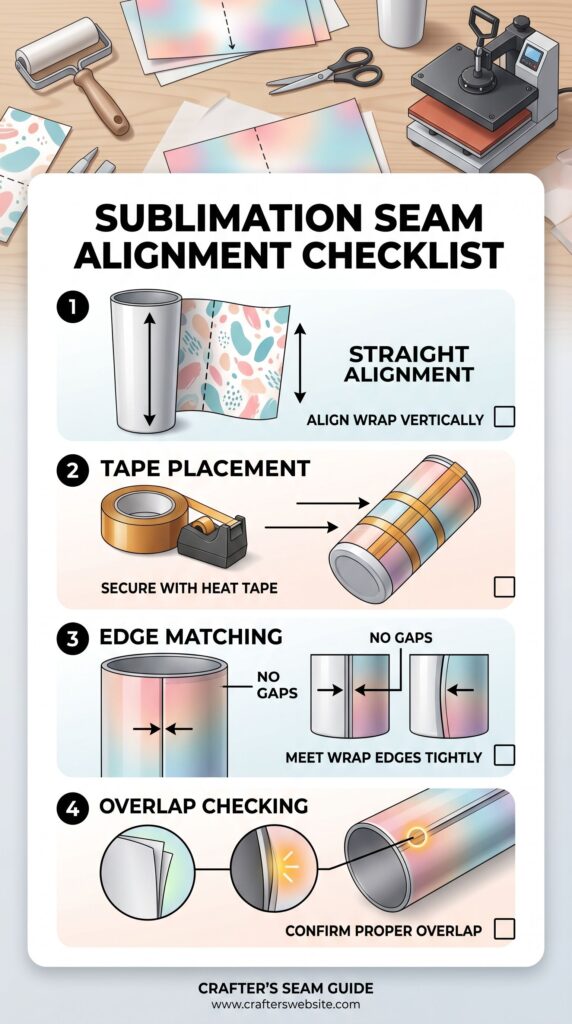
How to Wrap Summer Tumbler Designs Without Seams
Seams become more visible on bright summer patterns and watercolor backgrounds.
Best Practices for Seamless Summer Wraps
- Trim excess paper closely
- Align artwork before taping
- Tape vertically first
- Add horizontal stabilizing tape
- Avoid loose paper edges
- Use shrink wrap evenly in ovens
A common sublimation mistake is pulling the paper too tightly on one side while leaving slack on the other.
This usually creates:
- warped palm trees
- stretched beach graphics
- blurry sunset gradients
If you struggle with wraps, this guide on best sublimation tumbler tools for seamless results can help.
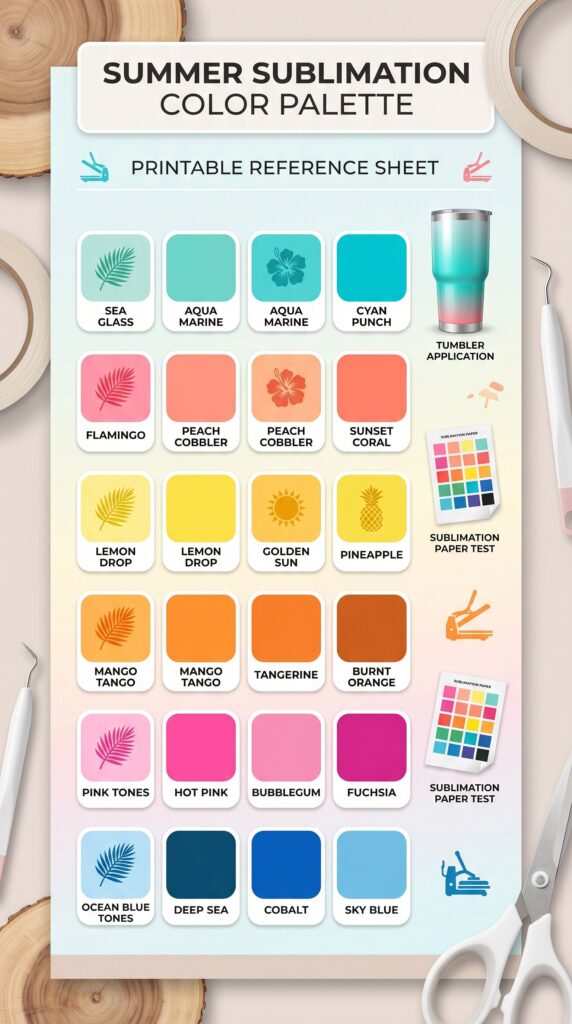
Best Summer Colors for Sublimation Tumblers
Some colors naturally transfer better onto stainless steel sublimation blanks.
Colors That Usually Press Well
- aqua blue
- teal
- coral
- bright pink
- orange
- tropical green
Colors That Commonly Shift
| Color | Common Shift |
|---|---|
| Yellow | Turns brownish |
| Light blue | Looks faded |
| Neon pink | Oversaturates |
| Soft peach | Loses warmth |
How to Keep Summer Colors Vibrant
- Use correct ICC profiles
- Avoid overheating
- Print with high-quality settings
- Let tumblers cool naturally
- Test one sample first
Color management matters heavily with bright seasonal designs. You can improve consistency using proper ICC profiles for sublimation printing.
Common Summer Tumbler Sublimation Problems
Why Does My Tumbler Look Faded?
Usually caused by:
- low heat
- uneven pressure
- weak paper contact
- incorrect color profile
Why Are My Summer Colors Dull?
Bright summer tones often dull from:
- overheating
- moisture
- incorrect printer settings
Why Is There Ghosting Near the Seam?
Ghosting happens when:
- paper shifts during pressing
- tape loosens
- wrap pressure changes
Why Is Only One Side Vibrant?
This usually means uneven pressure or inconsistent heating inside the press.
For deeper troubleshooting, follow this sublimation troubleshooting guide.
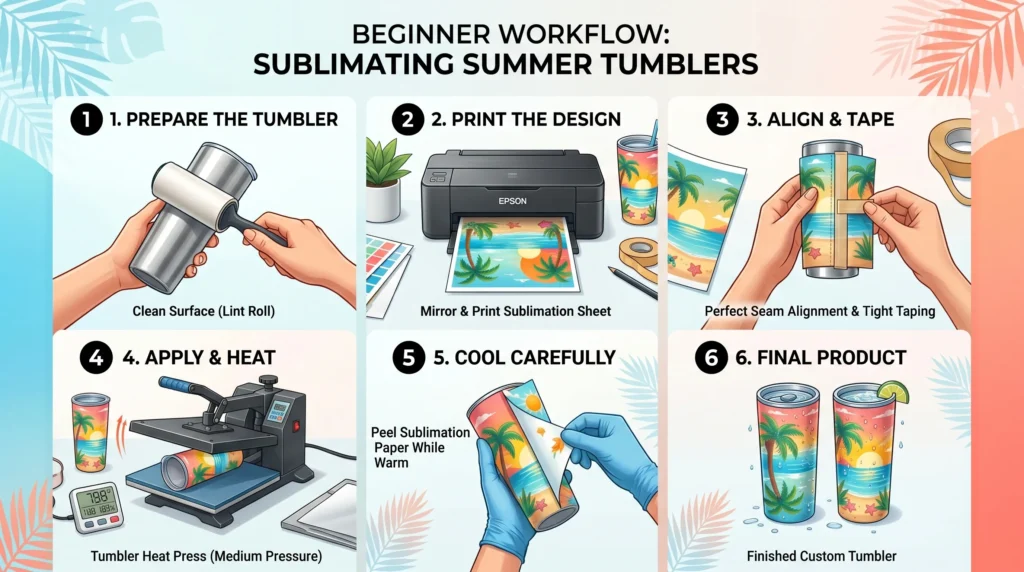
Beginner Workflow for Sublimating Summer Tumblers
Step 1: Prepare the Tumbler
- Remove dust with a lint roller
- Avoid touching the printable surface
- Preheat lightly if needed
Step 2: Print the Design
- Mirror the artwork
- Use sublimation paper settings
- Print high saturation summer colors carefully
Step 3: Align and Tape
- Align seam edges carefully
- Tape vertically first
- Smooth wrinkles before heating
Step 4: Apply Heat
- Use medium pressure
- Rotate if your press requires it
- Avoid overpressing
Step 5: Cool Carefully
- Remove paper while warm
- Allow natural cooling
- Avoid cold water shock
Summer Tumbler Design Ideas Beginners Can Try
Easy beginner-friendly summer ideas include:
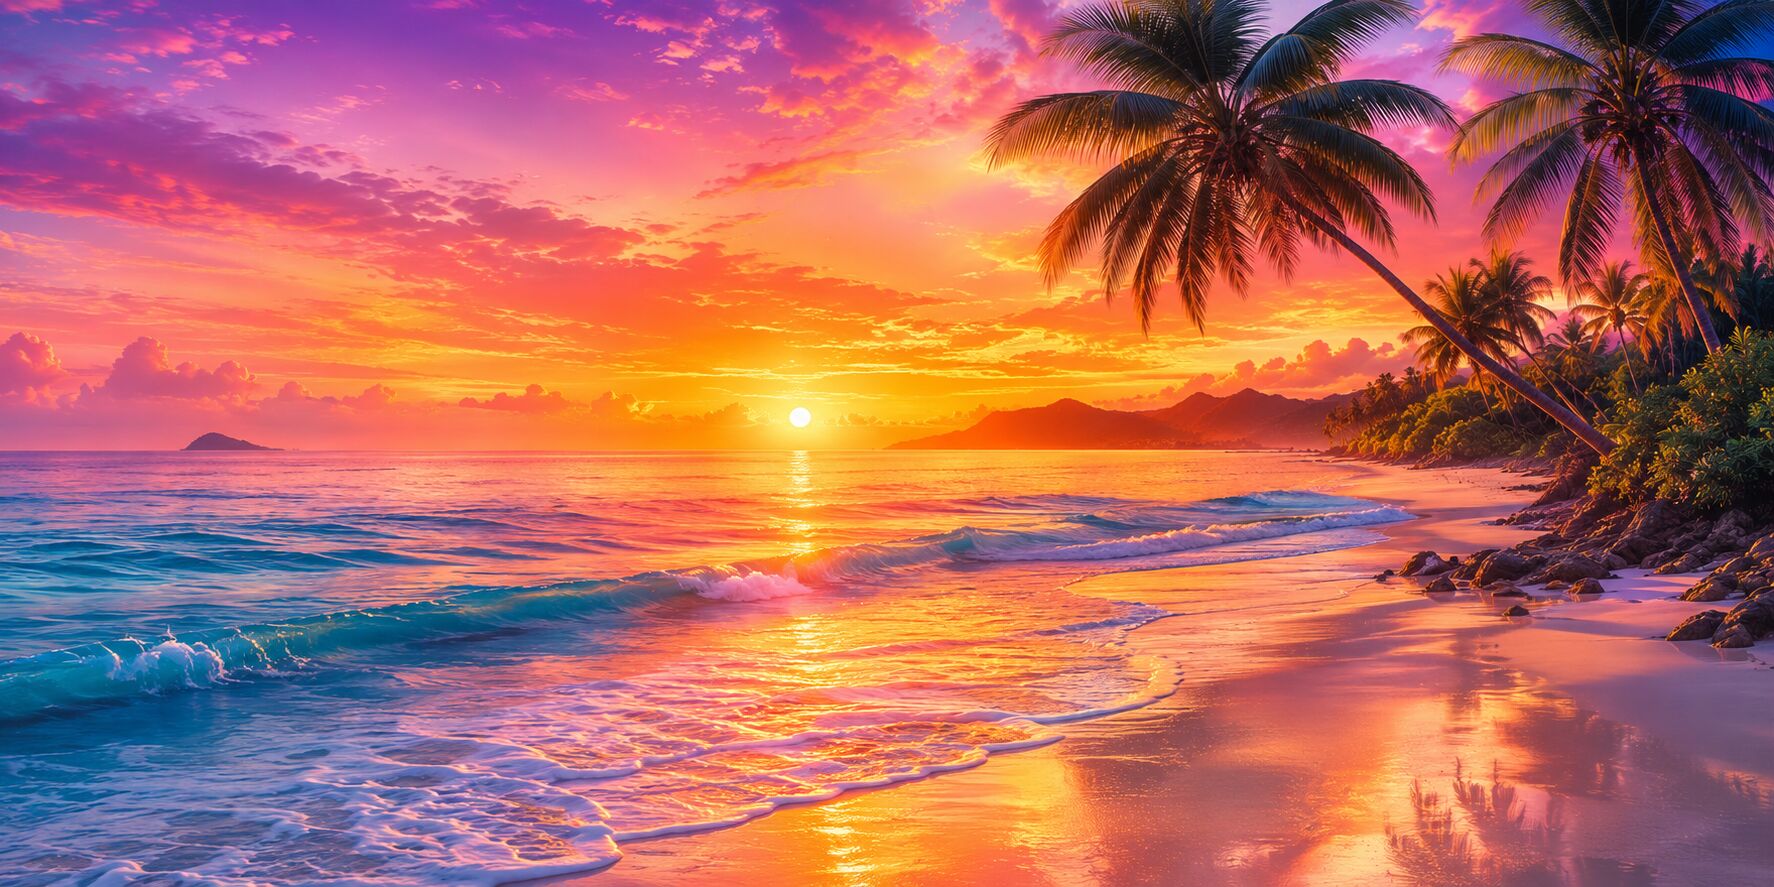
- beach sunset wraps
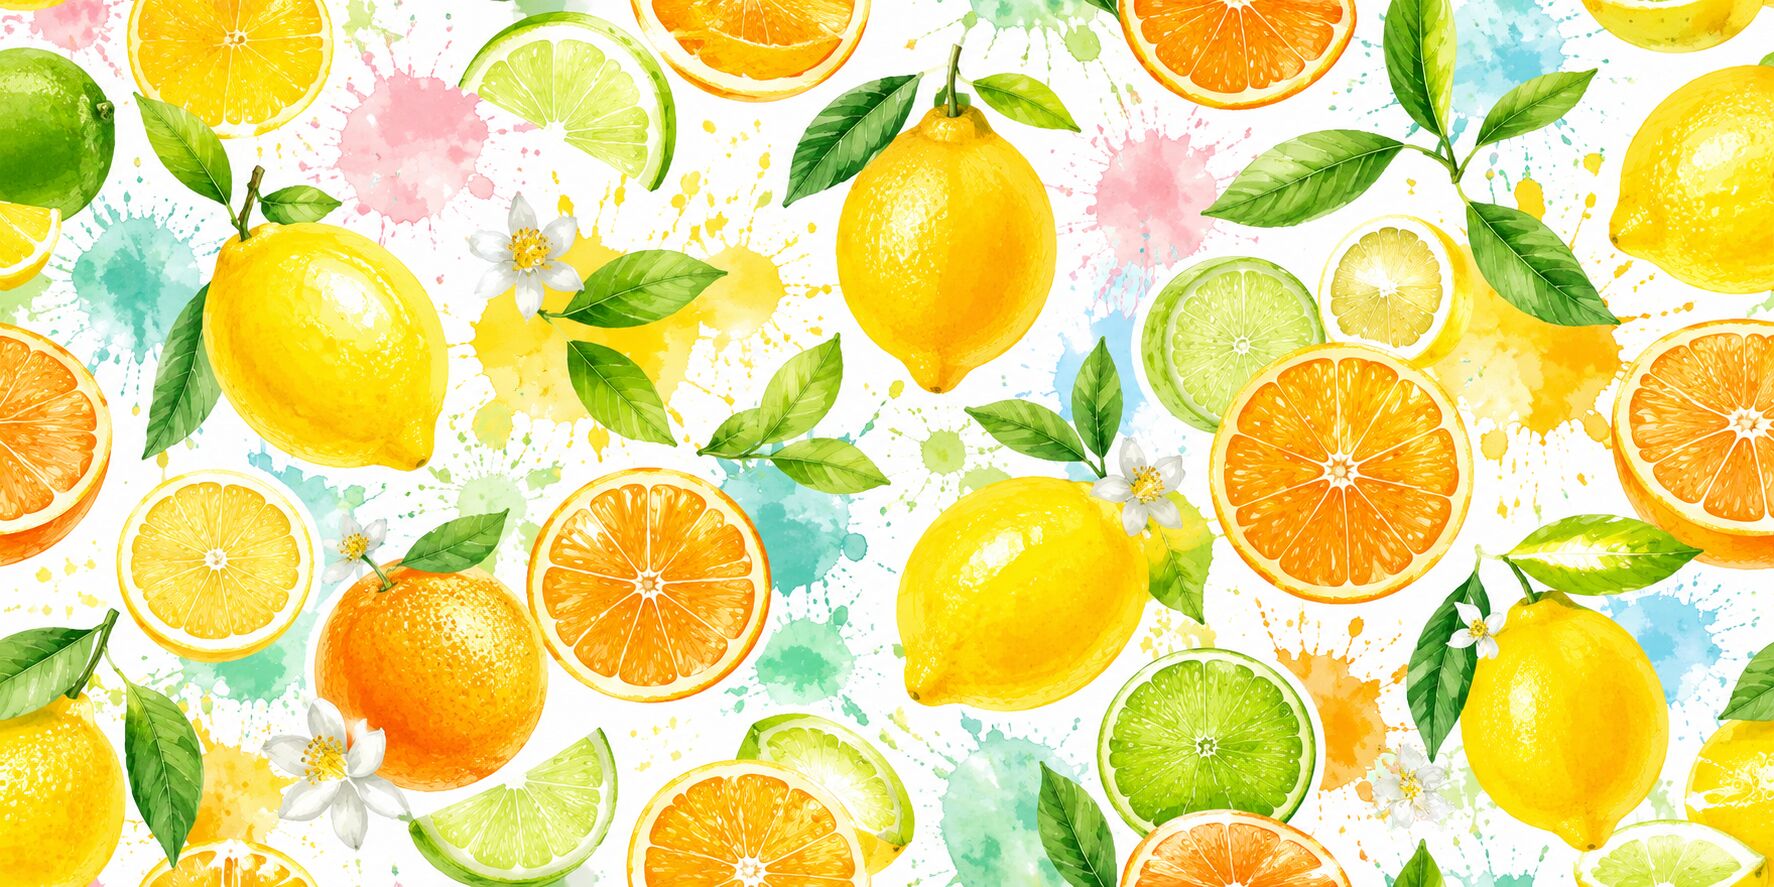
- lemon and citrus patterns
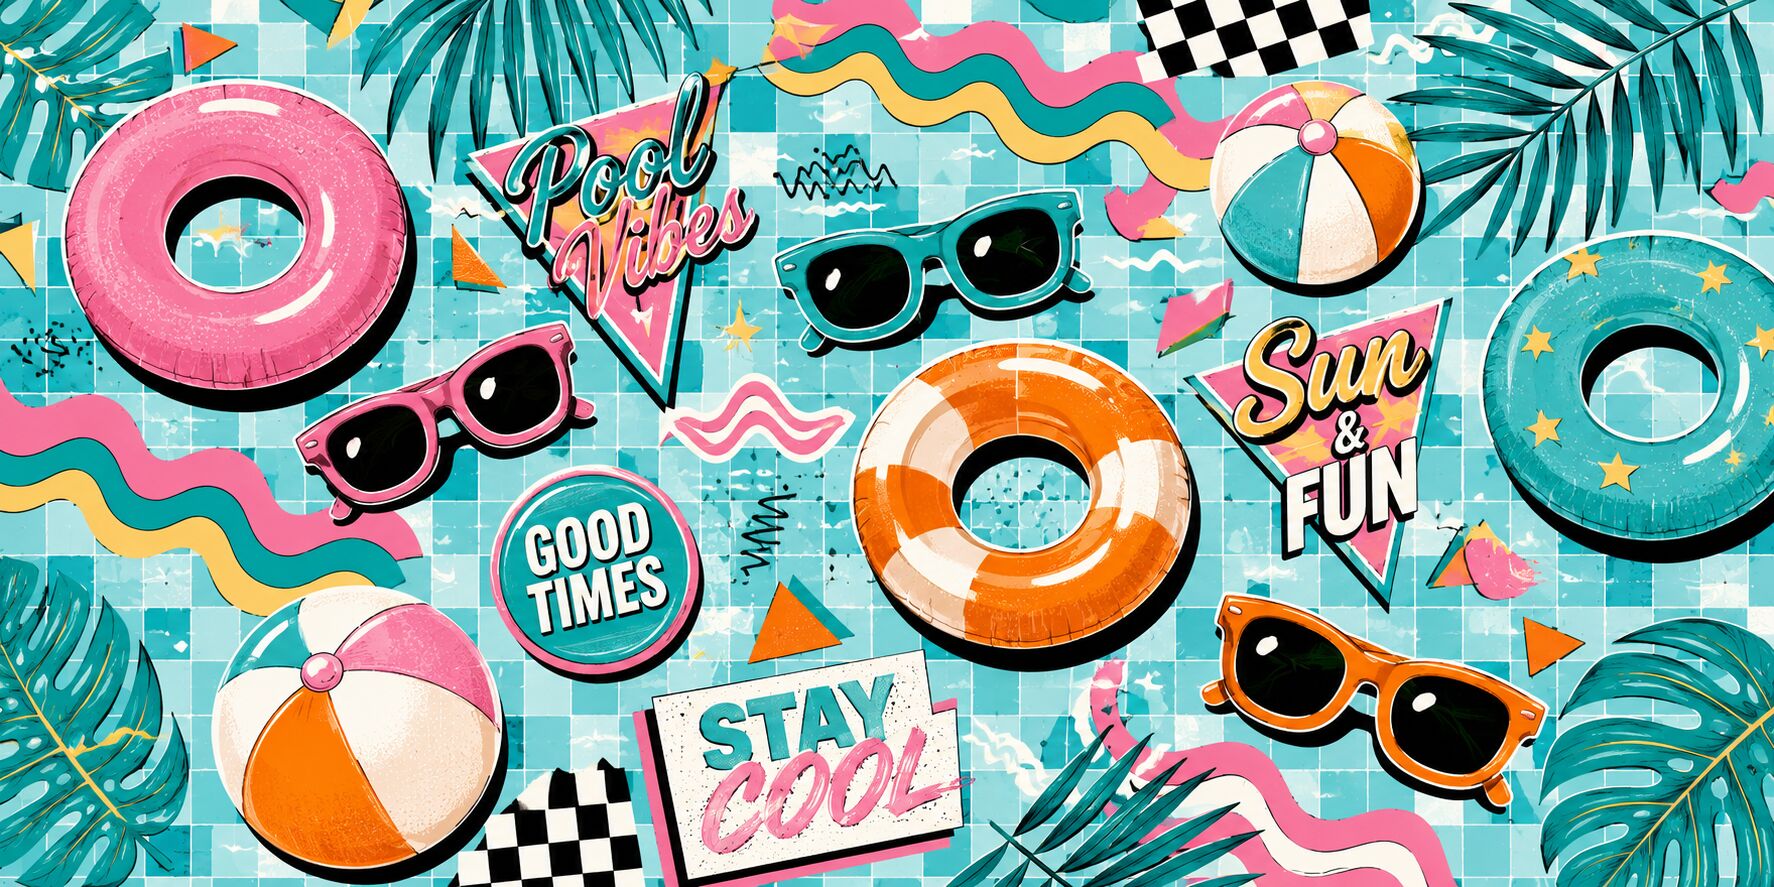
- retro pool graphics
- tropical florals
- patriotic summer themes
- camping tumbler designs
- watermelon patterns
- lake trip tumblers
Here you can download some design for tumbler project.
Tailored Action Plan for Beginner Crafters
If you are just starting tumbler sublimation, focus on consistency instead of complicated artwork.
Beginner Practice Workflow
Week 1:
- Test one tumbler style only
- Use simple full-wrap patterns
- Record temperature and pressure results
Week 2:
- Experiment with bright summer palettes
- Compare seam placement methods
- Test oven vs tumbler press results
Week 3:
- Create matching summer tumbler collections
- Build repeatable heat setting notes
- Save successful printer presets
Helpful Printable Resources to Create
- Tumbler pressure chart
- Summer color swatch sheet
- Heat setting tracker
- Seam alignment checklist
You can download free resources and checklist here.
This type of repeatable workflow prevents wasted blanks and improves color consistency much faster than random testing.
You can also explore more seasonal sublimation project ideas.
Frequently Asked Questions
What is the best temperature to sublimate tumblers?
Most sublimation tumblers press best between 365°F and 385°F with medium pressure.
Can I sublimate tumblers without a tumbler press?
Yes. Many beginners use a convection oven with shrink wrap sleeves for full tumbler wraps.
Why do summer sublimation colors fade?
Fading usually comes from overheating, poor pressure, or incorrect color management settings.
Do I need special sublimation tumblers?
Yes. You need polymer-coated sublimation tumblers for proper dye sublimation printing.
How long should I press a sublimation tumbler?
Most beginner tumbler presses work well around 50–70 seconds per side depending on tumbler size and heat calibration.