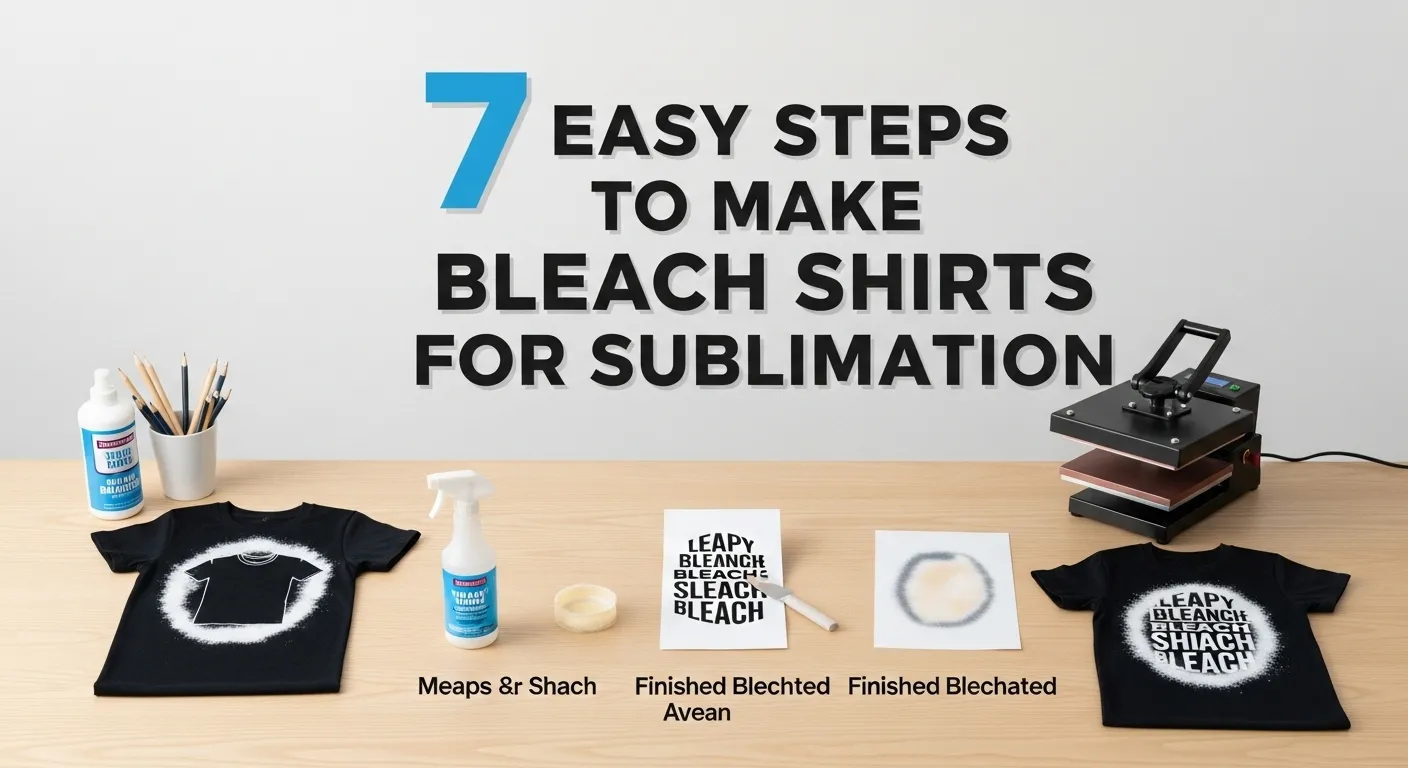
7 Easy Steps to Make Bleach Shirts for Sublimation
Bleaching shirts for sublimation lets you place bright, vibrant designs on dark or colored shirts without using vinyl. You lighten just the area you want to sublimate, neutralize the bleach, wash the shirt, then press and transfer your design. Done right, it’s fast and safe and gives you crisp results on almost any color.
Bleach a small area of the shirt, neutralize it with peroxide, wash and dry it, then press your sublimation design. This creates a bright space that makes your print show clearly on dark fabrics.
Learn more about the best fabrics for sublimation to choose shirts that bleach and print well.
7 Easy Steps to Bleach Shirts for Sublimation
Step 1: Print and Prep Your Sublimation Design
Use software like Canva, Photoshop, Cricut Design Space, or Silhouette Studio.
Save your design as PNG, mirror it if needed, and print on sublimation paper.
Cut loosely around the edges, leaving ¼ inch of white helps prevent ink bleeding.
Step 2: Insert Cardboard Into the Shirt
Slide cardboard or foam board inside the shirt.
This:
- Prevents bleach from bleeding through
- Gives you a flat surface
- Helps with alignment
Iron the shirt lightly to remove wrinkles.
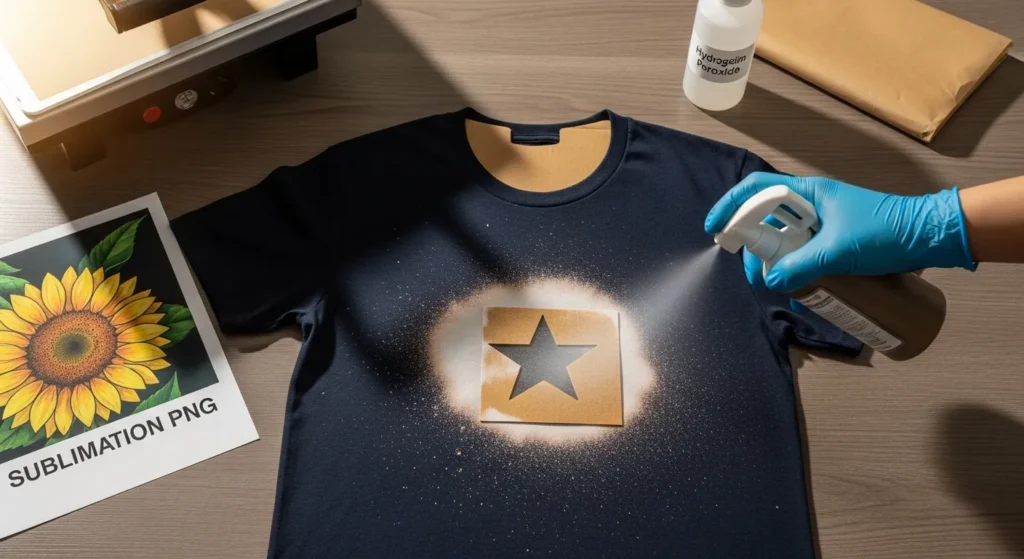
Step 3: Apply Bleach (Three Options)
Choose the look you want:
Spray Bottle:
- Gives soft, cloudy edges
- Easy for large areas
Paintbrush:
- Sharp borders
- Great for rectangles or frames
Stencil:
- Most controlled look
- Stars, circles, text outlines, lace patterns
Only bleach the area where your design will go.
You can lightly outline the space with chalk before starting.
Step 4: Let the Bleach Develop and Then Neutralize It
Place the shirt in direct sunlight.
Check it every 60 seconds so it doesn’t over-bleach or burn.
When the color is where you want it:
- Rinse with cold water
- Soak 10 minutes in 1 gallon water + 1 cup hydrogen peroxide
- Wash on cold
- Dry completely
The peroxide stops the bleaching instantly, which protects the fibers.
Step 5: Press the Shirt Before Sublimating
Moisture ruins transfers.
Press the shirt with butcher paper inside at 400°F for 60 seconds to flatten fibers and remove leftover humidity.
Step 6: Sublimate the Design
Align the design over the bleached area.
Tape lightly on the edges so it doesn’t shift.
Press at:
- 400°F
- 60 seconds
- Medium pressure
Let it cool slightly before peeling.
Step 7: Done! Enjoy Your Bleached Sublimation Shirt
You’ll have a bright, crisp design surrounded by a soft, bleached halo.
Every shirt turns out unique, and no two bleach patterns match.
What This Method Does
Bleach removes pigment from the shirt so the sublimation ink has a light base to sit on. Cotton bleaches quickly, blends react more slowly, and polyester barely lightens at all. A simple bleach spray, a few minutes in the sun, and a peroxide soak is all you need to prep the shirt before pressing your design.
Why Bleach Shirts for Sublimation?
Sublimation ink needs a light background and polyester fibers to bond well. Dark shirts block the ink, so bleaching creates a bright patch that gives you:
- A clean space for vibrant color
- A “distressed” style without extra materials
- The ability to sublimate on colors like black, navy, red, and forest green
People love this method because it’s cheap, fast, and looks handmade without being messy.
Best Shirts for Bleaching and Sublimation
Not all shirts bleach the same. This matters more than most beginners realize.
| Shirt Type | Bleach Reaction | Sublimation Color | Best For |
|---|---|---|---|
| 65/35 polyester-cotton | Medium-fast, even | Bright | ★ Best overall |
| 50/50 blend | Fast, strong | Good but slightly softer | Popular choice |
| 100% cotton | Very fast | Muted or vintage look | Trendy distressed style |
| 100% polyester | Very slow, uneven | Bright | Not great for bleaching |
Pro tip: Bleach reacts with cotton, not polyester. So blends bleach the most evenly and still give enough polyester for the ink to bond.
Safety Notes (Don’t Skip This)
The number one mistake beginners make is bleaching indoors or mixing chemicals by accident. Keep it simple:
- Bleach only outdoors or in strong ventilation
- Wear gloves and eye protection
- Never mix bleach with vinegar or ammonia
- Neutralize with hydrogen peroxide immediately after bleaching
- Always wash the shirt before pressing
Bleach keeps working for hours unless neutralized, which is why peroxide is essential.
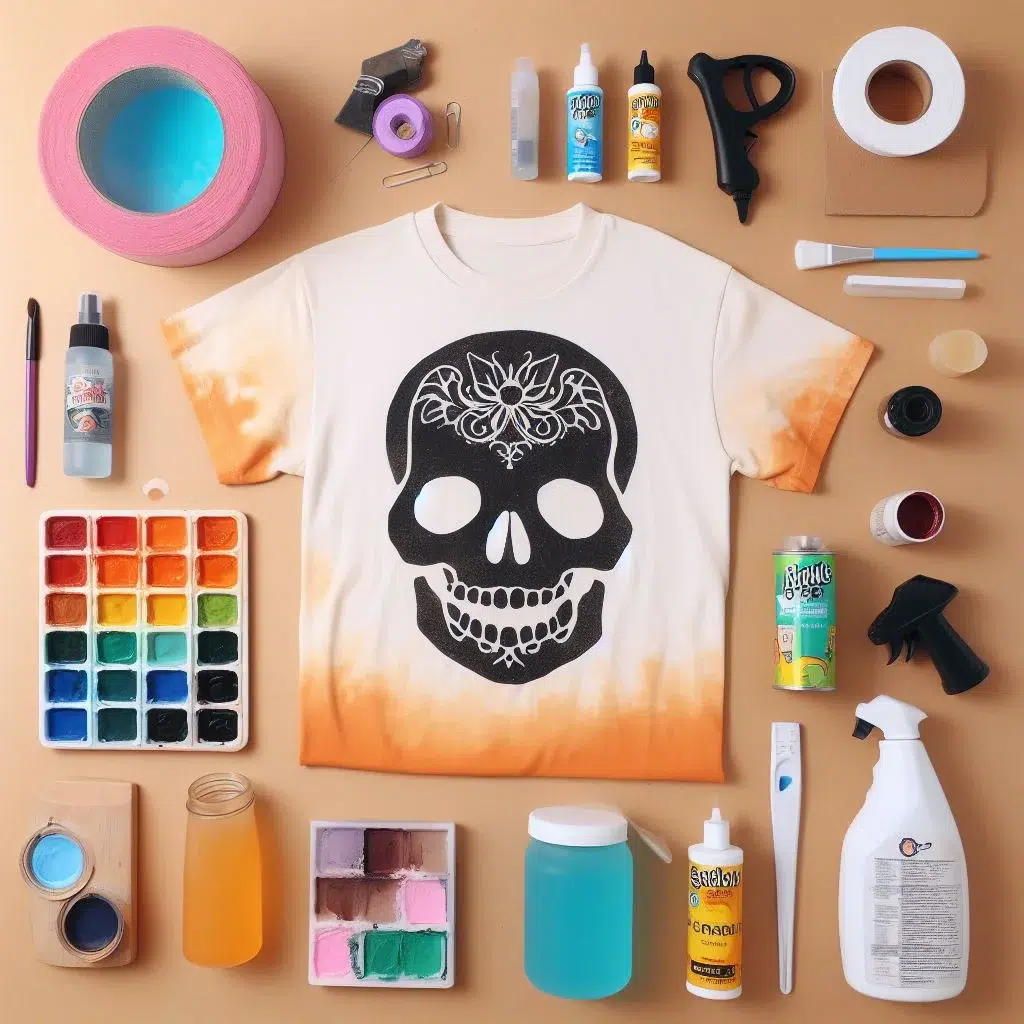
What You’ll Need
- 50 50 or 65 35 poly blend t-shirt (dark colors work best)
- Bleach (regular, unscented)
- Spray bottle, brush, or stencil
- Hydrogen peroxide + water
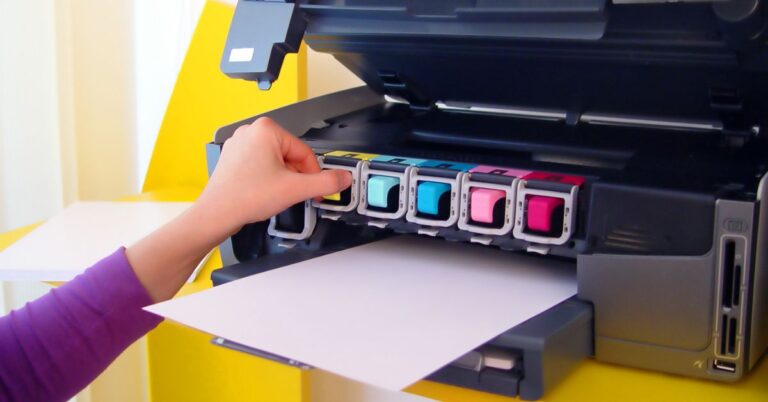
- Sublimation printer and paper
- Heat press
- Cardboard insert
- Gloves, mask, apron
If you’re using a 50/50 blend, check out common issues with 50 50 sublimation and how to fix soft or muted colors.
How Long Does Bleach Take to Work? (Actual Timing Guide)
| Blend | Sunlight Time | Notes |
|---|---|---|
| 50/50 | 3–7 minutes | Quick change, easy to control |
| 65/35 | 6–12 minutes | Most consistent results |
| 100 cotton | 2–5 minutes | Can over-bleach fast |
| 100 polyester | 10–25 minutes | Mostly lightens to peach tones |
Sunlight speeds things up, but you can also use a heat gun on low if needed.
What You’ll Need
To bleach shirts, you’ll need the following materials:
- A 100% polyester t-shirt in any color (preferably dark or vibrant)
- A sublimation printer and paper
- A heat press or iron
- A piece of cardboard or foam board
- Bleach (regular or color-safe)
- A spray bottle, a paintbrush, or a stencil (depending on the bleaching method you choose)
- Water and hydrogen peroxide
- Protective gloves, goggles, apron, and mask
- A bucket or sink
Knowing about cotton results? Here’s a full guide on how to sublimate on cotton shirts even when you’re bleaching first.
Real-World Case Study
We tested the same sunflower design across three shirt blends:
50/50 Blend (Winner)
- Bleach activated in 6 minutes
- Sublimation transferred with good contrast
- Smooth edges, no fiber damage
65/35 Blend
- Needed 10 minutes in sunlight
- Colors slightly brighter than 50/50
- Most stable bleaching pattern
100 Cotton
- Bleached almost instantly
- Sublimation looked vintage and soft
- Great for a weathered look but not for bright colors
If you want predictable results, 50/50 or 65/35 is the sweet spot.
For pressing, use the correct sublimation temperature guide so your bleached shirts transfer cleanly.
Troubleshooting: Common Problems and Fixes
Why is my bleached area turning yellow?
It wasn’t neutralized with peroxide long enough. Soak again in peroxide mix.
Why did my bleach spread too far?
You used too much liquid. Switch to a brush or stencil.
Why does the shirt still smell like bleach?
It needs another wash cycle.
Why does my design look faded?
The shirt may have too much cotton. Cotton does not bond with sublimation ink.
Why did the shirt burn when I pressed it?
Over-bleached cotton becomes brittle. Reduce bleach time next round.
After pressing, avoid design shifting with these tips on how to prevent ghosting in sublimation.
Best Tips from Experienced Makers
- Don’t oversaturate the shirt
- Always place butcher paper inside during sublimation
- Use cold water for rinsing
- Try lace fabric as a bleach stencil for delicate effects
- Test bleach on an inside seam before doing the main area
Professional Sublimation Printing & Wholesale Custom Products
Looking for high-quality sublimation printing for apparel, drinkware, and promotional items? Subli Genius Print delivers vibrant color, sharp detail, and long-lasting results for businesses, brands, and resellers across the U.S.
FAQs
Thank you for reading! 😊For more about Bleaching shirts.
One Comment