Mastering Faux Leather Sublimation: Print Perfectly Without Peeling
Faux leather is stylish, affordable, and trending in custom crafts, but sublimating on it? That’s where things get tricky.
Most crafters run into one big issue: faded prints that peel off or don’t stick at all. Whether you’re making earrings, patches, or custom keychains, getting the ink to bond right can feel like guesswork. This guide cuts through that frustration.
You’ll learn how to choose the right faux leather, avoid common misfires, and set up your gear, even if you’re using a basic Cricut or heat press. Start by understanding how sublimation reacts on similar materials with this deep dive on sublimation on leather.
Even small changes in pressure or temperature can ruin a print. We’ll also cover how to fine-tune your sublimation printer settings for vibrant, peel-proof results.
Inside this guide:
- Best faux leather sheets for flawless transfers
- Step-by-step Cricut setup for cutting and pressing
- Ideal heat press time and temp (without melting)
- Tips for scaling up to sellable quality
Snapshot Success Stories: How I Sublimate Faux Leather
When I started with sublimation, faux leather immediately grabbed my attention. It looked like genuine leather but was much easier to work with. The key was understanding its plastic base layer to ensure my designs adhered well.
I quickly learned to mirror my designs before printing, once, I forgot, and it was a real eye-opener! Now, I always double-check to avoid that mistake.
Setting up my heat press was both thrilling and nerve-wracking. I experimented with temperature and pressure settings, using my manual and testing on scrap pieces to get it just right.
Applying the sublimation transfer involves patience; I carefully position the design, secure it with tape, and watch as the ink transfers. After cooling, I properly handle and care for my faux leather items to keep them vibrant and fresh.
Why Sublimate Faux Leather?
Faux leather’s affordable, easy to work with, and looks great on custom items like earrings and keychains. That’s why crafters love it.
But here’s the problem, the ink doesn’t always stick. It fades, peels, or just looks off.
Once you know the right kind of faux leather to use and how to press it properly, the results are solid. Clean, bold, and long-lasting.
Why it’s worth it:
- Budget-friendly
- Great for small projects
- Easy to cut with Cricut
- Looks polished without the cost of real leather
How Sublimation Works on Faux Leather
Sublimation doesn’t just “sit” on faux leather, it bonds into it. But here’s the twist: faux leather isn’t made for sublimation straight out of the pack. It usually needs a coated surface or a layer like sublimation HTV to give the ink something to grab onto.
And yeah, color matters. White or light-colored faux leather gives you the best pop. Darker ones? They’ll dull your design no matter how good your printer is.
Also, always check the texture. Shiny side = good. If it feels fuzzy or like fabric, skip it. That side won’t hold the ink.
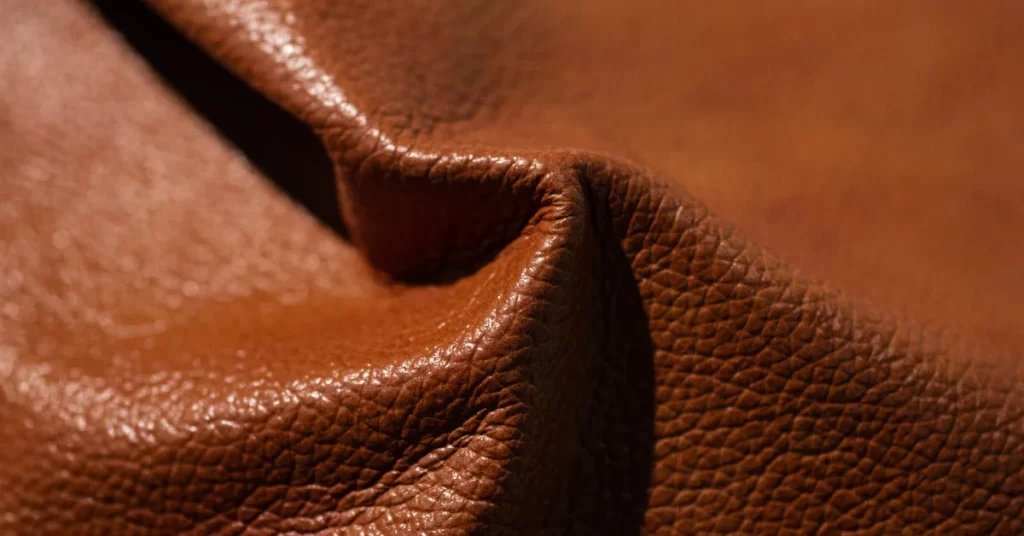
Understanding Faux Leather Composition
When I started working with faux leather, I realized that understanding its composition was crucial for successful sublimation. Faux leather, also known as synthetic leather, is designed to mimic the look and feel of genuine leather but is made from man-made materials. This usually involves a base layer of fabric, often polyester or similar material, coated with a layer of plastic, such as polyurethane (PU) or polyvinyl chloride (PVC).
The plastic coating is what makes faux leather suitable for sublimation. Sublimation ink binds well to the plastic surface, allowing for vibrant and durable designs. However, not all faux leathers are created equal. Some have finishes or treatments that can interfere with the sublimation process. Choosing faux leather labeled as suitable for sublimation or doing a small test before committing to a large project is essential.
One of my early projects involved experimenting with different types of faux leather. I found that those with a smooth, non-glossy finish worked best. The ink transferred evenly, and the colors were bright and accurate. On the other hand, faux leather with a high-gloss finish sometimes causes the ink to spread or not adhere properly.
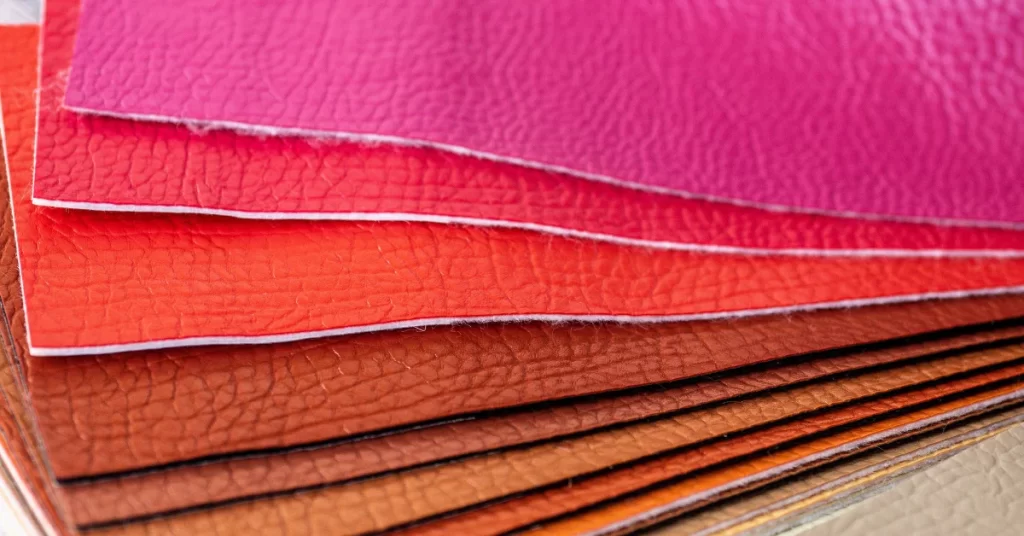
Best Faux Leather Types to Use
Not all faux leather plays nice with heat. Some melt. Some curl. Some just look plain awful after pressing.
Stick with PU or PVC leather, those are the go-to types that hold shape and work well with heat. Some bonded or hybrid leathers also work if they’ve got a smooth, coated surface.
Go for white or light-colored options if you want sharp, bold designs. Dark backgrounds just kill the color. No printer can fix that.
If it smells super plasticky or feels thin and rubbery, it’s probably the kind that melts. Pass on those.
Preparing Your Design and Materials
Before diving into the sublimation process, proper preparation is essential. This starts with choosing the right design and gathering the necessary materials. Here’s how I approach this crucial step:
Choosing and Preparing Your Design
The first step is to create or select a design that suits your project. I prefer using design software like Adobe Illustrator or CorelDRAW because they offer precise control over details. When preparing your design, remember to mirror the image before printing. This ensures that the design appears correctly on the faux leather once transferred.
One time, I forgot to mirror a design and ended up with backward-facing text. It was a simple yet important lesson in double-checking every step. Ensure your design has vibrant colors and precise details, as these will translate best onto the faux leather.
Selecting Faux Leather Materials
Not all faux leather is suitable for sublimation. I’ve learned to look for materials labeled explicitly for this purpose or those with a polyester base. Smooth, non-glossy finishes work best for even ink transfer. Ordering small samples and testing them with a scrap design is helpful to ensure compatibility.
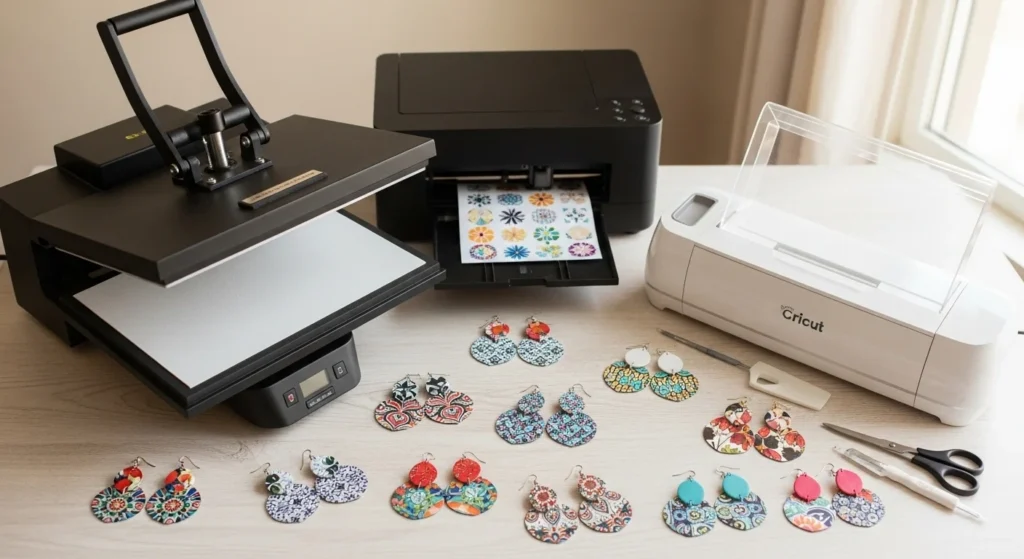
Gathering Tools and Supplies
Having the right tools and supplies on hand makes the process smoother. Here’s what I typically use:
- Sublimation Printer: A printer with sublimation ink is essential. I use a dedicated sublimation printer to avoid contamination with regular inks.
- Heat Press: This tool applies the necessary heat and pressure. A flat heat press works best for faux leather.
- Heat-Resistant Tape: To secure the transfer paper and prevent it from shifting during pressing.
- Protective Paper or Teflon Sheets: These prevent ink from transferring to the heat press and keep the faux leather clean.
- Cutting Tools: Scissors or a rotary cutter for precise trimming of your faux leather and transfer paper.
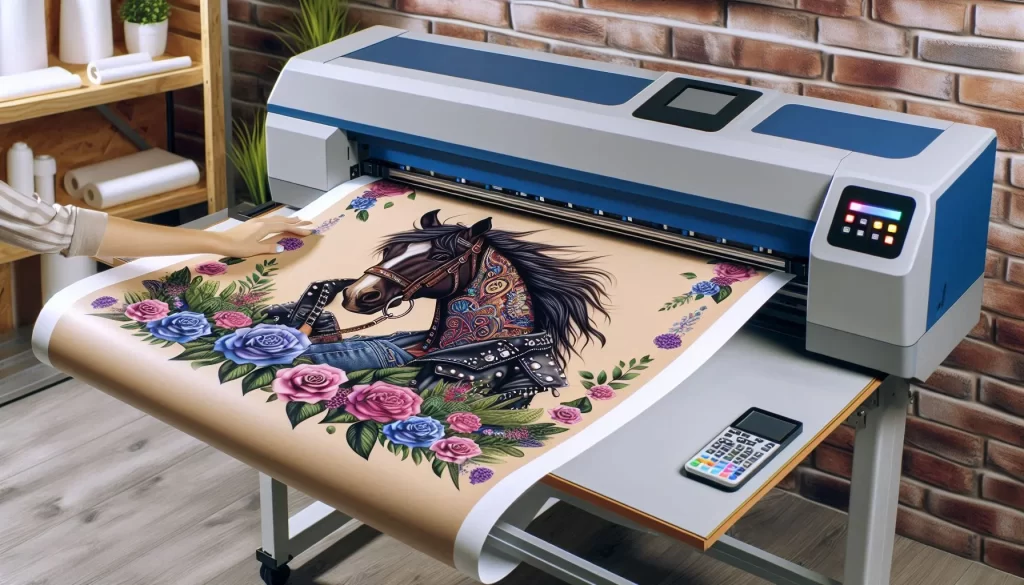
Printing Your Design
It’s time to print once your design is ready and your materials are gathered. Use sublimation paper and ensure your printer settings are optimized for the best color output. I always print a test sheet to check color accuracy and make necessary adjustments.
Heat Press Setup and Temperature Settings
Setting up your heat press correctly is vital to successfully sublimating faux leather. I remember feeling excited and nervous the first time I used my heat press. Over time, I’ve learned the importance of precise settings and consistency. Here’s how I do it:
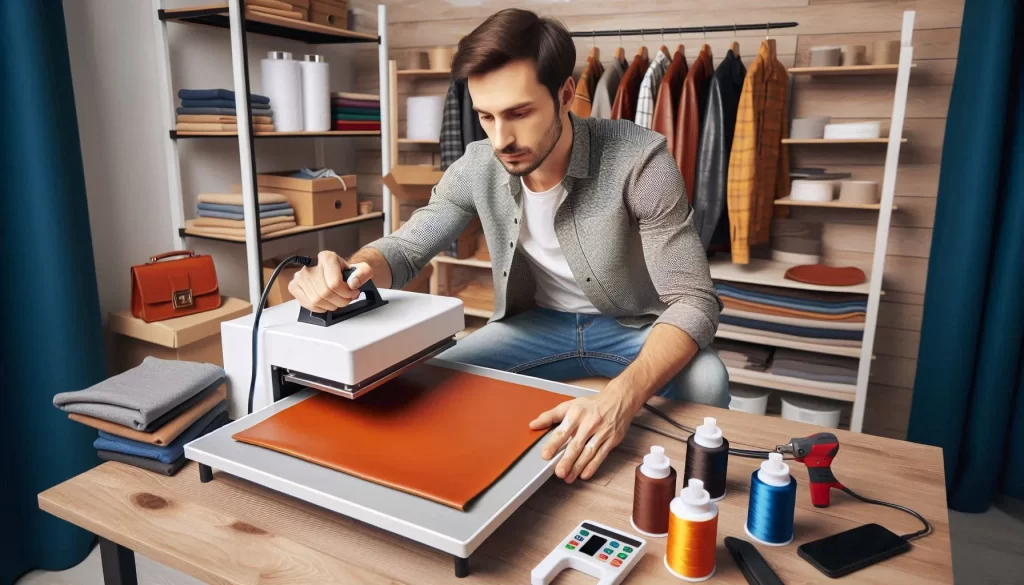
Setting Up Your Heat Press
Begin by placing your heat press on a stable, heat-resistant surface. Make sure the area is well-ventilated, as sublimation can produce fumes. Ensure your press is clean and free from any leftover ink or debris from previous projects. I keep a soft cloth handy for wiping down the plates.
Adjusting Temperature, Pressure, and Time
Finding the right temperature, pressure, and time is crucial. Here are the general settings I use for sublimating faux leather, though these may vary based on your specific materials and equipment:
- Temperature: 380°F (193°C)
- Pressure: Medium to firm
- Time: 45-60 seconds
Refer to your heat press manual for guidelines, and consider doing a test run on a scrap of faux leather. I’ve found that experimenting with these settings can help you achieve the best results.
Test Pressing
Before working on your final piece, do a test press. Place a small faux leather piece in the heat press with a sample design. This helps confirm that your settings are correct and prevents any surprises. During my first projects, I often adjusted the pressure and time based on these tests to get the perfect transfer.
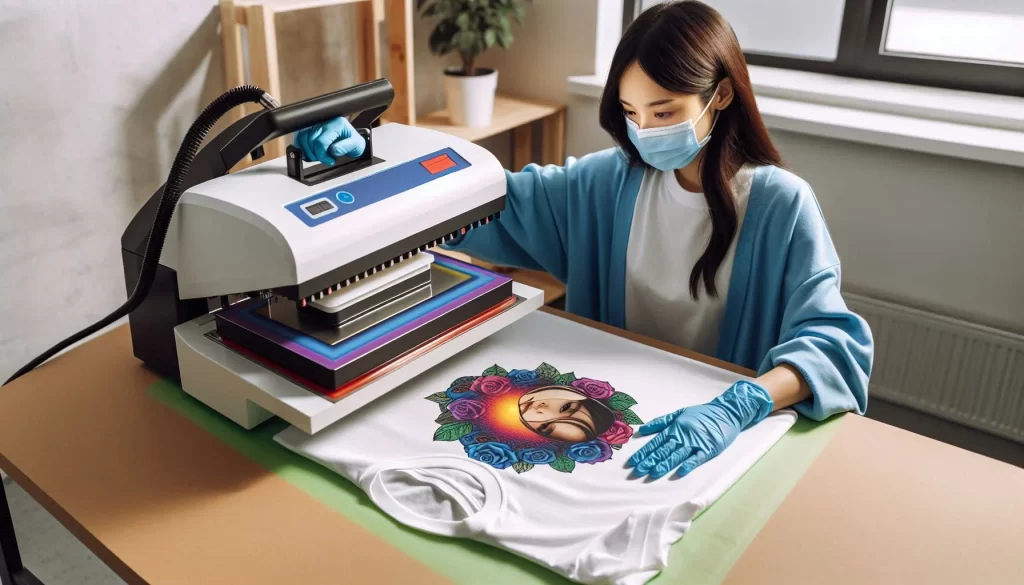
Safety Precautions
Safety is paramount when working with heat presses. I always wear heat-resistant gloves to protect my hands. I am also mindful of the hot surfaces and keep flammable materials away from the press. I organize my workspace with all tools and materials within easy reach but away from the heat.
Preparing for the Transfer
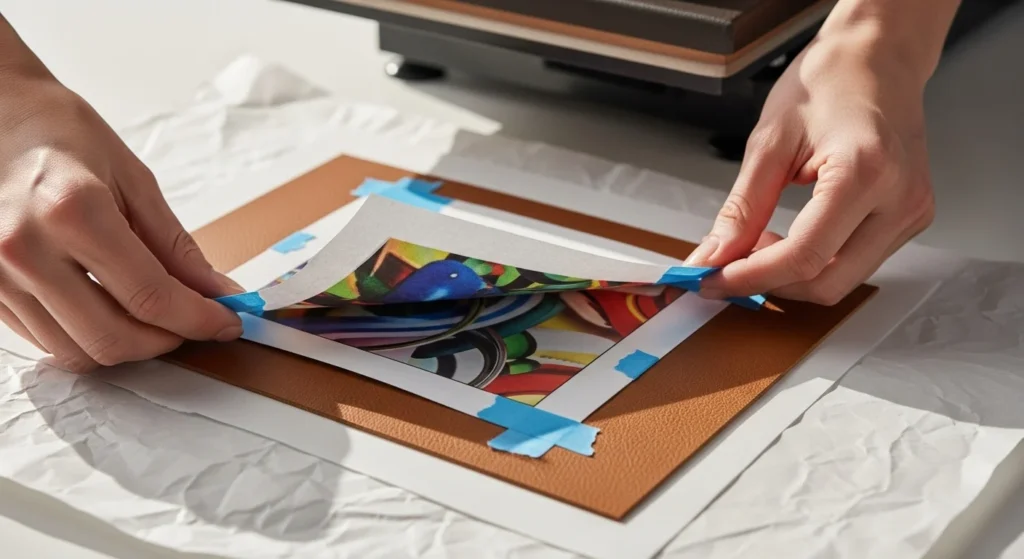
You can apply your design once your heat press is set up and tested. Preheat the faux leather briefly to eliminate moisture and smooth wrinkles. Position your design face down on the faux leather, securing it with heat-resistant tape. This prevents the paper from shifting during the pressing process.
Using Protective Paper or Teflon Sheets
Place a protective paper or a Teflon sheet over the transfer to protect your heat press and the faux leather. This barrier ensures that excess ink does not transfer to the heat press and keeps the faux leather clean.
Applying the Sublimation Transfer
The moment of truth in the sublimation process is applying the transfer. This step requires precision and care to ensure your design transfers beautifully onto the faux leather. Here’s how I handle it:
Positioning the Design
After preheating the faux leather to eliminate moisture and smooth out wrinkles, I carefully position my sublimation transfer paper face down on the material. It’s crucial to align the design perfectly, as any misalignment can ruin the final look. I use heat-resistant tape to secure the transfer paper, preventing movement during pressing.
Applying Consistent Pressure
Once the design is secured, I place a protective sheet of parchment paper or Teflon over the transfer to protect the heat press and the faux leather. I close the heat press and apply consistent pressure for the recommended time, usually between 45 and 60 seconds at 380°F (193°C). Consistent pressure ensures that the ink transfers evenly across the entire design.
Peeling Back the Transfer Paper
After the timer goes off, I carefully lift the heat press and remove the protective sheet. This part always fills me with anticipation. Gently, I peel back the transfer paper while the faux leather is still warm. The design should now be fully transferred onto the faux leather. If done correctly, the colors will be vibrant, and the details will be sharp.
Troubleshooting Common Issues
Sometimes, things don’t go as planned. Here are a few common issues I’ve encountered and how I address them:
- Blurry or Faded Designs: This often results from insufficient pressure or time. Increasing the pressure or extending the pressing time usually solves this issue.
- Ghosting or Double Images occur when the transfer paper shifts during pressing. Ensuring the transfer paper is securely taped down can prevent this problem.
- Uneven Colors: Uneven heat distribution can cause this. Ensure your heat press is heating evenly and the faux leather is flat and smooth before pressing.
Final Inspection
Once the transfer paper is removed, I inspect the design for imperfections. Minor issues can sometimes be fixed by pressing a new transfer paper again, but significant flaws usually require starting over. It’s part of the learning process; each project helps improve your skills.
Allowing the Faux Leather to Cool
I let the sublimated faux leather cool completely before handling it further. This ensures that the ink is fully set and prevents smudging. Cooling can take a few minutes, during which time I start cleaning up my workspace and preparing for the next project.
Finishing and Caring for Sublimated Faux Leather
Once your design is pressed and looking good, don’t stop there. The final steps can make or break the result, literally. Here’s how I finish and take care of my sublimated faux leather projects.
🔹 Cooling and Inspecting
- Let the piece cool completely before touching it
- This keeps the ink from smudging or warping
- Once it’s cool, check for:
- Even color transfer
- No ghosting or missed spots
- Clean, smooth edges
Tip: Now’s the perfect time to trim extra material or neaten up your cuts.
🔹 Adding Finishing Touches
Sometimes I like to take it a step further with little upgrades:
- Stitch around the edges for a clean, pro look
- Add studs, rivets, or snaps for style and function
- Use a hole punch for keychain rings, cords, or tags
These extras make your piece feel finished and totally gift-worthy.
🔹 Proper Care & Maintenance
To keep your design looking sharp, here’s what I always do:
- Avoid friction – don’t scrub the surface or toss it into rough bags
- Clean gently – soft cloth, water, and a little mild soap if needed
- Skip harsh chemicals – they’ll mess up the print and the leather
- Store right – cool, dry spot away from direct sun or heat
- Watch moisture – faux leather can handle light splashes, but dry it quickly if it gets wet
🔹 Share Your Creations
Show off your work! Post it online, take it to craft fairs, or gift it to friends and family. Seeing people enjoy what you’ve made is honestly one of the best parts of this whole process.
Troubleshooting Common Issues
Stuff not turning out right? Happens to all of us. Here’s what might be going wrong:
- Ink peeling or ghosting? Your heat’s probably too low or the pressure’s too soft. Crank it up and go heavy.
- Edges melting or curling? That’s usually from direct heat. Always sandwich your leather between butcher paper.
- Colors look dull or faded? If you’re pressing on colored faux leather, the base color can mess with your design. Stick with white or light tones for bright, true colors.
Little tweaks can fix a lot. Don’t toss your blanks just yet.
Project Ideas & Scaling Tips
If you’re planning to sell, focus on making designs that are durable, flexible, and vibrant. No one wants something that cracks after a week. Quality builds trust, and repeat buyers.
Faux leather’s perfect for quick wins and side hustle stuff. You can start small with:
- Earrings that look boutique-made
- Cord keepers for a clean desk setup
- Bookmarks with fun patterns or quotes
Ready to go bigger? Try:
- Wristlets or wallets with full-color prints
- Patches for hats, bags, or uniforms
Best Practices & Care
Once you press, let it cool before touching or peeling anything. Rushing it can mess up the finish or cause peeling.
Keep finished items out of direct sun or high heat for too long. Faux leather can warp or fade if it’s baking in a car or near a heater.
For cleaning, go gentle, just a soft cloth with water or mild soap. No harsh scrubbing or chemicals. That keeps the print looking fresh and the leather flexible.
At Subli Genius Print, we’re passionate about helping you master the art of sublimation. We provide the tools and expertise to make your projects shine. Ready to elevate your sublimation game? Explore our range of products and resources to get started on your next creative endeavor.
Resources
Once you’ve got the hang of sublimating on faux leather, there’s a lot more you can try. Tweak your printer settings, experiment with color profiles, or level up your Cricut designs, it all helps you get cleaner, sharper results.
Here are a couple of helpful guides for next:
- Check out this how to guide to dial in the right print settings.
- Need brighter, more accurate colors? This guide on best ICC profiles for sublimation breaks it down.
Try different blanks, test color mixes, and don’t be afraid to mess up a few pieces. That’s how you figure out what really works. And if you come up with something cool? Share it, we’d love to see what you’re making.