How to Sublimate Stickers at Home: Beginner’s Guide
Sublimation stickers are taking over Etsy and craft fairs, top sellers report making $3,000+/month from custom designs. But if you’ve tried DIY sublimation, you’ve probably faced faded colors, peeling edges, or wasted materials.
The secret? Most tutorials skip the critical settings that make or break your transfers. In this guide, you’ll learn the exact process I used to create smudge-proof, vibrant stickers with just a basic printer and sublimation paper (no pro gear required).
Here’s what we’ll cover:
- The #1 mistake that ruins sticker transfers (and how to avoid it)
- Time/temp hacks for perfect presses every time (heat press settings)
- Selling tips—price your stickers for 50%+ profit margins
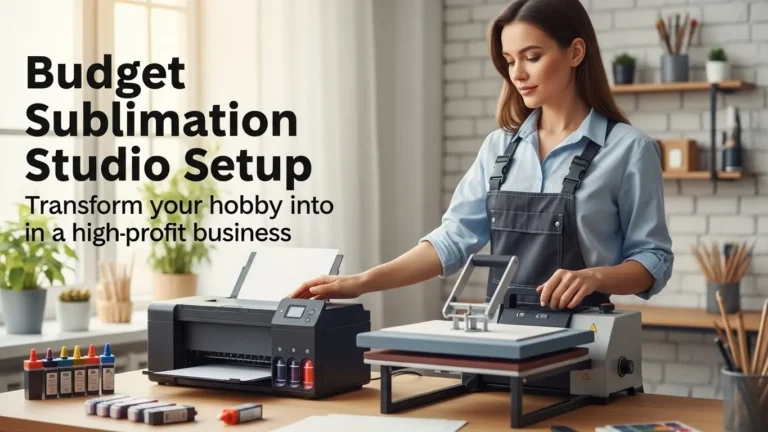
Materials Needed: The Essential (and Affordable) Toolkit
You don’t need a professional studio to make high-quality sublimation stickers, just these five key items. Skip the overpriced kits; here’s what actually works:
1. Sublimation Printer & Ink
- Printer: An entry-level model like the Epson EcoTank ET-2800 (under $300) works perfectly. Avoid regular inkjet printers they won’t hold up.
- Ink: Sublimation-specific ink (Hiipoo or Cosmos) is non-negotiable. Standard ink smudges and fades.
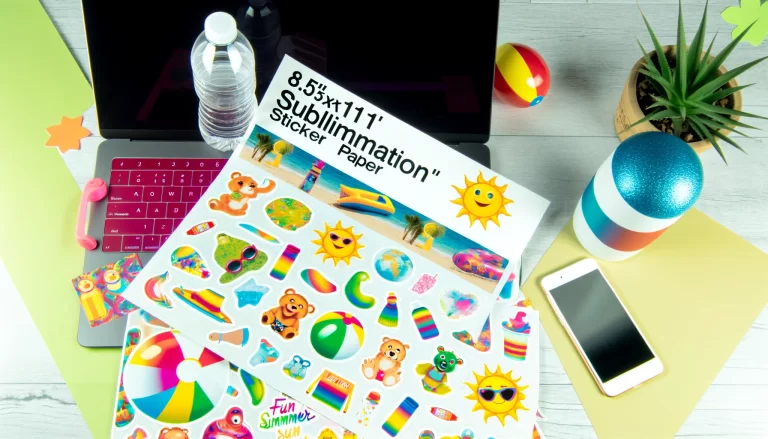
2. Sublimation Paper
- Look for: High-release paper (A-Sub or Joto). Cheap paper can leave residue or dull colors.
- Pro tip: Buy sample packs first, some brands perform better with certain inks.
3. Heat Source
- Best option: A heat press (even a mini 5×7” model for $80) ensures even pressure.
- Budget hack: A clothing iron (steam off, high heat) or hair straightener (for tiny stickers) in a pinch.
4. Poly-Coated Sticker Paper
- Why it matters: Regular sticker paper melts. Poly-coated sheets (like HTVRONT or Zicoto) absorb sublimation ink permanently.
- Avoid: Glossy sticker paper, it’s not the same and will peel.
5. Basic Tools
- Scissors/Cutter: Precision shears or a craft knife for clean edges.
- Parchment paper: Protects designs during pressing (wax paper sticks don’t use it).
What Most Beginners Waste Money On
- Expensive printers: A $200 EcoTank works as well as a $1,000 model for small batches.
- “Sublimation-ready” sticker paper: Often just poly-coated sheets marked up 50%. Buy generic and test first.
Total startup cost: Under $400 (or under $150 if using an iron).
Step-by-Step Tutorial: How to Sublimate Stickers Like a Pro
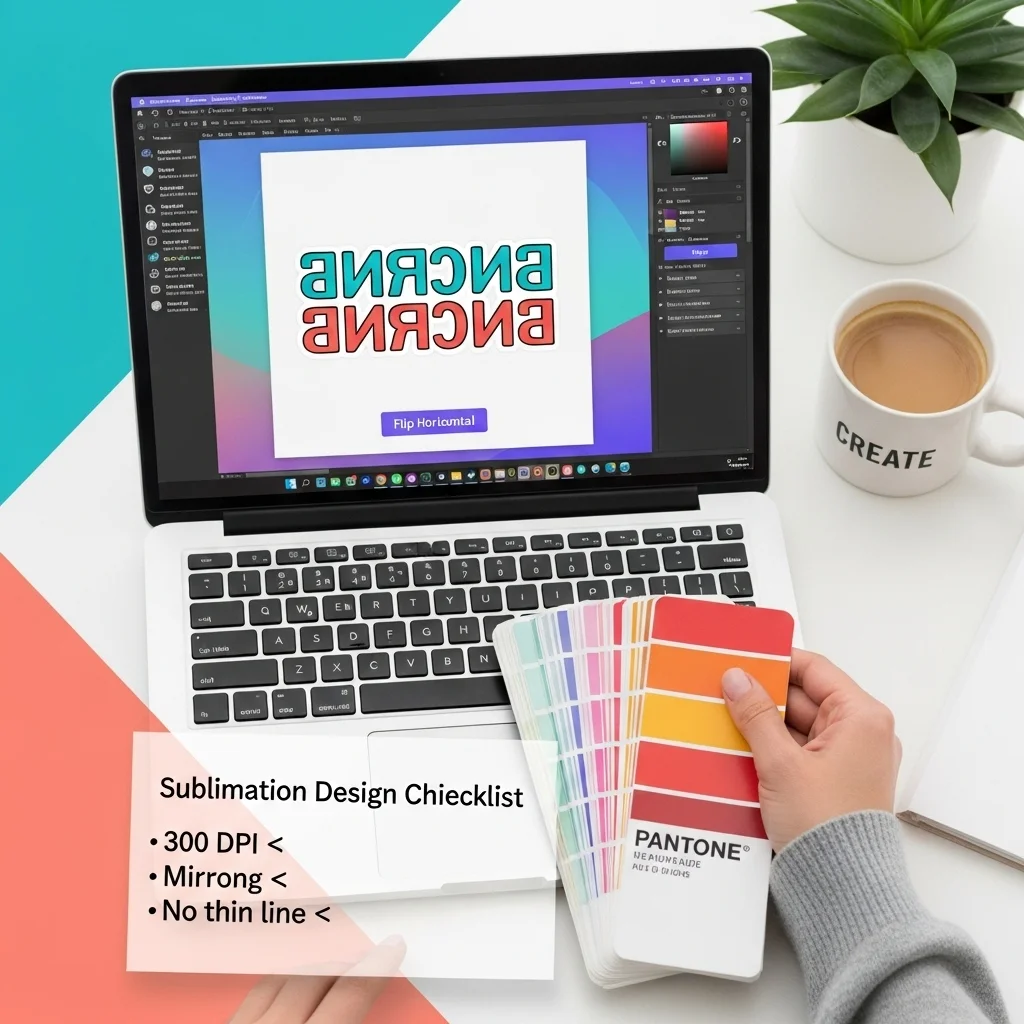
Step 1: Design Your Sticker
Tools:
- Use Canva (free) or Photoshop (advanced) for designs.
- Download free sublimation templates (link in resources) to save time.
Key Tips:
- Design in 300 DPI resolution for crisp prints.
- Avoid ultra-thin lines—they may blur during transfer.
- Reverse your image horizontally (mirror mode) this is crucial for correct printing.
Step 2: Print with Precision
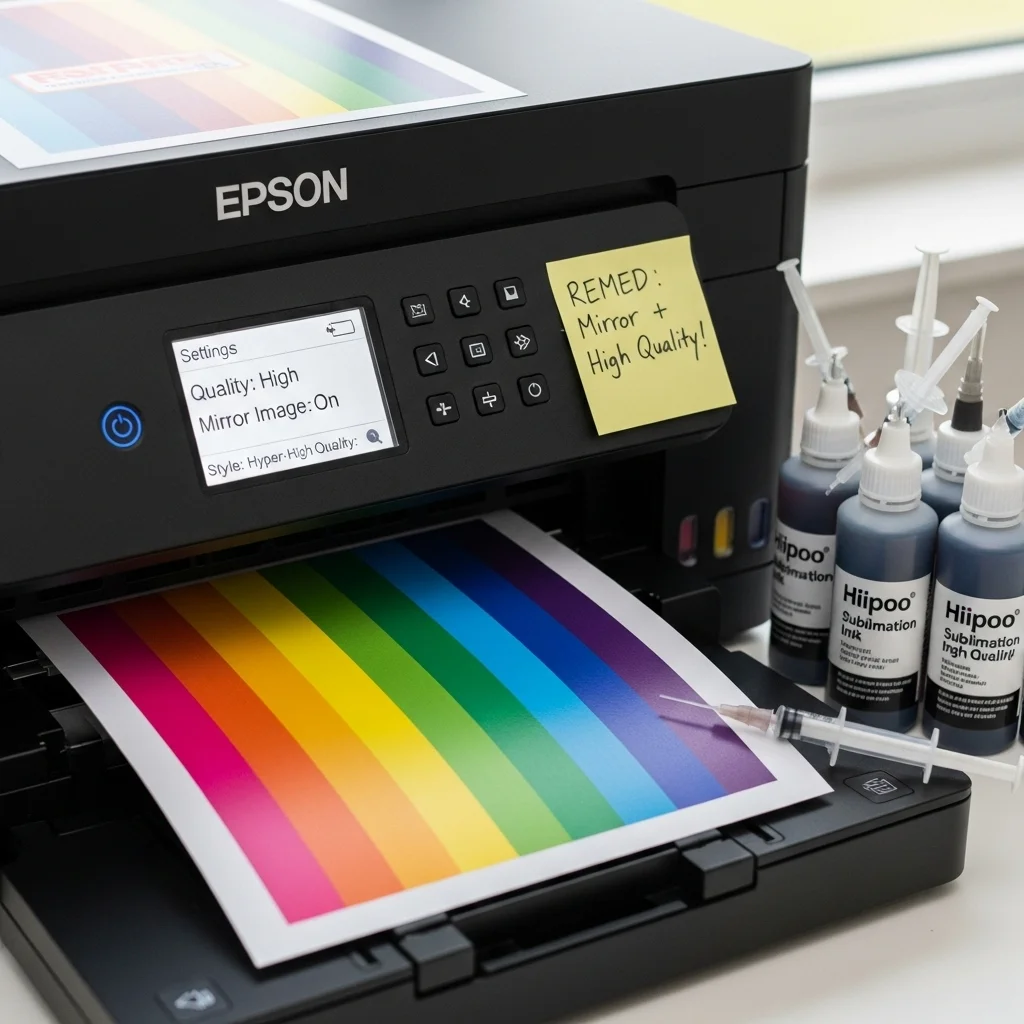
Printer Settings:
- Select “Highest Quality” in printer settings.
- Use sublimation ink and compatible paper (A-Sub).
- Double-check mirroring is enabled before printing.
Common Mistakes:
- Printing at standard quality → colors appear faded.
- Forgetting to mirror → text prints backward.
Step 3: Press for Perfect Transfer
Heat Press Method (Best Results):
- 320°F (160°C) for 45 seconds – Medium pressure.
- Use Teflon sheet or parchment paper to protect the design.
Iron/Hair Straightener Hack:
- Set to highest heat, no steam.
- Press firmly for 60-90 seconds, moving in circles.
Pro Tip:
- Do a test print on scrap paper to fine-tune time/temp.
Step 4: Peel & Seal (Optional)
Peeling:
- Let cool for 10-15 seconds before peeling, too soon can smudge ink.
Durability Boost (Optional):
- Laminate with self-sealing sheets for waterproofing.
- Use clear acrylic spray for extra UV protection.
Storage Tip:
- Keep stickers in a cool, dry place to prevent sticking.
Troubleshooting Quick Fixes
| Problem | Solution |
|---|---|
| Colors look dull | Increase heat by 10°F or press longer |
| Sticker edges lift | Use adhesive spray before pressing |
| Ink smudges | Let print dry 5 mins before pressing |
Pro Tips for Flawless Sublimation Stickers
🔥 Avoid Scorching: Always use parchment paper (not wax paper!) between your heat press and sticker—it prevents burning and sticking.
🖨️ Best Sticker Paper: For vibrant, long-lasting results, I recommend HTVRONT Sublimation Sticker Paper (Amazon Affiliate Disclosure: As an Amazon Associate, I earn from qualifying purchases.).
💡 Bonus Hack: If colors look faded, increase pressure slightly, sometimes the ink needs better contact to transfer fully.
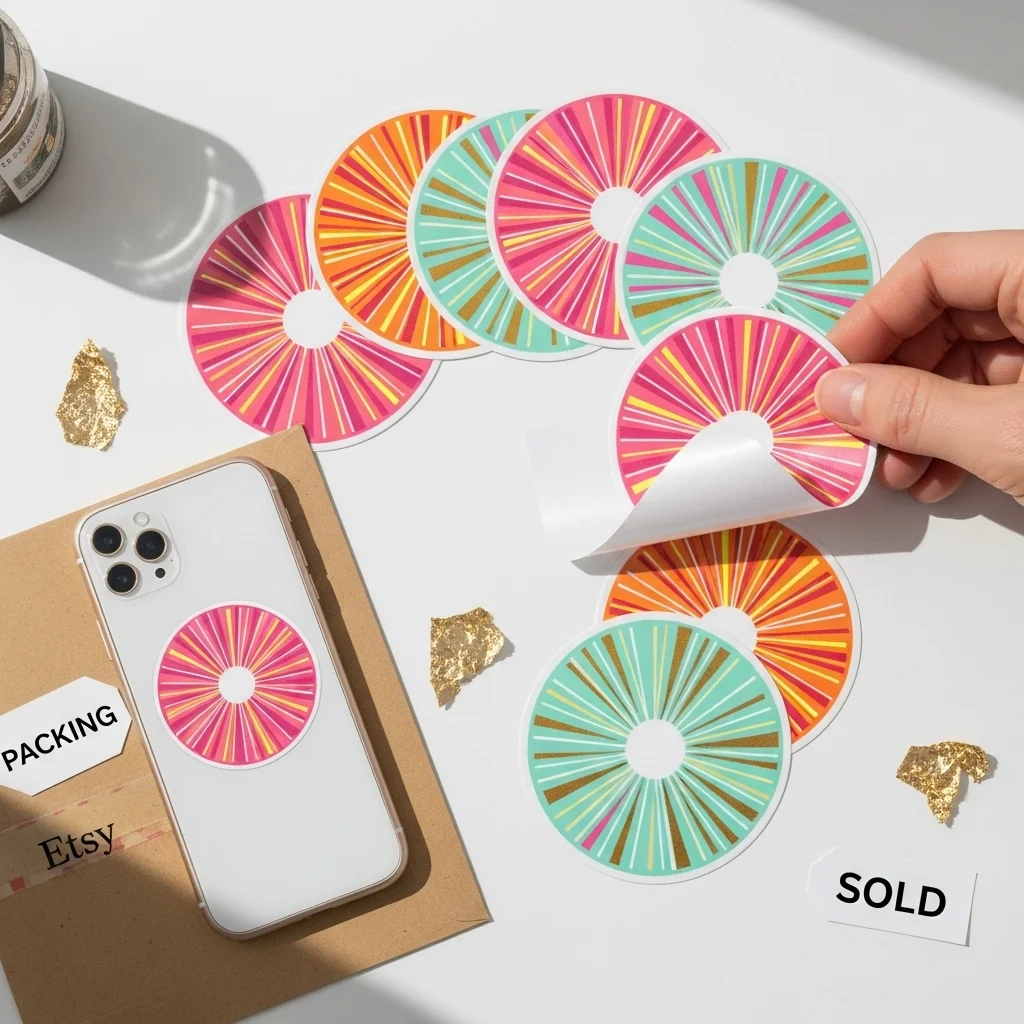
Turn Your Stickers Into Profit: 3 Proven Ways to Monetize
1. Launch an Etsy Shop (Low-Cost, High-Demand)
- Why it works: The global sticker market is worth $3.5 billion, with Etsy driving 40% of indie sales.
- Real results: Sellers like [@StickerBoss] hit $5K/month by focusing on:
- Trending niches (“TikTok aesthetic stickers,” “small business branding kits”).
- Bundles (10 stickers for $15 sells better than $2 singles).
- Starter tip: Use Etsy SEO tags like “waterproof laptop stickers” or “custom pet sublimation decals.”
2. Custom Orders for Small Businesses
- Hot clients: Cafés, real estate agents, and online coaches need branded stickers for:
- Packaging (coffee sleeves with “Tip Your Barista!” designs).
- Promotional freebies (“Thank You” stickers with logos).
- Pricing: Charge $3-$5/sticker for bulk orders (100+ units).
3. Passive Income with Print-on-Demand
- Zero inventory option: Upload designs to Redbubble/Printful—they print/ship when orders come in.
- Top sellers: Car decals, laptop skins, and Spotify QR code stickers (viral on TikTok).
How to Price for Profit
| Cost | Example | Retail Price |
|---|---|---|
| Materials | $0.50/sticker | $3.99 |
| Labor (5 mins @ $20/hr) | $1.66 | $5.65 |
| Total Profit | $3.49 per sticker |
Scale tip: At 50 sales/day, that’s $5,235/month.
From Hobby to Income: How to Monetize Your Sublimation Stickers
1. Build an Etsy Empire
- Why Etsy? The platform sees over 90 million active buyers, with stickers consistently ranking in the top 10 most-searched handmade items.
- Case Study: *”LemonDropStickers” grew from $200 to $5,300/month in 6 months by:*
- Focusing on seasonal trends (back-to-school, holidays)
- Offering customizable designs (names, colors)
- Using behind-the-scenes process videos in listings
- Pro Tip: Start with 10-15 strong designs rather than 50 mediocre ones. Quality over quantity wins the algorithm game.
2. Partner With Small Businesses
- Untapped Markets:
- Wedding planners (custom favor stickers)
- Pet brands (dog/cat themed decals)
- Local breweries (limited edition can stickers)
- Pitch Template:
“Hi [Name], I noticed your could use some branded flair. I specialize in durable, full-color stickers that [solve specific pain point – ‘make your packaging Instagram-worthy’]. Could I send you 3 free samples?”
3. Expand Your Product Line
- Upsell Opportunities:
- Sticker subscriptions ($15/month curated packs)
- DIY kits (sell pre-cut sheets with instructions)
- Digital downloads (sell designs for others to print)
Real Profit Breakdown
| Sales Channel | Avg. Monthly Earnings | Startup Costs |
|---|---|---|
| Etsy Shop | $800-$5,000 | $50 (listings + materials) |
| Local Biz Contracts | $1,500+ | $0 (just outreach time) |
| Craft Fairs | $300-$1,200/day | $75 (booth fee) |
Key Insight: Diversifying across just 2 channels can generate $3K+/month within 90 days.
How to sublimate stickers with a Cricut Maker (print-then-cut)
Print the design with your sublimation printer → heat-press onto sublimation sticker paper → let cool → cut with Cricut.
Practical tips
- Use Print then Cut in Design Space, but don’t print from Design Space for sublimation. Instead print from your printer software, then feed the finished sticker sheet to the Cricut for cutting.
- If your sticker paper curls, use a clear overlay sheet on the mat and a lighter cut force, test first.
- Small shapes: add tiny corner registration marks in Design Space if the cut alignment is off.
Sticker paper vs. sublimation sticker vinyl
Use sticker paper designed for sublimation for easiest, most consistent results. If you try vinyl, test and consider laminating.
| Method | Pros | Cons | Best when |
|---|---|---|---|
| Sublimation sticker paper (white/gloss/clear) | Easy workflow, made for heat press, generally waterproof per maker | Varies by brand, some need lamination for outdoor durability | Small runs, Cricut users, easy print-and-press. |
| Sublimation-ready adhesive vinyl (Oracal-type with coating or special vinyl) | Can sublimate directly onto vinyl in some setups, can be flexible | More experimental, may need laminating, results inconsistent across vinyl brands | When you want flexible vinyl feel; plan tests. |
| Print on sublimation paper → transfer to a coated laminate → apply to vinyl | Often yields more vibrant and protected image | Extra steps and materials | When durability and vibrancy matter, for outdoor stickers. |
Tips to make stickers more waterproof and durable
- Choose waterproof-rated sticker paper (many product pages advertise “waterproof”). Still, test with water and sunlight first.
- Laminate with a clear cold lamination or heat-laminate for UV and scratch resistance. Community makers often use 3–5 mil laminates.
- Use a protective spray (clear acrylic) if lamination isn’t available; test adhesion and colors first.
- Store in a cool dry place; prolonged sun exposure can fade dyes over time.
Common mistakes & troubleshooting
- Sticker paper and transfer paper fuse together: often caused by incorrect press settings or using the wrong peel method. Verify product instructions and try lower temp or a different peel time.
- Faded or dull colors: ink/printer profile mismatch; use ICC profiles or print at higher saturation. Also check that substrate coating accepts sublimation ink.
- Image doesn’t transfer: likely the sticker paper isn’t truly sublimation-ready or lacks a polymer layer. Confirm product specs.


One Comment