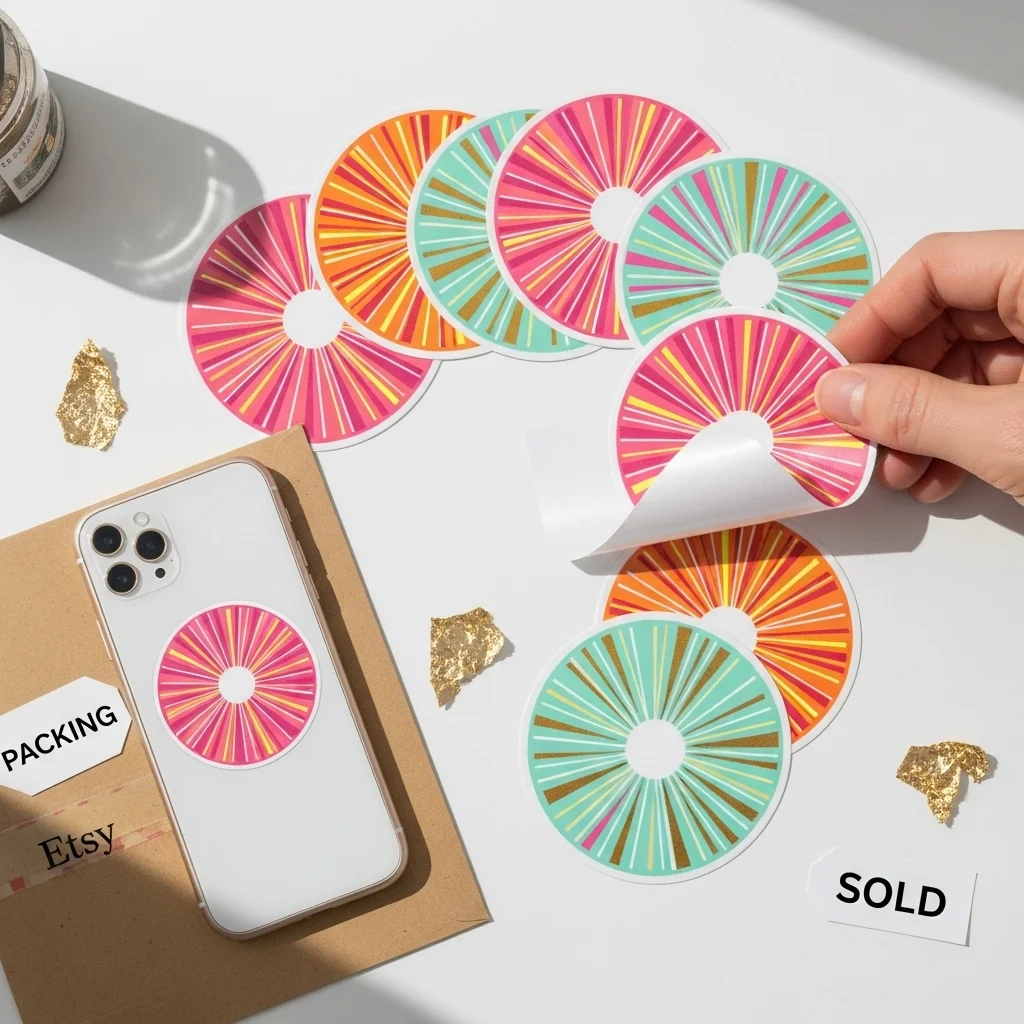
How to Sublimate Stickers at Home (Step-by-Step Guide)
Sublimation stickers can look amazing but most beginners struggle with dull colors, peeling edges, or transfers that don’t stick at all.
The problem usually isn’t your design. It’s incorrect materials, wrong heat settings, or missing steps in the process.
In this guide, you’ll learn exactly how to sublimate stickers at home step by step, including the right paper, temperature settings, and simple fixes that make your stickers vibrant and long-lasting.
What You Need for Sublimation Stickers
Before you start, make sure you’re using the right materials. Sublimation printing only works when all components are compatible.
Essential Equipment
- Sublimation printer (converted EcoTank or dedicated model)
- Sublimation ink (Hiipoo, Cosmos, or similar)
- Sublimation paper (A-Sub, Joto)
- Polyester-coated sticker paper (HTVRONT, Zicoto)
- Heat press or iron
- Parchment paper (not wax paper)
If you’re unsure about materials, review this sublimation materials guide to avoid wasting supplies.
Why Materials Matter
Sublimation relies on heat activation and ink bonding with a polymer coating. Regular sticker paper or standard ink will not hold the design and will either fade or peel.
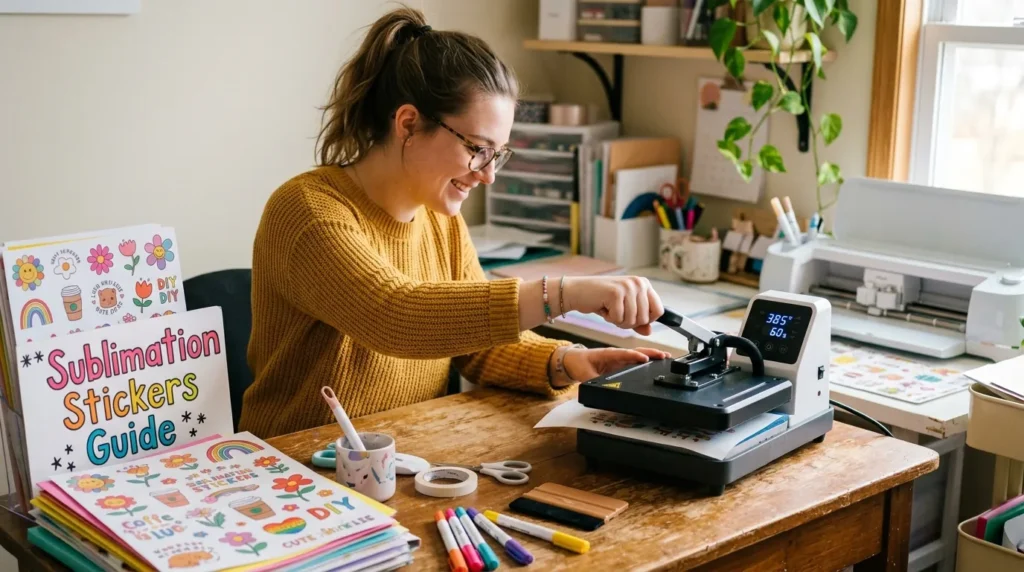
Step-by-Step: How to Sublimate Stickers
Follow this exact workflow for consistent results.
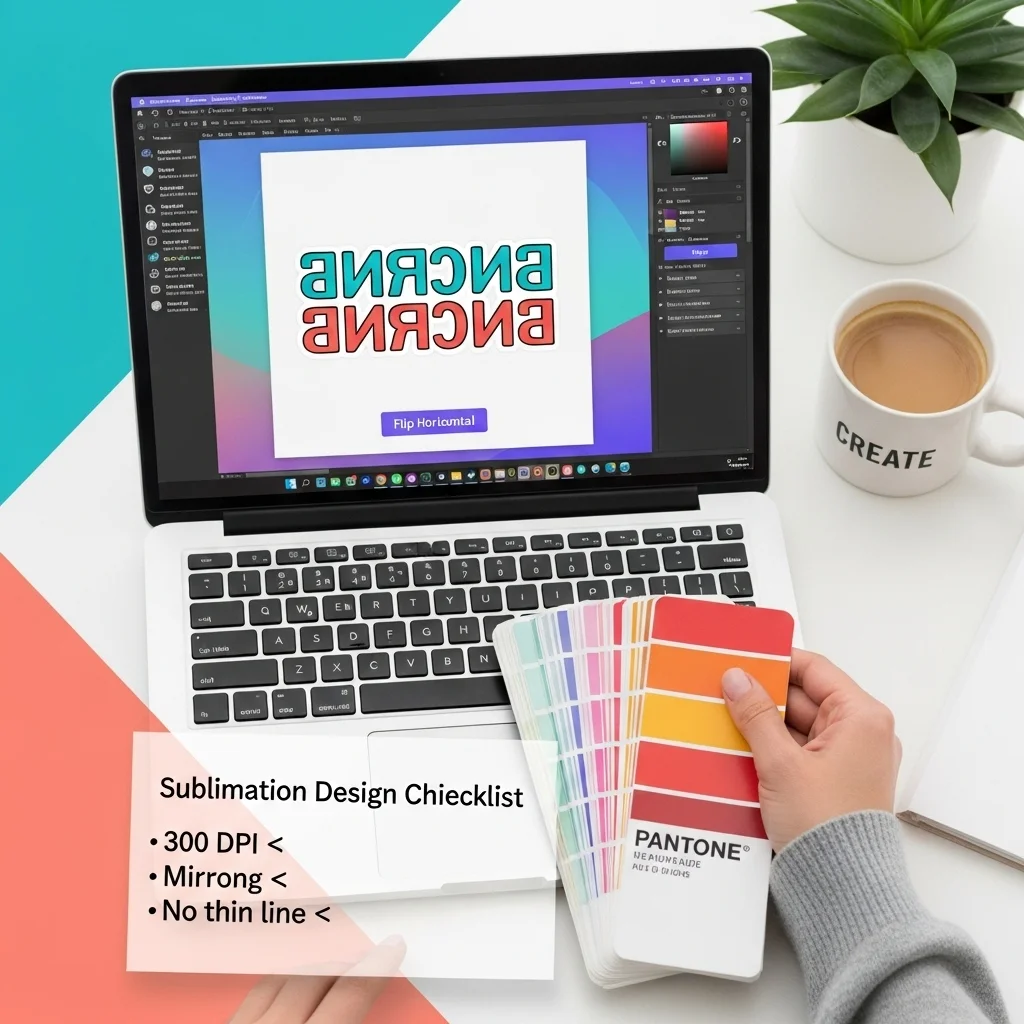
Step 1: Design Your Sticker
- Use Canva, Photoshop, or Illustrator
- Set resolution to 300 DPI
- Avoid very thin lines
- Mirror your design before printing
Why this matters: Sublimation transfers reverse during pressing. If you skip mirroring, your design will appear backward.
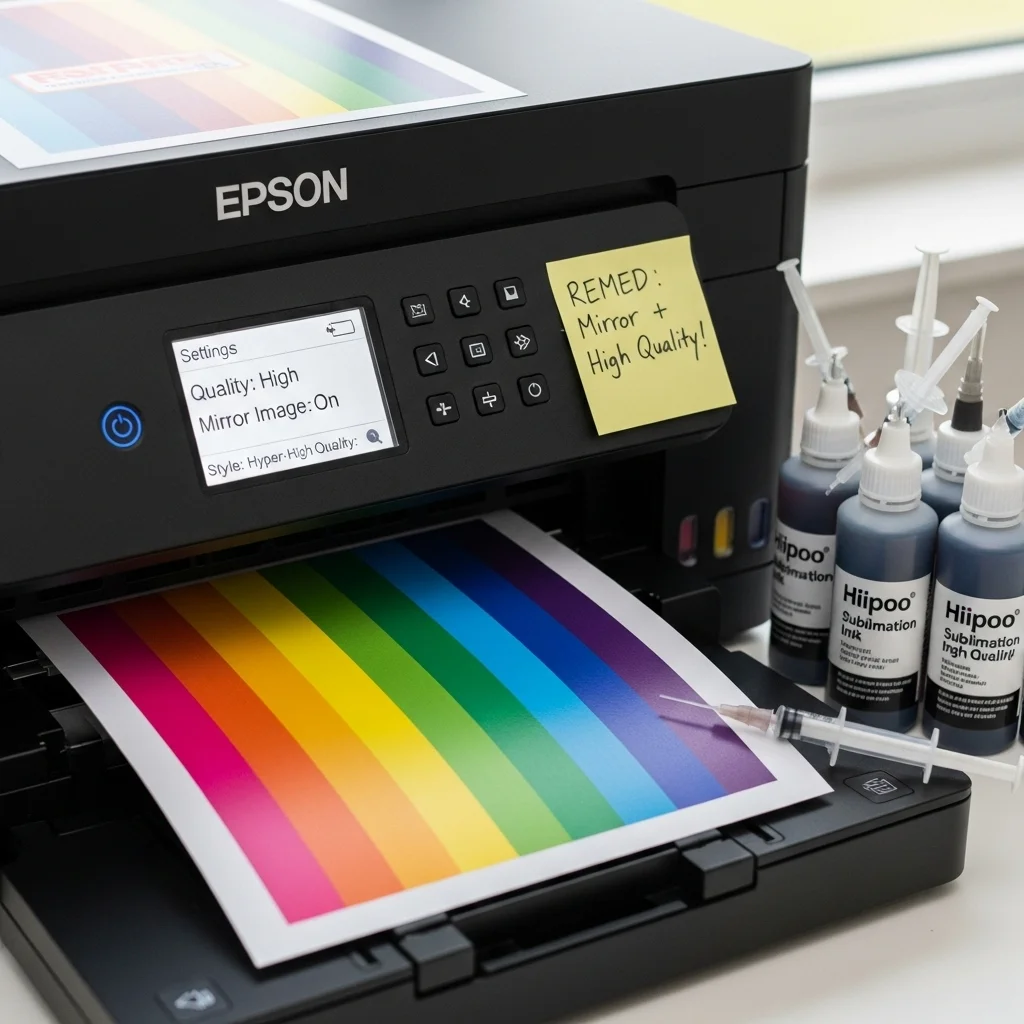
Step 2: Print with Correct Settings
- Set printer to highest quality
- Use proper sublimation paper
- Allow print to dry for 3–5 minutes
Common mistake: Printing in standard quality leads to faded sublimation colors.
Step 3: Heat Press the Design
Best starting settings:
- Temperature: 320°F
- Time: 45 seconds
- Pressure: Medium
Place parchment paper above and below your design to protect it.
For more accurate adjustments, follow this heat press settings for sublimation guide.
Step 4: Cool and Peel
- Let the sticker cool for 10–15 seconds
- Peel slowly to avoid smudging
Peeling too early can cause ink distortion or incomplete transfer.
Step 5: Seal for Durability (Optional)
To improve durability:
- Apply laminate sheets
- Or use UV-resistant acrylic spray
This helps protect against water, scratches, and fading.
Best Heat Press Settings for Sticker Paper
The ideal settings depend on your paper, but most fall within this range:
- 350–400°F
- 30–60 seconds
- Medium to firm pressure
Always test on a sample first. Small adjustments in temperature or pressure can significantly affect color vibrancy and adhesion.
How to Make Sublimation Stickers Waterproof
Sublimation stickers are not fully waterproof by default.
To improve water resistance:
- Use waterproof-rated sticker paper
- Add cold laminate or heat laminate
- Apply clear acrylic spray
Keep in mind: Even sealed stickers should not be exposed to prolonged soaking or dishwasher use.
Common Sublimation Sticker Problems (And Fixes)
If your stickers aren’t turning out right, here’s how to fix the most common issues.
Colors Look Dull
Cause:
Low heat, incorrect paper, or missing color profile
Fix:
- Increase temperature slightly
- Use better paper
- Adjust color settings using proper profiles
You can follow this guide on why sublimation colors look dull for deeper fixes.
Sticker Edges Lift or Peel
Cause:
Low pressure or incompatible material
Fix:
- Increase pressure
- Ensure sticker paper has a polymer coating
Ink Smudges After Pressing
Cause:
Ink not fully dry or moving during transfer
Fix:
- Let prints dry before pressing
- Secure paper with heat-resistant tape
Design Doesn’t Transfer
Cause:
Wrong material or insufficient heat
Fix:
- Confirm substrate is sublimation-compatible
- Increase temperature or time slightly
For more issues, use this sublimation troubleshooting guide.
Cricut Workflow for Sublimation Stickers
You can use a Cricut machine for cutting—but not printing or transferring.
Basic Workflow:
- Print your design using a sublimation printer
- Heat press onto sticker paper
- Let it cool
- Load into Cricut and cut
Important tips:
- Use Print Then Cut
- Do not print directly from Design Space for sublimation
- Test cut settings for accuracy
For full setup, see this Cricut sublimation guide.
Sticker Paper vs Sublimation Vinyl
Choosing the right material affects your results.
Sublimation Sticker Paper
- Easy to use
- Designed for heat transfer
- Best for beginners
Sublimation Vinyl
- More flexible
- Requires testing
- Results vary by brand
If you want consistent results, start with sublimation sticker paper before experimenting with vinyl.
Pro Tips for Better Results
- Always use parchment paper, not wax paper
- Test settings before full production
- Increase pressure if colors look faded
- Store stickers in a cool, dry place
- Use high-quality paper for better ink release
Frequently Asked Questions
Can I use a regular inkjet printer for sublimation stickers?
No, you need a sublimation printer or a converted EcoTank with sublimation ink.
Why are my sublimation stickers fading?
Fading usually happens بسبب low heat, poor paper quality, or incorrect color settings.
Do I need special sticker paper for sublimation?
Yes, only polyester-coated or sublimation-ready sticker paper will work.
Can I use a Cricut for the full process?
No, Cricut is only used for cutting. Printing and pressing require separate equipment.
What temperature is best for sublimation stickers?
Most stickers work best around 320–400°F depending on the material.


One Comment