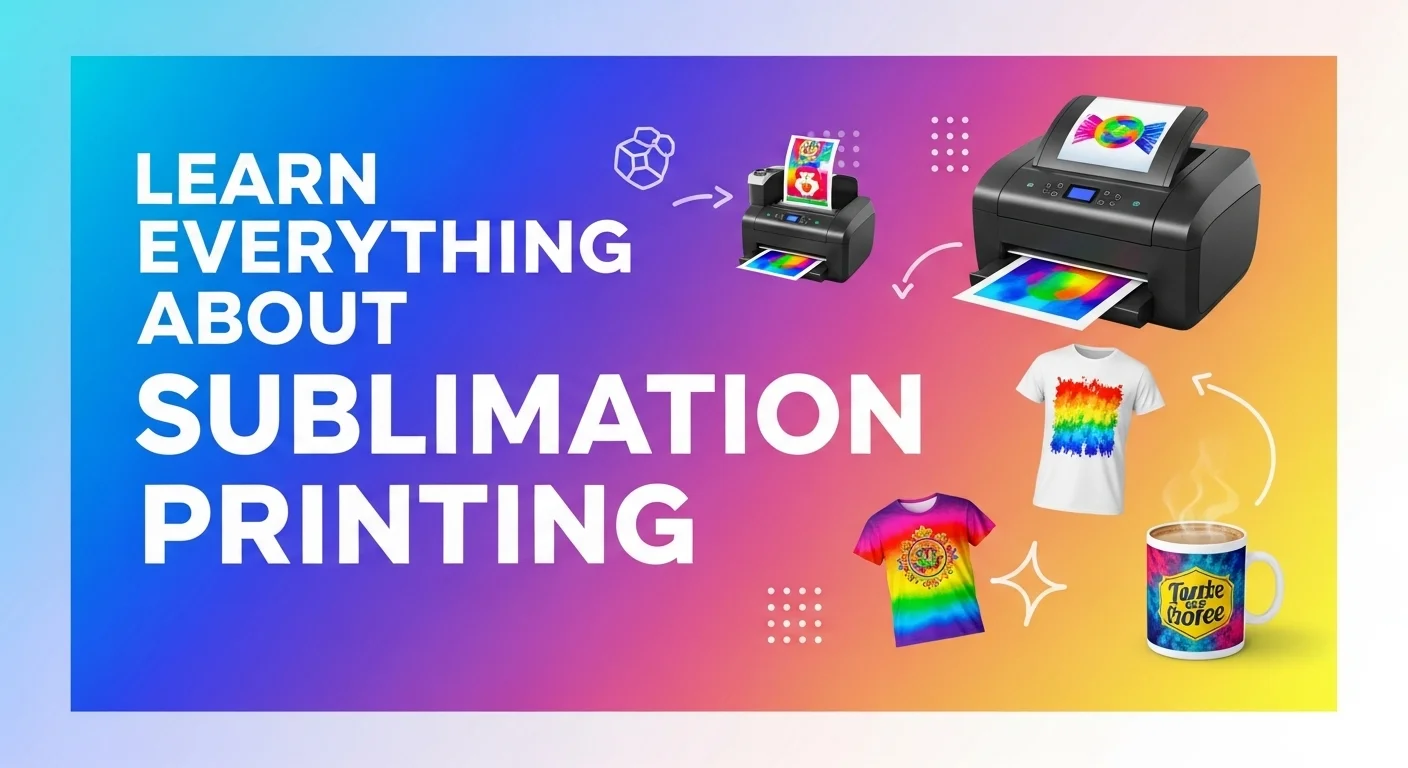
Learn Everything About Sublimation Printing
Sublimation printing uses heat to transfer dye onto materials like fabric, plastic, or metal. The ink turns into a gas, bonding permanently with the substrate.
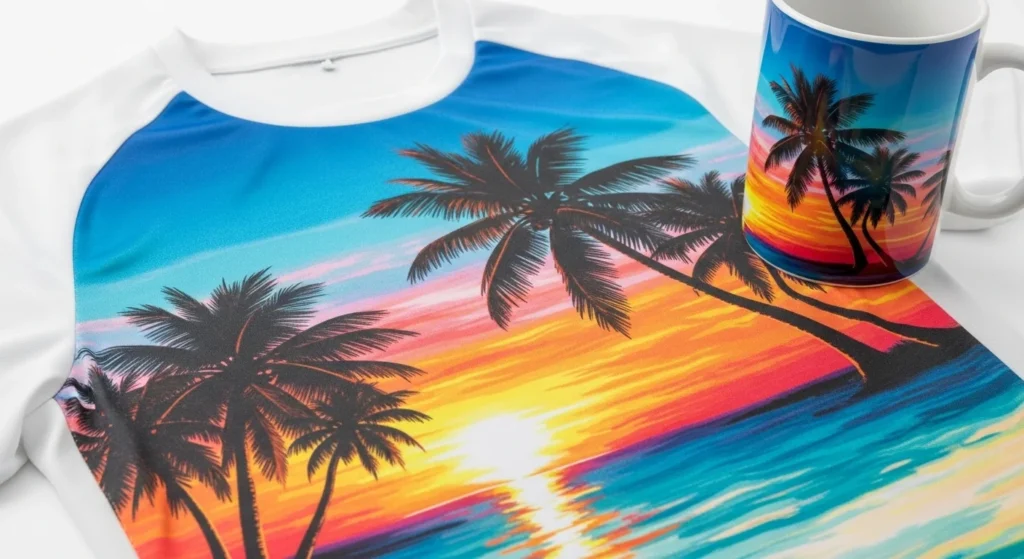
This process creates vibrant, full-color designs that won’t crack, fade, or peel. It’s ideal for custom apparel, promotional products, and hard surfaces.
Sublimation printing is a game-changer for anyone who loves creating vibrant, long-lasting designs on everything from t-shirts to mugs. If you’re a hobbyist just dipping your toes in or ready to turn your passion into a side hustle, this guide has you covered.
Let’s break it down into bite-sized pieces so you can get started, troubleshoot issues, and maybe even build a business with sublimation.
Getting Started with Sublimation
New to sublimation? No worries, it’s easier to pick up than you might think. This section will walk you through the basics, what you need to start, and how to set up shop right at home.
What is Sublimation Printing?
Sublimation printing is a digital printing process that uses heat and pressure to transfer dye onto various materials.
Key Advantages
This method produces vibrant, durable prints that won’t peel, fade, or crack. It’s perfect for all-over printing on fabrics and hard surfaces with complex shapes.
Common Applications
Ideal for custom apparel, promotional products, signage, and personalized items like mugs, phone cases, and puzzles.
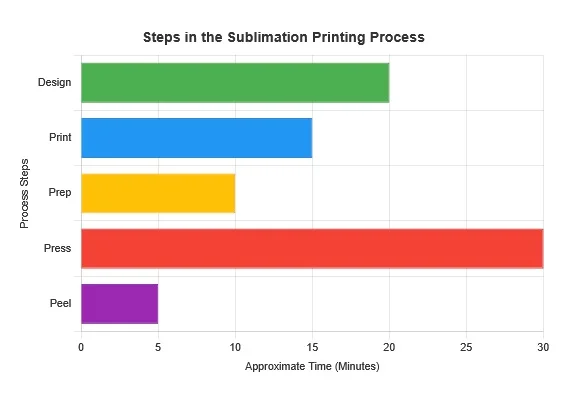
Step 1: DesignCreate artwork using graphic design software
Step 2: PrintPrint mirror image on sublimation paper
Step 3: PressApply heat and pressure to transfer design
Sublimation vs. Heat Transfer
Sublimation and heat transfer (like vinyl or iron-on) both use heat, but they’re not the same. Heat transfer vinyl (HTV) involves cutting designs from colored vinyl and pressing them onto a surface. It’s great for simple, bold designs but can feel heavy on fabric and may peel over time.
Sublimation, on the other hand, is ideal for detailed, multi-color designs and feels seamless since the dye sinks into the material.
Sublimation’s downside? It works best on white or light-colored polyester surfaces, while heat transfer can go on almost anything, including cotton. If you’re choosing, sublimation is your go-to for photo-quality prints and durability, while heat transfer is better for quick, single-color projects or non-polyester materials.
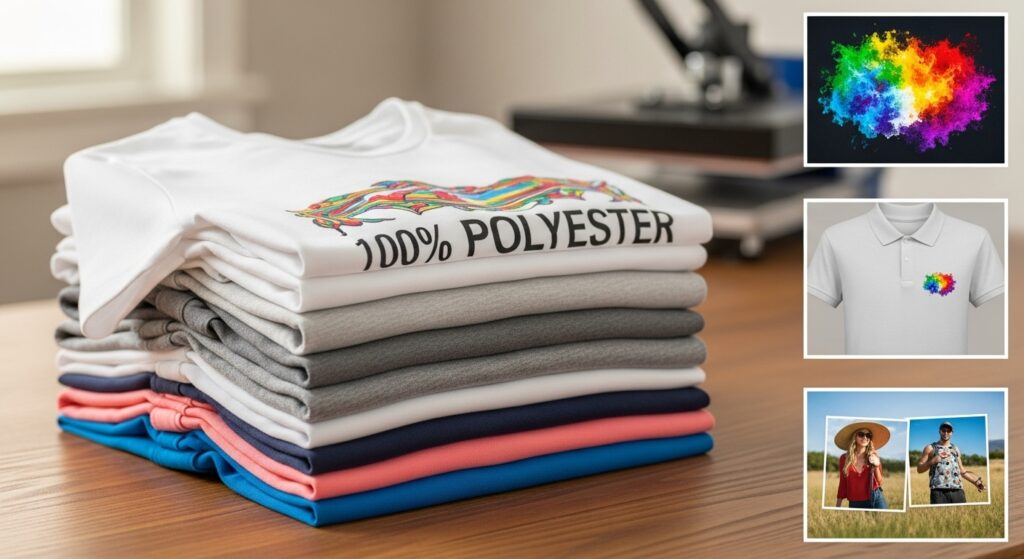
Best Sublimation Blanks
“Blanks” are the items you print on, and picking the right ones is key. Look for products with a polyester coating or high polyester content (at least 65% for fabrics). Popular blanks include:
- T-Shirts: Polyester or poly-blend shirts in white or light colors.
- Mugs and Tumblers: Ceramic mugs or stainless steel tumblers with sublimation coating.
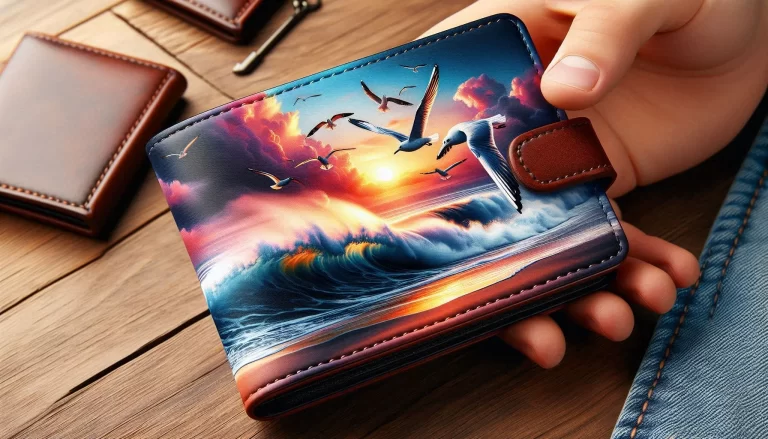
- Phone Cases: Hard plastic or aluminum cases designed for sublimation.
- Coasters and Ornaments: Ceramic or MDF (medium-density fiberboard) options for small, fun projects.
Always check that your blanks are sublimation-ready. Non-coated items won’t hold the dye, and you’ll end up with a blurry mess. Brands like Subli Genius Print (yep, that’s us!) offer high-quality blanks in bulk, so you can stock up without breaking the bank.
Sublimation Printing vs DTF
- Sublimation works best on polyester fabrics and coated blanks (like mugs, tumblers, and metal panels). Colors are bright and long-lasting, but you’re limited on fabric types.
- DTF (Direct to Film) works on pretty much any fabric, including cotton. It’s more versatile for apparel but doesn’t always have that soft, “part of the fabric” feel like sublimation.
What Sublimation Printing Feels Like
Imagine printing straight into the fabric. That’s sublimation. The ink bonds with polyester fibers, so the design becomes part of the material. No cracking, no peeling, and it feels smooth because there’s no extra layer sitting on top.
But here’s the catch: you’re stuck with light-colored polyester or special blanks. Forget dark cotton tees. Sublimation just won’t pop on those.
Best for: sportswear, custom mugs, tumblers, mousepads, and polyester shirts.
What DTF Printing Feels Like
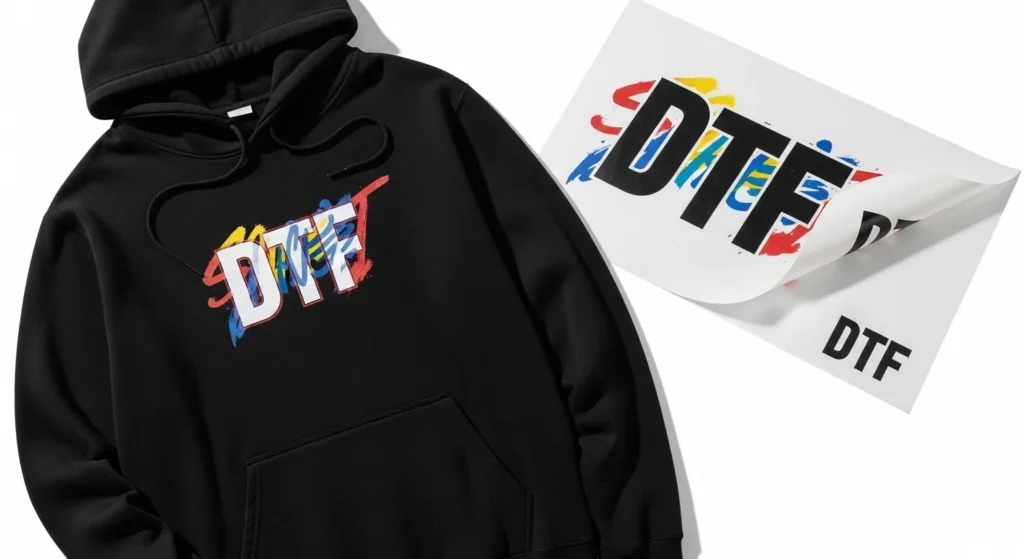
DTF is like a transfer. You print on a film, shake some powder on it, cure it, then press it onto the fabric. It works on cotton, polyester, blends, even dark shirts. That’s the big win, way more flexibility.
The downside? Sometimes you feel the print. It’s not stiff like old-school vinyl, but it’s still a layer on top. Wash durability is solid, though not quite as “forever” as sublimation.
Best for: cotton tees, hoodies, hats, and small-batch designs with lots of color.
Side-by-Side Snapshot
| Feature | Sublimation | DTF |
|---|---|---|
| Fabric | Polyester, light colors only | Any fabric, light or dark |
| Feel | Soft, part of fabric | Slight texture on top |
| Durability | Long-lasting, no peeling | Strong, may fade over time |
| Blanks | Works on mugs, tumblers, keychains | Mostly apparel and fabrics |
| Color Vibrancy | Bright, vibrant on polyester | Bright, works on all colors |
| Start-up Cost | Lower (basic sublimation printer) | Higher (special DTF printer) |
So, Which One’s Better?
Honestly, it depends on what you’re making.
If you’re focused on apparel and want freedom with cotton, dark shirts, and small runs, DTF is awesome.
If you want pro-level sports gear, or you’re into mugs and tumblers, sublimation is your best friend.
I like to think of it this way: sublimation is like tattooing the fabric, DTF is like sticking a high-quality decal on it. Both look great, but they serve different vibes.
Cost Breakdown: Sublimation vs DTF
Here’s where people usually stop and think: how much is this gonna set me back?
Sublimation Costs
- Printer: You can start with a converted Epson EcoTank (around $250–$350) or go pro with a Sawgrass ($600+).
- Inks: About $20–$30 per color refill, but they last a long time.
- Paper: Sublimation paper is cheap, roughly 15–25 cents a sheet.
- Blanks: Polyester shirts can be $3–$6 each. Mugs and tumblers range $2–$8.
DTF Costs
- Printer: Entry-level desktop models run $1,500–$3,000. Industrial ones shoot way higher.
- Film: Around $1–$2 per sheet, depending on size.
- Powder & Ink: You’ll go through white ink fast, and it’s pricier than sublimation ink. Expect $100–$200 every couple of months if you’re busy.
- Blanks: Any shirt works, so you can grab cheap cotton tees ($2–$4) or higher-end apparel.
Big Picture
- Sublimation has a lower start-up cost, but you’re limited to polyester and coated blanks.
- DTF costs more upfront and for supplies, but it opens doors to almost every kind of fabric.
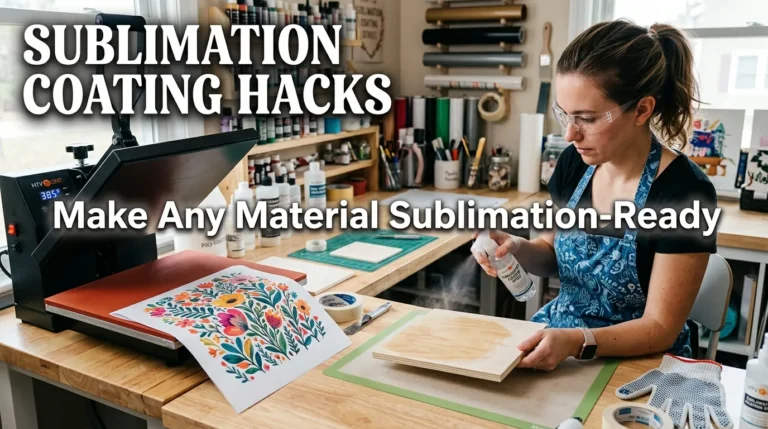
Sublimation Equipment & Supplies
You don’t need a fancy studio to get started, but having the right gear makes all the difference. Here’s a rundown of the essentials and some top picks to consider.
Best Printers for Sublimation
Your printer is the heart of your setup. You’ll need one that uses sublimation ink, not regular inkjet ink. Two brands dominate the market: Sawgrass and Epson.
- Sawgrass: The Sawgrass SG500 or SG1000 are industry favorites. They’re built for sublimation, come with specialized software, and produce vibrant prints. They’re pricey but user-friendly, especially for beginners.
- Epson: Models like the Epson EcoTank ET-2720 or ET-15000 can be converted for sublimation with the right inks. They’re more affordable but require some DIY know-how to set up.
If you’re just starting, an Epson with a conversion kit is budget-friendly. For pros, Sawgrass is worth the investment for its reliability and color accuracy.
Sawgrass vs. Epson
Sawgrass printers are plug-and-play, with software like CreativeStudio that simplifies design. They’re pricier (think $500-$2,000) but save time on setup. Epson printers are cheaper (around $200-$600), but you’ll need to buy sublimation ink and possibly a CISS (continuous ink supply system).
Epson’s print quality is solid, but color management can be trickier without dedicated software. If you’re tech-savvy and on a budget, go Epson. If you want hassle-free, choose Sawgrass.
Supplies Guide
Here’s what else you’ll need:
- Sublimation Ink: Special dye-based inks (not standard inkjet ink).
- Sublimation Paper: Designed to release ink under heat. A4 or letter size works for most projects.
- Heat Press: A flat press for shirts or a mug/tumbler press for curved items. Look for one with adjustable pressure and temperature.
- Blanks: Stock up on sublimation-ready items (see above).
- Accessories: Heat-resistant tape, butcher paper, and a lint roller to prep fabrics.
Subli Genius Print has starter kits with everything you need, plus bulk blanks to keep costs low. Check our site for deals!
Design & Software for Sublimation
Your designs are what make your products pop. If you’re creating from scratch or tweaking templates, the right software can make or break your project.
Top Software for Sublimation
You don’t need to be a graphic design pro to make awesome designs. Here are some great options:
- Adobe Photoshop/Illustrator: Industry standards for detailed, professional designs. Steep learning curve but unbeatable for custom work.
- Canva: Super user-friendly, with drag-and-drop tools and tons of templates. Perfect for beginners.
- Affinity Designer: A budget-friendly alternative to Adobe with robust features.
- Sawgrass CreativeStudio: If you’re using a Sawgrass printer, this software is tailored for sublimation and includes templates.
Start with Canva if you’re new, it’s free and intuitive. As you grow, consider investing in Adobe or Affinity for more control.
Free Templates
Don’t want to start from scratch? Free templates are everywhere. Sites like Creative Fabrica and Design Bundles offer sublimation-ready designs for t-shirts, mugs, and more.
Subli Genius Print also has a library of free templates on our website just download, tweak, and print! Look for PNG or SVG files with high resolution (at least 300 DPI) for crisp results.
Using Canva for Sublimation
Canva’s a lifesaver for quick, professional-looking designs. Here’s how to use it:
- Sign up for a free or Pro account.
- Create a custom design with dimensions matching your blank (e.g., 8.5×11” for paper).
- Use Canva’s elements, fonts, and images to build your design. Stick to RGB colors for accurate printing.
- Download as a PNG with a transparent background.
- Print on sublimation paper, ensuring your printer settings are set to high quality.
Pro tip: Flip your design horizontally before printing, as sublimation transfers mirror the image.
Step-by-Step How-To Guides
Ready to get your hands dirty? These guides walk you through real projects with practical tips and fixes for common hiccups.
How to Sublimate a T-Shirt
- Design: Create or download your design in Canva or Photoshop. Ensure it’s sized for your shirt.
- Print: Load sublimation paper into your printer and print the design in mirror mode.
- Prep: Lint-roll the shirt to remove debris. Place it on your heat press.
- Press: Lay the printed paper face-down on the shirt. Secure with heat-resistant tape. Press at 400°F for 40-60 seconds (check your blank’s instructions).
- Peel: Remove the paper while hot for best results. Let the shirt cool.

Tip: If colors look off, double-check your printer’s color settings or try a test print on scrap paper.
Tumblers Guide
Sublimating tumblers is similar but needs a mug press or convection oven:
- Design: Wrap-around designs work best. Use a template specific to your tumbler size.
- Print and Prep: Print on sublimation paper and trim to fit. Tape the design tightly to the tumbler.
- Press: Use a mug press at 400°F for 60-90 seconds, or a convection oven at 375°F for 5-6 minutes.
- Cool: Let the tumbler cool before removing the paper.
Tip: Rotate the tumbler halfway through if your press doesn’t heat evenly.
Heat Press Settings
Settings vary by material, but here’s a quick guide:
- T-Shirts: 400°F, 40-60 seconds, medium pressure.
- Mugs/Tumblers: 400°F, 60-90 seconds (mug press) or 375°F, 5-6 minutes (oven).
- Hard Surfaces (coasters, phone cases): 400°F, 60-75 seconds, light pressure.
Always test on a scrap blank first to avoid wasting materials.
Fix Common Issues & Maintain Gear
Sublimation’s not perfect, mistakes happen. Here’s how to troubleshoot and keep your equipment in top shape.
Fix Faded Prints
Faded prints usually come from low heat, short press times, or low-quality blanks. Try these fixes:
- Increase heat to 400°F or extend press time by 10-15 seconds.
- Ensure your blank is sublimation-ready (polyester-coated or high-poly fabric).
- Check your ink levels and printer settings for vibrant output.
Clean Your Printer
Ink buildup can clog your printer, leading to streaky prints. Clean it monthly:
- Run a cleaning cycle via your printer’s software.
- Use a lint-free cloth with distilled water to wipe the printhead gently.
- Avoid over-saturating, too much liquid can damage the printer.
Store sublimation ink in a cool, dry place to prevent clogs.
Heat Press Fixes
If your heat press isn’t heating evenly:
- Check the platen for wear or debris and clean with a non-abrasive cloth.
- Test temperature accuracy with a laser thermometer.
- Adjust pressure knobs if prints are patchy, too much or too little pressure can ruin transfers.
Turn Sublimation into a Business
Ready to make some cash? Sublimation is a great side hustle or full-time gig. Here’s how to get started.
What to Sell
Popular sublimation products include:
- Apparel: T-shirts, hoodies, and socks with custom designs.
- Drinkware: Mugs, tumblers, and water bottles.
- Home Decor: Coasters, pillows, and blankets.
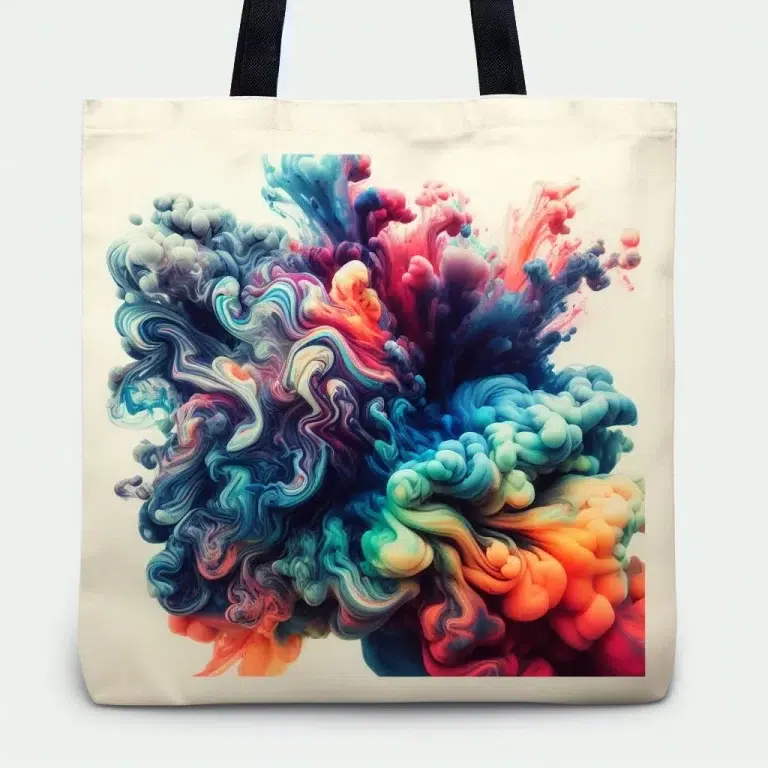
- Accessories: Phone cases, keychains, and tote bags.
Niche down to stand out, think pet-themed mugs or fandom-inspired shirts. Check trends on Etsy or Pinterest for ideas.
How to Price
Pricing depends on costs (blanks, ink, paper, equipment) and market rates. A general formula:
- Cost of Materials: Calculate per item (e.g., $2 for a mug, $0.50 for ink/paper).
- Labor: Add $10-15/hour for your time.
- Profit Margin: Aim for 30-50% markup. For example, a $5 mug could sell for $15-20.
Research competitors on Etsy or Amazon to stay competitive. Offer bundles or discounts for bulk orders to boost sales.
Sell Online
Set up shop on platforms like:
- Etsy: Great for handmade, custom items. Low startup costs but fees apply.
- Shopify: Build your own store for full control. Pair with Printful for on-demand printing.
- Social Media: Sell via Instagram or TikTok shops using eye-catching videos.
Use high-quality photos and clear descriptions to showcase your products. Subli Genius Print offers bulk blanks to keep your costs low as you scale.
Why Shop with Subli Genius Print
We’re your one-stop shop for all things sublimation. Here’s why creators love us:
Why Choose Us
- Quality Blanks: We stock sublimation-ready t-shirts, mugs, tumblers, and more, all tested for vibrant results.
- Bulk Discounts: Save big when you order in bulk, perfect for businesses or big projects.
- Fast Shipping: Based in Spokane, WA, we ship nationwide quickly.
- Expert Support: Our team’s here to answer questions, from printer setup to design tips.
Custom Printing Services
Don’t have equipment yet? Let us handle your printing! Send us your designs, and we’ll sublimate them onto your chosen blanks with pro-grade gear. Ideal for small runs or testing new products.
Get a Quote
Ready to start? Contact us for a custom quote:
- Phone: 509-138-801
- Email: support@subligeniusprint.com
- Address: Subli Genius Print, 100 N Howard St Ste R, Spokane, WA 99201, USA
Visit our website to browse blanks, starter kits, and more. Let’s bring your ideas to life!
4 Comments