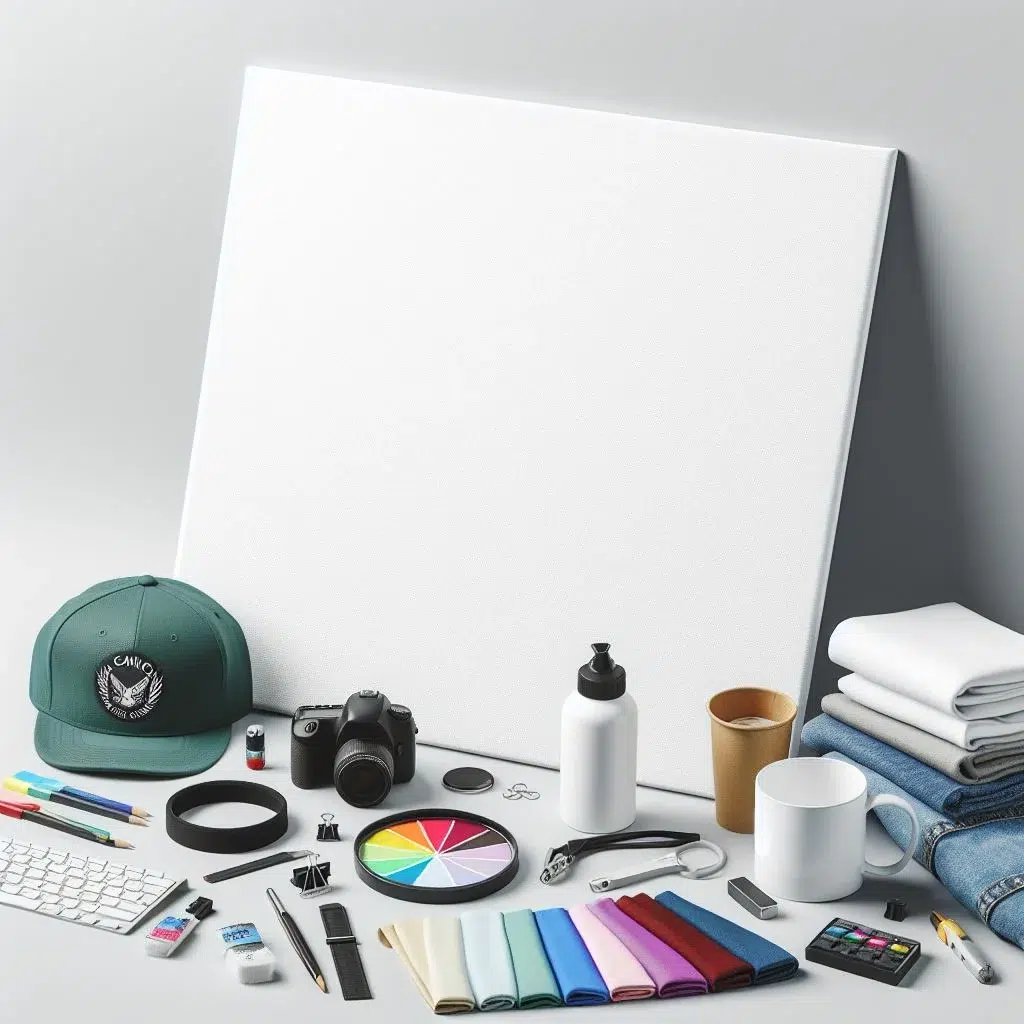
5 Tips to Find the Perfect Canvas for Sublimation
Learn how to sublimate on canvas with the right type, coating, and heat settings. Get vibrant, lasting prints for art, photos, and décor.
If you want to print on canvas, you need to consider some factors that can affect the quality and longevity of your prints.
Can You Sublimate on Canvas?
Yes, you can sublimate on canvas, but only if it’s polyester-based or coated for sublimation. Standard cotton canvas won’t hold sublimation ink because the dye needs polyester fibers to bond. With the right type of canvas, proper coating, and correct heat press settings, you can achieve bright, lasting prints.
Sublimation on canvas is popular for photo prints, wall art, and custom décor. It delivers vibrant colors and sharp detail, but there are limits. Dark or untreated canvases won’t work well, and some coatings, like wax or silicone, block the transfer completely.
Choosing the right canvas and preparing it correctly makes the difference between a crisp, professional finish and a faded, patchy print.
Quick Settings: Canvas Sublimation
Fast reference for time, temperature, and pressure. Use these ranges as a starting point.
| Setting | Recommended Range | Notes |
|---|---|---|
| Temperature | 380–400°F / 193–204°C | Start here. Adjust by canvas type and coating. |
| Time | 60–90 seconds | Thicker canvas may need longer time. |
| Pressure | Medium to high | Use firm, even pressure. Avoid crushing texture. |
| Test first | Always run a swatch | Small test saves materials and time. |
Five tips to find the perfect canvas for sublimation
1. Choose the right type of canvas
Canvas comes from cotton, linen, hemp, or hybrids. Pick based on weight, texture, and ink hold.
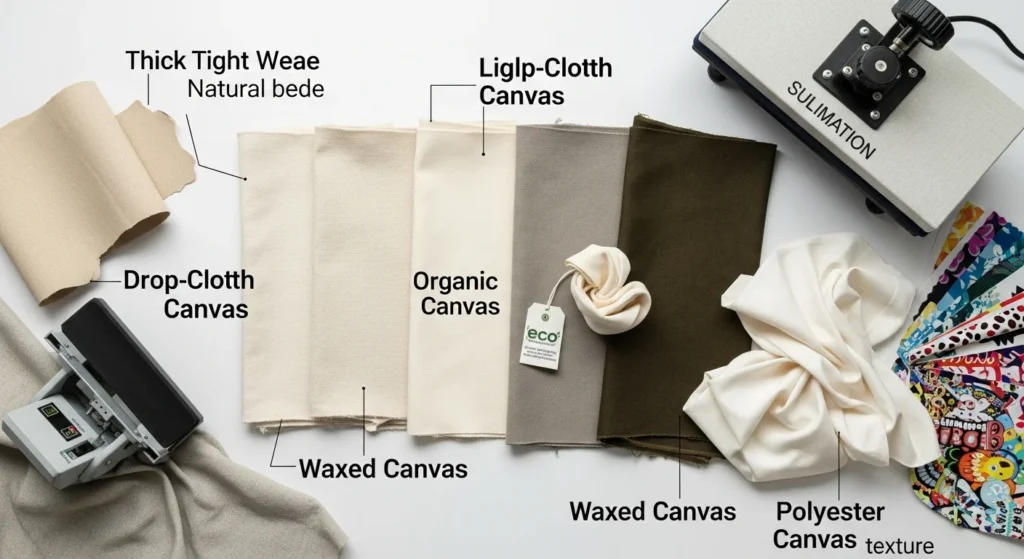
Duck canvas doesn’t soften. It’s strong, tightly woven, great for bags, jackets, and prints. Lower numbers mean heavier fabric. Lighter types suit sublimation best.
Drop-cloth canvas is plain duck canvas. It’s cheap. It gives a vintage, rustic print finish.
Organic canvas uses cotton or hemp grown naturally. It’s soft, eco-safe, and prints beautifully in bright tones.
Waxed canvas is canvas with a wax coating. That gives waterproofing but blocks heat-press ink. Skip it for sublimation.
Polyester or poly-blend canvas holds color durably. It resists outdoor wear, UV, and washes. Prints stay clear and vivid.
2. Check the color and coating of the canvas.
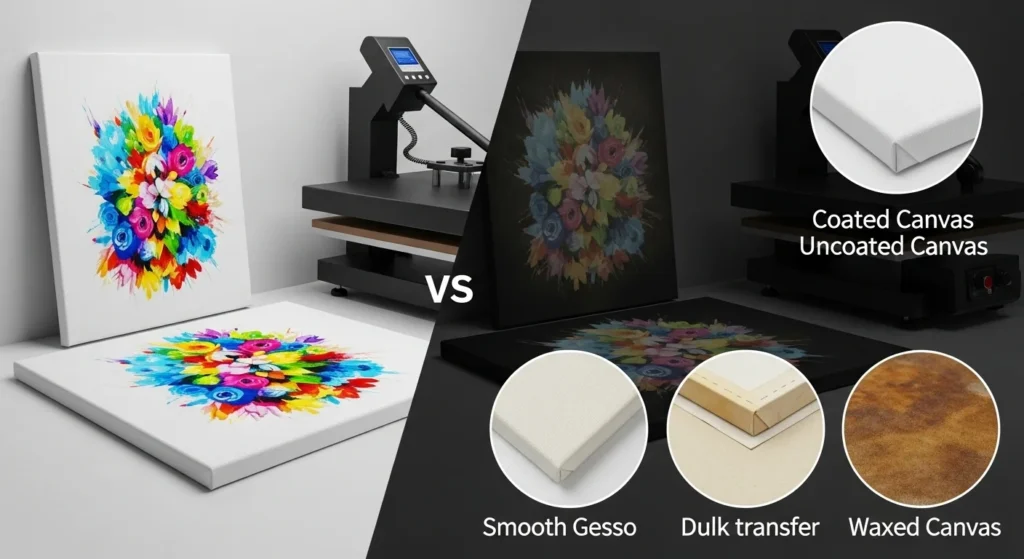
Color and coating shape how sublimation looks on canvas. Light or white canvases give the clearest, most vibrant results. Dark shades mute or distort prints, since sublimation ink blends with the base color. Some artists still use mid-tones for creative effects, but very dark or saturated backgrounds rarely work well.
Coating is just as critical. Certain canvases come pre-coated for sublimation, improving ink absorption and helping prints last longer. A common option is gesso, a chalk-and-binder mix originally used to prime surfaces for painting. Gesso adds a smooth layer that lets sublimation ink transfer evenly.
On the other hand, wax, oil, or silicone coatings block sublimation ink. These finishes not only stop the transfer but can also harm your heat press and waste sublimation paper. Always confirm that the coating is compatible before printing.
For a deeper dive into how coatings affect results, see our guide on Does Sublimation Coating Work?. Pair it with the right sublimation ink for long-lasting, sharp prints.
3. Test the canvas before printing
Always run a test before committing to a full print. This ensures the canvas reacts well to sublimation and saves wasted materials.
How to test a canvas for sublimation:
- Cut a small canvas swatch and a same-sized piece of sublimation paper.
- Print a sample design on the paper using your sublimation printer.
- Place the printed sheet face down on the canvas.
- Heat press using the recommended time, temperature, and pressure for sublimation.
- Remove and peel the paper to reveal the transfer.
- Inspect the test print for fading, bleeding, smudges, or cracks.
If the sample looks sharp and colorful, move ahead with your final design. If not, tweak your printer settings, adjust heat press time and temperature, or try another canvas type that handles sublimation better.
4. Prepare the canvas for printing
A clean, smooth canvas is key to sharp sublimation prints. Dirt, moisture, or wrinkles can ruin the transfer. Always prep your canvas before printing.
Steps to prepare the canvas:
- Wash the fabric
Use mild detergent and water. Rinse well to remove dust, oils, or coatings. A splash of vinegar in the rinse helps strip leftover dye. - Dry completely
Air-dry or use a dryer. Ensure no moisture remains. Damp fibers cause ink bleeding and blurry prints. - Remove wrinkles
Iron the canvas with medium-high heat until smooth. A steamer or light spray of water helps loosen creases, but dry the fabric again before printing. - Cut and frame
Trim the canvas to the size needed. For framed prints, stretch it over a wooden frame and secure with staples or nails. Keep the fabric taut and smooth with no puckering.
A properly prepared surface helps sublimation ink bond evenly, giving crisp details and long-lasting colors.
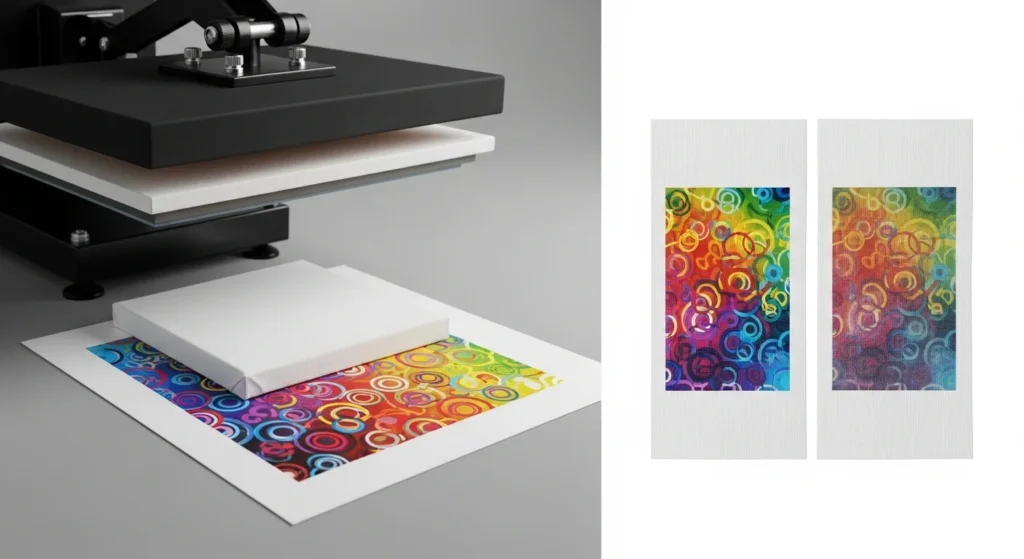
5. Print your design on the canvas
With your canvas prepped, it’s time to transfer the design. Follow these steps for a smooth sublimation print:
- Create your design
Use software like Photoshop, Illustrator, or CorelDRAW. Choose compatible colors, images, and fonts. Templates or online tools can speed up layout work. - Print on sublimation paper
Use a sublimation printer and mirror the design. Adjust resolution, print quality, and color mode for best results. - Secure the paper
Place the printed sheet face down on the canvas. Hold it in place with heat-resistant tape to prevent shifting. - Heat press the design
Set the press to the correct settings (check paper or manufacturer guidelines). Standard ranges: 180°C–200°C, 60–90 seconds, medium to high pressure. - Remove carefully
Open the press, peel the paper, and handle the canvas with gloves or tongs. Surfaces will be hot. - Finish and display
Leave the canvas to cool. Add a frame, hanger, or varnish if desired.
A well-pressed canvas delivers vivid color, sharp detail, and lasting durability.
Additional tips to keep in mind:
- Canvas weight: Canvas weight is measured in ounces per square yard (oz/yd²). For sublimation printing, you’ll want to choose a canvas weighing at least 10 oz/yd². This will ensure that the canvas is thick enough to withstand the heat and pressure of the sublimation process.
- Canvas texture: Canvas texture is also important to consider. For sublimation printing, you’ll want to choose a canvas with a smooth texture. It helps ensure that your image prints out clearly and without distortion.
- Canvas priming: Some canvases come pre-primed, while others do not. If you’re using a canvas that is not pre-primed, you’ll need to prime it before you start printing. This will help to prevent the ink from bleeding into the canvas.
Once you’ve found the perfect canvas for sublimation, you’re ready to start printing! Just follow the manufacturer’s instructions carefully to ensure you get the best possible results.
Canvas Alternatives for Sublimation
Canvas is popular, but it’s not the only option. Here are other surfaces that hold sublimation prints well:
1. Polyester Fabric
Polyester fabric works best for sublimation because the ink bonds with its fibers. It produces bright colors, sharp lines, and lasting results.
2. Metal Panels
Aluminum panels with a polyester coating give a sleek, glossy finish. These are common in photo printing and wall décor because they resist fading.
3. Coated Wood
Wood alone doesn’t accept sublimation. But wood with a polyester coating or sublimation spray can produce rich prints. It’s ideal for signs, plaques, and custom art.
4. Ceramic and Glass (with Coating)
Special coated ceramics and glass items are available for sublimation. Mugs, tiles, and ornaments are some popular choices.
👉 These alternatives give makers more freedom to match sublimation with the right surface.
Professional Sublimation Printing & Wholesale Custom Products
Looking for high-quality sublimation printing for apparel, drinkware, and promotional items? Subli Genius Print delivers vibrant color, sharp detail, and long-lasting results for businesses, brands, and resellers across the U.S.
FAQs
For a full walk-through of sublimation basics, from choosing supplies to pressing mugs, see our step-by-step guide at How to Do Sublimation.


One Comment