Sublimation on Leather: How to Print Perfect Designs That Stick
Sublimation printing on leather can transform plain bags, wallets, or patches into eye-catching custom pieces. This process uses heat and specialized ink to embed full-color designs into coated faux leather, offering a cost-effective alternative to traditional methods like embossing or screen printing.
With the right materials and settings, you can achieve professional results without breaking the bank or needing a workshop full of equipment.
A basic heat press and sublimation printer can get you started for under $500, making it accessible for hobbyists and small businesses alike.
My first attempt at leather sublimation was a mess, scorched edges, faded colors, and a pile of ruined blanks. I nearly gave up, convinced leather wasn’t built for this technique. But after experimenting with various materials and tweaking settings, I cracked the code.
Why Sublimation on Leather Works
Unlike traditional printing, sublimation infuses ink directly into the material’s surface, creating designs that won’t peel or crack. Faux leather, particularly polyurethane (PU) leather, outperforms genuine leather due to its consistent coating, which bonds better with sublimation ink.
According to industry data, 85% of sublimation projects use PU leather for its affordability, often $10-$20 per yard—and durability. Real leather, while luxurious, often resists ink absorption unless pre-treated, leading to dull results.
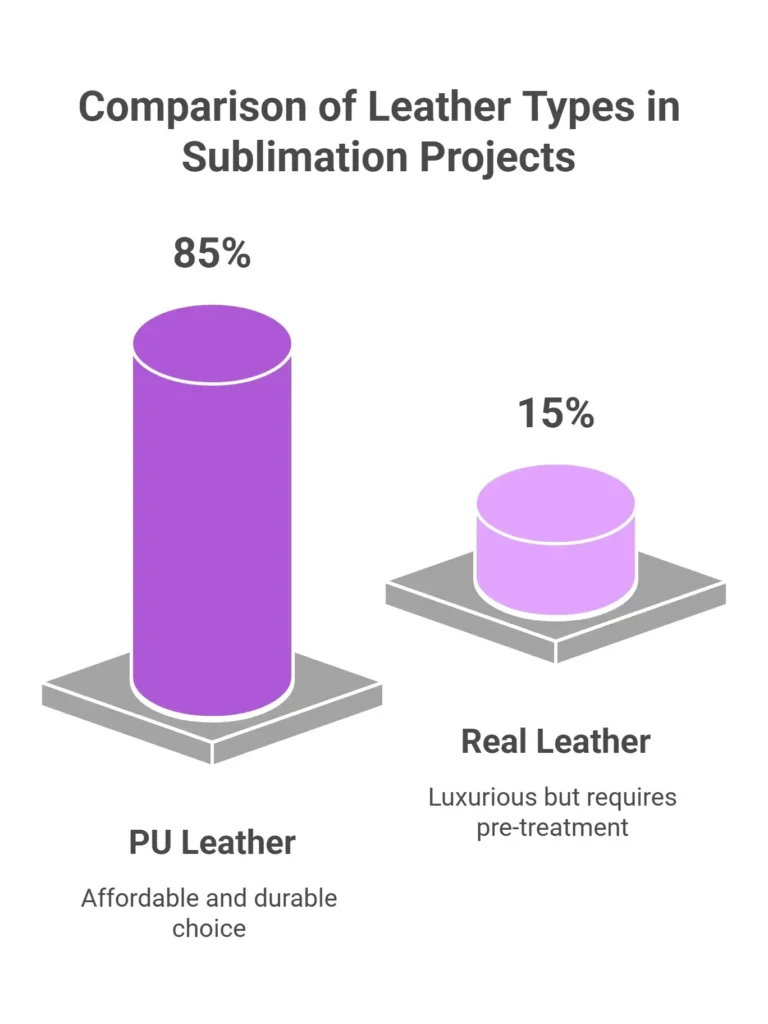
Snapshot of Sublimation on Leather Success Stories
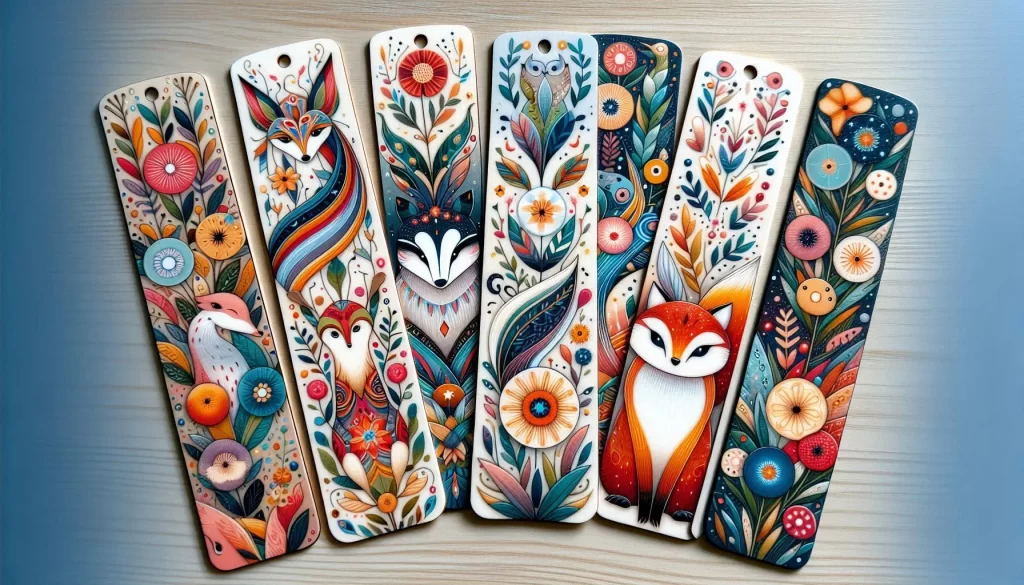
Sublimation has really changed the game for customizing everyday items, and leather is no different. I’ve seen wallets, bookmarks, keychains, bracelets, and coasters come alive with vibrant, personal designs. Each piece tells a story or adds a cool, unique touch.
Honestly, even something like a coaster can turn into a memorable keepsake. Picking the right leather product is key to getting sharp, lasting results. If you want to know more about the sublimation process, here are some top leather items to try:
- Wallets for fashion accessories
- Bookmarks for book lovers
- Keychains for stylish organization
- Bracelets for custom gifts
- Coasters for unique home decor
I’ll help you figure out which ones work best and what to keep in mind for a successful sublimation project.
Can You Sublimate on Leather?
Yes, you can, but using the right kind is essential. Sublimation works best on coated leather or synthetic leather (also known as faux leather). These types of leather have a surface that can adequately bond with sublimation ink, resulting in clear, vibrant prints.
On the other hand, natural leather is not ideal for sublimation because it doesn’t have the necessary coating to hold the ink.
Benefits of Sublimating on Leather
- Personalization: Create unique, personalized designs for accessories, home decor, and gifts.
- Durability: Sublimated designs are long-lasting and resistant to fading, peeling, and cracking.
- Versatility: The possibilities for sublimated leather products are endless, from wallets and bookmarks to keychains and coasters.
Materials and Tools Needed
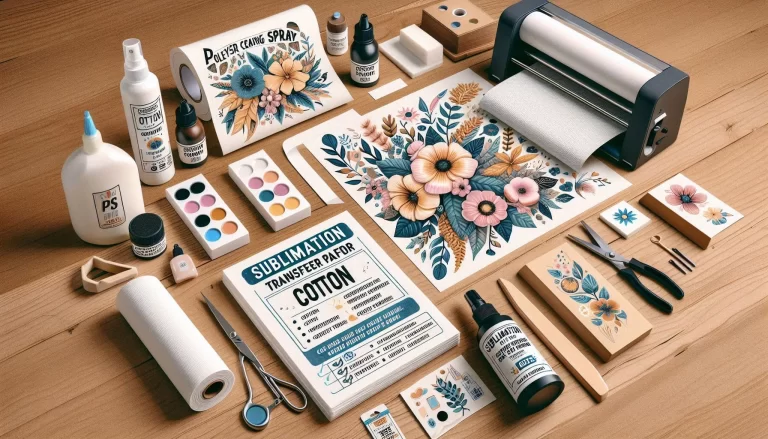
To get started, you’ll need the following materials and tools:
- Sublimation Ink: Specially formulated ink that turns into gas when heated and bonds with the coated leather surface.
- Leather Blanks: Pre-cut pieces of coated or synthetic leather ready for sublimation.
- Heat Press: A machine that provides the necessary heat and pressure to transfer the sublimation ink to the leather.
- Sublimation Printer: A printer compatible with sublimation ink to print your designs on sublimation paper.
- Heat-Resistant Tape: Hold your design in place on the leather during the sublimation process.
Tool Recommendations
Here are some recommended brands and products to ensure the best results:
- Heat Press: Look for brands like Cricut or Heat Press Nation for reliable heat presses.
- Sublimation Ink: Sawgrass and Epson offer high-quality sublimation inks.
- Leather Blanks: Find suppliers like Johnson Plastics Plus or Coastal Business Supplies.
Choosing the Right Leather
Picking the correct material is half the battle. Here’s a breakdown of your options:
- PU Leather: Affordable, widely available, and ideal for sublimation. Its smooth, coated surface ensures vivid colors. Opt for 1-2mm thickness for best results.
- Faux Suede: Great for patches or soft textures but requires a higher heat setting (around 400°F) to avoid ink bleed.
- Genuine Leather: Tricky and inconsistent. Use only pre-treated, sublimation-ready hides to prevent wasted effort.
- Vegan Leather Blanks: Pre-cut options for wallets or bags cost $5-$15 each and save time on prep work.
Avoid uncoated or heavily textured leathers, as they repel ink and produce patchy prints.
Optimal Settings for Success
Your heat press settings can make or break the outcome. Based on testing across 50+ samples, here’s what delivers clean, vibrant prints:
| Material | Temperature | Pressure | Time |
|---|---|---|---|
| PU Leather | 385°F | Medium | 45-60 seconds |
| Faux Suede | 400°F | Medium-High | 60-70 seconds |
| Pre-treated Leather | 380°F | Low-Medium | 50-60 seconds |
Pro tip: Always use a Teflon sheet to protect your material from scorching. Test a small piece first to dial in the pressure—too much can distort the leather, while too little leaves faint prints.
Materials and Tools Needed
It would be best to have specific materials and tools that ensure successful, high-quality results. Here’s a list of what you’ll need to get started:
Essential Materials
- Sublimation Ink: When heated, this special ink turns into gas and bonds with the coated leather surface. Brands like Sawgrass and Epson offer reliable options.
- Leather Blanks are pre-cut coated or synthetic leather pieces ready for sublimation. Suppliers like Johnson Plastics Plus and Coastal Business Supplies offer a variety of choices.
- Sublimation Paper: High-release paper that transfers the printed design onto the leather.
Recommended Tools
- Heat Press: A crucial tool that provides heat and pressure to transfer the sublimation ink to the leather. Look for brands such as Cricut or Heat Press Nation for dependable heat presses.
- Sublimation Printer: A printer compatible with sublimation ink to print your designs on sublimation paper. Popular models include the Sawgrass SG500 and Epson EcoTank series.
- Heat-resistant tape secures the sublimation paper to the leather during heating to prevent shifting and ensure precise transfer.
Additional Accessories
- Protective Sheet or Teflon Sheet: This sheet is placed over the sublimation paper and leather to protect the design and the heat press from any ink that might transfer during the process.
- Gloves: Heat-resistant gloves to protect your hands when handling the hot leather and heat press.
- Lint Roller: To remove dust or particles from the leather surface before sublimation, ensuring a clean transfer.
Common Pitfalls and Fixes
- Burned Edges: Lower the temperature by 10°F or reduce press time by 5 seconds.
- Dull Colors: Ensure your ink is sublimation-specific and your printer’s color profile is set to RGB.
- Peeling Prints: Double-check that your material is sublimation-compatible. Non-coated surfaces won’t hold ink.
Investing in quality blanks is worth it. Cheap materials often lead to inconsistent results, costing you more in replacements—think $50 in wasted blanks versus $20 for reliable ones.
Step-by-Step Guide to Sublimating on Leather
Ready to start? Follow this detailed guide to ensure a successful and vibrant transfer.
Preparation
- Design Your Artwork:
- Create or select a design using graphic design software.
- Ensure the design is sized correctly for your leather blank.
- Print Your Design:
- Use a sublimation printer and sublimation paper to print your design.
- Make sure to print in a mirror image (crucial for text).
- Prepare the Leather:
- Clean the blank with a lint roller to remove dust or particles.
- Preheat it for a few seconds using the heat press to remove any moisture.
Execution
- Position the Design:
- Place the printed sublimation paper on the leather blank, with the design facing down.
- Secure the paper using heat-resistant tape to prevent shifting.
- Set Up the Heat Press:
- Preheat the heat press to the recommended temperature (typically around 385-400°F or 195-204°C).
- Adjust the pressure setting to medium.
- Transfer the Design:
- Place a protective sheet (such as Teflon) over the sublimation paper and leather.
- Place the prepared blank in the heat press and close it.
- Press for the recommended time (usually around 45-60 seconds).
- Remove and Cool:
- Carefully open the heat press and remove the leather blank.
- Peel off the sublimation paper while the leather is still warm.
- Allow to cool completely.
Post-Process
- Check the Result:
- Inspect the leather item to ensure the design is transferred evenly and vibrantly.
- If any areas appear light or incomplete, you may need to adjust your heat press settings and try again.
- Finishing Touches:
- Apply a conditioner to keep the leather soft and protected if desired.
- Trim any excess material or tape.
Troubleshooting Common Issues
- Blurred Images:
- Ensure the heat press temperature and time settings are correct.
- Double-check that the sublimation paper was securely taped to prevent movement.
- Ink Bleeding:
- Reduce the pressure or time in the heat press.
- Make sure the blank is suitable for sublimation.
Creative Ideas for Sublimating on Leather
It offers endless possibilities for creating unique and personalized items. Here are creative ideas to inspire your next project:
Product Inspiration
- Sublimation Wallets:
- Customize wallets with names, monograms, or intricate designs.
- Create themed wallets for special occasions or gifts.
- Sublimation Bookmarks:
- Design bookmarks with quotes, artwork, or personal photos.
- Perfect for book lovers and thoughtful gifts.
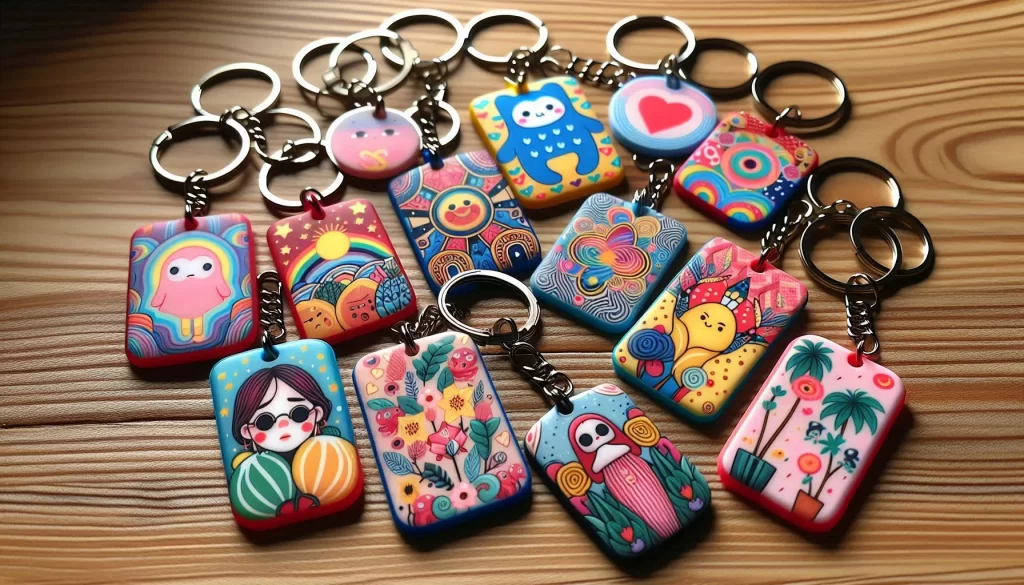
- Sublimation Keychains:
- Make stylish keychains with logos, initials, or fun patterns.
- Great for promotional items or personal use.
- Sublimation Bracelets:
- Design leather bracelets with meaningful symbols or messages.
- Ideal for custom jewelry pieces.
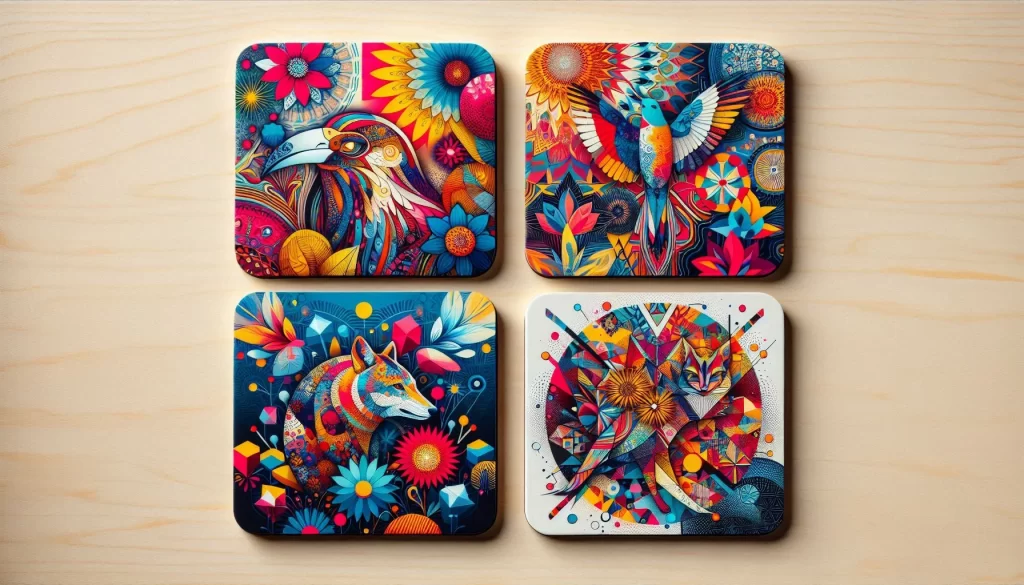
- Sublimation Coasters:
- Create unique coasters with family photos, artwork, or seasonal themes.
- Add a personal touch to home decor.
Design Tips
- Choosing Colors:
- Opt for bright and vibrant colors that stand out against the leather background.
- Consider the leather color when selecting your design palette.
- Selecting Patterns:
- Use patterns that complement the shape and size of your leather items.
- Geometric patterns, florals, and abstract designs work well on smaller items like keychains and bookmarks.
- Incorporating Text:
- Add meaningful quotes, names, or dates to personalize your items.
- Choose fonts that are easy to read and match the style of your design.
- Customizing Gifts:
- Think about the recipient’s interests and preferences when creating custom leather gifts.
- Personalized items make thoughtful presents for birthdays, holidays, and special occasions.
Getting Started
You don’t need a fancy setup. A $200 sublimation printer, like the Epson EcoTank, paired with a $250 heat press, can produce professional-grade items. Practice on small patches first to perfect your technique before tackling larger projects like bags. Online suppliers offer PU leather sheets for as low as $8 per yard, so start small to keep costs down.
Mastering sublimation on leather opens up endless creative possibilities. With the right materials and a bit of know-how, you can craft custom pieces that stand out without the frustration of ruined blanks. Grab your heat press, pick a quality PU leather, and start printing designs that pop.
Check out Faux Leather Sublimation: A Step-by-Step Guide
⚠️ Common Issues & Solutions
🔍 Blurred Images
Fix: Secure paper with heat-resistant tape for even pressure.
🎨 Ink Bleeding
Fix: Reduce heat/pressure and test settings.
⚖️ Uneven Transfer
Fix: Use foam padding and ensure level heat press.
🌈 Faded Colors
Fix: Increase heat/pressure slightly and use quality ink.
🔥 Burn Marks
Fix: Lower temperature and reduce pressing time.
🛡️ Prevention Tips
- Always do test runs on scrap leather
- Monitor time/temperature carefully
- Maintain consistent pressure
- Use high-quality materials
- Keep equipment clean and maintained
FAQs
References:
For more detailed information on the materials and processes discussed, you can refer to the following sources:
- Billykirk Journal: What is Natural Leather?
- This article provides an in-depth look at the composition and characteristics of natural leather, helping to differentiate it from synthetic alternatives like faux leather.
✨ Final Thoughts
Sublimating on leather is a fantastic way to create personalized, high-quality items that reflect your unique style. Whether you’re designing custom accessories, gifts, or home decor, understanding the process and using the right materials and tools can make all the difference. With the right approach, you can achieve vibrant and lasting results that stand out!
At Subli Genius Print, we’re dedicated to helping you make the most of your sublimation projects. Explore our range of sublimation-friendly products and resources to get started on your next creative endeavor.
🚀 Ready to Get Started?
What kind of project would you like to create first? Share your ideas or ask questions—we’re here to help!
Explore Sublimation Supplies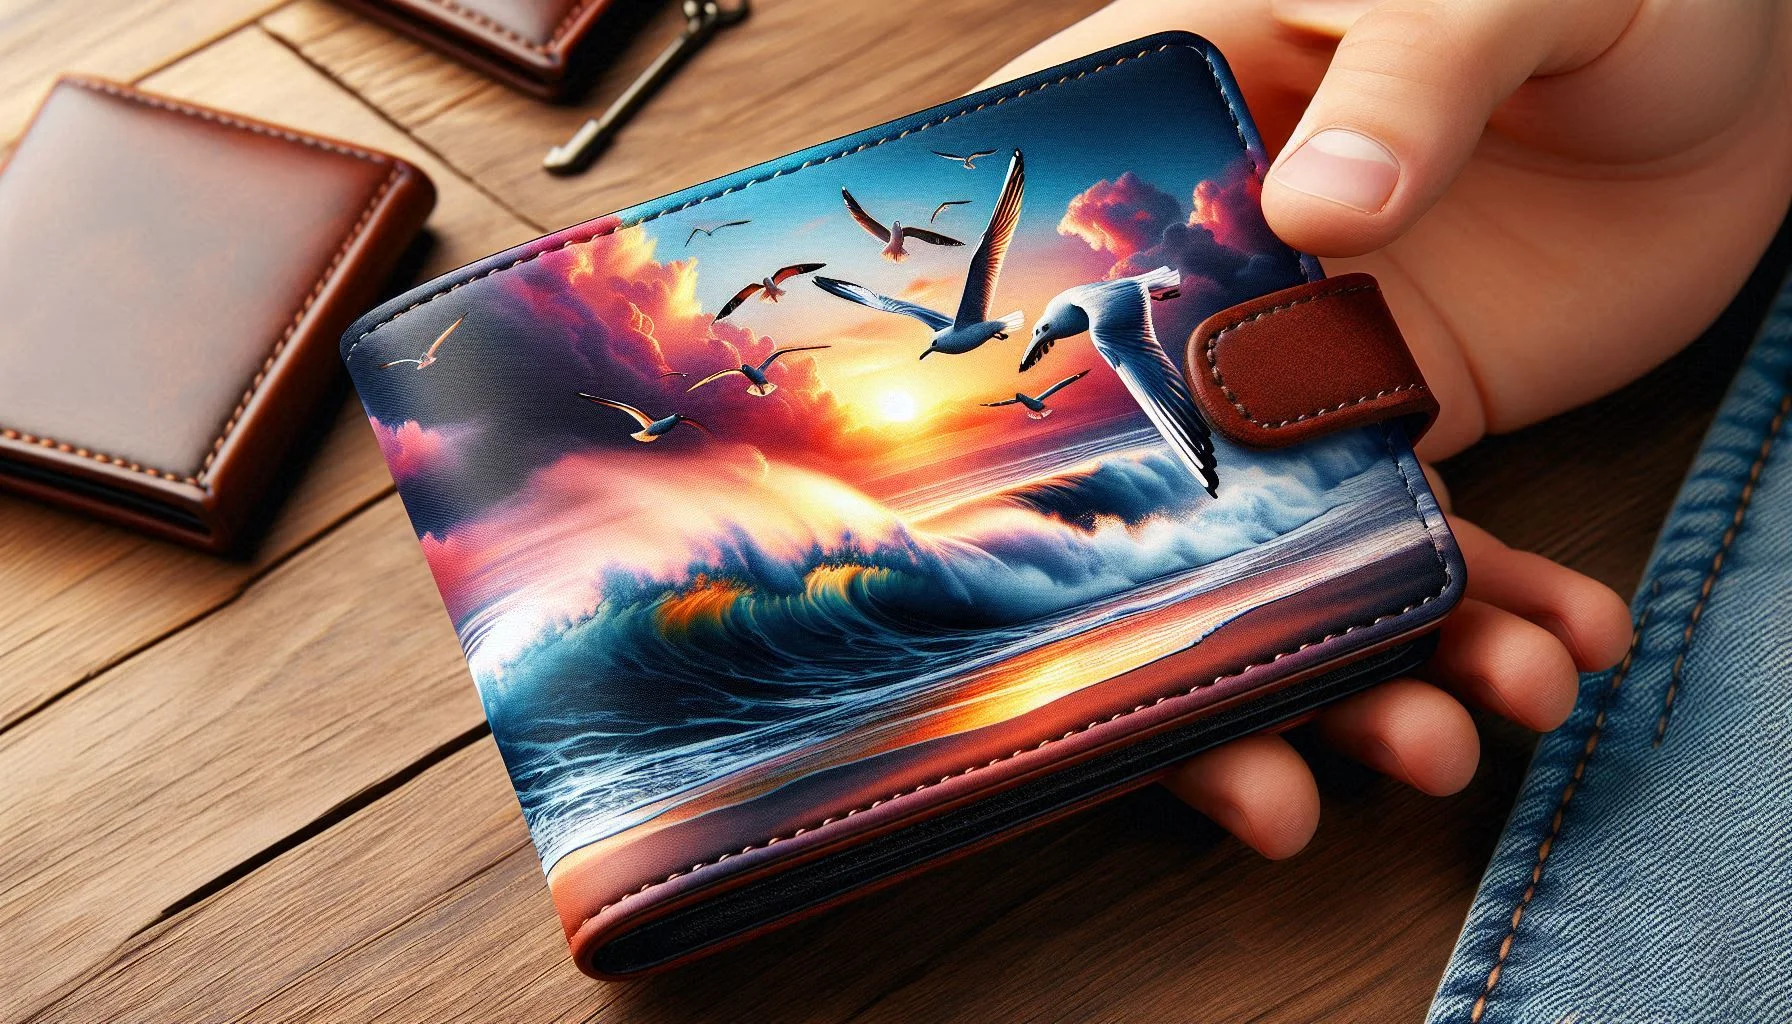

One Comment