Sublimation Paper for Large Images on Cricut: A Comprehensive Guide
Sublimation paper works with Cricut machines to transfer designs, but size limitations often require tiling, alignment, or alternative methods. The key factors are printer size, Cricut cutting limits, paper handling, and image quality.
Learn everything you need to know about using sublimation paper for large images on Cricut. This guide covers everything from choosing the right paper to setting up the machine. Get high-quality, durable, and versatile images with sublimation Cricut.
Can You Use Sublimation Paper with Cricut for Large Images?
Yes, but there are size limitations. Cricut cutting machines are designed mainly for cutting materials, not printing, so the size of your sublimation paper depends on your sublimation printer and how you manage the design inside Cricut Design Space.
- Cricut Design Space limit: 6.75″ x 9.25″ (for Print Then Cut).
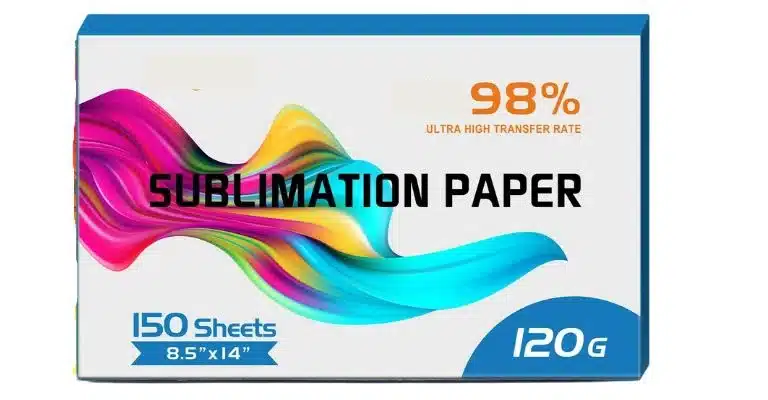
- Printer size: Most desktop sublimation printers max out at 8.5″ x 11″ or 8.5″ x 14″. Wide-format models allow 11″ x 17″ or 13″ x 19″.
- Workarounds: Tiling (splitting a large image across multiple sheets), or bypassing Cricut’s Print Then Cut for projects where alignment is manageable.
What Size Sublimation Paper Is Best for Large Designs?
It depends on your printer.
| Printer Type | Max Paper Size | Suitable for Large Images? | Notes |
|---|---|---|---|
| Standard desktop (8.5″) | 8.5″ x 11″ | Limited | Requires tiling for bigger images |
| Legal-size (8.5″) | 8.5″ x 14″ | Moderate | Slightly more room, still limited |
| Wide-format | 11″ x 17″ / 13″ x 19″ | Good | Best for larger transfers |
| Pro sublimation printer | 24″+ rolls | Excellent | Not compatible with Cricut machines directly |
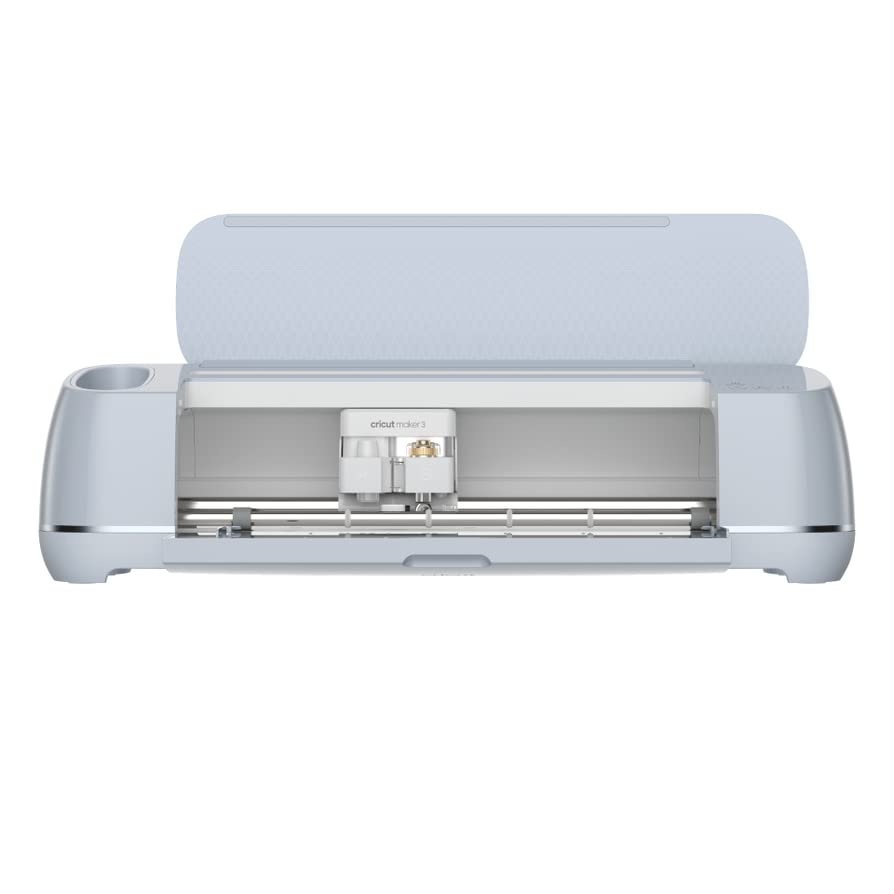
How to Handle Large Images with Cricut
Because Cricut caps Print Then Cut sizes, here are common approaches:
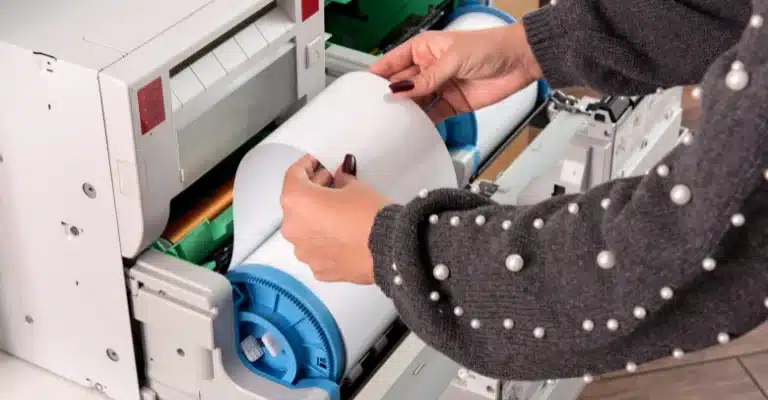
- Tiling Method
- Split your design into multiple sections in Design Space or another software.
- Print each section on separate sheets of sublimation paper.
- Align and tape pieces together before pressing.
- Bypass Print Then Cut
- Print the full image using your sublimation printer (outside Cricut).
- Use Cricut only to cut heat-resistant masking film, vinyl, or guides if needed.
- Scaling and Centering
- If you’re transferring onto items like t-shirts, center the largest possible portion of your design and accept partial coverage.
Does Sublimation Paper Work Differently on Larger Prints?
The process is the same, but challenges increase:
- Alignment matters more when piecing together multiple sheets.
- Heat press size limits what you can transfer in one press. A 15″ x 15″ press works better than smaller presses for large images.
- Ink coverage must remain even, as banding or color shifts are more visible on large designs.
Tips for Best Results
- Use high-release sublimation paper to reduce ghosting.
- Pre-press fabric or substrates to remove moisture and wrinkles.
- Secure paper with heat-resistant tape, especially when tiling.
- If possible, use design software (Photoshop, Illustrator, Affinity) instead of relying only on Cricut Design Space for layout control.
- Check your printer’s borderless printing setting to maximize image area.
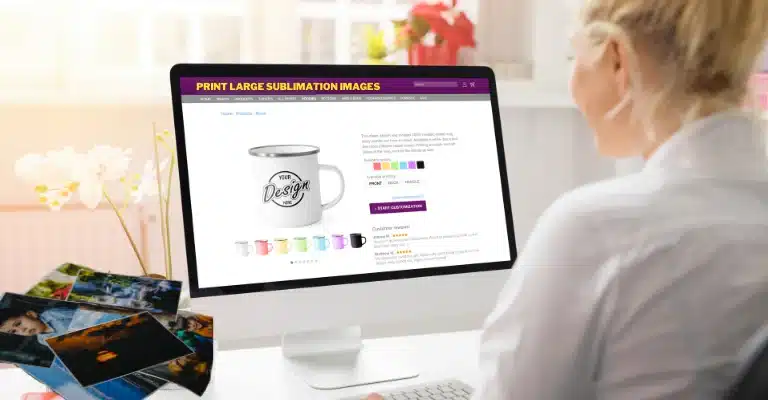
Benefits of Sublimation Printing on Cricut
High-Quality Images: Sublimation creates vibrant, high-resolution images that are sharp and detailed. The dye-based ink provides a wide colour gamut and accurate colour reproduction.
Durability: Sublimated images are resistant to fading, peeling, and cracking, making them a durable option for various applications.
Versatility: It can be used on various substrates, including fabrics, ceramics, metal, and plastic, allowing for a wide range of creative possibilities.
Cost-Effectiveness: It is a cost-effective option compared to other printing techniques, especially for high-volume projects. The initial investment in a Cricut machine and sublimation paper can be recouped over time with the cost savings from in-house printing.
Sublimation with Cricut vs Traditional Printing Methods
| Feature | Sublimation Printing on Cricut | Traditional Printing Methods |
|---|---|---|
| Process | Heat and pressure transfer | Ink transfer |
| Materials | Sublimation paper and substrate | Ink, paper, and specialized printing plates |
| Image Quality | High resolution, full color | Limited by the number of ink colors used |
| Durability | Long-lasting, fade-resistant | Can fade over time |
| Range of Substrates | Wide range of substrates, including fabric, metal, ceramic, and plastic | Limited to paper and certain types of fabric |
| Cost | Cost-effective | Higher cost, especially for full-color images |
| Equipment | Cricut machine and heat press (or oven) | Traditional printing press and ink |
Heat Press Settings Table:
| Substrate | Temp | Time | Pressure |
|---|---|---|---|
| Polyester shirt | 400°F | 45 sec | Medium |
| Ceramic mug | 400°F | 200 sec | Medium |
Choosing the Right Sublimation Paper for Large Images on Cricut
Types of Sublimation Paper: There are different types of sublimation paper, including plain paper, glossy paper, and high-release paper. Each type of paper has specific features and benefits that should be considered when choosing the right one for your project.
Sizing Options: Sublimation paper is available in different sizes to accommodate various printing needs. When creating large images on Cricut, choosing the right size paper is essential to ensure optimal image quality and coverage.
Quality Considerations: The quality of sublimation paper can vary between brands and manufacturers. When choosing a sublimation paper, consider factors such as thickness, coating type, and dye absorption rate.
Compatible Printers and Machines: Not all sublimation papers are compatible with all printers and machines. It’s crucial to ensure that your sublimation paper is compatible with your Cricut machine to achieve the best results.
Setting Up Your Cricut Machine for Sublimation Printing
A step-by-step guide explaining how to prepare a Cricut machine and materials for sublimation printing, create a design, apply heat press settings, transfer the print, and finish the process.
Steps:
- Preparation: Clean the rollers and mats, load sublimation paper, and set correct cutting settings.
- Design Creation: Create and size your design in Cricut Design Space with proper resolution and color accuracy.
- Heat Press Settings: Adjust the temperature and pressure on the heat press to fit your substrate.
- Printing and Transfer: Position sublimation paper and substrate in the heat press, then perform the transfer.
- Cooling and Removal: Let the substrate cool before peeling away the sublimation paper to reveal the image.
Pros and Cons of Using Cricut vs Wide-Format Sublimation
Quick Glossary of Terms:- Tiling – Splitting a large image into smaller sections so it can be printed on standard sublimation paper, then taped together for pressing.
- High-release paper – Special sublimation paper that transfers more ink, resulting in brighter, more vibrant colors.
- Print Then Cut – A Cricut feature that lets you print an image on your printer, then cut around it, but with a strict size limit of 6.75″ × 9.25″.
Cricut for Sublimation (Large Images)
Pros:
- Affordable if you already own a Cricut
- Great for small to medium projects
- Easy to cut guides, stencils, or masking film
- Works well with tiling for larger designs
Cons:
- Limited by Cricut’s Print Then Cut size (6.75″ × 9.25″)
- Extra effort needed for tiling and alignment
- Not efficient for very large or commercial projects
- Dependent on printer’s max paper size
Wide-Format Sublimation Printers (without Cricut)
Pros:
- Can print larger designs in one go (11″ × 17″, 13″ × 19″, or even roll-fed 24″+)
- No need for tiling or piecing images together
- Ideal for businesses and bulk production
- Works well for full t-shirt prints, blankets, and oversized projects
Cons:
- Higher upfront cost for wide-format printers
- Takes up more space in a home or craft setup
- No cutting functionality (Cricut still needed for vinyl, masking, or special shapes)
Tips and Tricks for Successful Sublimation Printing on Cricut
Test Prints: Before starting a large project, making a few test prints is an excellent idea to ensure that your machine settings and materials are correct.
Use a Heat Press: For best results, use a heat press instead of an oven or iron. A heat press provides consistent heat and pressure, essential for successfully transferring the dye from the sublimation paper to the substrate.
Image Quality: To ensure high-quality images, use high-resolution graphics and designs in your sublimation printing projects.
Substrate Selection: Choose the suitable substrate for your project based on the intended use and durability requirements. Consider factors such as the type of material, its colour, and its texture.
Maintenance: Regular cleaning and maintenance of your Cricut machine and heat press will ensure optimal performance and longevity.
Experiment: Sublimation on Cricut allows for many creative possibilities. Feel free to experiment with different materials, designs, and techniques to achieve unique and impressive results.
What is sublimation printing cricut
Sublimation with a Cricut is a type of digital printing that uses heat to transfer dye onto materials such as fabric, paper, and plastic. The process involves using special inks printed onto a transfer medium and then transferred to the desired material using heat and pressure. This printing method allows for vibrant colors and intricate designs to be produced quickly and easily.
The Cricut Cutting Machines is an all-in-one cutting machine that can be used for various projects, including sublimation printing. It features an intuitive touchscreen interface that makes it easy to create custom designs and patterns with precision and accuracy.
It also includes an integrated software package allowing users to customize their projects efficiently. With Cricut, you can easily create professional-looking designs in minutes without worrying about making costly mistakes or dealing with complicated setup procedures.
Professional Sublimation Printing & Wholesale Custom Products
Looking for high-quality sublimation printing for apparel, drinkware, and promotional items? Subli Genius Print delivers vibrant color, sharp detail, and long-lasting results for businesses, brands, and resellers across the U.S.


3 Comments