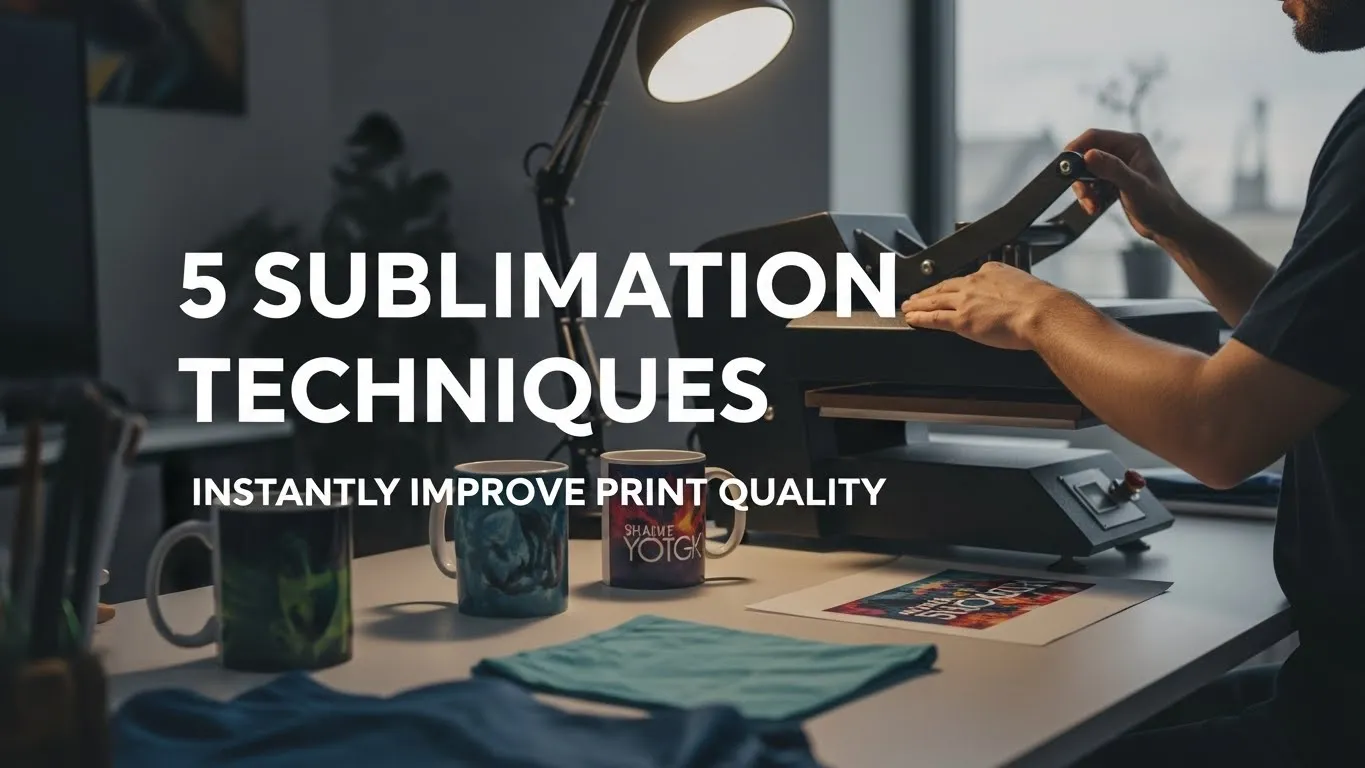
5 Sublimation Techniques That Instantly Improve Print Quality
Learn the five sublimation techniques that transformed my crafting experience. See how Subli Genius Print helped me achieve vibrant, professional results with every project. Get insider tips and tricks to elevate your sublimation skills!
I didn’t realize how many tiny mistakes I was making in sublimation until I compared my early prints to my newer ones side by side.
That moment made me curious why a few small changes suddenly fixed problems I thought were just part of the process.
If your prints sometimes look dull, faded, or inconsistent, you’re not alone. Sublimation rewards precision more than effort. Once you understand what actually controls color, clarity, and durability, everything clicks faster.
Sublimation printing has been a game-changer for my crafting projects. However, achieving vibrant, long-lasting results wasn’t always easy. After plenty of trial and error, I discovered a few techniques that transformed my approach. These methods improved the quality of my prints and made the process more enjoyable.
5 Factors That Actually Affect Sublimation Print Quality
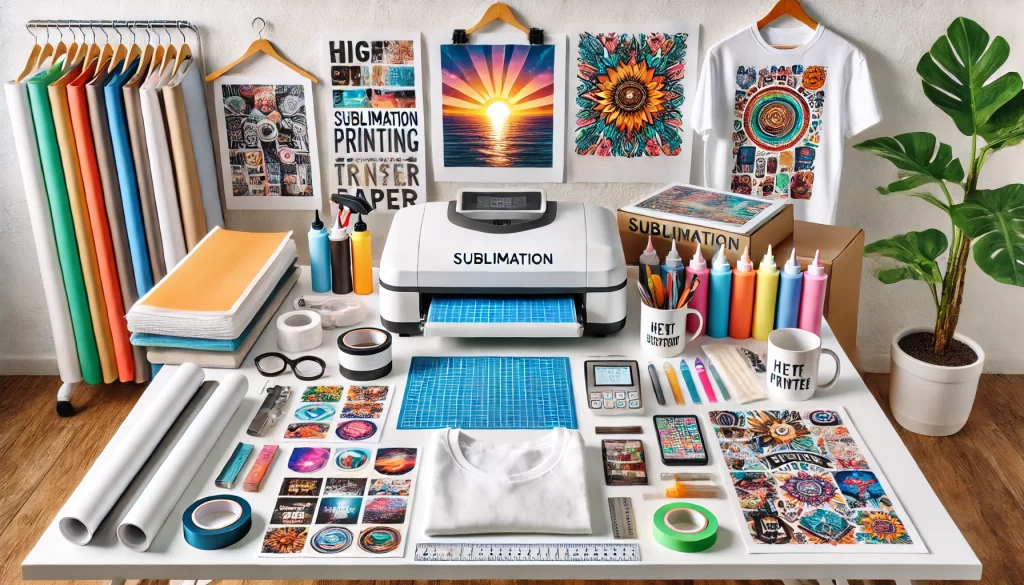
Sublimation is a fascinating process that allows you to permanently print designs onto objects like mugs, tiles, and fabric. By mastering various sublimation techniques, you can create personalized and professional-looking products.
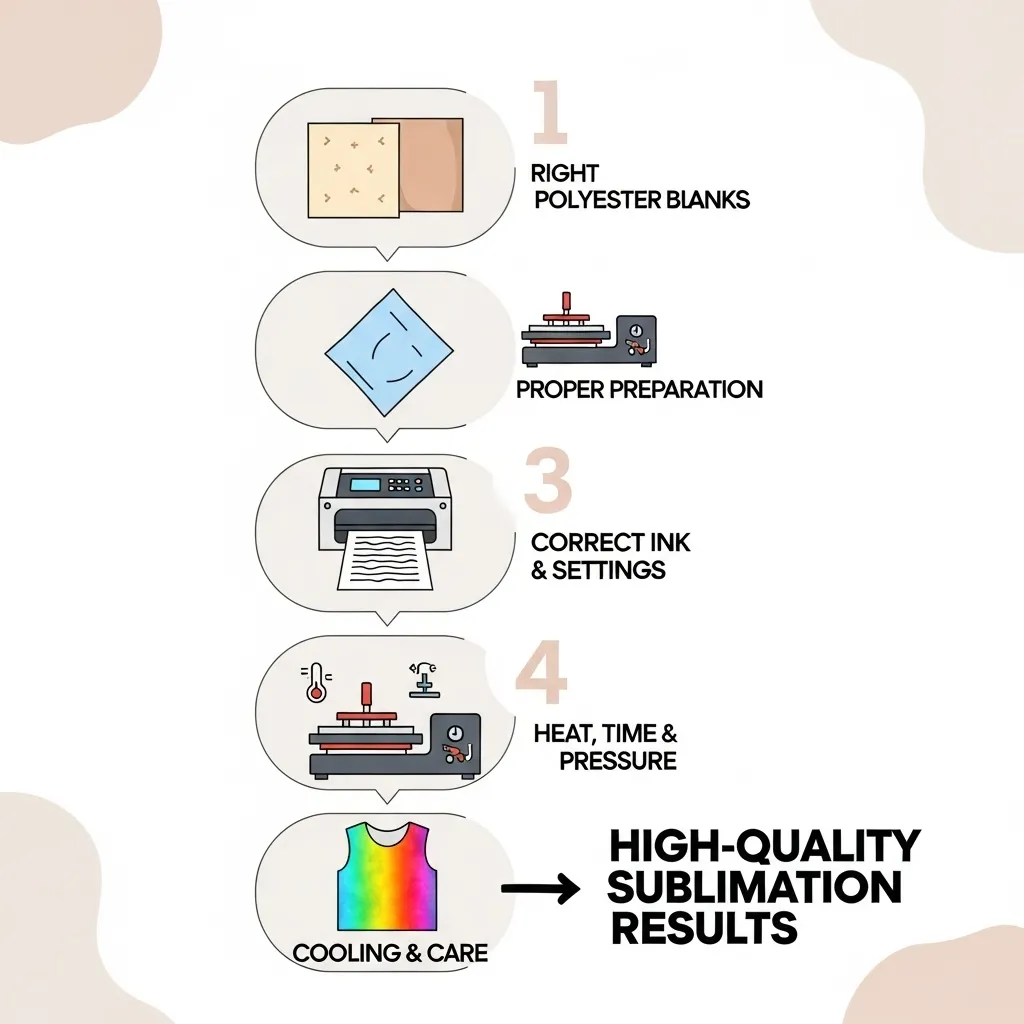
1. Prepping Your Materials
One of the first lessons I learned was the importance of properly preparing my materials. Clean, pre-treated substrates are the foundation of any successful sublimation project.
Clean Surfaces
Before starting, ensure your items are free from dust, oil, or other contaminants. For hard surfaces like mugs or metal, a quick wipe with a lint-free cloth and some rubbing alcohol works wonders. A thorough shake and a lint roller can help remove any loose fibers from fabrics.
Pre-Treat Fabrics
Fabrics need a bit more attention. Besides using a lint roller, I always pre-press my fabric items briefly. This step removes any moisture and flattens out the material, ensuring a smooth surface for the sublimation paper to adhere to.
These simple preparation steps might seem trivial, but they significantly improve the adhesion of the sublimation ink to the substrate, resulting in clearer and more vibrant prints. Taking the time to prep your materials can make all the difference in the final outcome of your project.
2. Choosing the Right Ink and Paper
Selecting the right ink and paper is crucial for achieving high-quality sublimation prints. This is where the magic happens, so it’s worth investing in the best supplies.
High-Quality Sublimation Ink
The type of ink you use can greatly affect the vibrancy and longevity of your prints. I found that investing in high-quality sublimation ink made a noticeable difference. Look for reputable brands known for their consistent performance and color accuracy. Using cheap or generic inks can produce dull colors and poor transfer quality.

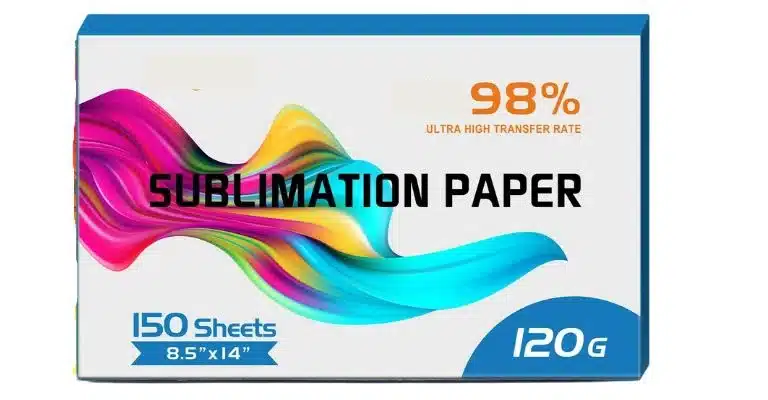
Sublimation Paper
Not all sublimation papers are created equal. It’s essential to use paper specifically designed for sublimation printing. These papers have a special coating that helps the ink transfer more effectively to the substrate. I always choose a high-quality sublimation paper to ensure the best results. Pay attention to the weight and thickness of the paper as well; heavier papers can sometimes provide better ink release and reduce the chances of bleeding.
You carefully select your ink and paper to set the stage for vibrant, sharp, and long-lasting sublimation prints. This combination of high-quality supplies is key to producing professional-looking results every time.
3. Correct Temperature and Timing
Getting the temperature and timing right is critical for sublimation success. Each substrate has its own specific requirements, and following these guidelines can make a significant difference.
Follow Manufacturer Guidelines
Every substrate, whether a ceramic mug, polyester t-shirt, or aluminum photo panel, has recommended temperature and time settings. Manufacturers usually provide these guidelines, which are important to follow closely. Overheating can cause colors to fade or become distorted, while underheating can result in incomplete transfers.
Consistent Pressure
Ensuring consistent pressure is just as important as temperature and timing. Uneven pressure can lead to areas with incomplete ink transfer or blurred images. I always make sure my heat press evenly distributes pressure across the entire surface of the item. Using a mug press or specialized attachments can help maintain consistent pressure for items with uneven surfaces, like mugs or curved objects.
Adjusting for Different Substrates
Different materials and coatings react differently to heat and pressure. Finding the perfect settings for your specific projects might take some experimentation. Record what works best for each type of substrate so you can replicate your successes.
4. Using Protective Sheets
Protective sheets are a simple yet effective way to ensure clean, professional sublimation prints. These sheets protect your heat press and projects from unwanted ink transfer.
Butcher Paper or Teflon Sheets
Butcher paper and Teflon sheets are the go-to protective layers for sublimation printing. Butcher paper is affordable and disposable, making it a great option for single-use protection. Teflon sheets, on the other hand, are reusable and provide a non-stick surface that’s easy to clean.
How to Use Protective Sheets
When working with fabrics, I place a sheet of butcher paper or a Teflon sheet on top of and inside the garment. This prevents ink from bleeding to the other side or onto the heat press. I simply place a protective sheet over the sublimation paper for hard surfaces like mugs or metal plates to catch any excess ink.
Multiple Layers for Added Protection
In some cases, using multiple layers of protective sheets can be beneficial. For instance, if I’m sublimating a thick fabric item, I might use a sheet inside the fabric and another on top to ensure complete protection. This extra step helps avoid ink transfer issues and keeps the item and the heat press clean.
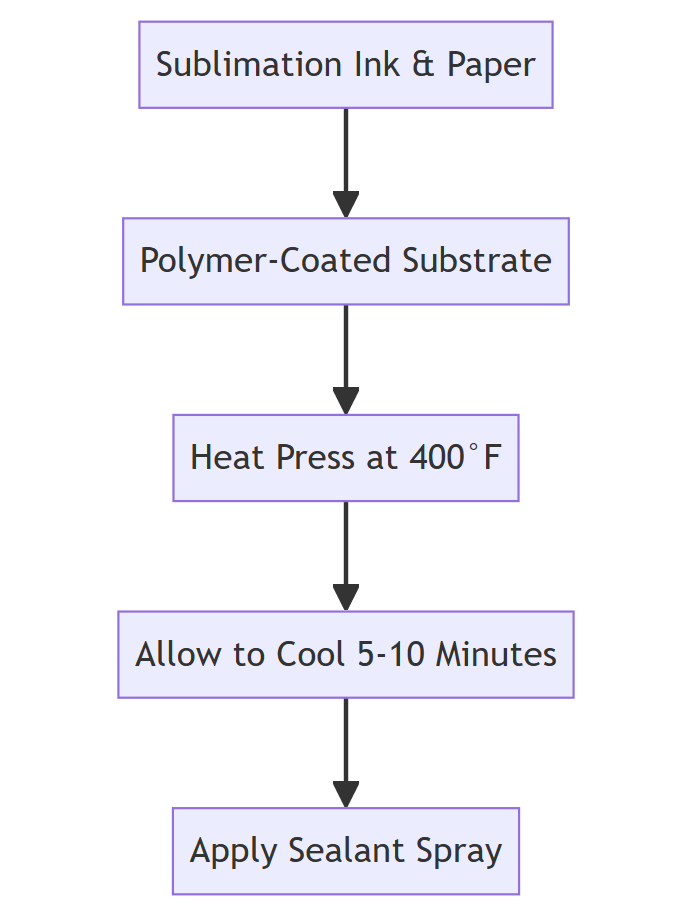
5. Cooling and Handling
Proper cooling and handling are essential steps in the sublimation process. These steps ensure your prints are vibrant, crisp, and smudge-free.
Allow to Cool
Once the heat press cycle is complete, peeling off the sublimation paper immediately is tempting. However, letting the item cool for a few moments can make a big difference. Cooling allows the ink to set properly into the substrate, producing a more durable and vibrant print. For fabrics, I usually let them cool until they are warm to the touch before handling them further.
Peel Slowly and Carefully
When it’s time to remove the sublimation paper, do it slowly and carefully. Rapid or careless peeling can smudge the ink or cause ghosting effects, ruining your hard work. I’ve found that peeling at a steady, consistent pace helps achieve cleaner results. If the transfer is imperfect, a little extra cooling time can help solidify the ink better.
Avoiding Smudges and Damage
It is crucial to handle your sublimated items with care. For hard surfaces, make sure they are fully cooled before handling to prevent smudges or fingerprints on the fresh ink. For fabrics, avoiding excessive stretching or pulling on the material immediately after sublimation can help maintain the integrity of the print.
Other Factors That Affect Print Quality
Most people think sublimation success comes down to heat press settings. In reality, quality is controlled by a few less obvious factors that users constantly search for, usually after something goes wrong.
1. Fabric and substrate compatibility
One of the most common searches is “why won’t sublimation stick” or “why are my prints faded.”
The answer is usually the material.
Sublimation ink only bonds permanently with polyester fibers or polymer-coated surfaces. Cotton, untreated wood, and uncoated ceramics won’t hold dye properly, no matter how good your press is. That’s why understanding what materials you can and can’t sublimate on saves a lot of wasted blanks and frustration.
Why this matters
If the material isn’t compatible, every other step becomes irrelevant.
2. Polyester percentage in fabrics
Users often search “can I sublimate on 50 50 shirts” or “best fabric for sublimation.”
Higher polyester content means stronger dye bonding. A 100 percent polyester shirt produces vibrant, permanent color. A 50 50 blend will always look more vintage or muted, even with perfect settings. This isn’t a mistake, it’s chemistry.
Knowing which fabrics work best for sublimation helps you set realistic expectations before pressing.
Why this matters
It explains faded results that settings alone can’t fix.
3. Printer settings and color management
Another huge search trend is “my sublimation colors look wrong” or “why are my prints dull.”
This usually comes down to printer settings and ICC profiles. Wrong paper type, incorrect quality mode, or missing color profiles can flatten colors before they ever reach the press. That’s why dialing in proper sublimation printer settings is just as important as heat and pressure.
Why this matters
Bad color data can’t be fixed with more heat.
4. Heat press pressure consistency
Users often ask “why is part of my image lighter” or “why do edges look faded.”
Uneven pressure causes incomplete dye transfer. Even if temperature and time are correct, low-pressure zones won’t allow dye gas to bond evenly. This shows up most on large designs, seams, and thicker garments.
Understanding common heat press mistakes that ruin transfers helps avoid reprints and ghosting.
Why this matters
Pressure issues create defects that look random but aren’t.
5. Post-press handling and care
A missing topic users actively search for is “how long do sublimation prints last” or “why did my print fade after washing.”
Sublimation is permanent, but only if the dye fully sets and the item is cared for correctly. Peeling too fast, stretching hot fabric, or washing improperly can reduce vibrancy over time. Following proper sublimated product care guidelines protects the work you already did.
Why this matters
Longevity is part of print quality, not an afterthought.
Top 15 Must-Know Sublimation Tips for Perfect Results
Perfect sublimation results come from small, repeatable habits, not expensive upgrades. When material choice, prep, settings, and handling all work together, consistency becomes easy.
| # | Sublimation Tip | Why It Matters |
|---|---|---|
| 1 | Use polyester or coated blanks | Sublimation ink only bonds properly with polyester or polymer coatings |
| 2 | Clean every surface before pressing | Dust, oil, and residue block dye bonding and cause faded spots |
| 3 | Always pre-press fabrics | Removes moisture and wrinkles that ruin color transfer |
| 4 | Use true sublimation ink | Regular ink won’t gas correctly under heat |
| 5 | Choose sublimation paper, not regular paper | Sublimation paper releases ink efficiently instead of absorbing it |
| 6 | Mirror your design before printing | Prevents reversed text and graphics |
| 7 | Secure designs with heat-resistant tape | Stops shifting and ghosting during pressing |
| 8 | Follow substrate temperature guidelines | Too much heat burns color, too little causes weak transfers |
| 9 | Apply even pressure across the press | Uneven pressure creates light or blurry areas |
| 10 | Use protective paper or sheets | Prevents ink bleed onto the press or garment |
| 11 | Avoid over-pressing | Extra time doesn’t mean better color, it often causes fading |
| 12 | Let items cool slightly before peeling | Reduces ghosting and smudging |
| 13 | Peel transfer paper slowly | Sharp pulls can distort fresh dye |
| 14 | Don’t stretch fabric while hot | Hot fibers can shift dye before it fully sets |
| 15 | Wash sublimated items correctly | Proper care keeps prints vibrant long term |
How Can I Improve Sublimation Printing Quality?
Consistent results come from process control, not shortcuts. When materials, prep, settings, and handling all work together, sublimation quality improves fast and stays reliable.
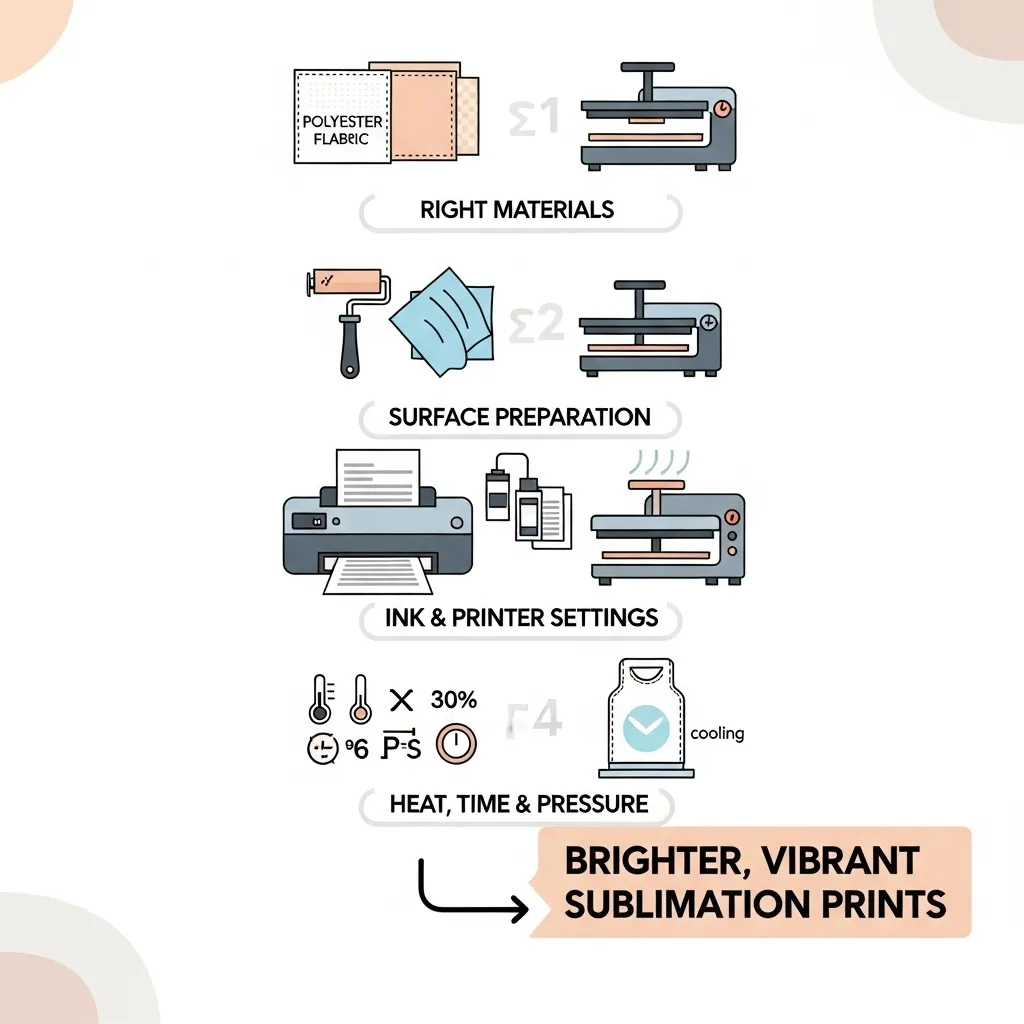
Improving sublimation printing quality comes down to controlling a few key variables consistently.
Start with compatible materials. Sublimation ink bonds best with polyester fabrics and polymer-coated blanks. Even perfect settings won’t fix an incompatible surface, so choosing the right materials matters first.
Prep everything before pressing. Clean hard substrates with alcohol, remove lint from fabrics, and pre-press garments to eliminate moisture and wrinkles. These steps prevent faded areas and uneven transfers.
Use proper ink, paper, and printer settings. True sublimation ink, quality sublimation paper, and correct printer settings ensure the ink releases evenly during heat transfer. Poor color output usually starts at the printing stage, not the press.
Dial in heat, time, and pressure. Follow substrate-specific temperature and timing guidelines, and make sure pressure is even across the entire surface. Uneven pressure causes light spots and incomplete transfers.
Finish with careful handling. Let items cool slightly, peel transfer paper slowly, and avoid stretching fabric while hot. Proper washing and care afterward help prints stay vibrant long term.
How to Make Sublimation Prints Brighter: Tips for Vibrant Results
Brighter sublimation prints come from improving dye transfer and bonding, not from pressing longer or hotter.
Follow these steps to boost color vibrancy:
- Use compatible materials
Choose high-polyester fabrics or polymer-coated blanks. Sublimation dye bonds weakly on low-poly or untreated surfaces. - Prepare blanks before pressing
Clean hard items with alcohol, remove lint from fabrics, and pre-press garments to remove moisture that dulls color. - Optimize printer output
Use true sublimation ink, quality sublimation paper, and correct printer settings so ink stays on the paper surface until heat activates it. - Apply correct heat, time, and pressure
Follow substrate-specific guidelines. Too much heat burns dye, too little prevents full color transfer. - Cool and handle prints properly
Allow items to cool slightly, peel transfer paper slowly, and avoid stretching fabric while hot.

Before vs After: Sublimation Print Brightness
| Area | Before Optimization | After Optimization |
|---|---|---|
| Fabric choice | Low-poly or unknown blend | High-poly or coated blank |
| Surface prep | Skipped or inconsistent | Cleaned, lint-free, pre-pressed |
| Ink and paper | Generic ink or paper | True sublimation ink and paper |
| Press settings | Guessed or repeated | Substrate-specific and tested |
| Pressure | Uneven or too light | Even and consistent |
| Final color | Dull or faded | Bright, crisp, and saturated |
| Durability | Fades after washing | Long-lasting vibrancy |
Why this works
Each improvement removes a barrier that blocks dye from bonding fully. When dye transfers efficiently and sets correctly, brightness increases naturally.
These essential sublimation techniques (Sublimation Method) give you the confidence to unlock your creativity with this rewarding printing process. Let me know in the comments if you have any other sublimation tips or questions!
Professional Sublimation Printing & Wholesale Custom Products
Looking for high-quality sublimation printing for apparel, drinkware, and promotional items? Subli Genius Print delivers vibrant color, sharp detail, and long-lasting results for businesses, brands, and resellers across the U.S.


2 Comments