Sublimation Shrink Sleeve Size Chart: Choose the Right Wrap

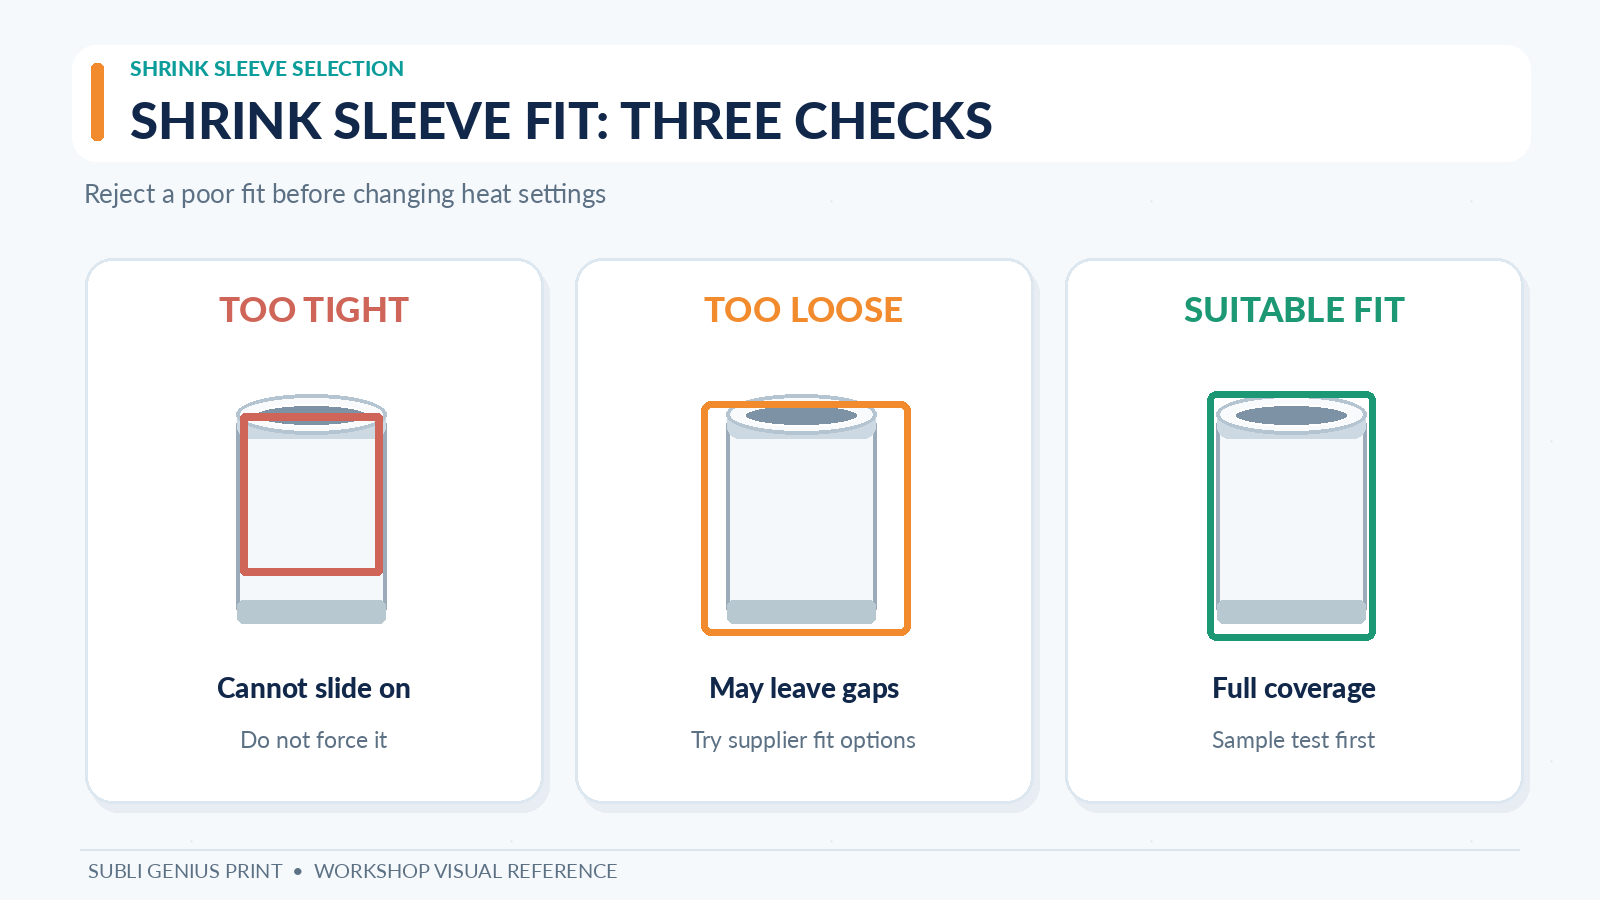
A shrink sleeve that looks big enough on the table can fail to slide over a tumbler’s widest point. A sleeve that is too loose may not keep the transfer in contact with the coating. That can leave white patches or uneven color around the top, bottom or seam.
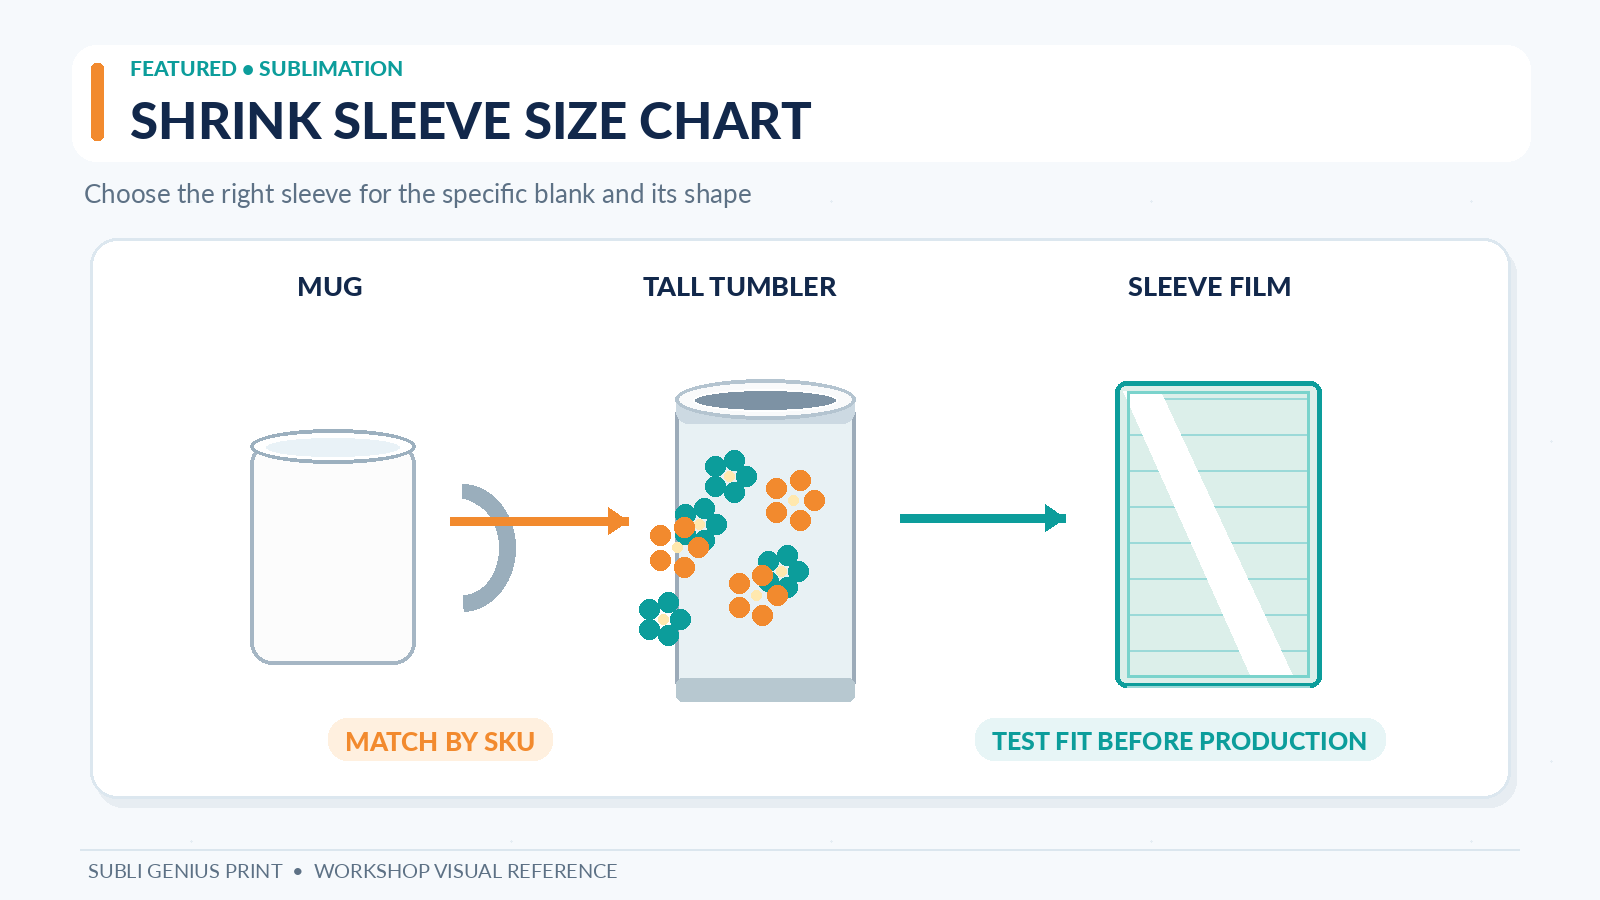
Choose a sublimation shrink sleeve by the exact blank SKU and the sleeve maker’s compatibility chart, not cup capacity alone. A 20 oz tumbler, a 20 oz bottle and a 20 oz handled cup may need different sleeves. The chart below includes actual supplier-listed sleeve dimensions and a few SKU matches. It is not a universal fit chart for every brand.
Get the free shrink sleeve selection worksheet (PDF).
Sublimation shrink sleeve size chart
Johnson Plastics Plus publishes a Shrink Sleeve Sizing Chart pairing its product numbers with seven wrap sizes. These are the supplier’s sleeve dimensions, not the measurements of the tumbler or its printable artwork.
| JPPlus sleeve SKU | Supplier-listed sleeve size | What to do before buying |
|---|---|---|
| WRAP80 | 3.1 × 3.5 in | Check the exact small-item SKU; do not assume it fits an 11 oz mug |
| WRAP105 | 4.1 × 6.5 in | Confirm product compatibility, including item shape |
| WRAP125 | 4.9 × 9.8 in | Compare your precise tumbler SKU with the approved chart rows |
| WRAP150 | 5.9 × 9.8 in | Check for supplier approval and enough coverage |
| WRAP175 | 6.89 × 9.84 in | Used for several listed mug and tumbler SKUs, not every one |
| WRAP195 | 7.68 × 5.91 in | A different proportion; do not substitute on width alone |
| WRAP900 | 11.81 × 5.91 in | The chart lists it for certain wide or larger-format items |
The measurements reflect that supplier’s chart as checked in November 2026. They do not establish a universal required shrink percentage, safe oven temperature or fit across other sleeve manufacturers. Confirm the physical sleeve dimensions and current SKU compatibility before placing a production order.
Real mug and tumbler compatibility examples
The most useful way to read a sleeve chart is by product number. The examples below come from the JPPlus chart; the same ounce capacity sold by another blank supplier may differ in height, taper or handle clearance.
| Example blank in the supplier chart | Listed item code | Compatible sleeve size(s) shown | Why the code matters |
|---|---|---|---|
| Rhinocoat white 11 oz mug | XP8156R | WRAP175 or WRAP195 | The short mug shape differs from a tall tumbler |
| Rhinocoat white 15 oz mug | XP8164R | WRAP175 or WRAP195 | Cup capacity does not determine sleeve dimensions |
| 20 oz stainless tumbler with straw and lid | DW250SS / DW251SS | WRAP125 or WRAP150 | This match is for the supplier’s named SKU |
| 30 oz straight tumbler | DW30ST-W | WRAP900 | The chart uses a different sleeve shape for this item |
| 40 oz handled sublimation tumbler | DW40SH-W | WRAP175 | A handle makes physical access and fit especially important |
Do not treat the 40 oz row as a recommendation to shrink plastic over every handle design. Obtain the individual blank’s product instructions and confirm how that supplier expects the sleeve to be placed. If current product documentation disagrees with an older chart, follow the supplier’s latest item-specific instructions.
For general tumbler sourcing questions, see the sublimation tumbler blank buying guide.
Measure the blank before choosing a sleeve
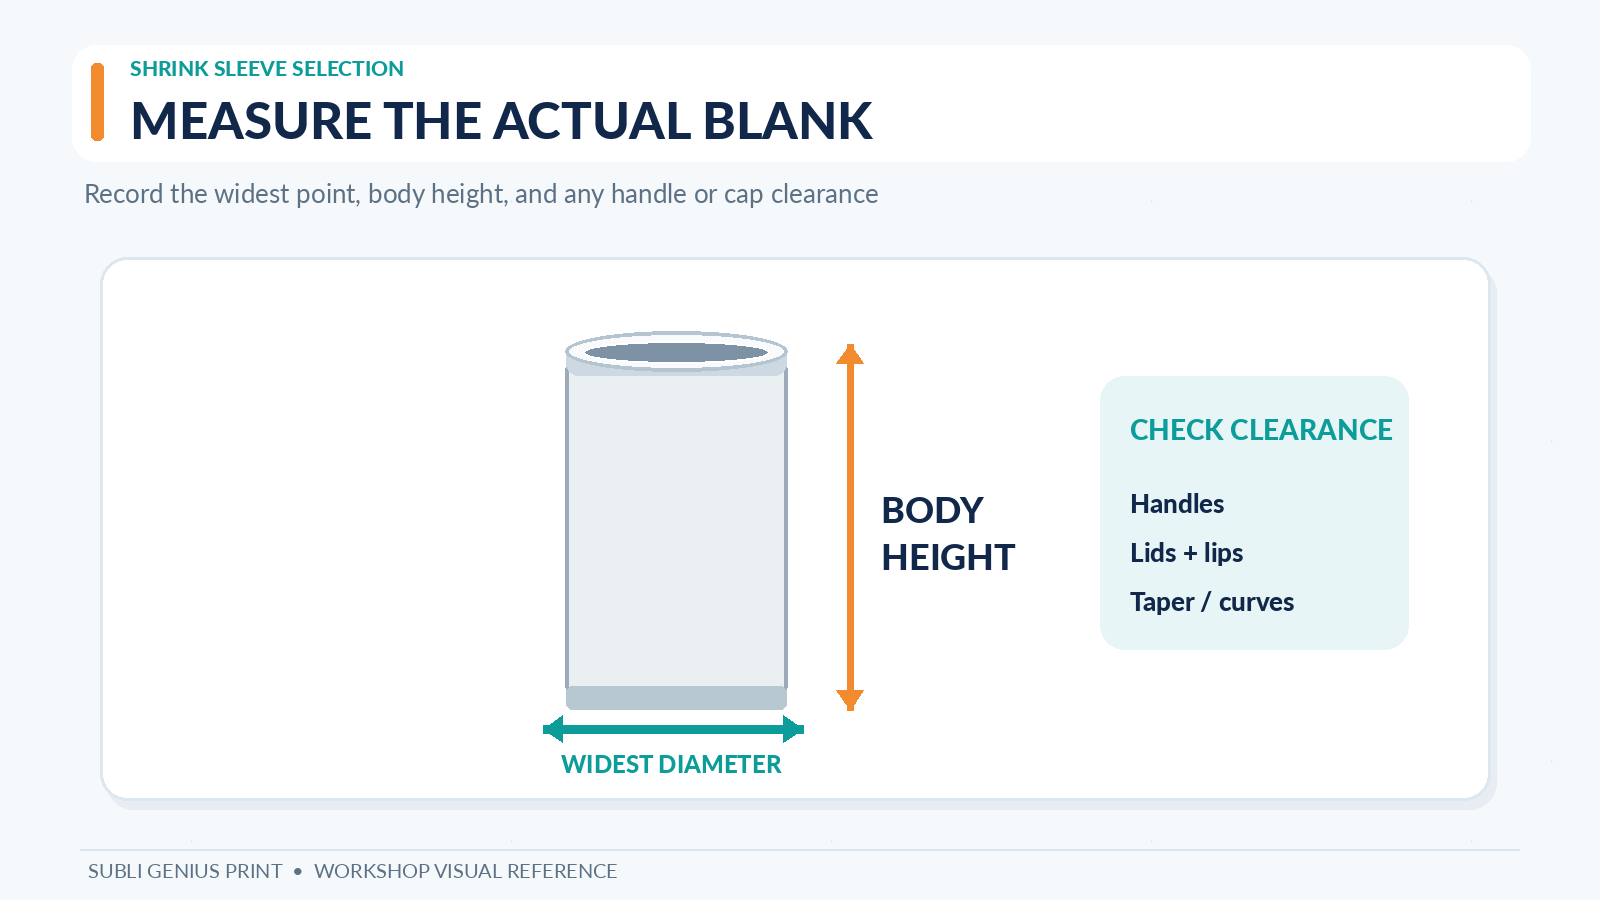
A seller’s listing might say only ’20 oz skinny.’ That is not enough to make a safe fit decision. Write down the following before ordering sleeves:
- Exact supplier and SKU. This is more dependable than an informal name such as ‘skinny tumbler.’
- Maximum outside diameter. Include bulging shoulders or wide rims where the sleeve must pass.
- Height that needs pressure. Measure the printable area and check where the sleeve will end after shrinking.
- Taper or handle. A tapered, curved or handled body may require a specialized sleeve or an entirely different process.
- Supplier-approved wrap size and heating method. Some products are made for a press rather than an oven and sleeve.
- Sample result. Record whether the sleeve stayed tight around the artwork after the supplier’s process, with no trapped folds or uncovered zones.
A simple diameter calculation can help with planning: for a perfectly straight cylinder, circumference is approximately 3.1416 × outside diameter. But that is an estimate of the object’s circumference, not a guaranteed sleeve size. Shrink material is sold according to its own dimensions and behavior. Do not turn circumference into a sleeve purchase without checking the maker’s chart.
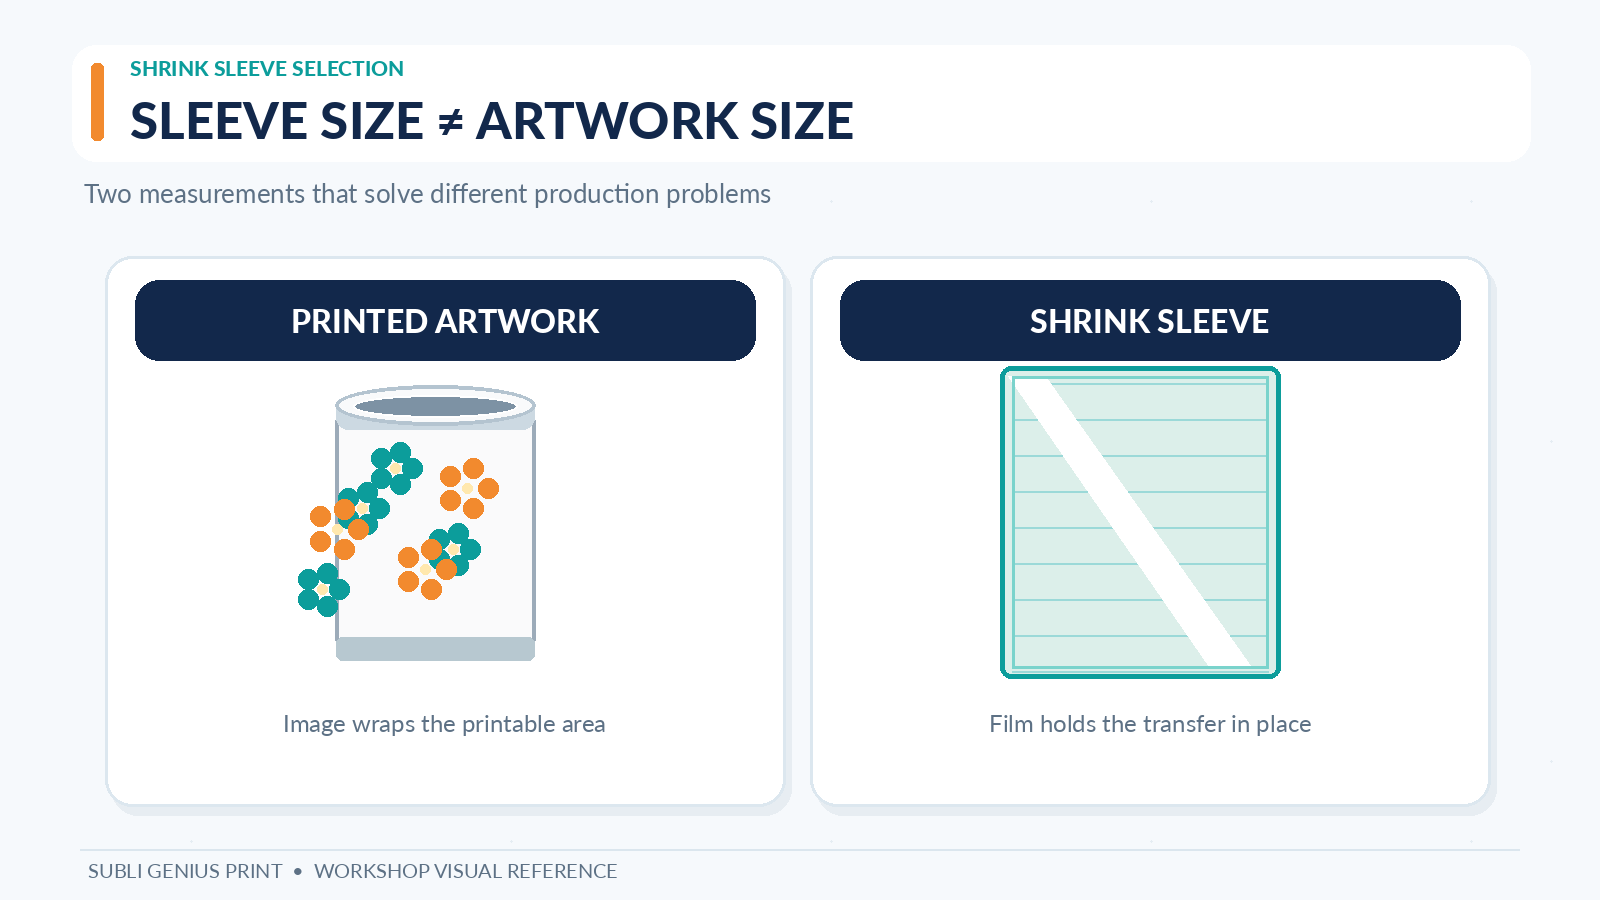
Sleeve size is not artwork size. To calculate the image printed onto the transfer paper, use the separate sublimation tumbler wrap size calculator. Its job is design layout. This article’s job is holding the transfer in contact during heating.
Shrink sleeves versus silicone wraps versus a tumbler press
There is no requirement to use a shrink sleeve for every tumbler. Start with the heating equipment you already own and the process specified for the blank.
| Method | Where it fits | Main trade-off |
|---|---|---|
| Heat-shrink sleeve with approved convection-oven workflow | A blank specifically compatible with the sleeve and oven | Disposable sleeve, heat-gun step, and oven-process control |
| Reusable silicone wrap for oven use | Items that match the wrap’s dimensions and safe heat range | Upfront accessory cost and fit limitations |
| Tumbler/mug press with matching element | Compatible cylindrical blanks and press size | The element may not cover unusual tapers, handles or tall designs |
A mug press versus convection oven comparison can help you choose the equipment. Do not place an item into an oven only because it is labeled ‘sublimation-ready’; verify the approved method.
How to apply a shrink sleeve without guessing settings
The supplier’s instructions should specify the exact blank, sleeve material, oven, handling and cooling procedure. JPPlus describes this general workflow for compatible products:
- Check the blank’s coating, sleeve pairing and the recommended oven process. Remove lids, seals, straw parts or other pieces only as the product instructions direct.
- Print the correctly sized, mirrored transfer if required, and tape it tightly around the blank. Confirm that the printable side of the paper faces the coated surface.
- Slide on the approved sleeve without disturbing the paper. Do not force a sleeve over a rim or handle if it does not fit.
- Use an appropriate heat gun according to the sleeve instructions, shrinking gradually to remove folds and air pockets. Inspect seams and both ends before heating.
- Heat the wrapped item using the exact product manufacturer’s time and temperature, not a generic mug or tumbler setting. Use a dedicated craft oven, heat protection and ventilation suited to the equipment and materials.
- Remove the hot item safely. Follow that product’s cooling and sleeve-removal instructions. Avoid sudden water cooling unless the blank maker explicitly permits it; thermal shock can damage some glass or ceramic products.
- Inspect the printed piece under consistent light before starting the rest of the batch. Record the sleeve and blank SKUs along with the machine settings.
JPPlus provides a broad shrink wrap product guide, but its general examples must not replace current item-specific instructions. For material-dependent temperature issues, see tumbler press versus oven temperature guidance.
Diagnose poor sleeve fit before adjusting oven temperature
| Result after pressing | Sleeve or setup checks | Other possible cause |
|---|---|---|
| White patch near rim or base | Sleeve did not maintain contact, transfer paper lifted, or uncovered zone | Uneven heating or blank coating |
| Blurred seam | Transfer shifted while wrapping or cooling | Artwork seam overlap and heat tape placement |
| Wrinkled or doubled image | Sleeve folded around a taper or transfer wrinkled | Image sizing or paper placement |
| Scorched sleeve, smoke or damaged blank | Stop using that combination and check product compatibility and limits | Incorrect oven or accessory, excessive heat |
| Uniformly weak print | Do not immediately blame sleeve size | Ink, paper, coating or incorrect supplier setting |
If the fit looks good but the transfer is weak, check the blank and image before making a temperature change. A sublimation color chart can help separate color-management issues from a contact problem on a compatible test blank.
Sleeve selection record for repeat orders
Keep one record for each blank SKU, not one record for ’20 oz tumblers’ as a category.
| Record field | Your entry |
|---|---|
| Blank supplier / SKU / material | __________ |
| Max diameter / printable height | __________ |
| Sleeve brand / SKU / dimensions | __________ |
| Manufacturer’s compatibility source | __________ |
| Approved equipment and settings | __________ |
| Test date and result | __________ |
| Approved for this order? | Yes / No / Retest |
Download the free shrink sleeve selection worksheet (PDF). Print it to record your blank SKU, widest point, height, chosen sleeve SKU and test result. It is not a universal time-and-temperature chart.
Common questions
Can I use one shrink sleeve for all 20 oz skinny tumblers?
No. A straight 20 oz tumbler and a tapered or handled tumbler can have different dimensions. Compare the supplier’s exact item code and the sleeve compatibility information rather than buying by ounce capacity alone.
Is WRAP175 the right choice for every 11 oz mug?
No. It is shown for specific mugs in one supplier chart. Check the exact mug SKU and the current chart. Another brand may have a different rim, handle or shape.
Should I shrink the sleeve before placing it in the oven?
Many supplier instructions describe tightening the sleeve with a heat gun first. Use the process specified for the sleeve and blank. A heat-shrink accessory may have its own temperature limits, which must be compatible with the actual oven workflow.
Why are the top and bottom of my tumbler pale?
Uneven paper contact, folds, an incompatible wrap or heating differences can cause pale areas. Inspect the wrapped sample and the blank manufacturer’s process before increasing time or temperature. Changing several variables at once makes the cause harder to identify.
Pick one blank, one sleeve and one verified workflow
Before stocking a case of sleeves, match a single tumbler SKU to the supplier’s chart, record its dimensions and complete one test press. The selection worksheet makes that decision repeatable when the same item is ordered again.