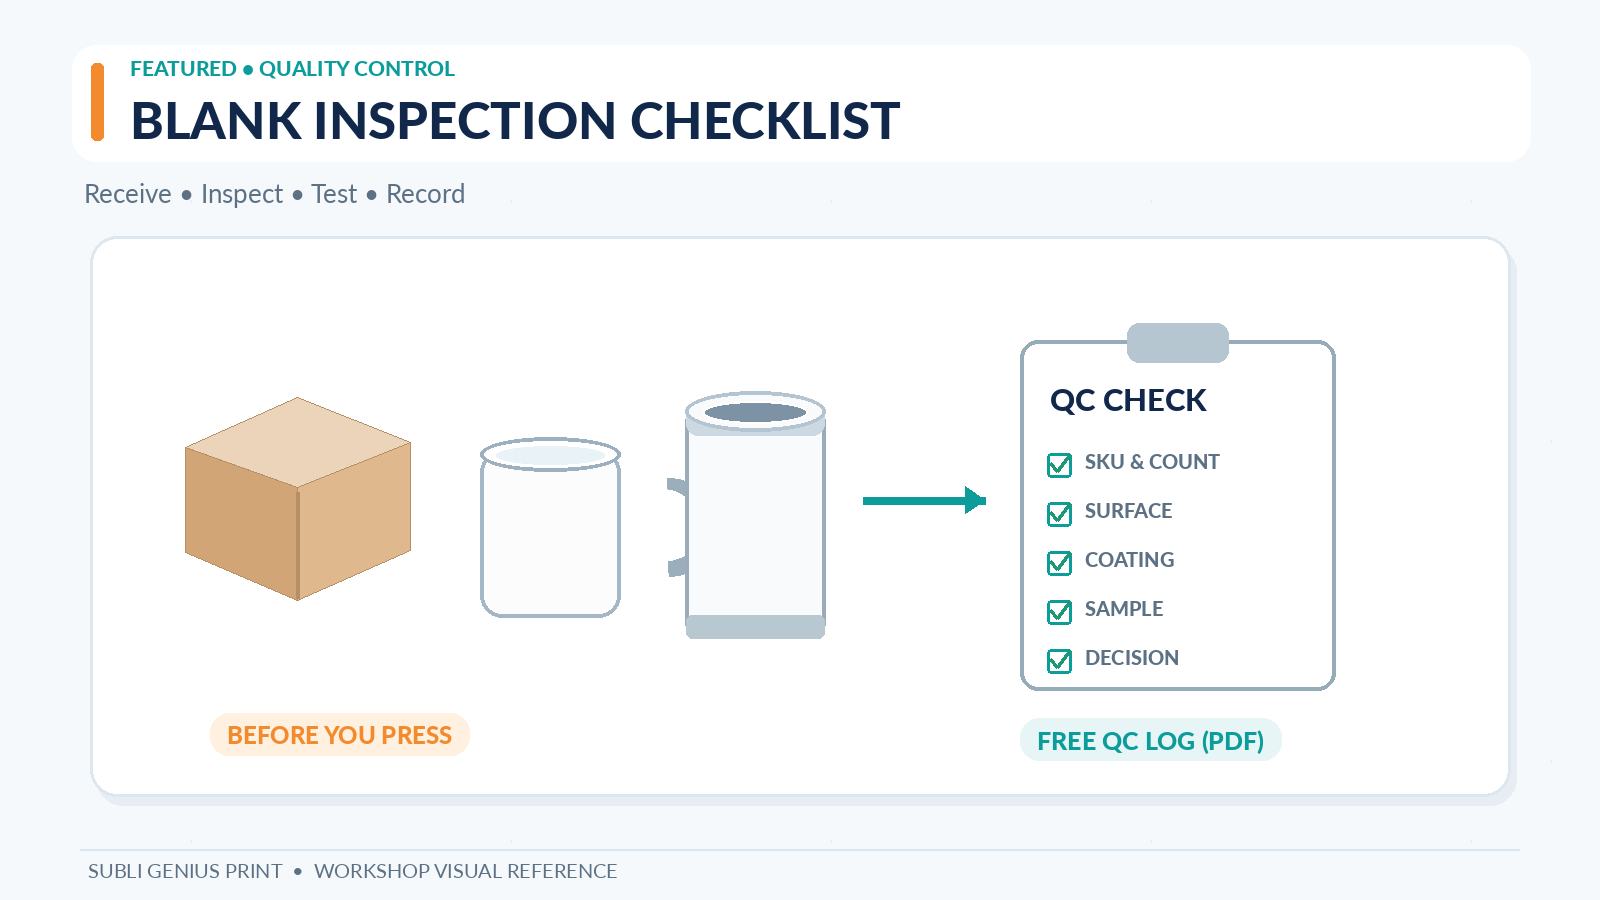
Sublimation Blank Inspection Checklist: Free QC Log (PDF)

A case of tumblers arrives on Tuesday, and the customer order goes into production on Wednesday. If you discover chipped rims, missing lids or uneven coating only after printing a full batch, you have lost more than the cost of the blanks. You may have spent transfer paper, ink and handling time on pieces you cannot deliver.
Inspect new sublimation blanks before printing, document defects by supplier and lot, and approve one product-specific test transfer before running the order. A receiving checklist and a test-print record turn that routine into something another person in the shop can follow.
Use the free two-page sublimation blank inspection and QC log (PDF). It includes a receiving inspection, sample record and supplier-issue log. The log is for actual observations, not an invented certification standard.
Incoming blank inspection: what to check first
Start with the delivery documents and the outside of the cartons. Photograph any visible damage before opening damaged boxes when practical. Match the delivered product to the purchase order, then inspect representative pieces from each distinct item, supplier lot or carton group. Increase the inspection scope when earlier shipments have had problems or the order is high risk.
| Check | What to look for | Record if there is a problem |
|---|---|---|
| Order and quantity | Correct SKU, color, size and count | Shortage, wrong variant, mixed items |
| Packaging | Crushed corners, water damage, poor protection | Carton ID and damage photos |
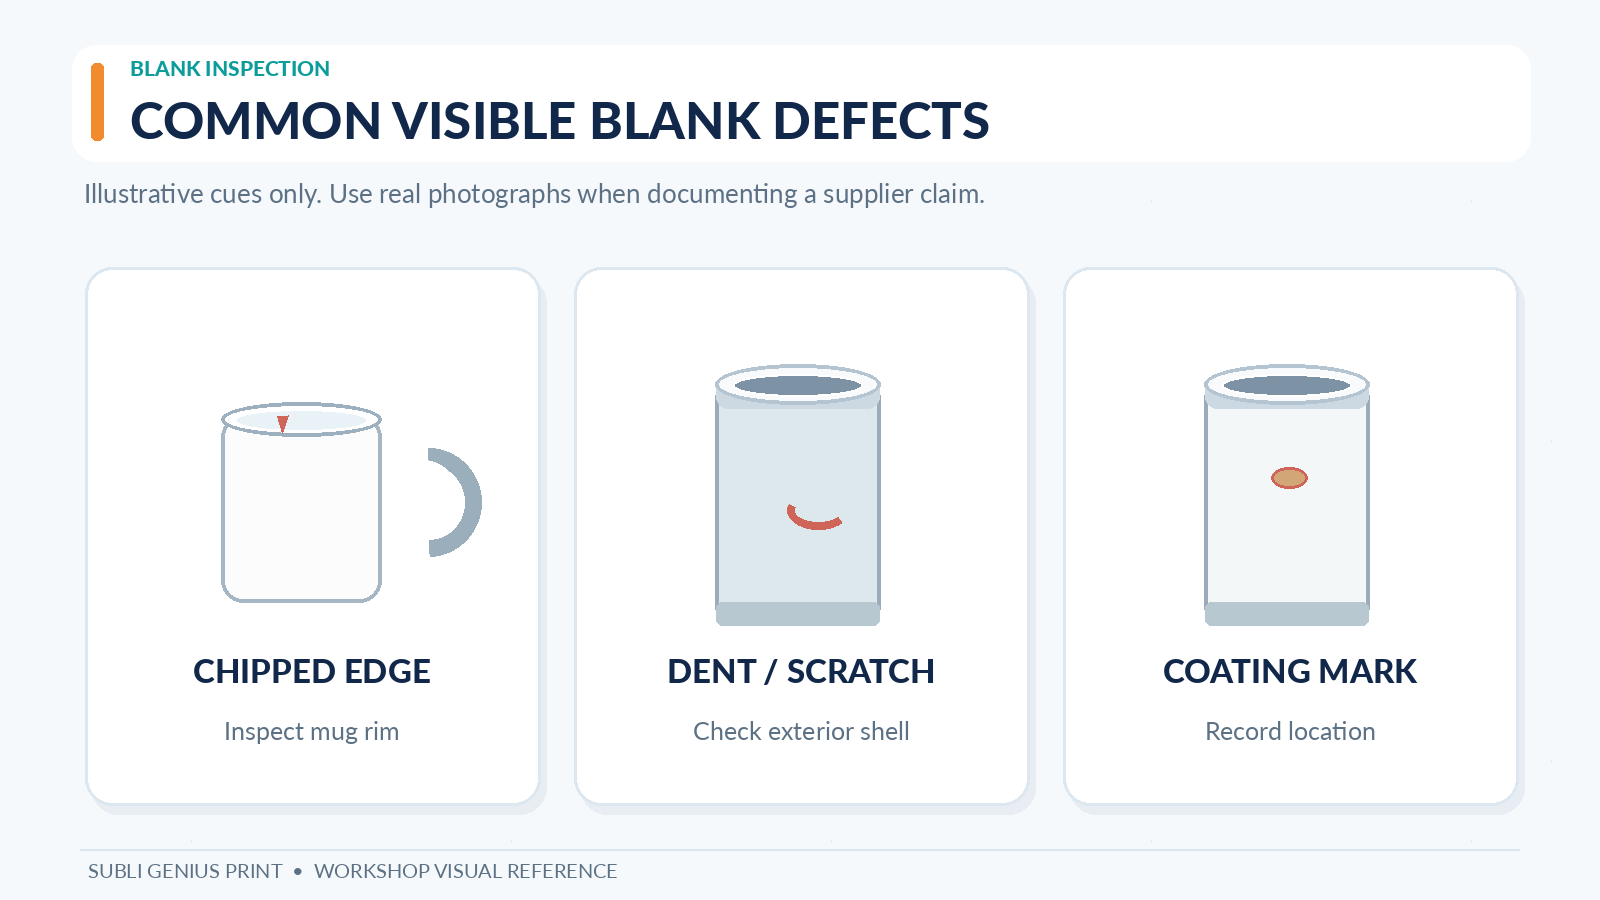
| Surface condition | Chips, dents, cracks, scratches, contamination | Exact area and number affected |
| Coating/receiving surface | Uneven sheen, bare patches, visible bubbles or flaking | Photo under consistent lighting; do not assume every color flaw is a coating defect |
| Components | Correct lids, seals, straws, hangers or mounting hardware | Missing, damaged or mismatched parts |
| Specifications | Stated material and sublimation compatibility | Missing supplier instructions or contradictory claims |
| Fit | Size for press, oven or fixture | Rims, handles or seams blocking normal setup |
| Sample transfer | Actual output on one approved setup | Color, alignment, seams, adhesive or coating response |
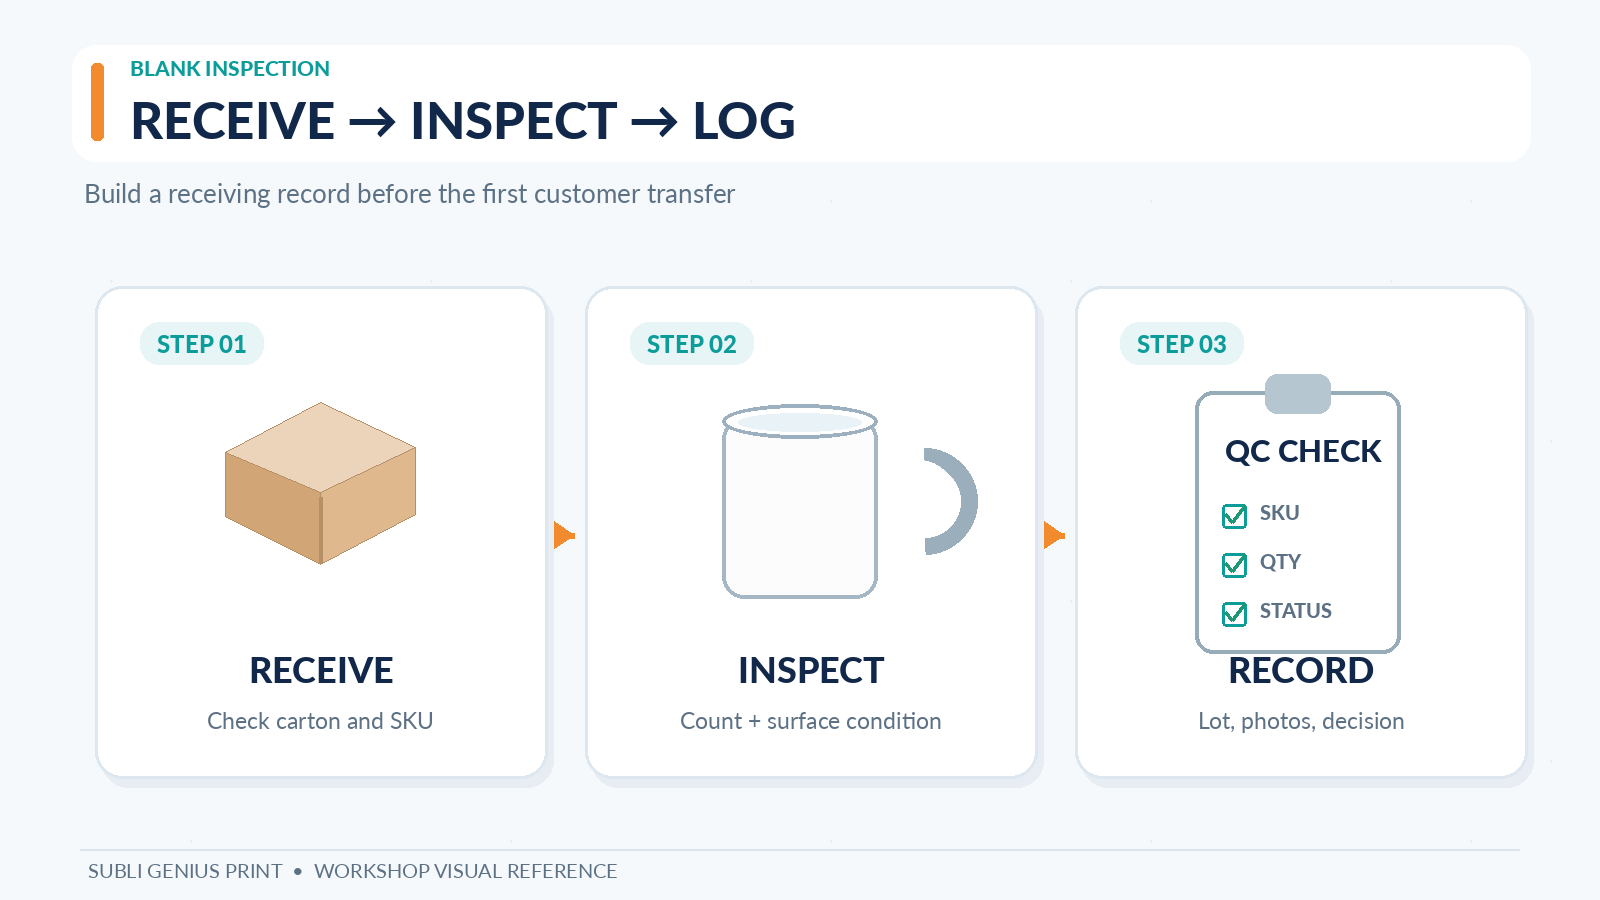
Important: Some coating problems are invisible before pressing. A visual check cannot establish chemical composition, food-contact suitability or durability. Obtain the manufacturer’s specifications and use a sample transfer for the exact item when needed. Sawgrass recommends checking the coating specification and using a test product rather than relying on appearance alone: Coated or Uncoated Products.
Different blanks need different acceptance checks
The receiving checklist uses the same order information for every product, but the actual defect risks change.
Ceramic mugs
Check rims, handles, body cracks, glaze chips, smoothness and whether the exact SKU is sold for sublimation. Verify the supplier’s recommended mug press or oven procedure before heating. A mug that looks white is not automatically coated for dye sublimation.
For a customer-facing item, also confirm that accessories and usage claims are documented. Do not claim dishwasher or microwave safety based only on a successful transfer.
Stainless tumblers and water bottles
Check exterior dents, visible coating marks, straightness, lids, gaskets, straw parts and packaging. If the item uses a special cap, identify any components that must be removed before pressing. A body may be printable while a plastic lid is not safe in the same heating process.
Measure the blank against your press element or oven setup. The tumbler blank buying guide provides additional size and coating questions.
Polyester shirts, bags and fabric blanks
Confirm the actual fiber label, color, size, seam quality, stains and garment construction. Check for inconsistent fabric finish or stray marks before pressing. A white T-shirt with a high cotton content is not equivalent to a 100% polyester sublimation blank.
If the fabric is unfamiliar, read the polyester sublimation reference and follow the garment supplier’s press and care guidance.
Metal panels, hardboard and rigid photo blanks
Check protective film, scratches, edge damage, flatness and the receiving side. Some products have only one coated face. Document bowed panels or a damaged edge before removing protective film. Do not lift another manufacturer’s heating instructions from a different panel material.
How many pieces should a small shop inspect?
There is no single sample count that guarantees a case is defect-free. A small sample can reveal a clear problem, but it cannot prove that every unseen piece will pass. Your order value, supplier history, lot variation and failure consequences should determine how many blanks to check.
A useful working policy is to separate checks into three categories:
- Check every unit for obvious damage when the order is small or high value. For a dozen gift mugs, looking at all twelve is often practical.
- Use a recorded receiving sample for larger routine shipments. Note the quantity inspected, how the pieces were selected and which cartons were represented.
- Hold or expand inspection when a meaningful defect appears. Confirm whether it is isolated or repeated across the same lot before accepting it.
These are editorial workflow suggestions, not an ANSI/ASQ AQL sampling table or a manufacturer acceptance threshold. If your customer contract or supplier agreement requires a formal inspection standard, follow that document instead.
Run one controlled sample before full production
A successful receiving check does not replace an actual print. Use one blank from the intended shipment, a known artwork file and the exact ink, paper and press or oven system planned for the customer order.
- Record the supplier, SKU, lot identifier if available and date received.
- Find the product manufacturer’s temperature, time, pressure, orientation and cooling directions. Do not treat a generic settings chart as approval for this blank.
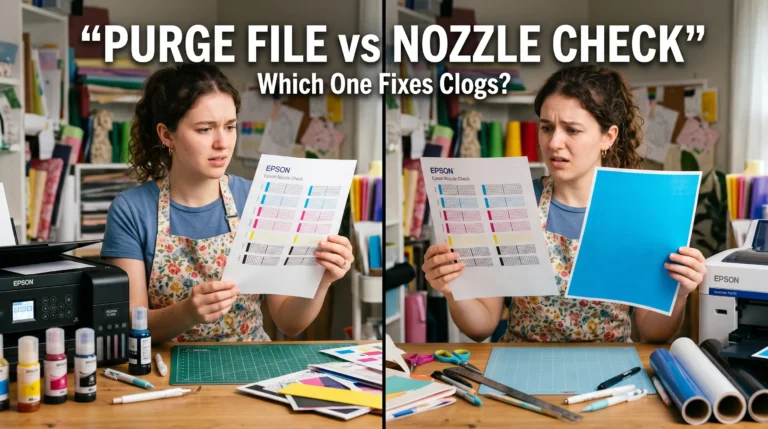
- Check the printer output first. If the paper already has nozzle gaps or streaking, fix that before judging the blank.
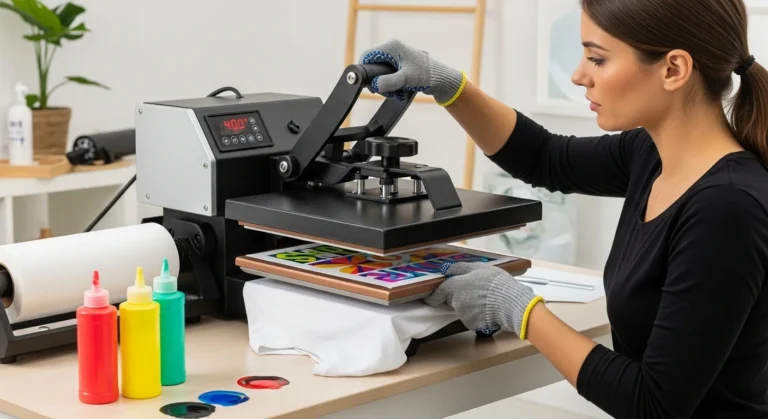
- Press one sample using the supplier’s allowed settings. Keep the transfer and blank handling consistent.
- Inspect the finished piece under repeatable light. Look for color shifts, incomplete areas, ghosting, poor edge definition and coating damage.
- Compare the result with a previously approved sample when available, or document your acceptance criteria for a new product.
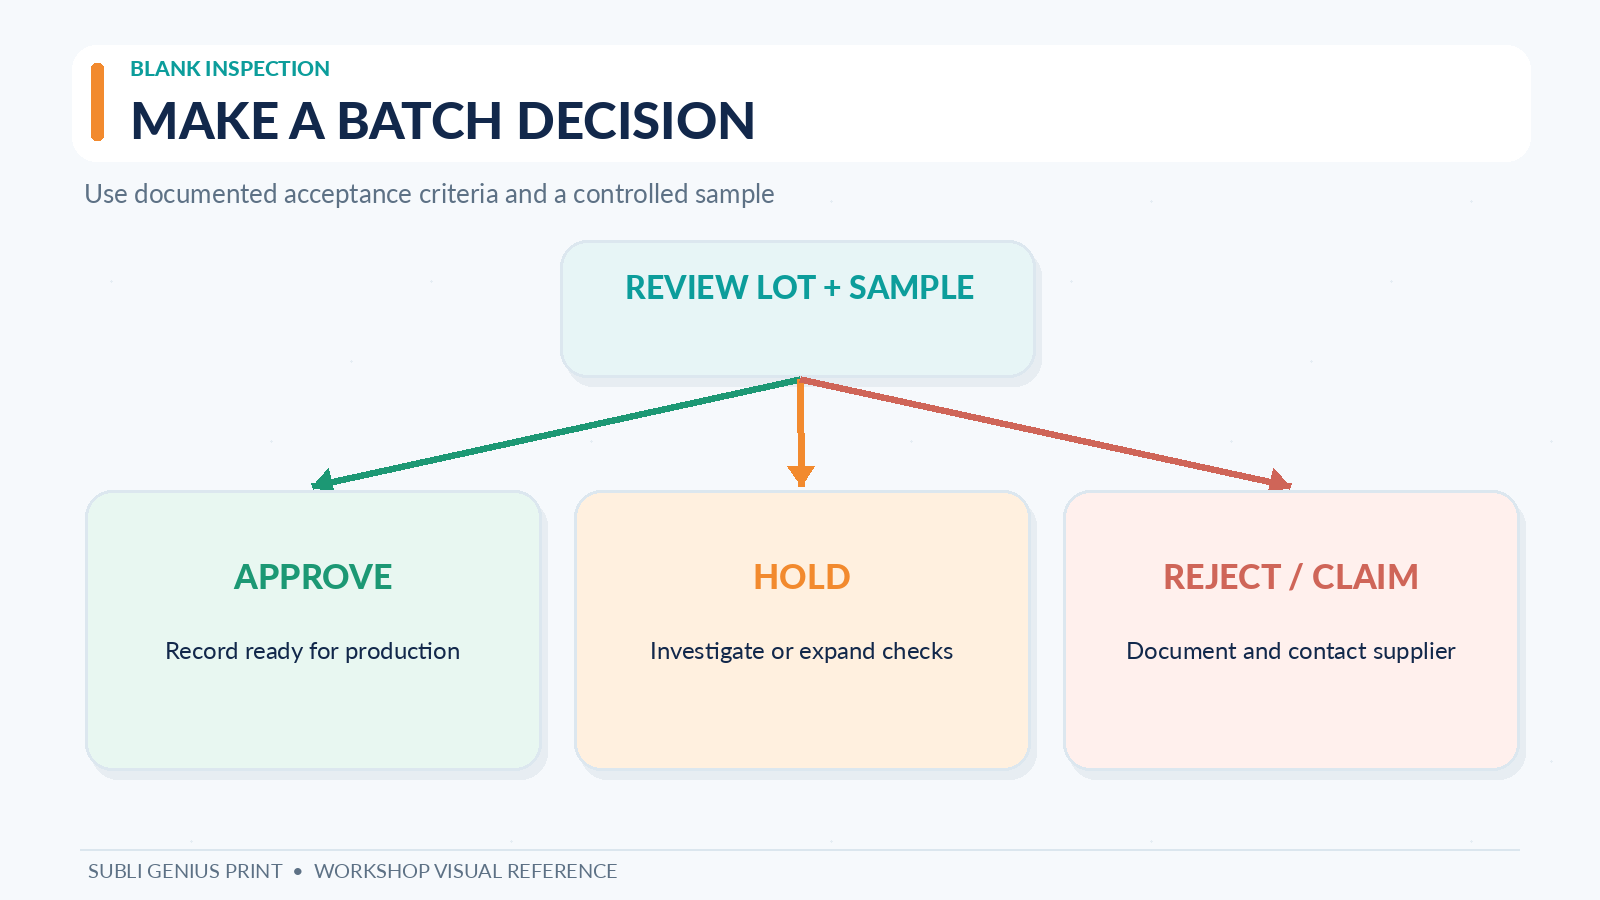
- Mark the lot Approve, Hold for review or Reject/claim. Do not start full production while a serious material or safety issue remains unresolved.
If the same colors appear different on different substrates, our sublimation color shift chart explains why the material can influence appearance. A color reference chart can provide a consistent pattern for your sample tests. These tools do not substitute for blank-specific documentation.
Tell a blank defect from a production problem
The first failed print is a reason to investigate, not a verdict against a supplier. Separate causes before asking for replacement inventory.
| Failure | Possible blank issue | Other checks before blaming the blank |
|---|---|---|
| Missing color in a small patch | Poor coating or damaged receiving layer | Transfer contact, seam, temperature uniformity |
| Pale print across all items | Wrong or inconsistent coating | Ink setup, print profile, press setting, actual equipment temperature |
| Cracking or peeling coating | Damaged or unsuitable finish | Blank instructions and whether its intended heating method was followed |
| Blurry doubled edges | Usually not a material defect | Tape movement, lift-off, shifting during cooling |
| Streaks in print pattern | Not necessarily a coating issue | Nozzle check, paper feed or printed transfer |
| Warped item | Material/heat incompatibility possible | Correct blank, time and pressure, product-specific cooling |
When you adjust a test, change one variable at a time within the product’s permitted range. A repeated failure on one shipment but not on a verified reference lot may justify supplier investigation. Keep both samples and their settings if possible.
Record defects so the supplier can act
A complaint reading ‘bad coating’ is hard to verify. A useful supplier record identifies the product, quantity, lot, defect and supporting evidence.
Keep these details together:
- Purchase order and supplier name.
- Delivered and inspected quantities.
- Exact affected SKU or carton/lot code.
- Description and location of each defect.
- Clear photos with consistent lighting and a close-up where necessary.
- One sample transfer or a controlled comparison, when safe and appropriate.
- Press conditions and manufacturer’s instructions used.
- Resolution requested, such as replacement, credit or technical clarification.
Before purchasing from a new US supplier, compare case sizes, shipping, replacements and quality documentation in the sublimation blank suppliers guide. The receiving record becomes more useful when tied to the supplier’s exact SKU.
What should happen to rejected stock?
Do not put a questionable blank back on the shelf as ‘probably fine.’ Put it in a clearly labeled hold area and retain its carton or order reference until a decision is made. Where applicable, segregate unsafe or damaged drinkware from saleable stock.
A simple status system is enough for a small shop:
| Label | Meaning | Next action |
|---|---|---|
| APPROVED | Receiving checks and required test passed | Release for the documented workflow |
| HOLD | Unresolved defect or missing supplier guidance | Retest, document or ask supplier |
| REJECT | Confirmed failure under accepted criteria | Initiate claim or dispose safely according to policy |
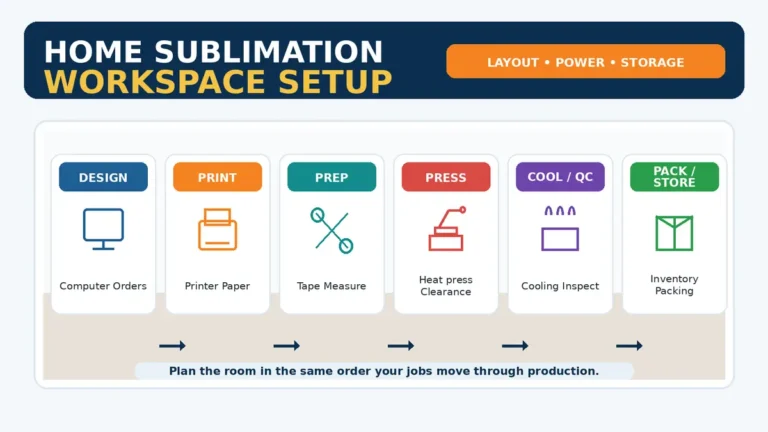
Add the inspection checkpoint to the wider print shop production checklist so a blank does not move from receiving to artwork production without a recorded decision.
Free receiving checklist and test-print log
Download the printable blank inspection checklist and QC log (PDF). The companion PDF has two pages:
- Page 1: Receiving and physical inspection. Order identification, quantity, defect checklist, inspection sample size and decision.
- Page 2: Sample press and supplier issue log. Blank/transfer details, manufacturer’s settings, observed result, photos and follow-up.
Store completed logs with job records. Over time you can compare repeat defects by supplier or SKU without presenting the resulting data as independent product testing unless you actually collect and substantiate it.
Common questions
Is every white mug a sublimation blank?
No. Dye sublimation on ceramic requires a compatible receiving coating. Look for explicit supplier specifications and confirm the approved heating process before making a test transfer.
Can I test one blank and assume the whole case is good?
No. One sample shows what happened to that sample under those conditions. Inspect more items as risk or evidence warrants. Formal customer or supplier inspection agreements take precedence over this informal shop checklist.
What if the supplier does not provide press instructions?
Ask the seller or manufacturer for the product-specific procedure. Do not guess a temperature from another product’s chart or heat an unknown plastic or coating. Choose a better-documented blank if the information remains unavailable.
Should I keep a failed test sample?
Yes, when it can be stored safely. Label it with the purchase order, date and settings. It can help distinguish a repeatable material problem from changes in the printer or heat press.
Make inspection part of the order, not a rescue step
Before the next shipment arrives, print a few copies of the QC log, decide who signs off on receiving, and select a hold area for suspect blanks. The benefit comes from catching problems while you still have time to contact the supplier and adjust the production plan.