Best Settings for Large Sublimation Images on Cricut
Don’t miss out on creating stunning large sublimation images on Cricut with the best settings! Learn how to get vibrant and professional results with our helpful guide.
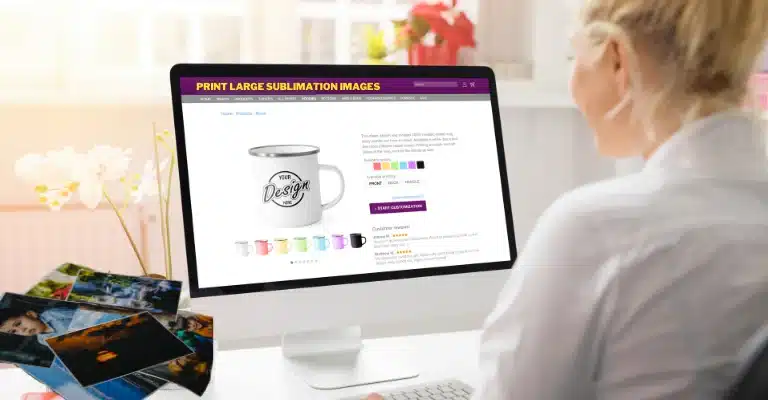
Sublimation is the process of transferring dye onto materials using heat. Cricut is a machine that allows you to cut different materials with precision. You can create beautiful and large images for t-shirts, mugs, and other items using Cricut and sublimation.
What is Sublimation?
Sublimation is like magic. It’s when the dye turns into a gas and then goes straight into a material like a shirt or a mug. The gas then cools down and turns back into a solid, leaving the image on the fabric.
What is Cricut?
Cricut is a machine that looks like a printer. Instead of printing, it cuts out shapes and letters from paper, vinyl, or other materials. You can make anything from stickers to t-shirts with Cricut.
What are the Best Settings for Large Sublimation Images on Cricut?
When working with sublimation and Cricut, the best settings for large images are:
- Blade: 45 degrees
- Pressure: 340
- Speed: 8
- Multi-Cut: 2
- Design: Mirror
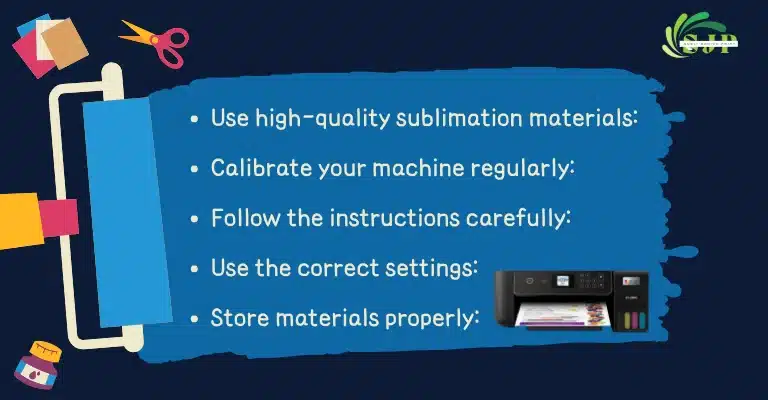
Tips for Preparing Your Design
To get the best results, you need to prepare your design correctly. Here are some tips to follow:
- Use high-quality images with at least 300 DPI (dots per inch).
- Make sure your plan is in mirror format before printing.
- Keep your design simple without too much detail.
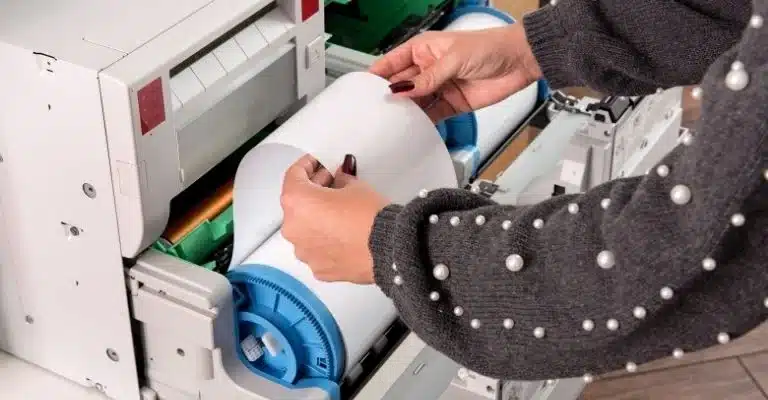
Preparing Your Material
Before you start cutting, you need to prepare your material. Here’s what you should do:
- Make sure your cloth is clean and free of any dust or debris.
- Cut your fabric to the correct size.
- Place your material on the heat press and pre-press for 15-20 seconds.
Loading Your Material
Now that your material is ready, it’s time to load it into your Cricut machine. Here’s how:
- Open the clamp and place your fabric on the mat.
- Make sure your material is straight and aligned with the rug.
- Close the clamp and insert the mat into the Cricut machine.
Setting Up Your Cricut
Before cutting, you need to set up your Cricut machine. Here’s how:
- Turn on your Cricut machine and connect it to your computer.
- Select the correct material type from the list.
- Choose the correct blade and adjust the
Sending Your Design to the Cricut
Once you’ve prepared your material and set up your Cricut, it’s time to send your design to the machine. Here’s how:
- Open your design software and select your plan.
- Click on the “Mirror” option to flip your design horizontally.
- Click on the “Send” button and choose your material type.
- Adjust the settings according to the best locations mentioned above.
- Click on “Cut” to start cutting your design.
Cricut Cutting Settings
The cutting settings on your Cricut machine are essential for getting the best results. Here’s a breakdown of what each stage does:
- Blade: Determines the depth of the cut.
- Pressure: Controls the force applied to the edge.
- Speed: Determines how fast the edge moves.
- Multi-Cut: Determines how many times the blade cuts over the same spot.
- Design: Flips your plan horizontally to create a mirror image.
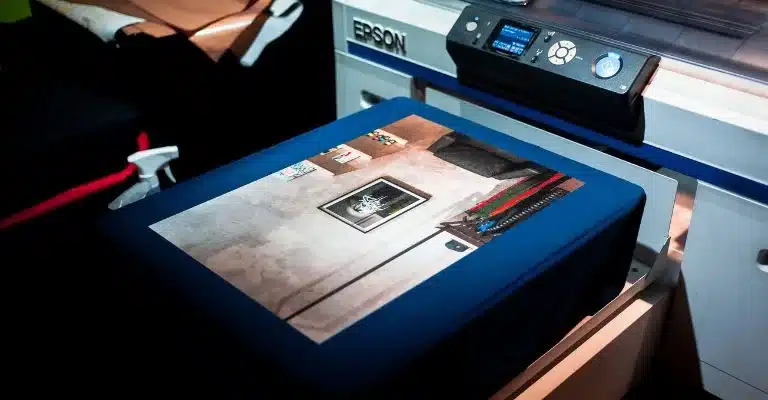
Printing Your Design
Once your design is cut out, it’s time to print it onto your material. Here’s how:
- Preheat your heat press to the recommended temperature.
- Place your sublimation paper face down onto your fabric.
- Place a Teflon sheet on top of the sublimation paper.
- Press the design onto your fabric using the heat press.
Removing the Excess Material
After printing, you must remove the excess material from your design. Here’s how:
- Let your material cool down for a few seconds.
- Remove the Teflon sheet and sublimation paper.
- Gently peel away the excess fabric using your fingers.
Transferring Your Image
Finally, it’s time to transfer your image onto your final product. Here’s how:
- Preheat your heat press to the recommended temperature.
- Place your material with the image face down onto your final product.
- Place a Teflon sheet on top of the material.
- Press the image onto your final product using the heat press.
If you found this guide helpful, share it with your friends and family interested in sublimation and Cricut. And remember, always have fun and be creative!
Different Sublimation Techniques
In the world of sublimation printing, various methods are available to achieve the desired results.
Some of the most popular designs include
- Direct-to-garment printing
- Heat transfer
- Dye sublimation
- Direct-to-garment printing involves printing the design directly onto the garment using specialized inkjet printers.
- Heat transfer involves printing the design onto special paper and pressing the transfer onto the garment.
- Dye sublimation involves printing the design onto special sublimation paper and then pressing the design onto a polyester garment using heat and pressure.
Overview of the advantages and disadvantages of each technique
| Technique | Advantages | Disadvantages |
|---|---|---|
| Direct-to-Garment Printing | High-quality results, vibrant colors, and detailed designs | Limited color options, requires specialized equipment |
| Heat Transfer Printing | Versatile and compatible with a variety of materials, easy to use and cost-effective | Limited color options and may crack or fade over time |
| Dye Sublimation | Vibrant colors and detailed designs, long-lasting results | Requires specialized equipment and can be time-consuming |
| Screen Printing | Long-lasting results, can be done on a variety of materials | Requires specialized equipment and can be time-consuming |
| Digital Printing | High-quality results, cost-effective, and easy to use | Limited color options and may not be as durable as other techniques |
Related Post:
- Exploring Sublimation with Cricut: A Comprehensive Overview: Discover how sublimation works, the materials you can use, and how to start your sublimation journey. Explore this informative resource on sublimation with Cricut to unlock your creativity and take your projects to the next level.
- How to Print Sublimation on Cricut: Step-by-Step Tutorial: Interested in learning how to print sublimation on Cricut? This step-by-step tutorial has got you covered.
- Choosing the Right Sublimation Printer: A Comprehensive Guide: Looking to invest in a sublimation printer? Make an informed decision with our comprehensive guide on sublimation printers.
Common Problems Faced During Sublimation on Cricut
Some of the most common problems faced during sublimation on Cricut include improper alignment, smudging, and fading.
- Improper alignment is when the design is not correctly aligned on the material, resulting in a distorted or blurry image.
- Smudging occurs when friction between the transfer paper and the material causes the design to smear.
- Fading is when the design loses its vibrancy and colour over time, resulting in a dull or washed-out look.
It’s important to understand these problems and their potential causes, as they can significantly affect the quality of your sublimation prints. However, the proper techniques and materials can prevent or quickly correct many issues.
Common Problems in Sublimation on Cricut
| Problem | Description |
|---|---|
| Improper Alignment | When the sublimation paper is not properly aligned with the Cricut machine, this can result in distorted or incomplete designs. |
| Smudging | If the sublimation paper comes into contact with any moisture or oils during the printing process, this can cause smudging or smearing of the design. |
| Fading | Over time, sublimation prints may fade or lose their color vibrancy due to exposure to light, heat, or other elements. |
Conclusion:
Sublimation printing has become increasingly popular recently, and the Cricut machine has become an indispensable tool for many artists and crafters. Choosing the suitable Cricut machine and materials and understanding the best settings and techniques are vital to achieving professional-level results. Following the tips and guidelines outlined in this post can overcome common problems and elevate your craft to the next level.
Explore the world of sublimation and printers with our comprehensive guide, for more information or a step-by-step how-to guide.
FAQs:
Q: What is sublimation printing, and why is it popular? A: Sublimation printing transfers designs and images onto various materials using heat and pressure. It has become popular because it offers high-quality and long-lasting results on various materials, including fabric, ceramics, and metal.
Q: What factors should I consider when choosing a Cricut machine for sublimation? A: When choosing a Cricut machine for sublimation, you should consider the size of the materials you want to print on, the machine’s compatibility with sublimation materials, and its ability to handle the high heat and pressure required for sublimation.
Q: What materials are best for sublimation on Cricut machines? A: The best materials for sublimation on Cricut machines are made of polyester, nylon, or other synthetic fibres. Coated or uncoated sublimation papers are also commonly used for sublimation printing.
Q: What are the best settings for large sublimation images on Cricut? A: It will depend on the materials you are using, the image size, and your personal preferences.
Q: How do I troubleshoot sublimation problems on my Cricut machine? A: To troubleshoot sublimation problems on your Cricut machine, you can start by checking the alignment of your materials, ensuring that the temperature and pressure settings are correct, and using the right sublimation paper. If the problem persists, you may need to seek the help of a professional or consult the Cricut machine’s manual for further guidance.