7 Steps to Create Stunning Bleached Shirts for Sublimation
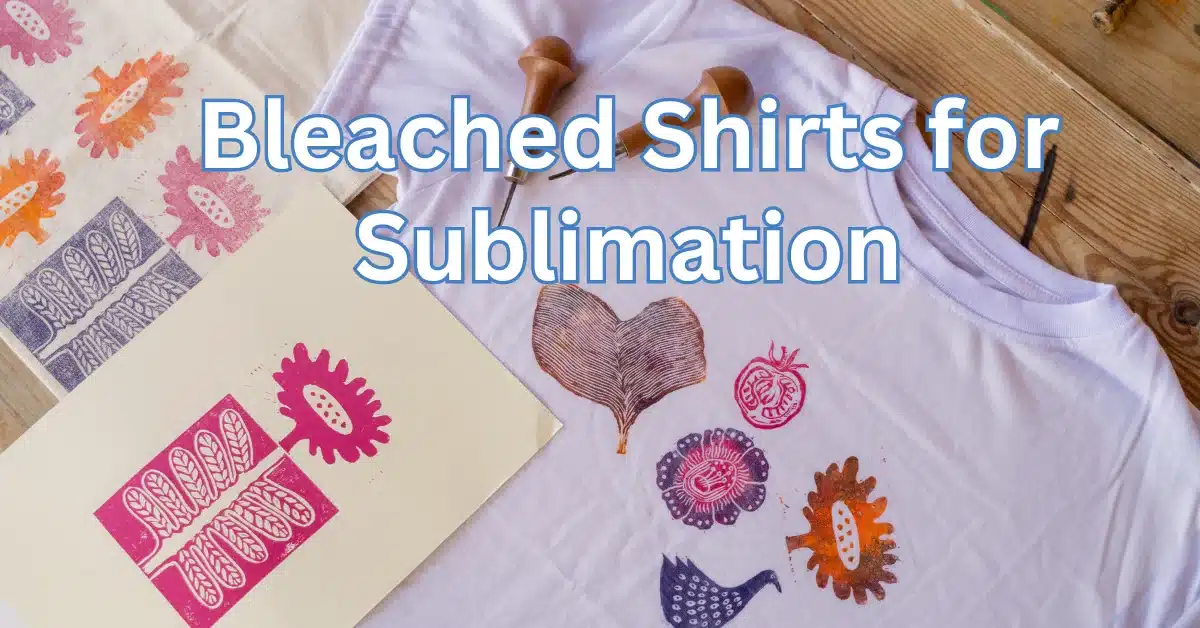
Bleached shirts for sublimation are a trendy and creative way to customize your clothing. Sublimation is a process that transfers a design from a special paper onto a fabric using heat and pressure. Bleached shirts are shirts that have been treated with bleach to create unique patterns and colors.
Have you ever wondered how to create those eye-catching bleached shirts that are the perfect canvas for sublimation printing? Well, wonder no more!
By following this step-by-step guide, you can create bleached shirts that will enhance your sublimation designs. So, get ready to begin!
How to Create Bleached Shirts for Sublimation
Step 1: Gather Your Materials
Before you dive into the bleaching process, you’ll need to gather the following materials:
- Plain White Cotton Shirts: Start with a clean canvas, preferably 100% cotton, for the best results.
- Bleach: Opt for regular household bleach, which is readily available.
- Spray Bottle: A spray bottle will assist you use the bleach evenly.
- Plastic Gloves: Safety first! Protect your hands from bleach exposure.
- Plastic Trash Bags: To cover your work surface and prevent accidental spills.
- Stencil or Vinyl Cutter: Depending on your design, you’ll need a stencil or vinyl cutter to create a template.
- Cardboard or Cardstock: Use this to insert inside the shirt to prevent bleach from bleeding to the back.

Step 2: Design Your Template
Decide on the design you want for your bleached shirt. Create or choose a template that suits your vision, whether it’s a bold graphic, logo, or unique pattern. If you’re new to stenciling, you can find plenty of free templates online to get you started.
Step 3: Prepare Your Work Area
Set up your workspace by laying down plastic trash bags to protect your surfaces. Ensure you’re working in a well-ventilated area or outside, as bleach fumes can be intense.
Step 4: Position and Secure Your Template
Place your template on the shirt where you want the design to appear. Secure it in place with masking tape or adhesive spray to prevent any shifting during the bleaching process.
Step 5: Bleach Application
This is where the magic happens! Fill your spray bottle with bleach and spray it onto the shirt through the template. Be cautious not to oversaturate, as this can lead to blurry lines and unintended effects. Aim for even coverage.
Step 6: Wait and Rinse
After spraying, allow the bleach to work its magic for about 5-10 minutes. Keep an eye on it, as bleach works quickly. When you achieve the desired level of color change, rinse the shirt thoroughly with cold water to stop the bleaching process.
Step 7: Wash and Dry
Once the shirt is rinsed, toss it in the washing machine with a mild detergent. This will help remove any remaining bleach and neutralize it. After washing, dry your shirt as you normally would.
Pro Tip: To keep the vibrancy of your sublimation print, wash your bleached shirt inside out and avoid utilizing harsh detergents or bleach in future washes.
There you have it—your bleached shirt is ready for sublimation printing! The bleached areas will be a striking backdrop for your designs, creating a unique and visually appealing finished product.
So, go ahead and experiment with different designs and colors. With the proper templates and creativity, you’ll craft stunning bleached shirts for sublimation that will turn heads. Happy crafting!
Sublimation Images for Shirts
Sublimation printing can be used to transfer vibrant, full-color images onto shirts in a variety of ways. Due to its durability, high resolution, and seamless finish, it is perfect for both casual and professional wear.
Benefits of Sublimation Printing for Shirts
- Durable Designs
- Lasting color that won’t crack or peel.
- High resistance to washing and fading.
- Vivid Color Range
- Captures 100% of the RGB spectrum.
- Perfect for intricate designs and gradient patterns.
- Comfortable Feel
- Ink bonds directly to the fabric, creating a smooth surface.
- Maintains the natural softness of the shirt.
- Eco-Friendly
- Reduced waste compared to traditional printing methods.
- Uses water-based, non-toxic inks.
How Sublimation Images Enhance Shirt Design
Key Features of Sublimation Images:
- High Resolution: Achieves up to 300 DPI (dots per inch) for crisp details.
- Versatility: Suitable for T-shirts, sportswear, and casual attire.
- Unlimited Creativity: Supports designs with gradients, detailed patterns, and unique textures.
Why Choose Sublimation?
- Produces 85% more durable prints than screen printing.
- Allows for 100% color penetration, ensuring vivid designs on light-colored polyester fabrics.
Best Practices for Sublimation Shirt Images
1. Image Selection
- Use high-quality images (at least 300 DPI resolution).
- Choose designs that complement shirt color (light backgrounds for dark shirts and vice versa).
2. Placement Tips
- Front-center placement for maximum visibility (covers 60% of the chest area).
- Experiment with back designs or pocket logos for variety.
3. Design Testing
- Conduct test prints on 5% of your stock before full production.
- Adjust colors by 10% brightness for improved vibrancy on fabric.
Common Mistakes to Avoid
- Using low-resolution images (< 150 DPI).
- Printing on cotton shirts (reduces print quality by 50%).
- Overloading the design with text—stick to 30% text-to-visual ratio.
Example Designs for Sublimation Shirts
- Festive Christmas Themes: Bright reds, greens, and holiday icons.
- Abstract Art: Gradient patterns and bold colors.
- Motivational Quotes: Stylish typography with a minimalist background.
Explore the world of sublimation and printers with our comprehensive guide, for more information or a step-by-step how-to guide.
Sublimation is a fun and easy way to create personalized and fashionable clothing by bleaching shirts. Simple steps can be used to transform plain white shirts into eye-catching and colorful garments.
A unique and stunning contrast can be achieved by using sublimation printing to add your designs and images to bleached areas.
Our website has everything you need to make bleached shirts for yourself, your friends, or your customers. Don’t wait; order your bleached shirts for sublimation today and unleash your creativity!
Common Queries:
What shirts can be bleached for sublimation? For bleaching and sublimation, the best shirts are usually made of 100% polyester because it is resistant to fading and can handle high temperatures. Due to the risk of shrinking and distorting during bleaching or sublimation, cotton blends are not recommended.
Can you do sublimation on bleached cotton? Yes, you can sublimate on bleached cotton, but the image quality and durability will not be as good as on polyester or polyester-blend fabrics.
By bleaching cotton, a lighter area is created for the sublimation design to show through, removing some of the material’s color.
Because cotton fibers are more absorbent and prone to bleeding, the sublimation ink won’t bond well with the fabric and may be easily washed out.
What kind of shirt is best for sublimation? Sublimation requires a shirt that is either 100% polyester or a polyester blend with at least 80% polyester content.
Sublimation ink can form a strong bond with polyester, resulting in bright, vivid, and permanent colors. Polyester shirts are easy to take care of because they don’t shrink, wrinkle, or fade.
Will 50 cotton and 50 polyester bleach? Bleaching 50 cotton and 50 polyester fabrics requires a different approach than bleaching 100% cotton or polyester. Due to their unique chemical structures, bleach works differently on cotton and polyester.
By reacting with cotton, bleach breaks down its structure and removes its color. Bleach breaks down polyester, causing it to weaken and damage the fibers. To avoid ruining the fabric, it’s important to use bleach sparingly and carefully on 50 cotton and 50 polyester fabric.


