7 Amazing Tips for Sublimation on Glass
Glass can produce some of the sharpest and most vibrant sublimation designs, but it also exposes mistakes faster than almost any other material. A small temperature change, weak coating, or uneven pressure can leave you with faded colors, peeling edges, or cracked blanks.
The good news is that most glass sublimation problems come from a few fixable setup issues. Once your coating, heat settings, and cooling process are consistent, sublimation on glass becomes much more reliable for tumblers, mugs, photo panels, jars, and decorative projects.
This guide explains the best glass types for sublimation, recommended time and temperature settings, coating options, and the most effective ways to avoid common transfer problems.
Can You Sublimate on Glass?
Yes, but the glass must have a polyester sublimation coating or laminate layer for the ink to bond properly.
Regular untreated glass does not absorb sublimation dye. The ink may look fine immediately after pressing, but it usually fades, peels, or washes away quickly without a proper coating.
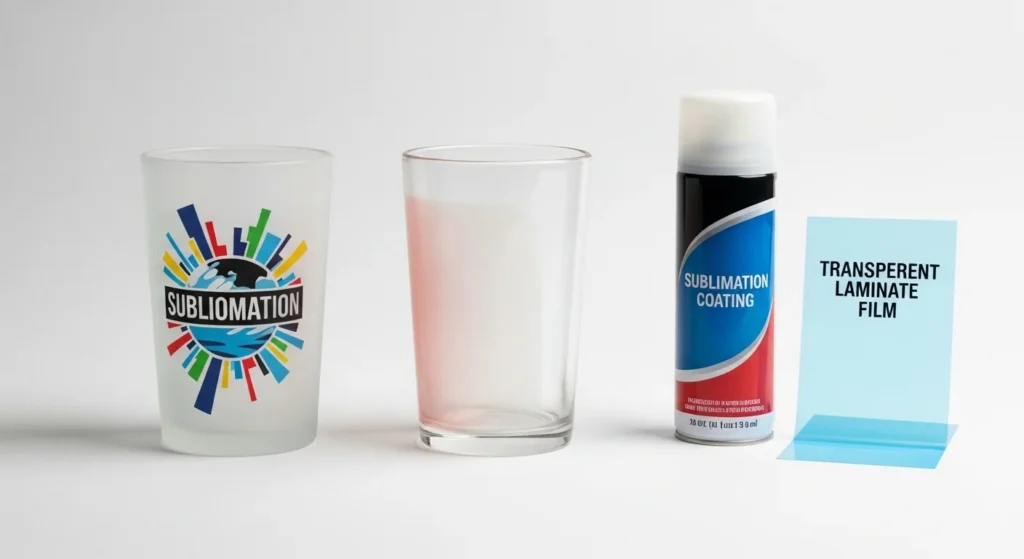
There are three common ways to prepare glass for sublimation:
- Use pre-coated sublimation glass blanks
- Apply sublimation coating spray
- Use laminate sheets for certain projects
Pre-coated blanks are usually the most reliable option because they provide more consistent color retention and durability.
If you are new to sublimation materials, this sublimation material guide explains which surfaces work best for sublimation printing.
What Type of Glass Works Best for Sublimation?
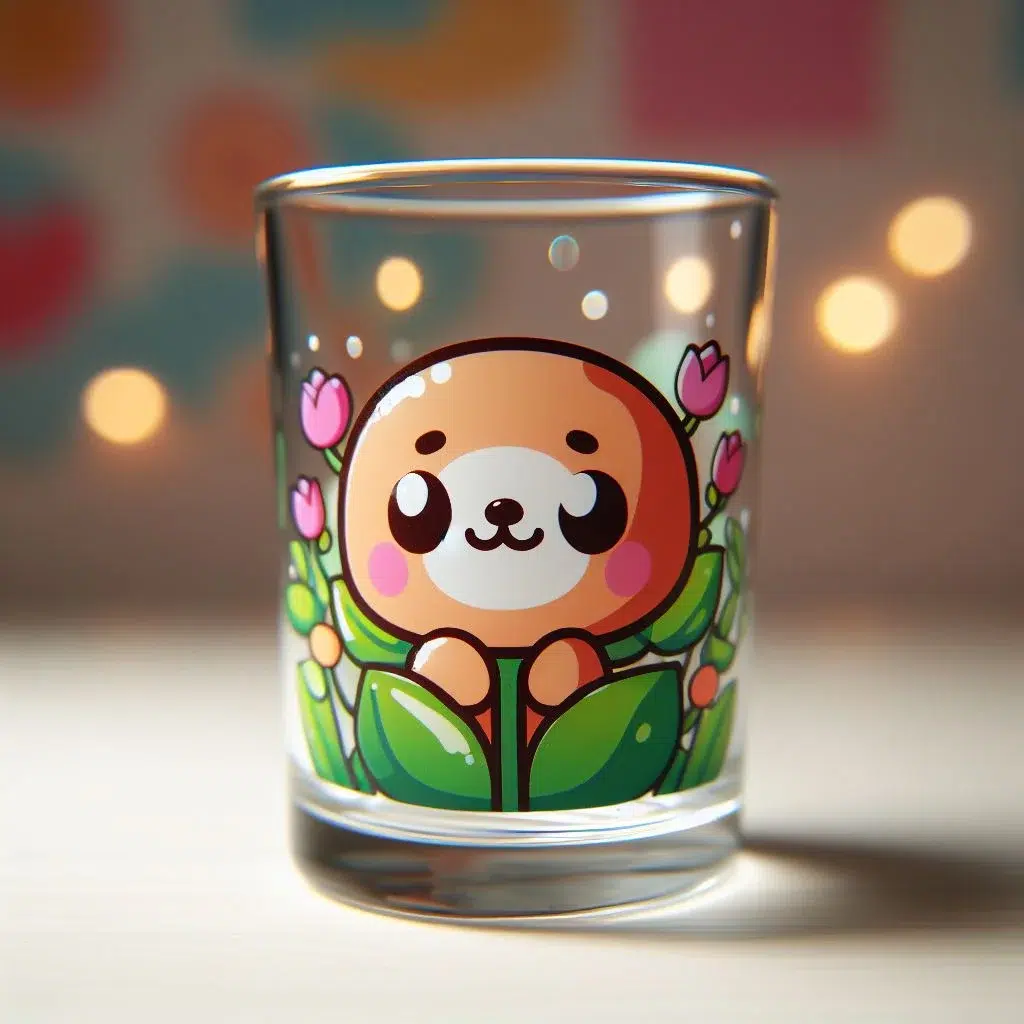
Frosted glass usually produces better sublimation results than clear glass because the textured surface holds sublimation dye more effectively.
Frosted Glass
Frosted glass is one of the most beginner-friendly options for sublimation because it already has a textured appearance that helps reduce visible flaws.
Best uses:
- Glass tumblers
- Frosted mugs
- Photo panels
- Decorative jars
Benefits:
- Better color retention
- Reduced ghosting
- More forgiving heat transfer
Clear Glass
Clear glass creates a sleek and modern look, but it is harder to sublimate consistently.
Challenges:
- Requires strong coating adhesion
- More prone to fading
- Uneven pressure becomes more visible
Many beginners notice dull sublimation colors on clear glass when temperatures or coatings are inconsistent. This guide to fixing dull sublimation colors explains the most common causes.
Best Glass Thickness
Glass blanks should ideally be at least 3mm thick.
Thin glass heats unevenly and is more likely to crack from thermal shock during pressing.
Tools and Materials Needed for Sublimation on Glass
Before starting, gather the correct sublimation supplies to reduce transfer problems.
Required Materials
- Sublimation printer
- Sublimation ink
- Sublimation paper
- Heat press or convection oven
- Heat-resistant tape
- Teflon sheets
- Polyester-coated glass blank or sublimation coating spray
- Lint-free microfiber cloth
- 90% isopropyl alcohol
Helpful Optional Tools
- Silicone wraps for tumblers
- Foam pressure pads
- Infrared thermometer
- Shrink wrap sleeves for ovens
Using the correct blanks matters just as much as heat settings. This sublimation blanks and substrates guide explains which materials work best for different projects.
Best Sublimation Settings for Glass
Most sublimation glass projects work best between 365°F and 380°F for 180 to 300 seconds depending on the coating and glass thickness.
| Glass Type | Temperature | Time | Pressure |
|---|---|---|---|
| Frosted glass mug | 380°F | 240–300 sec | Medium |
| Glass tumbler | 370°F | 200–240 sec | Medium |
| Clear glass panel | 365°F | 240–300 sec | Light |
| Glass cutting board | 385°F | 200–240 sec | Medium |
These settings can vary depending on:
- heat press calibration
- coating quality
- transfer paper
- glass thickness
A common sublimation mistake is pressing glass at the same settings used for polyester shirts. Glass transfers usually require longer press times and slower cooling.
For additional setup help, review these heat press sublimation settings.
Step-by-Step: How to Sublimate on Glass
1. Clean the Glass Surface
Wipe the glass thoroughly with isopropyl alcohol and a lint-free cloth.
Dust, fingerprints, and oils can cause:
- ghosting
- faded spots
- uneven transfers
2. Apply Sublimation Coating if Needed
If the glass is not pre-coated:
- apply two thin coats of sublimation spray
- allow proper drying time between coats
- avoid heavy buildup
Uneven coating often causes patchy color transfer.
3. Print Your Design in Mirror Mode
Always mirror the artwork before printing.
This is especially important for:
- text
- logos
- layered graphics
Use high-quality sublimation paper for sharper detail and stronger ink release.
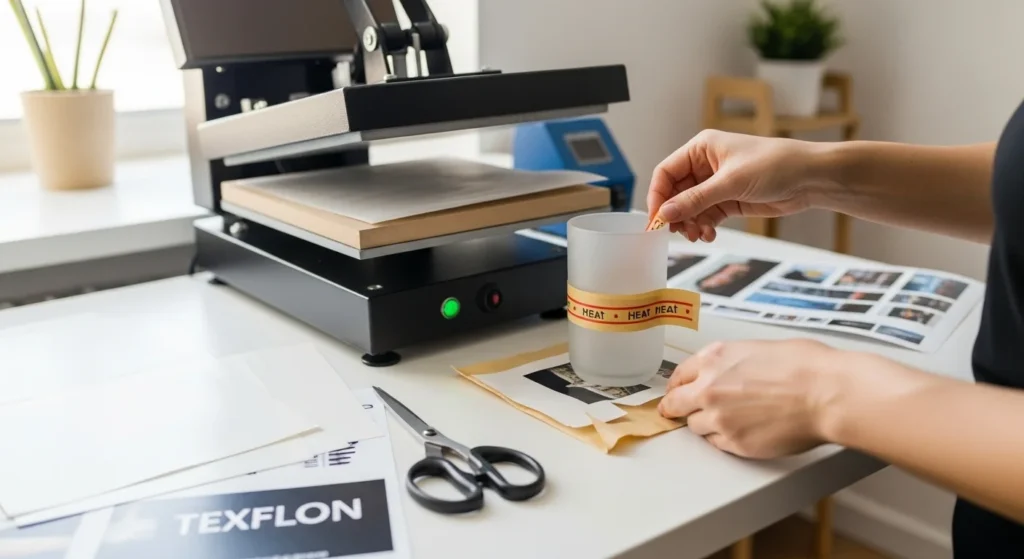
4. Secure the Transfer
Place the printed transfer face-down on the glass.
Use:
- heat-resistant tape
- silicone wraps
- shrink wrap sleeves
Movement during pressing can create blurry edges or ghosting.
5. Preheat the Glass
Preheat the blank for 10 to 15 seconds before full pressing.
This helps:
- reduce thermal shock
- improve heat consistency
- lower cracking risk
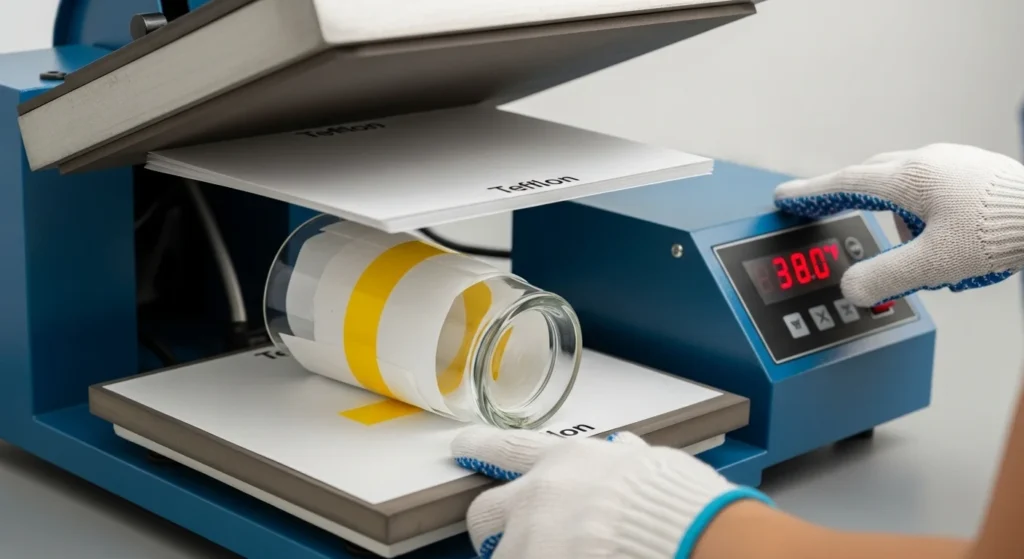
6. Press the Design
Apply the correct temperature, pressure, and pressing time based on the glass type.
Start timing only after the press fully closes.
7. Cool Slowly
Allow the glass to cool naturally before removing the paper.
Rapid cooling can cause:
- cracks
- lifting
- weak adhesion
Patience during cooling usually improves durability.

Common Sublimation on Glass Problems
Why Do Sublimation Colors Look Faded on Glass?
Faded designs usually come from:
- insufficient heat
- poor coating adhesion
- low-quality transfer paper
- incorrect pressure
Increase the temperature slightly or extend pressing time by 20 to 30 seconds during testing.
Color problems are often linked to ICC profile setup and heat consistency. This sublimation troubleshooting guide covers more print quality fixes.
Why Does Glass Crack During Sublimation?
Glass cracking usually happens because of:
- thin blanks
- uneven heating
- sudden temperature changes
To reduce cracking:
- use thicker blanks
- preheat gradually
- avoid excessive pressure
- cool slowly after pressing
Why Does the Design Peel Off?
Peeling happens when sublimation ink cannot bond properly to the surface.
Common causes:
- untreated glass
- weak coating
- rushed cooling
- moisture contamination
Applying a clear acrylic sealant after sublimation can improve durability for decorative projects.
Why Does Ghosting Happen on Glass?
Ghosting occurs when the transfer shifts during pressing.
To reduce ghosting:
- tape the transfer securely
- use even pressure
- avoid lifting the press too quickly
- use foam padding on curved surfaces
Best Glass Products for Sublimation
Several glass products work especially well for sublimation printing.
Popular Glass Sublimation Blanks
- Frosted tumblers
- Beer can glasses
- Glass cutting boards
- Glass photo panels
- Mason jars
- Frosted mugs
- Decorative candle holders
Curved surfaces usually benefit from:
- silicone wraps
- convection ovens
- shrink sleeves
Flat surfaces are easier for beginners because pressure stays more consistent.
How to Make Sublimation on Glass Last Longer
Glass sublimation is more durable when the transfer process is consistent from start to finish.
Tips for Better Durability
- Use pre-coated sublimation blanks
- Avoid overheating the glass
- Let the item cool naturally
- Handwash instead of using dishwashers
- Apply UV-resistant clear sealant for outdoor décor
Many beginners accidentally overpress glass trying to improve color vibrancy. Excessive heat often weakens adhesion instead of improving it.
Can You Sublimate on Glass With Cricut?
Yes, Cricut users can sublimate on glass using sublimation prints, laminate methods, or compatible sublimation blanks.
However, Cricut machines do not directly print sublimation transfers. You still need:
- a sublimation printer
- sublimation ink
- heat transfer equipment
For Cricut-based workflows, this sublimation with Cricut guide explains how to combine Cricut crafting with sublimation printing.

Frequently Asked Questions
Can I sublimate on regular glass?
No. Regular untreated glass does not hold sublimation ink properly unless you apply a sublimation coating or laminate layer.
How long do you sublimate on glass?
Most glass projects require 180 to 300 seconds depending on thickness, coating, and heat source.
What temperature works best for sublimation on glass?
Most sublimation glass projects work best between 365°F and 380°F.
Can you use a Cricut heat press on glass?
Yes, but heat settings and pressure must be carefully controlled to avoid cracking the glass.
Is frosted glass better for sublimation?
Yes. Frosted glass usually provides stronger adhesion and more vibrant color retention than clear glass.
Quick Recap
Sublimation on glass works best when you combine the right coating, correct heat settings, and slow cooling techniques. Frosted pre-coated blanks are usually the easiest option for beginners because they provide better adhesion and fewer transfer problems.
If your designs look faded, blurry, or inconsistent, focus on improving:
- coating quality
- heat consistency
- pressure control
- cooling time
Once your workflow becomes consistent, glass sublimation can produce clean, professional-looking results for drinkware, décor, and personalized gifts.