
How to Clean a Sublimation Printer: Complete Step-by-Step Guide

Streaky lines, faded colors, or missing sections in your prints almost always trace back to one thing: the printer needs cleaning. Clogged nozzles, dried ink, and dust buildup are the usual causes, especially if the printer sits idle between projects. For related planning, see 10 Father's Day Sublimation Gift Ideas With Step By Step Practical Guides.
Most cleaning problems can be fixed in under 30 minutes without special tools. This guide walks through the full process, including Epson-specific steps and clogged printhead fixes, so you have everything in one place.
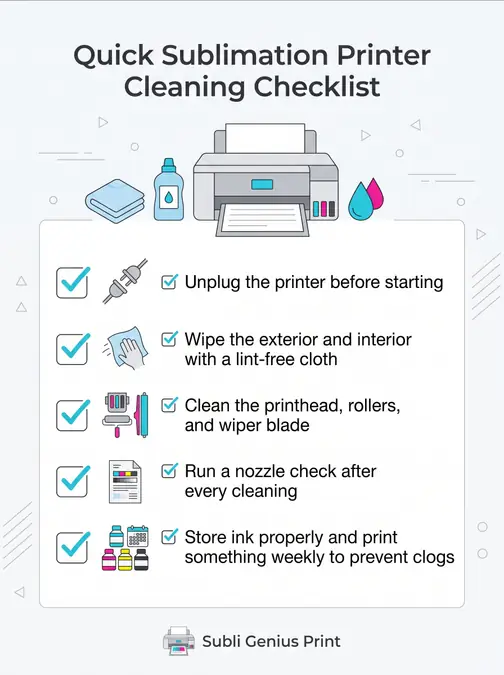
Quick Cleaning Checklist
- Unplug the printer before starting
- Wipe the exterior and interior with a lint-free cloth
- Clean the printhead, rollers, and wiper blade
- Run a nozzle check after every cleaning
- Store ink properly and print something weekly to prevent clogs
What Causes Sublimation Printer Clogs
Clogs rarely happen out of nowhere. They build up slowly, usually from one of these causes.
- Infrequent printing. Sublimation ink dries faster than standard inkjet ink. If the printer sits unused, dried ink blocks the nozzles.
- Low-quality or old ink. Cheap or expired ink leaves residue inside the printhead and ink lines.
- Dust buildup. Dust mixes with ink mist inside the printer and hardens over time.
- Improper shutdown. If the printer isn’t turned off correctly, the printhead may not park in the capping station, which lets it dry out.
- Extreme temperature or humidity. Ink thickens in cold rooms and dries faster in hot, dry environments.
Printing a small color test page once a week keeps ink flowing and cuts down on buildup before it starts.
Tools You Need
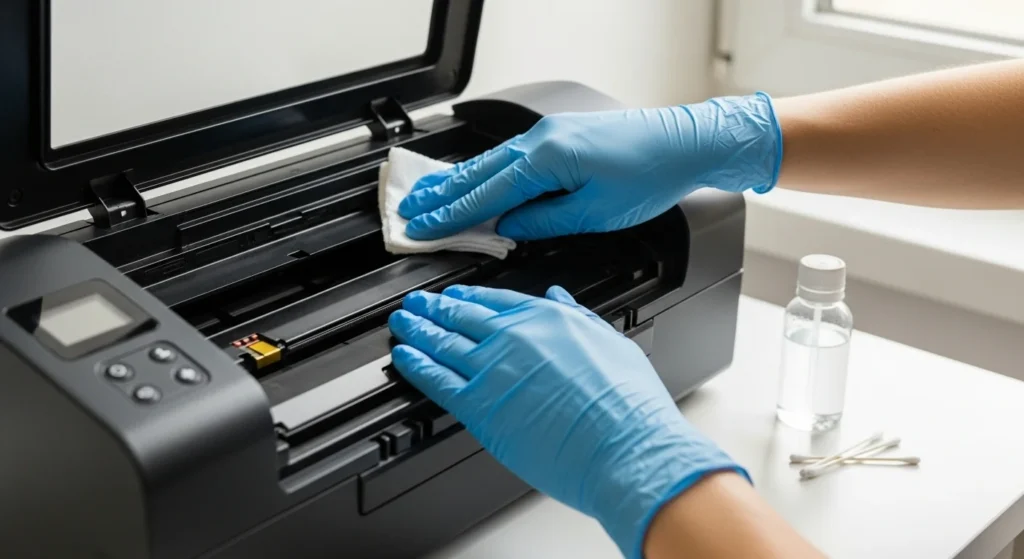
- Distilled water: tap water leaves mineral residue, so skip it
- Isopropyl alcohol (70% or higher): cuts through dried ink
- Lint-free cloths: microfiber works well, paper towels leave lint behind
- Cotton swabs: for tight, hard-to-reach spots
- Disposable gloves: optional, but keeps ink off your hands
- Syringe (blunt tip): needed for flushing old ink, covered further down
The full process takes about 25 minutes and the supplies cost around $5, depending on what you already have on hand.
Step-by-Step Cleaning Process
1. Check your printer’s manual first
Every model is a little different. Your printer’s manual, or a searchable online version, will show exactly where the printhead sits and any quirks specific to that model.
2. Power off and unplug
Turn off the printer and unplug it before touching anything inside. This keeps it from spraying ink mid-clean.
3. Run the built-in cleaning cycle
This should always be your first step, before any manual cleaning. On most sublimation printers, including Epson and Sawgrass models, you’ll find this under a Maintenance or Cleaning menu.
- Go to the printer’s control panel
- Run one cleaning cycle
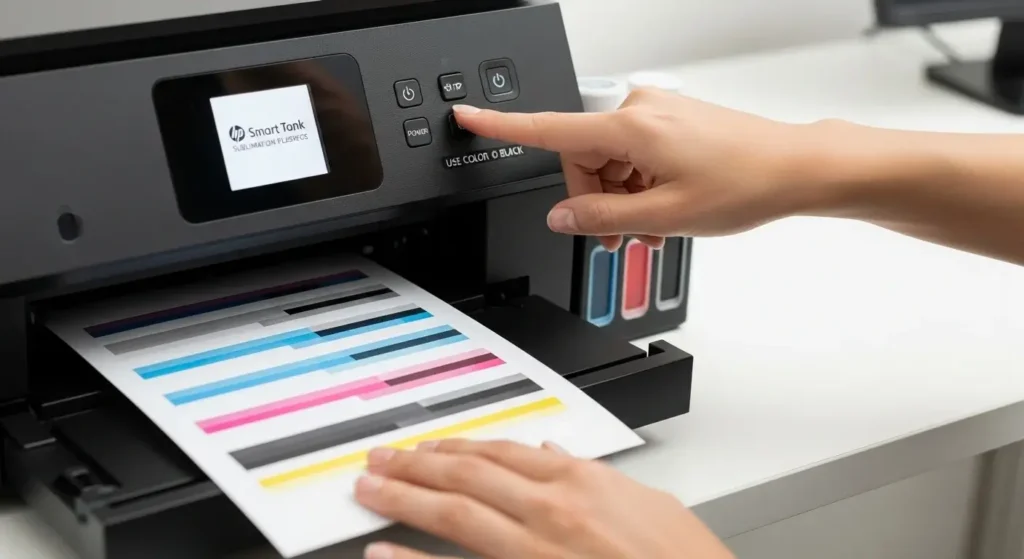
- Print a nozzle check test page
- If gaps remain, run one more cycle, but stop after two or three
Cleaning cycles use a fair amount of ink, so running too many in a row can fill the waste ink pad faster than expected. If two cycles don’t clear it up, move on to manual cleaning.
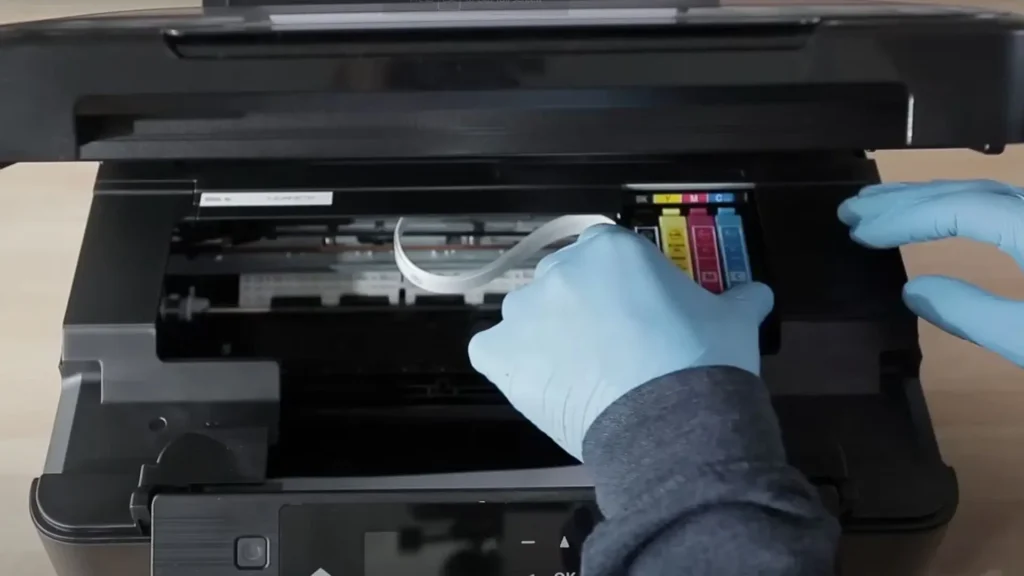
4. Manually clean the printhead
If the automatic cycle doesn’t fix the problem, it’s time to get hands-on.
- Mix a 50/50 solution of distilled water and isopropyl alcohol
- Dampen, don’t soak, a lint-free cloth with the solution
- Gently wipe the printhead, usually located under the lid near the ink cartridges
- For stubborn dried ink, let the solution sit for a minute before wiping
- Use cotton swabs for tight spots, without jamming them into the mechanism
Never press hard or insert anything sharp under the printhead. The nozzle plate is delicate and easy to damage.
5. Check ink lines and waste ink pads
Ink lines can clog when a printer sits unused for a while, and waste ink pads collect excess ink over time. Check your manual for how to access ink lines on your specific model, since some require special flushing fluid. If the waste ink pad looks soaked, blot up the excess or replace it, and keep gloves handy since this step gets messy.
Cleaning an Epson Sublimation Printer
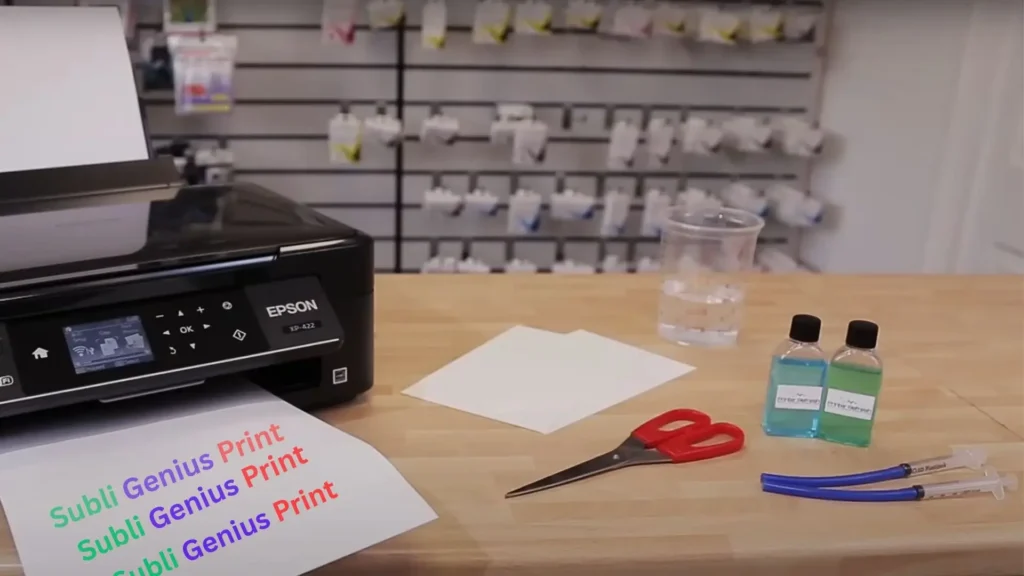
Epson printers use their own menu structure, so it helps to know exactly where to look.
- From the home screen, go to Maintenance, then Nozzle Check, to see whether any color lines are missing or broken
- If lines are missing, run Head Cleaning from the same menu
- Print another nozzle check to confirm the fix worked before printing a full job
If the built-in cycle doesn’t clear a stubborn clog, a syringe kit designed for printhead maintenance can push cleaning fluid directly through the nozzle ports. After manual cleaning, leave the printer open for one to two hours to dry completely before reassembling and powering it back on. Reassembling while parts are still damp is one of the most common reasons a fix doesn’t hold.
For more detail on how Epson’s built-in maintenance tools differ from manual nozzle checks, see Epson purge files vs nozzle checks.
Fixing a Clogged Printhead
A clog shows up as thin white lines through your print, entire colors missing, or a nozzle check pattern with visible gaps. This is different from streaking caused by dirty rollers, so it helps to confirm which problem you’re actually dealing with before you start.
Start with the built-in cleaning cycle described above. If that doesn’t resolve it after two attempts, manual cleaning with the alcohol and water solution is the next step. For clogs that don’t respond to either method, the ink has likely dried further inside the nozzle itself, which is where flushing with a syringe comes in, covered in the next section.
For a broader walkthrough of unclogging steps specifically, see unclogging a sublimation printer step by step.
How to Clean Old Ink Out of a Sublimation Printer
This step is different from routine cleaning. It’s meant for ink that has dried deep inside the cartridge or nozzle opening, usually after a printer has sat unused for an extended period.
- Remove the cartridge or access the nozzle opening according to your printer’s manual
- Insert a blunt-tip syringe into the ink opening
- Gently pull back and push forward to dislodge dried ink inside the line
- Reassemble the cartridge and repeat the process for each color individually
- Run a nozzle check after reassembly to confirm ink is flowing through every color
Work slowly and avoid forcing the syringe. The goal is to loosen dried ink, not push it further into the line.
Cleaning Rollers and the Paper Path
Not every print defect comes from a clog. Dirty rollers or debris in the paper path can cause streaking and feed problems on their own.
- Turn off and unplug the printer
- Remove any paper from the tray
- Wipe the paper path with a dry, lint-free cloth
- Gently wipe the feed rollers with a cloth dampened with distilled water only
- Let the rollers dry completely before turning the printer back on
Skip alcohol on rubber rollers. It dries them out and reduces their grip over time. If paper jams happen often, debris in this area is usually the reason.
How to Keep a Sublimation Printer From Clogging
Prevention is a lot less work than fixing a clog after it happens.
- Print something, even a small test page, at least once a week
- Use quality ink recommended for your printer, since cheap ink leaves more residue
- Shut the printer down properly so the printhead parks in the capping station
- Keep the printer in a stable temperature and humidity range where possible
- Run a cleaning cycle on a set schedule rather than waiting for print quality to drop
How often you should clean depends on how much you print. Daily use calls for a cleaning cycle every couple of weeks. Occasional use is fine with a check before big projects or whenever print quality starts to slip. A printer that sits mostly idle benefits from a cycle once a month, even with nothing to print.
Printing a purge sheet on a regular basis is one of the simplest habits for keeping ink moving through every nozzle.
When to Do a Deep Clean
A standard cleaning cycle handles most minor clogs. A deep clean is a different, more intensive step, and it’s worth knowing when it’s actually necessary.
Consider a deep clean if:
- You’ve run two or three cleaning cycles and the nozzle check still shows gaps
- Certain colors are completely missing from the test page
- Prints look banded or uneven across large areas
- The printer has sat unused for several weeks
- Ink flow still seems weak even after manual printhead wiping
A deep clean usually means running an extended cleaning cycle through the printer’s maintenance menu.
Some models label this “Power Cleaning” or “Ink Flush.” Use it sparingly, since it uses significantly more ink than a normal cycle and can fill the waste ink pad faster.
Always print a nozzle check after a deep clean to confirm every color is flowing evenly.
If problems continue even after that, the issue may involve ink lines, dampers, or worn components rather than dried ink alone, and that’s a good point to consider professional service.
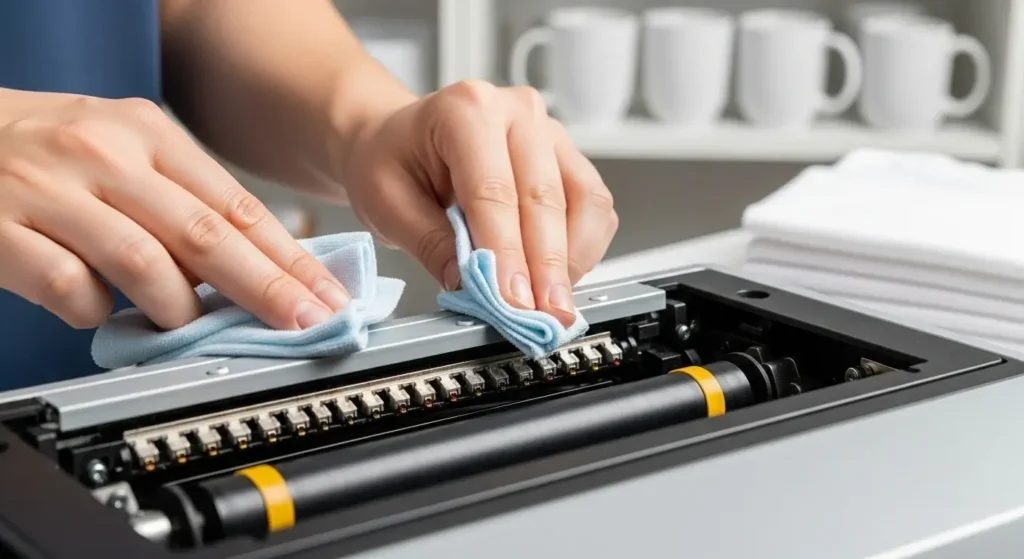
Clean Rollers and Paper Path
Sometimes streaks and print defects aren’t from clogs at all. They come from dirty rollers or debris in the paper path.
Cleaning this area improves feed accuracy and prevents smudging.
Steps:
- Turn off and unplug the printer.
- Remove any paper from the tray.
- Use a dry lint-free cloth to wipe the paper path.
- Gently wipe the feed rollers with a slightly damp cloth (distilled water only).
- Allow rollers to dry completely before turning the printer back on.
Do not use alcohol on rubber rollers. It can dry them out and reduce grip over time.
If paper jams happen frequently, debris in this area is often the cause.
How Often Should You Clean?
It depends on how much you print:
- Daily use: Run a cleaning cycle every couple of weeks.
- Occasional use: Clean before big projects or if you notice print quality dropping.
- Idle printers: Run a cycle monthly to prevent clogs.
Pro Tips
- Use quality ink: Cheap or old sublimation ink can clog things up. Stick with the brand’s recommended ink.
- Don’t over-clean: Too many cleaning cycles burn through ink fast.
- Keep it regular: I learned the hard way after skipping maintenance and ending up with blurry shirt prints for a friend’s event.
Check here our guide about the best sublimation printer settings to optimize your print quality.
Professional Sublimation Printing & Wholesale Custom Products
Looking for high-quality sublimation printing for apparel, drinkware, and promotional items? Subli Genius Print delivers vibrant color, sharp detail, and long-lasting results for businesses, brands, and resellers across the U.S.
Frequently Asked Questions
How do I deep clean a sublimation printer?
Run an extended cleaning cycle from the maintenance menu, often labeled Power Cleaning or Ink Flush, then confirm the result with a nozzle check. Use this only after regular cleaning cycles and manual wiping haven’t solved the problem.
How do I clean old ink out of a sublimation printer?
Use a blunt-tip syringe to gently dislodge dried ink from the cartridge or nozzle opening, reassemble, and repeat for each color. Follow with a nozzle check to confirm ink is flowing evenly.
How do I keep a sublimation printer from clogging?
Print something weekly, use quality ink, shut the printer down properly so the printhead parks correctly, and run cleaning cycles on a schedule rather than waiting for streaks to show up.
How do I unclog an Epson printer head specifically?
Run Nozzle Check and Head Cleaning from the Maintenance menu first. If that doesn’t clear it, a syringe kit can push cleaning fluid through the nozzle ports, followed by one to two hours of drying time before reassembling.
For more on getting consistent results once your printer is clean, see sublimation printer settings, or for a wider range of print issues beyond cleaning, see common sublimation printing problems.




9 Comments