Epson SureColor F170 / SC-F100 Nozzle Check and Head Cleaning

A print comes out with a faint band running through one color, or a section of a design looks washed out compared to what showed up on screen.
On the Epson SureColor F170 and SC-F100, that almost always points to a clogged nozzle rather than a settings problem, and both models share the same maintenance menu, so this guide applies to either one.
Like the SG500, this is a menu-driven process built directly into the printer. There is no purge file to download or print here either. This guide walks through the full nozzle check, cleaning, and power cleaning sequence from start to finish.
Quick Answer
Go to Menu, then Maintenance, then Print Head Nozzle Check, and print the test pattern. Run Head Cleaning from the same menu when lines come out missing or broken. Repeat the check and clean cycle up to two or three times, then move on to Power Cleaning if the pattern still shows gaps.
Tools Needed
This process does not require any special supplies.
- A few sheets of plain letter or A4 paper loaded in the cassette tray are enough, and the printer needs to be powered on and connected.
- Epson’s printer utility software offers the same maintenance functions from a computer, for anyone who prefers running this from a desktop instead of the control panel keypad.
Preparation
Load a few sheets of plain copy paper into the cassette tray before starting. Sublimation paper is not needed for this step, since the nozzle check pattern only needs to print clearly enough to read.
Saving your sublimation paper for actual jobs and using plain paper here is the more practical choice.
Step 1: Print a Nozzle Check
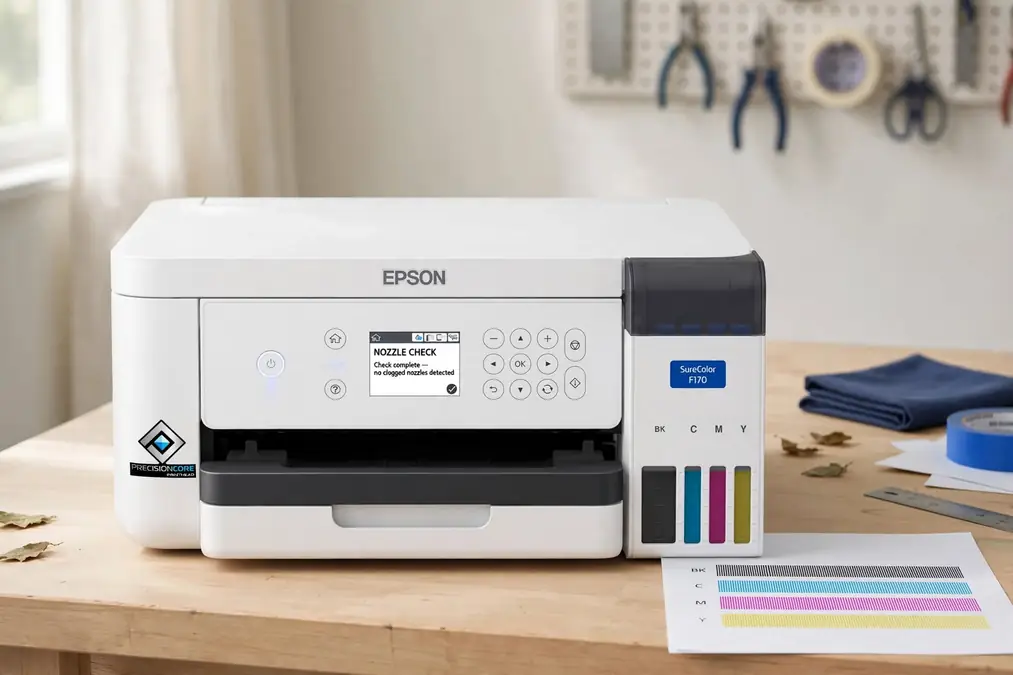
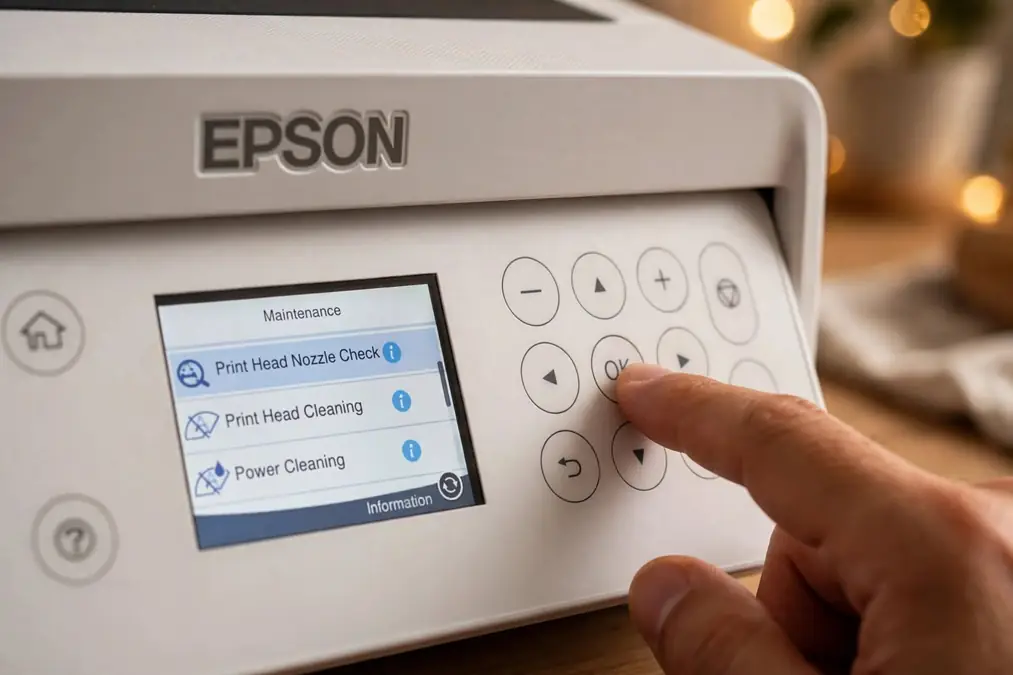
On the control panel, use the keypad to select Maintenance, then choose Print Head Nozzle Check, and press Print. The printer runs the test pattern automatically.
Anyone running this from a computer instead can open the Epson printer utility, locate the maintenance section, and select the nozzle check option there. The result is identical either way.
Step 2: Read the Test Pattern
The printed pattern shows a set of parallel lines for each ink color. A healthy nozzle check shows every line complete and unbroken across all colors. For related planning, see How to Sublimate Tumblers for Summer.
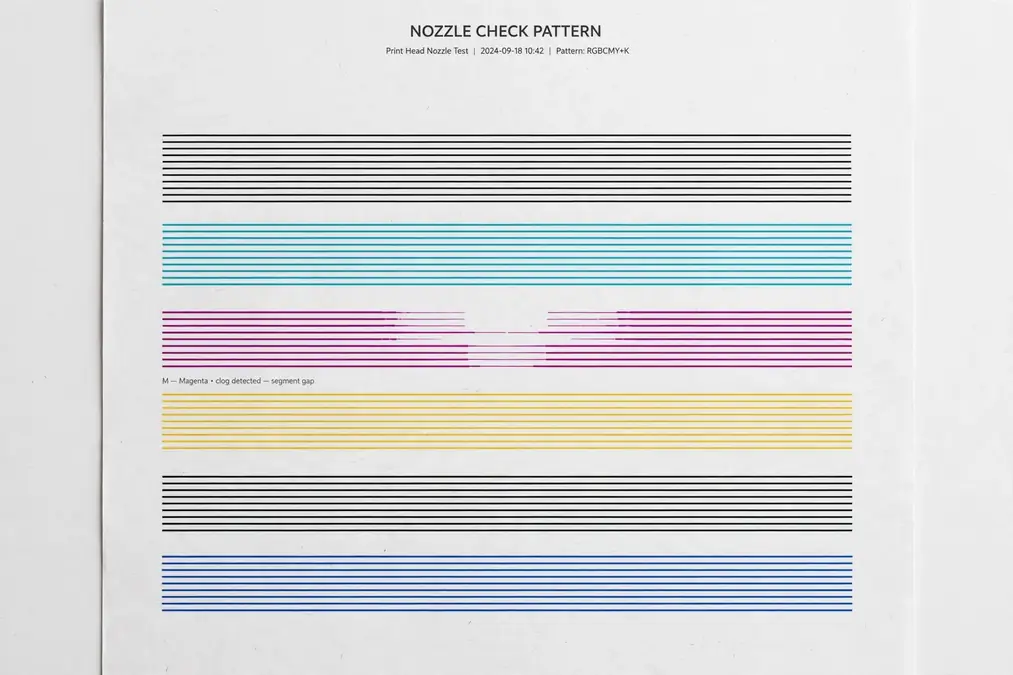
Gaps or a missing line in any color point to a clog in that channel. Note which color shows the problem, since some firmware versions let you target the cleaning to just the affected channel instead of running a full cleaning cycle.
Step 3: Run a Head Cleaning
From the Maintenance menu, select Head Cleaning and confirm to start. Depending on the firmware version, this runs across all nozzles or lets you target a specific one.
Avoid interrupting the printer during this cycle. If it does get interrupted, print a fresh nozzle check afterward and restart the cleaning process rather than assuming a partial cycle finished.
Step 4: Recheck and Repeat if Needed
Print another nozzle check right after the cleaning finishes to see whether the lines came back clean. Run the cleaning again when gaps remain, but stop at two to three cleaning cycles total. Cleaning uses ink each time it runs, and Epson’s own guidance points to Power Cleaning once three regular cleanings haven’t resolved the clog.
Step 5: When to Run a Power Cleaning
Power Cleaning is the next step once three regular head cleanings haven’t cleared the nozzle check. This function replaces all of the ink inside the ink tubes, so it goes considerably deeper than a standard cleaning and uses more ink as a result. Running it repeatedly back to back without checking results in between wastes ink without adding much benefit.
Troubleshooting
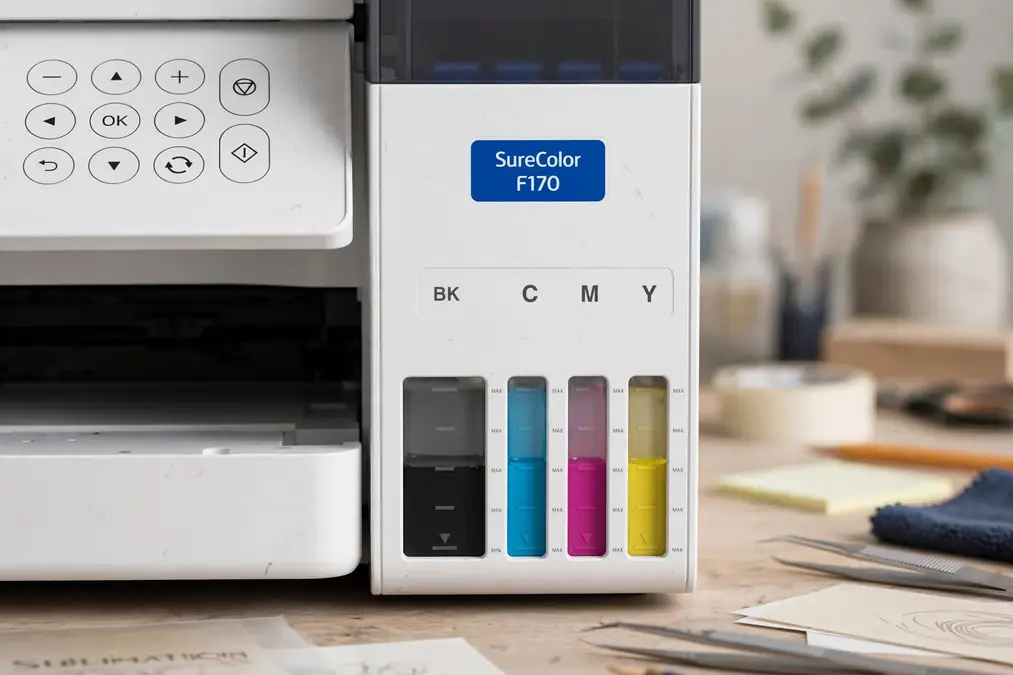
A nozzle check that still shows gaps after a power cleaning usually points to low ink levels or an ink tube priming issue rather than a deeper clog. Checking ink levels and confirming the tubes are properly primed is worth doing before running another cleaning cycle.
Persistent streaking that survives cleaning can also come from paper dust or debris near the print head, which is worth checking separately from the ink system.
A printer that shuts off partway through a nozzle check points to a power connection issue rather than a head problem. Checking the power cable and outlet first saves time compared to jumping straight to more cleaning cycles.
A head cleaning that runs automatically every time the printer powers on, or one that takes an unusually long time, often traces back to ink levels or ink tube priming rather than an actual clog. Checking ink levels before running additional cleanings can save both time and ink. For related planning, see Sublimation on Leather.
Contact Epson support directly if the nozzle check is still not clean after three head cleanings and a power cleaning, since that combination covers the built-in fixes available from the printer itself.
Common Mistakes
Running several head cleanings without checking the pattern in between wastes ink and rarely speeds up the fix. Jumping straight to a power cleaning without running a standard cleaning first skips a step that resolves most clogs on its own.
This menu-driven process also replaces the purge sheet workflow used on EcoTank-based sublimation printers entirely, since neither the F170 nor the SC-F100 has an equivalent purge file to print.
Downloadable Resources
Print this checklist and keep it near your F170 or SC-F100 for quick reference. It follows the same nozzle check, cleaning, and power cleaning steps from this guide in a format you can check off as you go.
Download Free Here: F170 / SC-F100 Nozzle Check and Head Cleaning Checklist (PDF)
Frequently Asked Questions
How often should I run a nozzle check on the F170 or SC-F100?
A weekly check, or one before starting a large print job, catches clogs early before they show up in a finished design.
Is the process the same for the SC-F100 as the F170?
Yes. Both models share the same Maintenance menu structure, so the nozzle check, head cleaning, and power cleaning steps apply equally to either printer.
Can I use sublimation paper for the nozzle check?
Plain copy paper works fine and is the more practical choice, since it saves your sublimation paper for actual print jobs.
What’s the difference between head cleaning and power cleaning?
Head cleaning is the standard maintenance step run from the Maintenance menu and is meant to be used first. Power Cleaning replaces all the ink inside the ink tubes, uses considerably more ink, and is meant as the next step once three regular cleanings haven’t cleared the clog.
Why does my F170/SC-F100 run a long cleaning cycle every time I turn it on?
This pattern usually points to ink levels or ink tube priming rather than an actual clog. Checking ink levels first, before running more cleaning cycles, is the more direct way to address it.
Keeping the F170 / SC-F100 Running Clean
Most nozzle problems on the F170 and SC-F100 clear up with a check and one or two cleaning cycles, especially when caught early with a weekly check. Save Power Cleaning for when three standard cleanings haven’t done the job, and check ink levels first if the printer starts running long cleaning cycles on its own.