
Heat Press Maintenance Checklist: Daily, Weekly & Monthly

A heat press can look fine while residue builds up on the platen, the lower pad wears down, or temperature readings become inconsistent. A heat press maintenance checklist gives you a repeatable way to catch these issues before they disrupt an order.
Use the daily, weekly, and monthly checks below as a starting plan for a home sublimation setup or small print shop. The exact maintenance interval, cleaner, and service method must come from your heat press model’s manual. The two-page printable checklist and log lets you keep a dated record for each machine.
Free printable: Download the Heat Press Maintenance Checklist and Service Log (PDF)
Heat Press Maintenance Checklist at a Glance
The simplest schedule separates quick visual checks from deeper inspection. A press used for dozens of jobs a day may need more frequent attention than one used on weekends. These intervals are suggested planning reminders, not universal manufacturer requirements.
| When | What to check | What to record |
|---|---|---|
| Before each session | Workspace, visible cord and plug condition, platen, lower pad, covers, controls | Damage, residue, missing or loose accessories |
| After each session | Shutdown, cool-down, cleaning permitted by the manual | Stuck transfer material, new wear, unresolved faults |
| Weekly | Pad edges, surface condition, accessible moving parts and protective covers | Wear, binding, unusual sounds, corrective action |
| Monthly or per manual | Temperature accuracy, pressure/contact consistency, service intervals | Method, readings, adjustments, follow-up date |
| After a problem, move, or repair | Relevant safety and performance checks before another order | What changed, what was tested, whether the press is cleared |
Safety rule: Before physical cleaning or inspection, switch off the machine, disconnect power, and allow it to cool unless the manufacturer’s instructions specify a different controlled procedure. Temperature-verification tests may require an operating press; follow that model’s instructions and use suitable equipment. Do not remove electrical covers or attempt wiring repairs.
What to Check Before and After Each Pressing Session
Before switching on
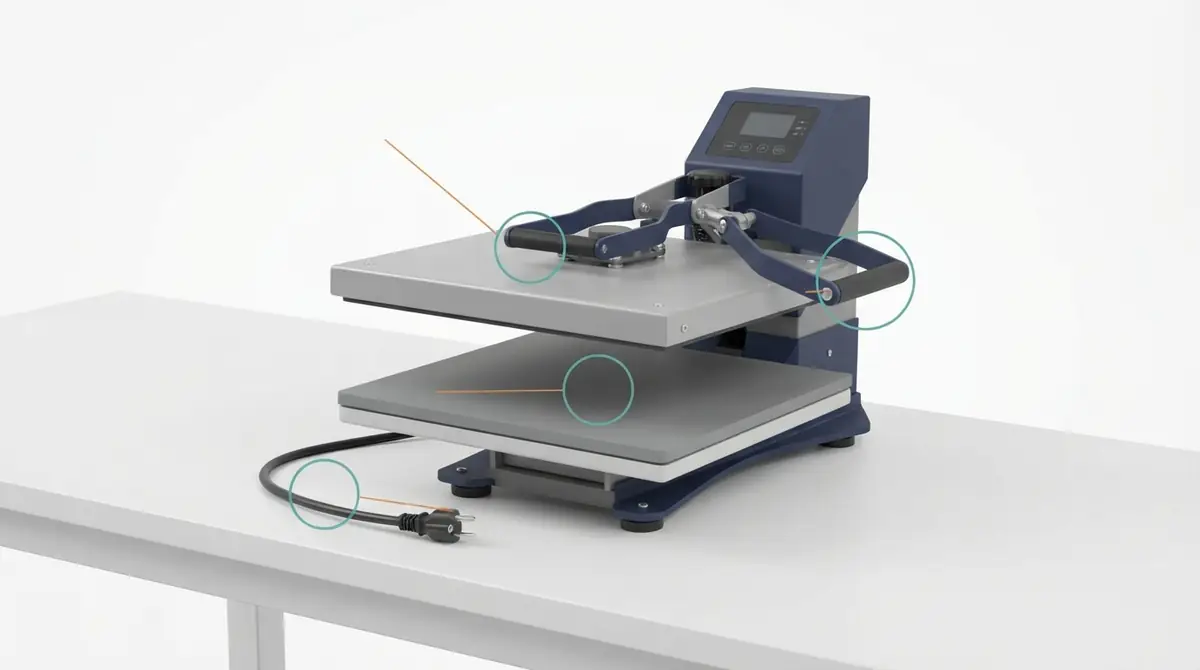
- Clear the workspace. Remove scraps, lint, unused transfers, and anything that could contact the heating platen. Keep the press on a suitable stable surface with its required clearance.
- Look at the cord and plug. Check for obvious cuts, heat damage, or loose connections without opening the equipment. If either is damaged, stop using the press.
- Inspect the working surfaces. Look for adhesive, ink residue, damaged coating, wrinkles in a protective cover, and tears or raised areas on the lower pad.
- Check the moving parts from the operator position. The press should open and close normally, without binding or instability. Do not reach into moving mechanisms or make internal adjustments.
- Confirm the job settings separately. Maintenance does not replace the blank or transfer maker’s time, temperature, and pressure instructions. If you are setting up a new machine, use the heat press setup guide.
After the final job
Turn the press off and follow its normal shutdown and cool-down procedure. Clean accessible surfaces using the model-approved method. If a transfer stuck to the upper platen, do not continue producing shirts or blanks until the residue has been removed safely and the platen is suitable for use.
Record anything unusual in the log, even if you cannot fix it immediately. A note such as “adhesive residue near the rear edge; cleaning required before next use” is more useful than a generic checkmark. This is an illustrative log entry, not a claim of hands-on testing.
How to Clean Your Heat Press Safely
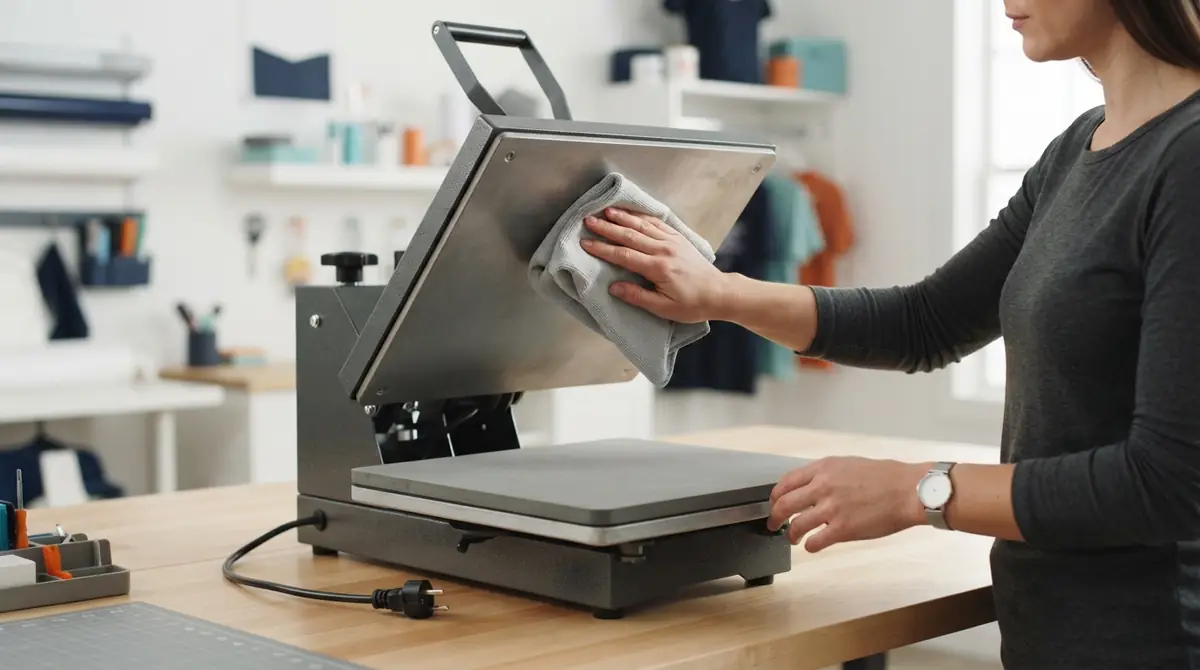
Start with the machine’s own instructions. The upper platen may have a nonstick coating, and some cleaners or abrasive tools can damage it. Manufacturers do not all recommend the same cleaning process.
For example, STAHLS’ cleaning guidance discusses mild, non-abrasive cleaning with controlled residual warmth for certain situations. Insta Graphic Systems describes a different cool-platen method for its equipment. Neither method should be copied onto an unrelated press without checking its manual.
| Do | Avoid |
|---|---|
| Turn off, unplug, and cool the press before routine physical cleaning unless its manual directs otherwise | Spraying liquid into controls, vents, or electrical areas |
| Use a soft, non-abrasive cloth and only approved cleaning products | Steel wool, sharp scrapers, or unapproved solvents on the coated platen |
| Remove residue before the next transfer | Pressing another product over an unknown adhesive or ink deposit |
| Inspect the lower pad and any cover for lint or trapped debris | Pulling, cutting, or replacing bonded pads without model-specific instructions |
| Record persistent residue and request support when needed | Forcing a stuck part or dismantling the heater assembly |
If adhesive or ink is baked onto the platen, consult the manufacturer’s cleaning procedure before choosing a chemical or scraping method. Products sold as platen cleaners are not automatically safe for every finish. Let the treated surface return to its specified condition and perform a controlled test with scrap material before resuming customer work.
Weekly Heat Press Inspection Checklist
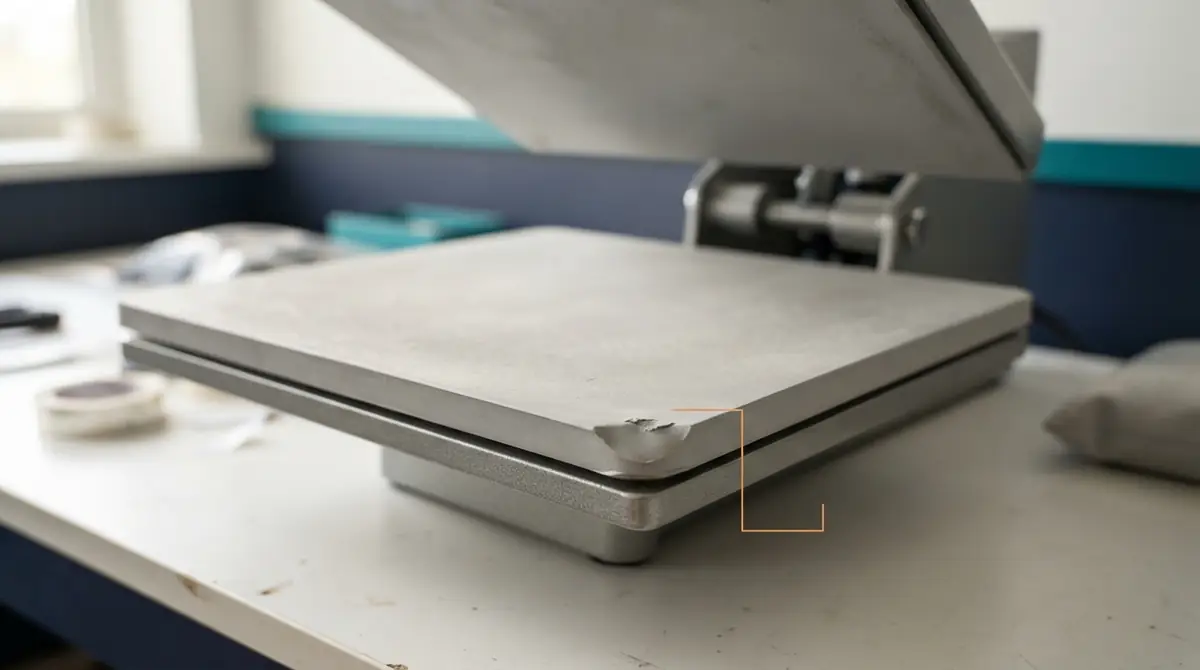
A weekly check is a good time to look for changes that are easy to miss during a busy pressing session. Disconnect power and let the equipment cool before touching the lower pad or accessible components.
- Lower silicone pad: Look for tears, rounded edges, compressed spots, loose bonding, or a surface that no longer sits flat. Do not add extra pressure to compensate for a damaged pad.
- Upper platen: Check for coating damage, stubborn residue, discoloration, and visible surface irregularities. A suspected heating fault needs more than cleaning.
- Protective covers: Check whether the platen cover or lower pad cover is torn, wrinkled, dirty, or installed incorrectly.
- Accessible hinges and handles: Observe wear, unusual movement, or binding. Lubricate only the points, with the material and frequency, identified in your machine’s manual.
- Workstation: Clear lint and scraps from accessible exterior areas. Keep ventilation openings unobstructed, but do not open covers to clean internal electronics.
Write down the exact location of a problem. “Right-front pad edge is lifting” gives a technician or supplier more to work with than “pad bad.” If the pad appears worn, inspect it according to the equipment manufacturer’s guidance before ordering a replacement.
Monthly Temperature and Pressure Checks
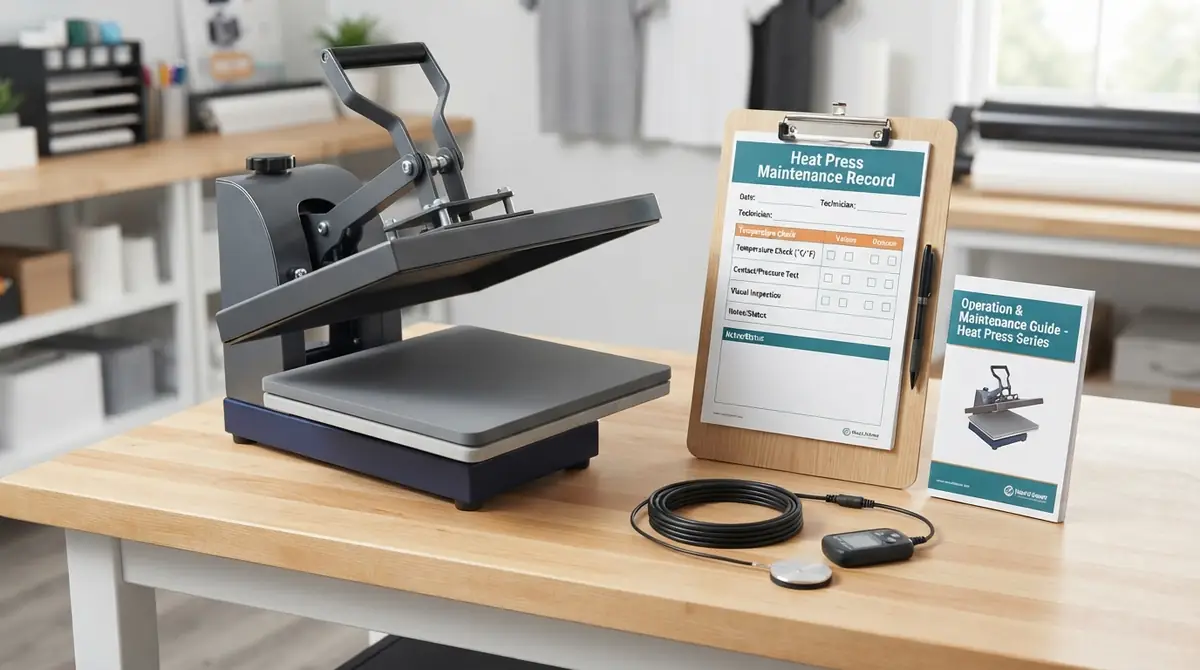
A heat press display shows a setpoint or sensor reading. That does not, by itself, prove that every area of the pressing surface is performing as expected. A periodic verification record helps identify changes over time.
Record a temperature check
- Find the manufacturer’s temperature-verification method for your model.
- Use an appropriate heat-press test kit or other tool approved for that procedure. A handheld infrared thermometer can mislead on some platen surfaces and should not be treated as the only proof of accuracy.
- Record the machine setpoint, the test method, the measurement location, and the observed reading. If the procedure calls for several points, record each one.
- Compare results with the manufacturer’s tolerance, not a universal degree difference found online.
- If readings remain outside the model’s limits, stop affected production and contact qualified support.
For more detail, see how to check heat press temperature accuracy. A sublimation temperature chart is useful for choosing material-specific starting settings, but it is not a machine calibration certificate.
Record a pressure/contact check
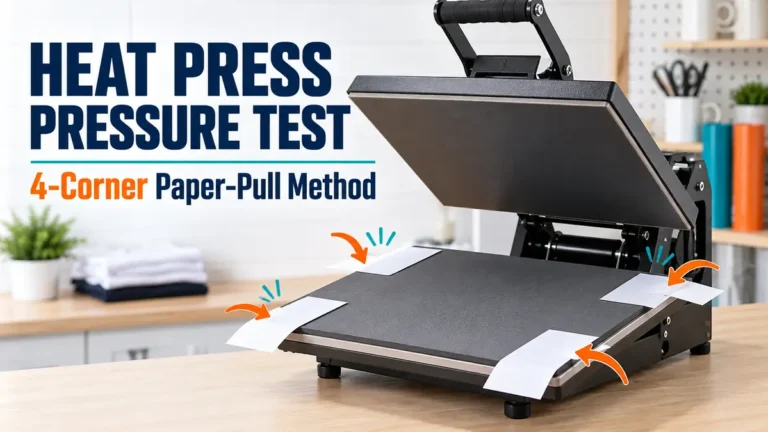
Follow your machine’s approved contact test. A four-corner paper-pull check can reveal a possible difference in contact across the platen, but it does not measure a universal pressure value in pounds per square inch. Avoid interpreting one paper result as a calibrated pressure reading.
Note whether contact looked even, which corner behaved differently, and what changed after any manufacturer-approved adjustment. If a pad is uneven or the mechanism is damaged, address the underlying problem instead of repeatedly increasing pressure.
Maintenance Differences by Heat Press Type
The general inspection principles carry over, but the parts that need attention are not identical.
| Press type | Extra item to check | What not to assume |
|---|---|---|
| Manual clamshell | Handle, hinge, adjustment mechanism and clearance | Every manual press has the same lubrication points |
| Swing-away | Pivot movement, latch and stable support | A loose or rough swing motion can be fixed by tightening any visible bolt |
| Auto-open | Release function and moving components | The auto-open mechanism is safe to service without model instructions |
| Pneumatic / air-operated | Visible hose condition, connections, air supply and water trap where fitted | Operators should disconnect pressurized hoses or service air parts themselves |
| Cap or specialty press | Curved platen, matching lower fixture, pads and attachments | Flat-platen tests and settings transfer directly to curved equipment |
On air-operated presses, trained staff may need to follow specific compressor and water-trap procedures. SanMar’s maintenance guidance identifies air connections, lower-pad wear, and lubrication as areas where manufacturer instructions matter. A home press with no air system does not need a pneumatic checklist.
Warning Signs That Mean You Should Stop Using the Press
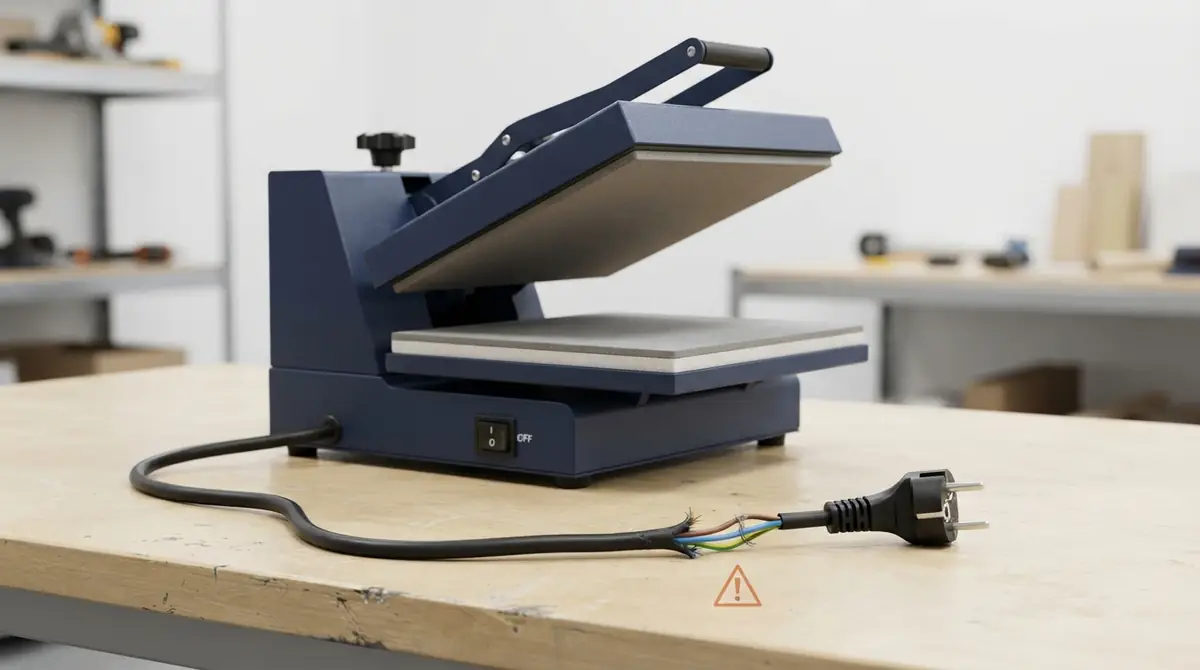
Use a simple status decision rather than marking every maintenance task as “done.”
| Status | Examples | Next action |
|---|---|---|
| PASS | Clean, intact surfaces; normal operation; checks meet your model’s limits | Record the date and resume the normal workflow |
| REVIEW BEFORE USE | Residue, damaged cover, unexplained pressure difference, or an overdue required check | Pause the affected work, investigate, correct safely, and retest |
| STOP USE | Damaged cord or plug, sparking, smoke, uncontrolled heating, unstable mechanism, suspected electrical fault | Stop operating, isolate power only if safe, and contact the manufacturer or qualified service provider |
Do not attempt electrical repair, bypass a safety feature, adjust internal wiring, or continue using a press that behaves unpredictably. If the machine is under warranty, check the warranty terms before arranging repairs or removing components.
A visible defect should not disappear into a notes column. Assign an owner and next action, and keep the press out of service until the relevant fault has been resolved.
Free Printable Heat Press Maintenance Checklist and Log
The companion two-page US Letter (8.5 x 11-inch) PDF is designed for one machine at a time:
- Page 1: Routine checklist. Machine ID, inspector, date, and daily, weekly, and monthly checkboxes with PASS, REVIEW, or N/A choices.
- Page 2: Service log. Space for each observation, temperature or contact-test method, action taken, service reference, follow-up date, and final status.
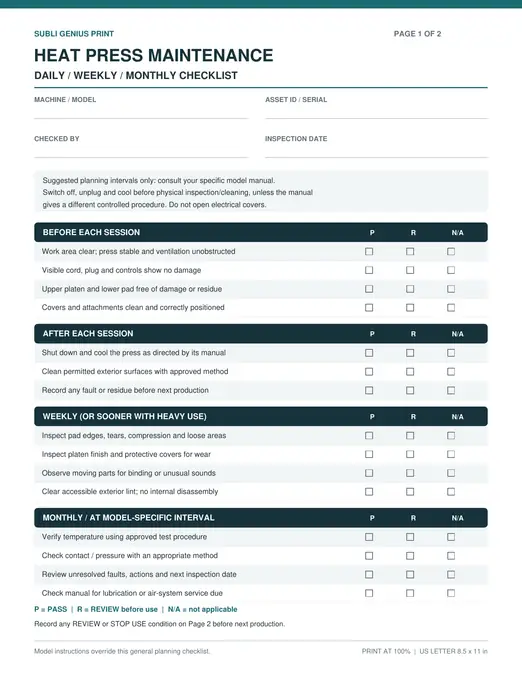
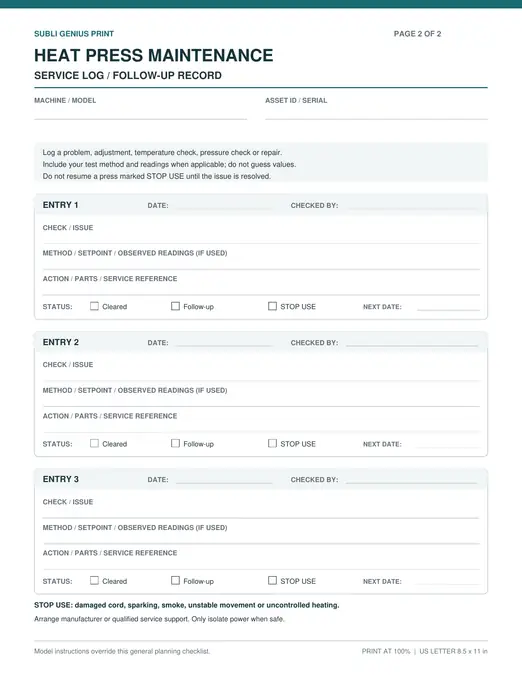
How to use it: Print a checklist for each routine inspection and keep subsequent service log pages with the equipment manual. A shop with multiple presses should identify every record by model and asset ID. For a small home setup, the serial number or a simple handwritten label is enough.
Example only: An operator notices that a lower-pad corner is lifting. They mark REVIEW BEFORE USE, record the location of the defect, stop production involving that press, and check the manufacturer’s pad guidance. If the condition affects safe use or remains unresolved, they mark STOP USE and arrange service. This is an illustrative workflow, not a measured test result.
The purpose of a maintenance record is not to create paperwork. It is to help you spot repeated issues, communicate clearly with service support, and avoid unknowingly running the next order on equipment with an unresolved problem.
For your exact cleaning method, service interval, and replacement parts, use your manufacturer’s manual. Hotronix provides manuals by model; other brands publish their own maintenance instructions. Keep those directions with your log.