
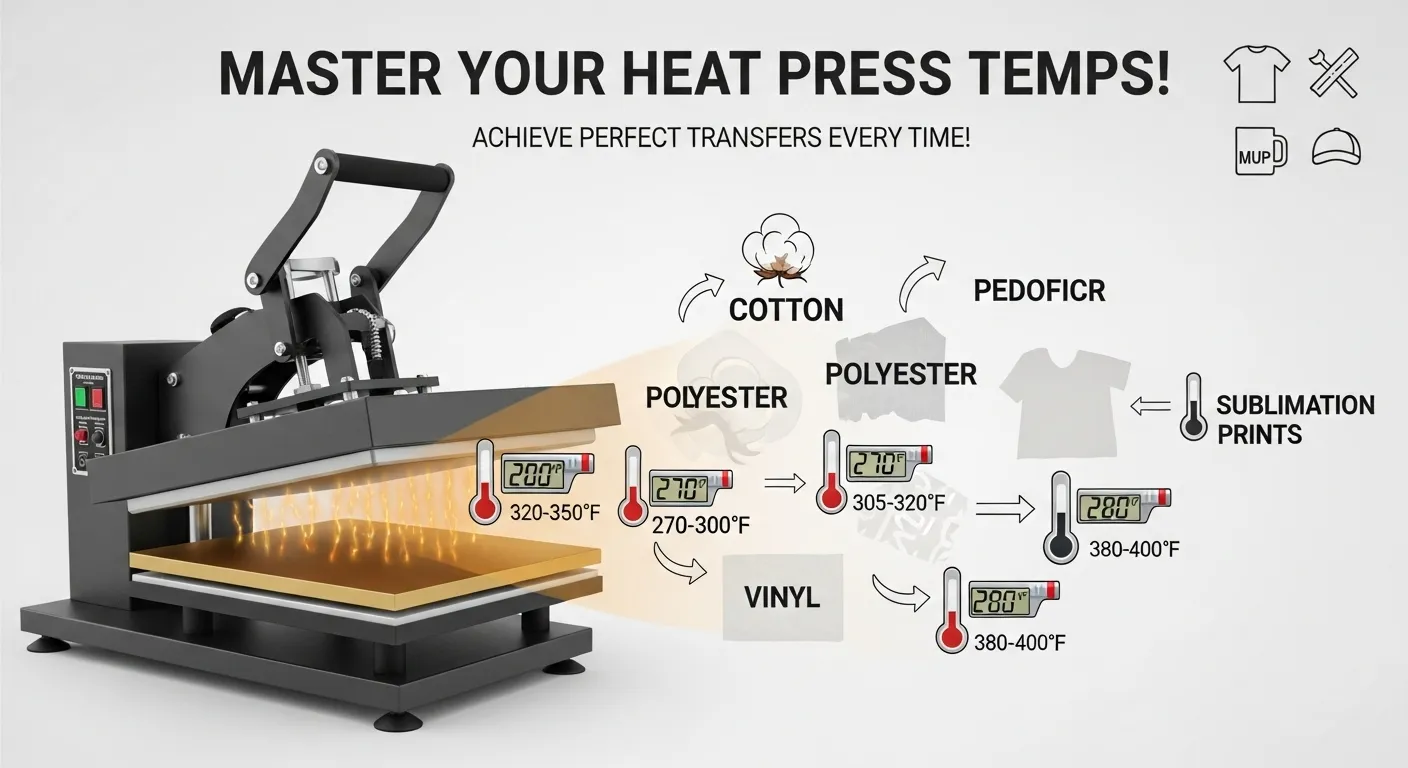
Heat Press Temperature for Sublimation: Chart & PDF

Heat press temperature for sublimation depends on the exact blank, coating, and equipment. For example, Sawgrass lists 400°F for polyester fabric at 45 seconds and 350–400°F for ceramic mugs at 150–300 seconds. These are manufacturer reference values, not universal instructions for every blank. Start with your substrate supplier’s recommendations, then use the chart and test record below to check results on your equipment.
Sublimation Heat Press Temperature Chart
These are starting ranges for common sublimation-ready materials. Blank manufacturers may recommend different settings, especially for mugs, tumblers, glass, MDF, and coated metal. Fahrenheit is shown first for US readers.
| Blank/material | Sawgrass starting temp | Starting time | Manual pressure | Important note |
|---|---|---|---|---|
| Polyester fabric | 400°F (205°C) | 45 seconds | Medium | Follow exact garment and transfer paper guidance |
| Ceramic mug | 350–400°F (180–205°C) | 150–300 seconds | Medium | Use coated mugs and matching heating equipment |
| Neoprene | 400°F (205°C) | 45 seconds | Medium | Confirm product-specific heat tolerance |
| Sublimation-ready metal | 400°F (205°C) | 60 seconds | Medium | Check coating and manufacturer process |
| MDF board | 400°F (205°C) | 60 seconds | Medium | Confirm receiving coating and thickness |
| Sublimation-ready acrylic | 375°F (190°C) | 60 seconds | Medium | Only use acrylic rated for sublimation |
| Sublimation-ready glass | 400°F (205°C) | 420 seconds | Medium | Confirm the glass blank and heating method |
| Polyester blends, unusual tumblers, other blanks | Check supplier | Check supplier | Check supplier | No universal value from this reference |
Reference and limits: The figures above come from Sawgrass Sublimation Heat Press Settings. Sawgrass calls the chart a starting place and recommends a suitable substrate, calibrated press, manufacturer instructions, and testing. Do not assume these values are approved for another manufacturer’s product.
Important: These are starting ranges, not guaranteed production settings. The blank manufacturer’s instructions override a generic chart. Test one blank from the same batch before pressing a full order. For related planning, see heat press setup and calibration guide.
Free Sublimation Temperature Chart and Test Record
Download the updated two-page reference with Sawgrass-attributed starting settings and a blank-specific test record. Always follow your exact substrate supplier’s temperature, time, pressure, and cooling guidance.
Download the Chart + Test Record (PDF)How to Use the Temperature Chart
- Identify the exact blank, coating, and press type.
- Start with the manufacturer’s recommended temperature, time, and pressure.
- Pre-press fabric briefly when the supplier recommends it to remove moisture and wrinkles.
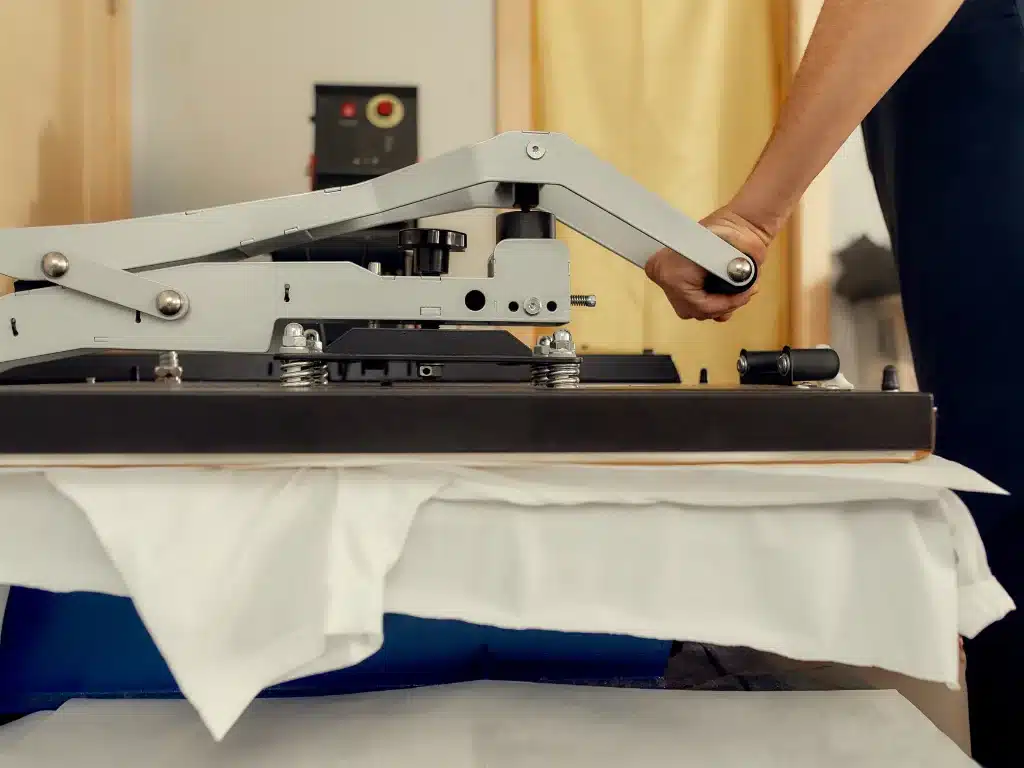
- Secure the transfer with heat-resistant tape and use protective paper.
- Change one variable at a time when testing. Record the result for the next batch.
For a broader material-by-material reference, see the sublimation heat guide by material and method. This page focuses on using settings safely and troubleshooting temperature-related results.
For polyester fabrics, see the polyester time and temperature reference. For curved drinkware and oven methods, see tumbler press versus oven settings. Do not transfer the flat-press example directly to a tumbler oven.
Why Materials Need Different Heat Settings
Sublimation dye must enter polyester fibers or a polymer coating. Fabric, ceramic, metal, glass, MDF, and neoprene transfer heat differently, and coatings vary between suppliers. That is why one setting cannot be treated as a guarantee for every blank.
How to Check Whether Your Heat Press Temperature Is Accurate
The display shows the controller’s target temperature, not necessarily the temperature at every point on the platen. Use the press manufacturer’s calibration procedure first. If you measure the platen yourself, check several areas after the press has fully preheated and stabilized.
- Let the press reach its set temperature and stabilize.
- Use a suitable contact probe, thermocouple, heat-test strip, or a properly configured IR instrument for the surface being measured.
- Check the center and corners to find hot or cold zones.
- Remember that a shiny or reflective platen can give an IR thermometer an unreliable reading because emissivity and reflected heat affect the result.
- Make one controlled adjustment only if the manufacturer permits it. Some presses allow operating compensation, not true calibration.
- Run a test press on the same substrate, then record the verified setting.
Do not assume that every press is off by a fixed number of degrees. A single IR reading from a reflective metal surface is not enough to diagnose the machine.
How to Adjust Time and Temperature Safely
If a transfer is weak, scorched, patchy, or discolored, do not change several settings at once. Confirm the blank, paper, pressure, contact, moisture, and actual platen temperature first. Then make a small controlled test using the supplier’s allowed range.
Sublimation Temperature Problems and Fixes
| Result | Possible temperature cause | Other likely cause | Check first |
|---|---|---|---|
| Faded transfer | Too little heat or time | Wrong paper, ink, coating, or pressure | Blank instructions, paper side, pressure, and transfer alignment |
| Yellow or scorched fabric | Too much heat or time | Fabric finish or protective-paper problem | Supplier range, press time, and protective paper |
| Patchy color | Uneven contact or platen temperature | Moisture, wrinkles, seams, or uneven pressure | Platen zones, pre-press, and flat contact |
| Ghosting or blurry edges | Usually not a temperature diagnosis | Transfer moved during pressing | Heat tape, pressure, and movement when opening the press |
| Horizontal printer banding | Usually not a heat-press diagnosis | Nozzle, printhead, paper feed, or print settings | Printer nozzle check and print quality |
| Color shift or dye migration | Heat may be outside the blank’s safe range | Ink profile, coating, fabric color, or blank quality For related planning, see press setup and calibration guidance. | Manufacturer range and a controlled test |
| Warped hardboard or plastic | Too much heat or time | Material not rated for the process | Blank specifications and cooling instructions |
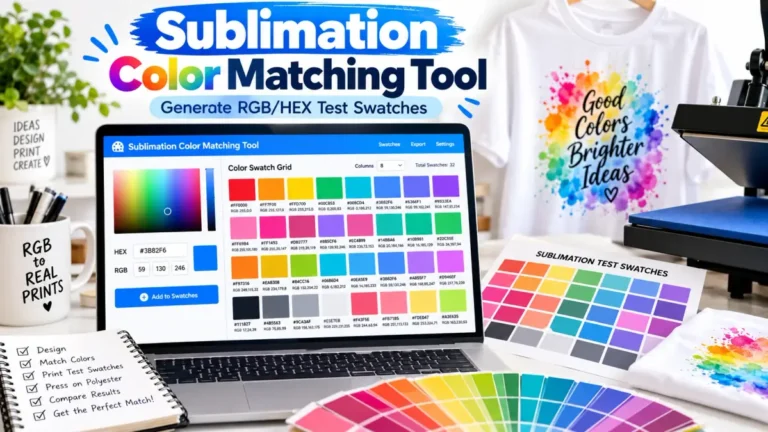
If colors still look wrong after checking the press and blank, a sublimation color chart and an appropriate ICC profile can help separate a heat problem from a printer or color-management problem.
First-Press Temperature Test Record
A reusable test record makes the temperature chart practical. Record the exact blank SKU, supplier’s instructions and your equipment before making a sample. For the next attempt, change only one variable within the allowed product guidance.
| Record field | Your notes |
|---|---|
| Blank supplier, product and SKU | ____________________________ |
| Receiving material / coating | ____________________________ |
| Heat press model and transfer paper | ____________________________ |
| Supplier temperature, time, pressure | ____________________________ |
| Platen contact / temperature check | ____________________________ |
| Actual test time, temperature, pressure | ____________________________ |
| Paper removal and cooling method | ____________________________ |
| Test result and next adjustment | ____________________________ |
Keep this test record beside the press. When blank suppliers or coatings change, start a new record rather than treating an old result as universal.
Frequently Asked Questions
What temperature should I use for sublimation?
Sawgrass lists 400°F for polyester fabric at 45 seconds and 350–400°F for ceramic mugs at 150–300 seconds as reference starting points. Use the exact blank supplier’s instructions first, and test before production.
Is 400°F required for all sublimation blanks?
No. Some blanks use lower temperatures or different times, and some presses use specialized profiles. Some compatible blanks require temperatures below 400°F. The exact manufacturer’s instructions take precedence over any general chart.
What happens if sublimation temperature is too low?
The transfer may look faded, uneven, or incomplete if the dye does not receive enough heat and time. Check pressure, paper, moisture, and contact before changing the setting.
What happens if the temperature is too high?
Excess heat can scorch fabric, damage a coating, distort a blank, or contribute to color shift. Return to the blank manufacturer’s range and test again.
How do I know if my heat press temperature is accurate?
Follow the press manufacturer’s procedure and measure multiple platen areas with an appropriate method. IR thermometers can be misleading on reflective surfaces unless emissivity and measurement conditions are handled correctly.
Can I use an infrared thermometer on a heat press?
You can use one as a screening tool, but a bare shiny platen may reflect surrounding heat and produce an unreliable reading. Use the correct emissivity setting and compare readings with a suitable contact method or heat-test strip when accuracy matters.
Should I change time or temperature first?
Check the manufacturer’s range and the basics first, then change one variable at a time. A small controlled test makes it easier to identify whether time, temperature, pressure, moisture, or contact caused the result.
Printable Heat Press Reference for Your Workspace
Download the updated two-page reference with Sawgrass-attributed starting settings and a blank-specific test record. Always follow your exact substrate supplier’s temperature, time, pressure, and cooling guidance.
Download Printable PDF Reference


18 Comments